Select Language:
Once again, we are stuck in the middle of an unknown ocean on an alien planet and need to figure out how to survive this dangerous situation. Although it shares similarities with the first game, Subnautica 2 takes place on a completely new planet, featuring new marine life, obstacles, and survival tactics.
Whether your goal is just to stay alive or to turn this toxic world into a luxury resort, there are a few essential tips to help you get started. With proper planning and a bit of luck, you might even avoid constant near-death experiences.
### Prioritize Expanding Your Lung Capacity
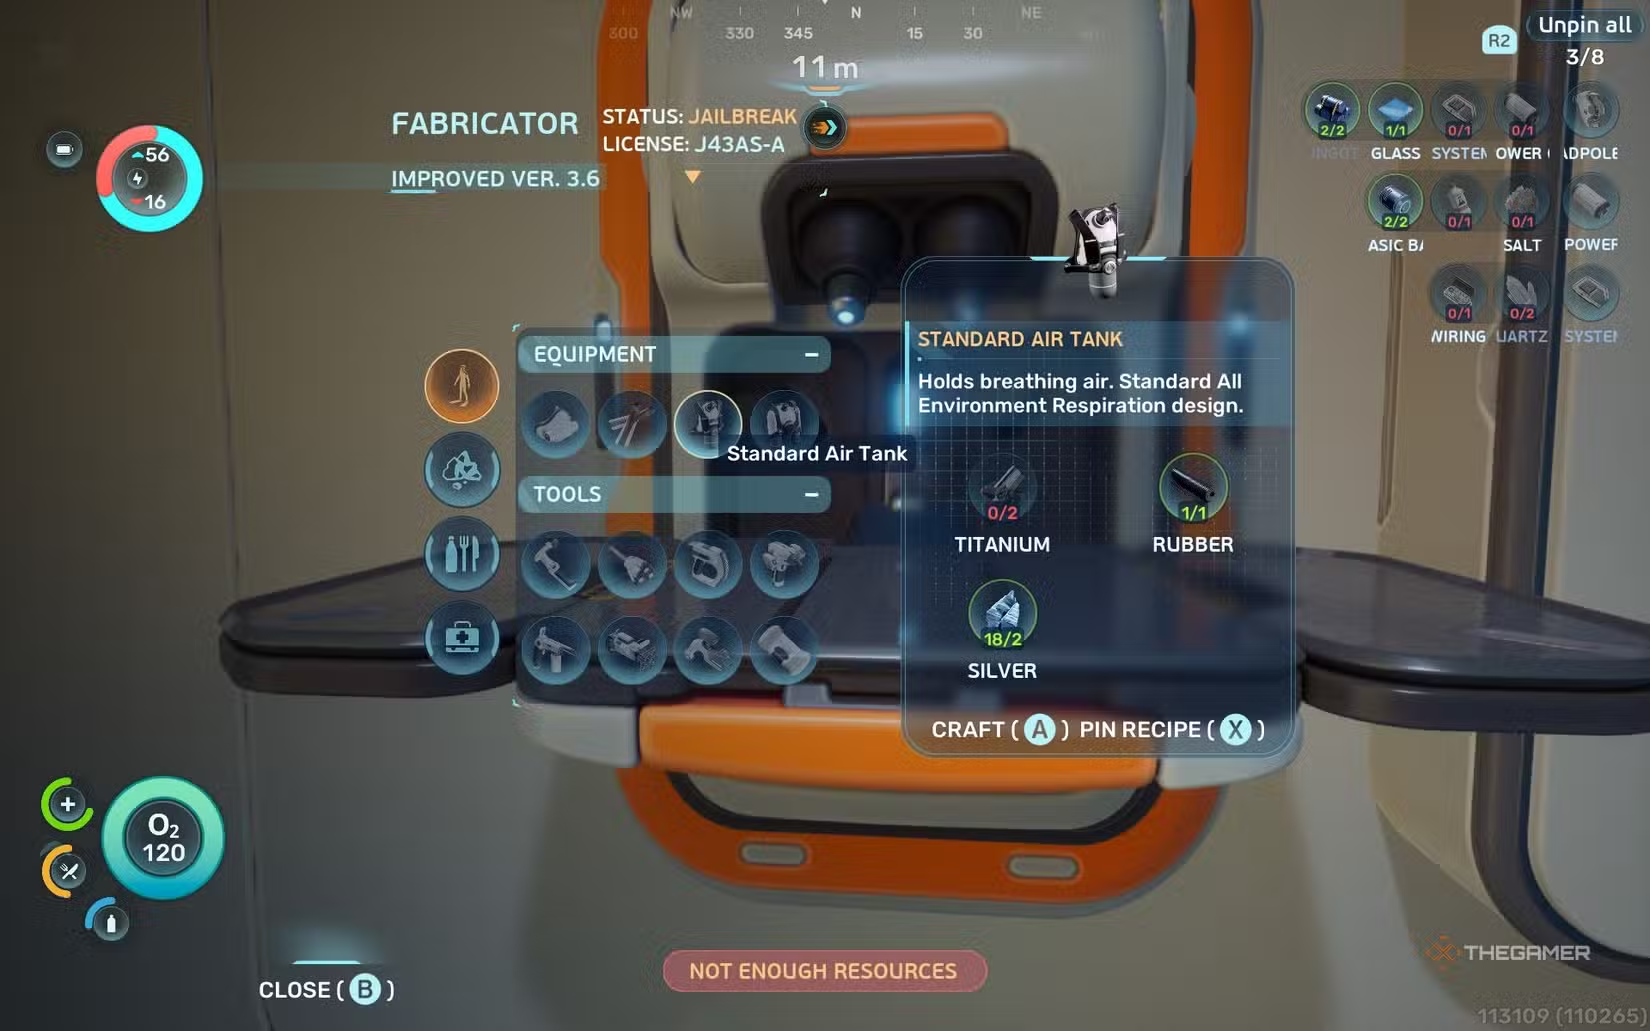
When you first get the chance to explore underwater, you’ll notice that your time submerged is very limited. To fix this, building Air Tanks should be your top priority. There are two types: the Standard Air Tank and the High Capacity Air Tank.
Start with the Standard Air Tank, which is necessary to craft the High Capacity version. You begin the game knowing how to make it, but to unlock the High Capacity tank, you’ll need to scan fragments found at nearby wreck sites using your scanner. These fragments are scattered around wreckage, so explore these areas thoroughly.
Most materials for crafting these tanks are easy to gather. Keep in mind that to make the High Capacity tank, you’ll first need a Processor at your base to convert materials into Ingot. Once both tanks are crafted, you’ll have much more air, allowing for richer exploration and resource collection from depths previously out of reach.
### Bring Portable Storage Back to Base
Your storage options are very limited at the start. The lifepod only contains a small wall locker, but you can eventually build a base with larger storage units. Until then, portable storage containers are vital.
These small, handheld containers are likely to be found at wreck sites. Always bring them back to your base when discovered. Since they must be held with both hands, it’s best to finish other tasks at a wreck before hauling these containers to your lifepod.
You can also drop excess materials on the ground in your lifepod or base if storage is full. While usable in a pinch, it’s more efficient to keep them stored and managed to free up inventory space, helping you build a reserve of resources early on.
### Default to Your Scanner While Exploring
As your toolset grows, you’ll fill your toolbar, but the scanner should remain your primary device. It’s one of the first tools you’ll get and allows you to scan marine life, minerals, and other objects to create data entries.
These entries are crucial because they let you craft the corresponding items for your base later. Always scan everything you come across. Some items require multiple scans to unlock their recipes, while others only need one. Even after recipes are unlocked, scanning duplicates grants you free Titanium, which is always useful.
### Get Your Own Base Going ASAP
While the lifepod is handy, it’s best to establish your own base as soon as you unlock the Habitat Builder. Building rooms and basic facilities mainly requires Titanium, which is plentiful, so setting up a base within a few hours is feasible.
Your base enables access to more storage, vehicles, and advanced equipment that can make exploration easier. Keep in mind that powering your base might be difficult early on, so prioritize installing solar panels and later seeking out Bioreactor fragments when your base is sizable enough.
### Use Your Compass and Scanner Station
Unlike the original game, Subnautica 2 doesn’t require you to craft a compass to navigate. The game provides a built-in compass that appears at the top of your screen, showing your depth and direction.
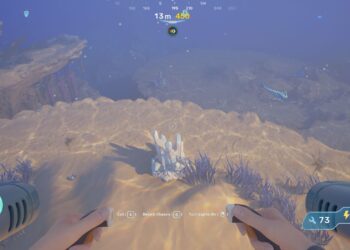
Use it to track your position relative to known locations. When you find unique materials like Silver deposits, check your depth and direction. The compass is your main way of remembering where wreck sites and resources are situated.
Later, you’ll unlock a Scanner Station, which can be built at your base and provides waypoints for materials and wreck locations. However, it’s still wise to memorize directions using your compass to differentiate between sites you’ve visited and those you need to revisit.
### Stock Up on Food and Water
Monitoring your hunger and hydration is crucial. Your two main concerns besides oxygen are calories (food) and water. These can be replenished from Water Slugs, which glow at night for easy gathering, and fish around your lifepod.
It’s wise to keep a stock of food and water at your base and carry at least one of each while exploring. You can eat raw fish in emergencies, but cooked or processed versions restore more health and stamina, so plan to cook your catch whenever possible.
### Keep An Eye Out For Oxygen Tunics and Air Pockets
Expanding your oxygen capacity is essential. Look for Oxygen Tunics, which are glowing plants on the ocean floor that release continuous air bubbles, allowing you to stay underwater longer by swimming directly into these bubbles.
In caves, many will have air pockets on the ceiling—great spots to replenish oxygen during exploration. These pockets save you the trouble of surfacing repeatedly.
### Never Leave Without An Air Bladder
Craft an Air Bladder early; it’s a compact container of air that can replenish oxygen or propel you upward. It needs to be equipped or placed in your toolbar to automatically refill when you reach an oxygen source.
An Air Bladder is a vital emergency item—it can save your life by pulling you to the surface faster than swimming. Always carry at least one, and use it strategically to extend your deep dives and wreck exploration.
### Keep Spare Batteries Handy
Almost every tool in your inventory runs on batteries. While they last fairly long, they can die unexpectedly far from a Fabricator.
Carry at least one spare battery—two if most tools are unlocked—to ensure you won’t get stranded power-deprived. Swapping batteries is straightforward and can be a lifesaver during long expeditions.
### Pin Recipes for Convenience
When using the Fabricator, you can pin recipes to the top right of your screen. This simplifies crafting by providing quick access to the needed components.
Pin multiple related recipes—like the main one and sub-recipes—so you can keep track of what’s missing while gathering resources. This small habit saves a lot of time and keeps your crafting organized during hectic exploration trips.