Select Language:
There may be instances when you need to restore your iPhone 16 or switch to recovery mode. At times, a force restart could be required to fix freezing issues. We will also highlight a lesser-known feature known as wireless restore, which allows you to restore a nearby iPhone 16 Pro or iPad mini 7 wirelessly using another iPhone running iOS 18.
This practical video guides you through all the essential tasks needed to maintain your iPhone 16 effectively. Don’t forget to subscribe to 9to5Mac on YouTube for additional iPhone tips and tricks.
Getting Started
This tutorial covers all models in the iPhone 16 series: the iPhone 16, iPhone 16 Plus, iPhone 16 Pro, and iPhone 16 Pro Max. Before diving in, familiarize yourself with the physical button layout on your iPhone, as recent models have introduced additional buttons.
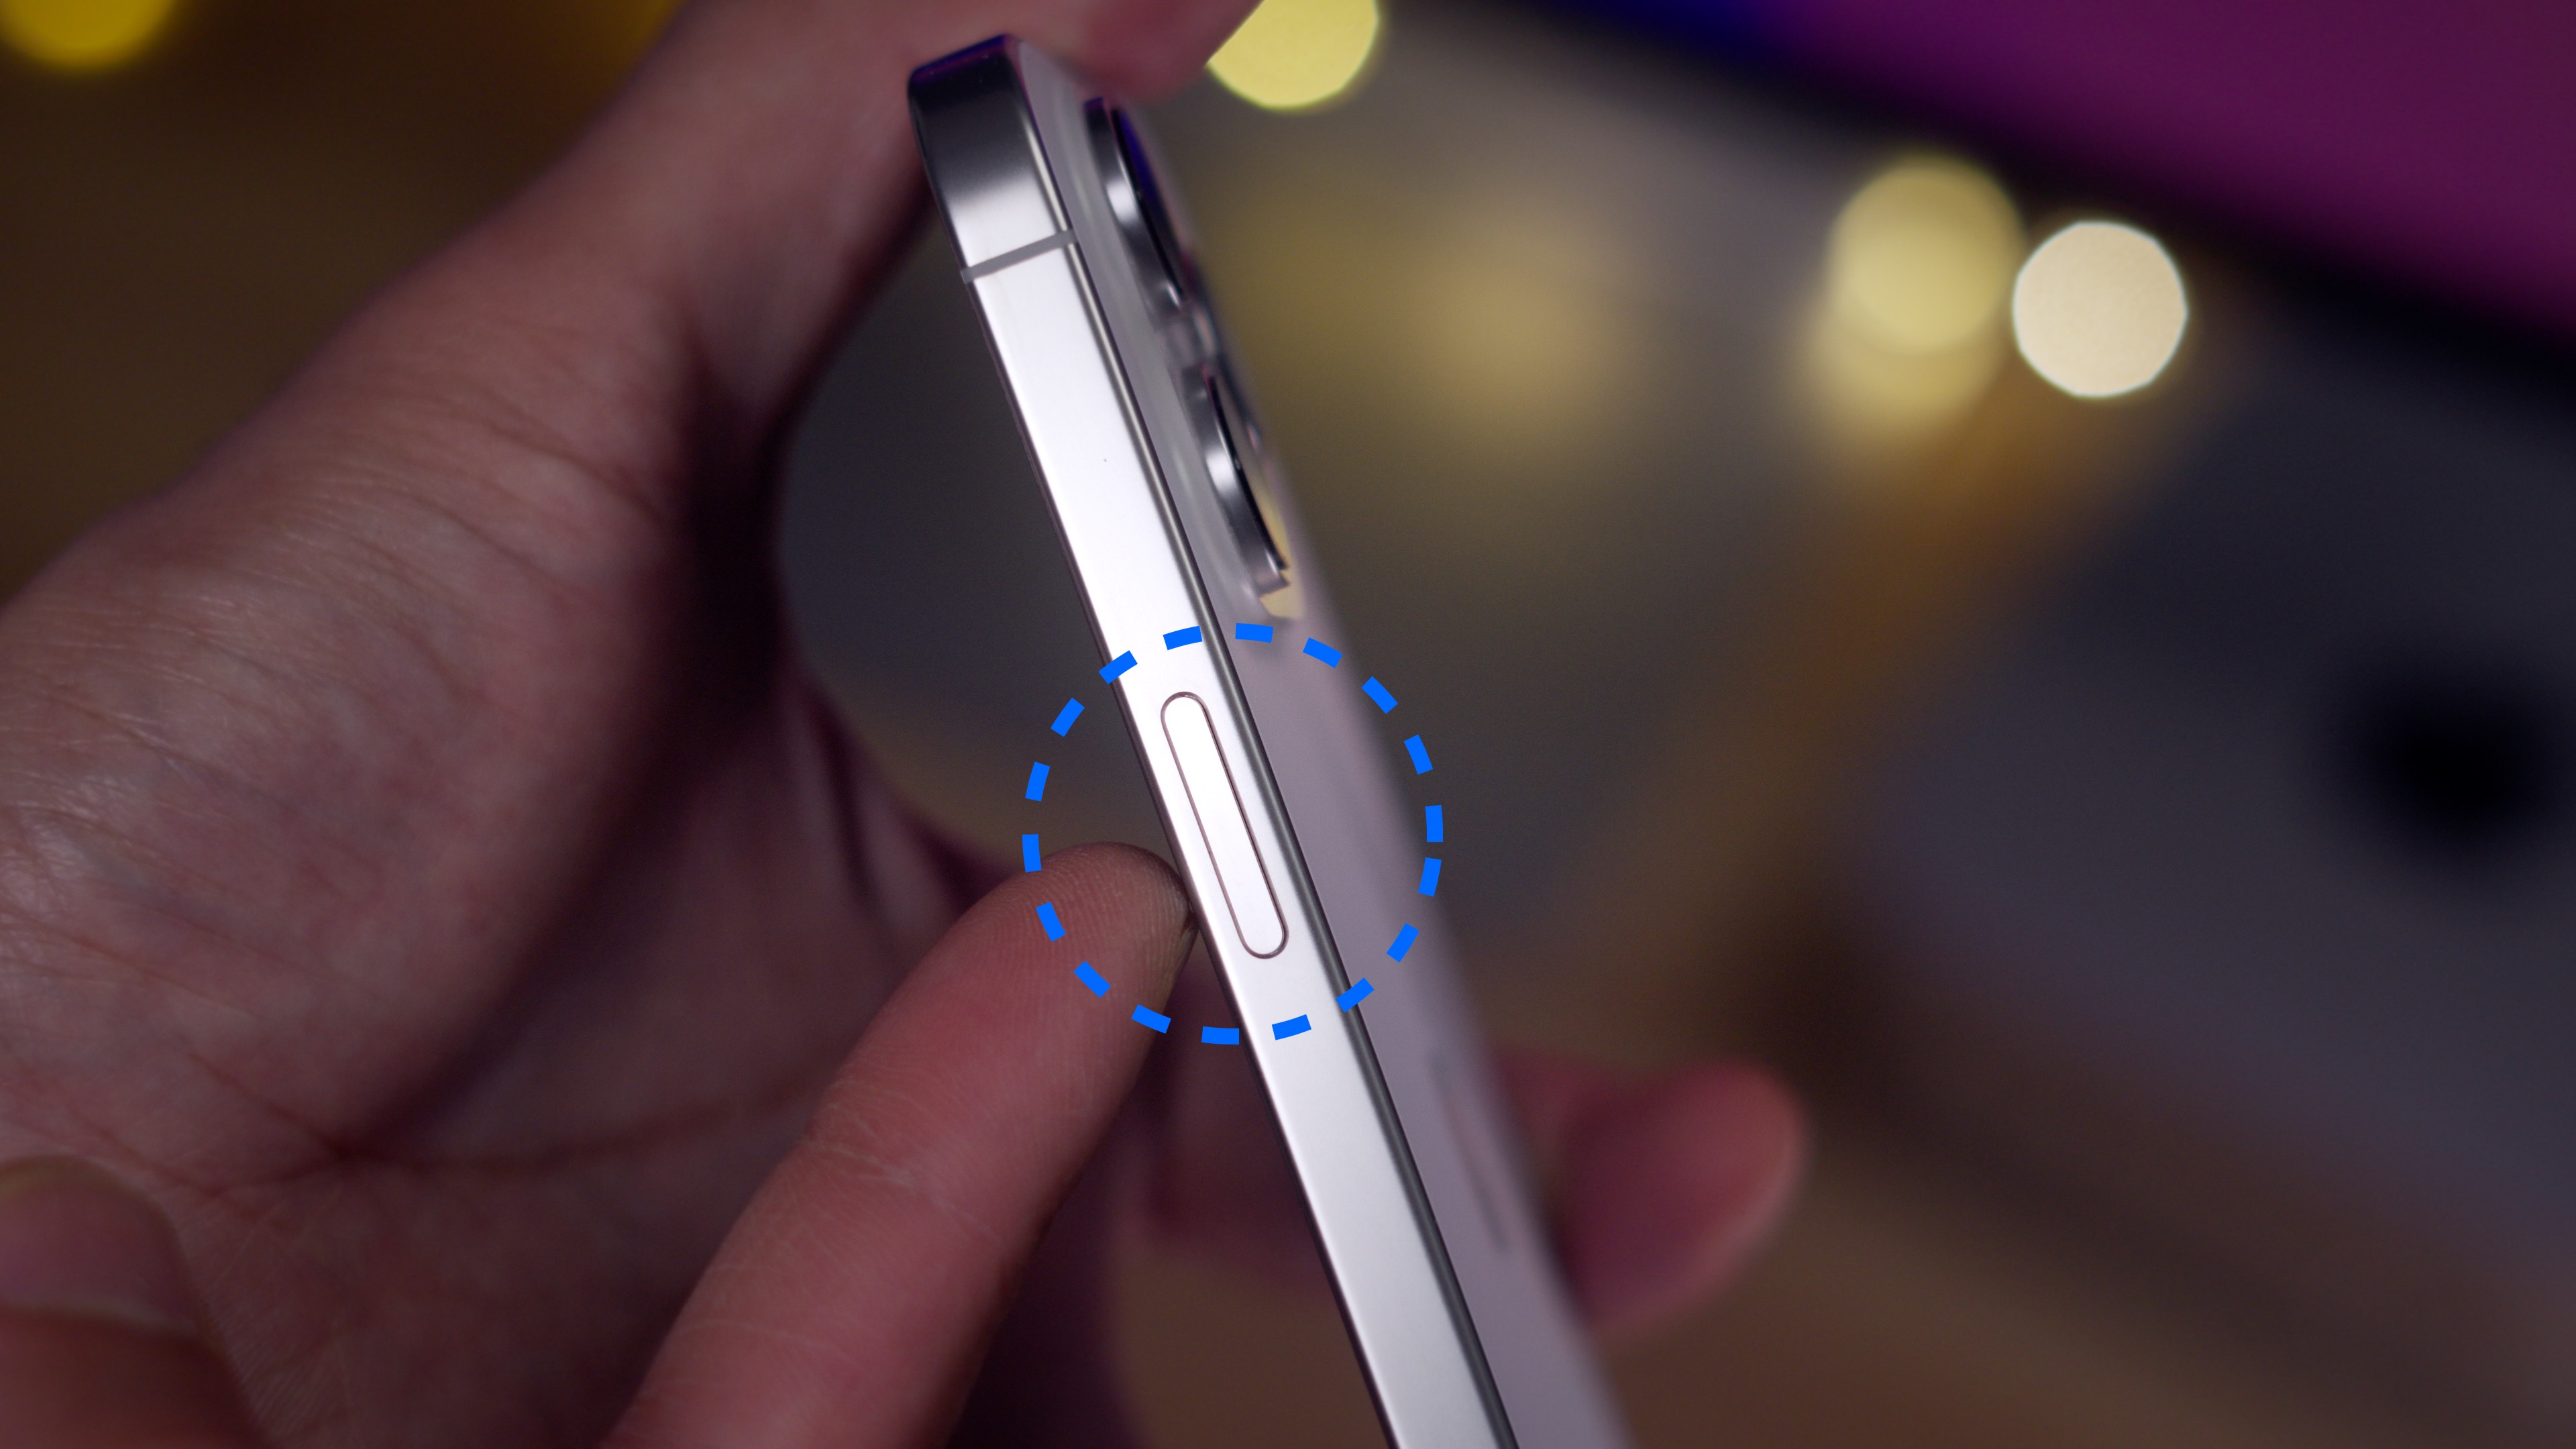
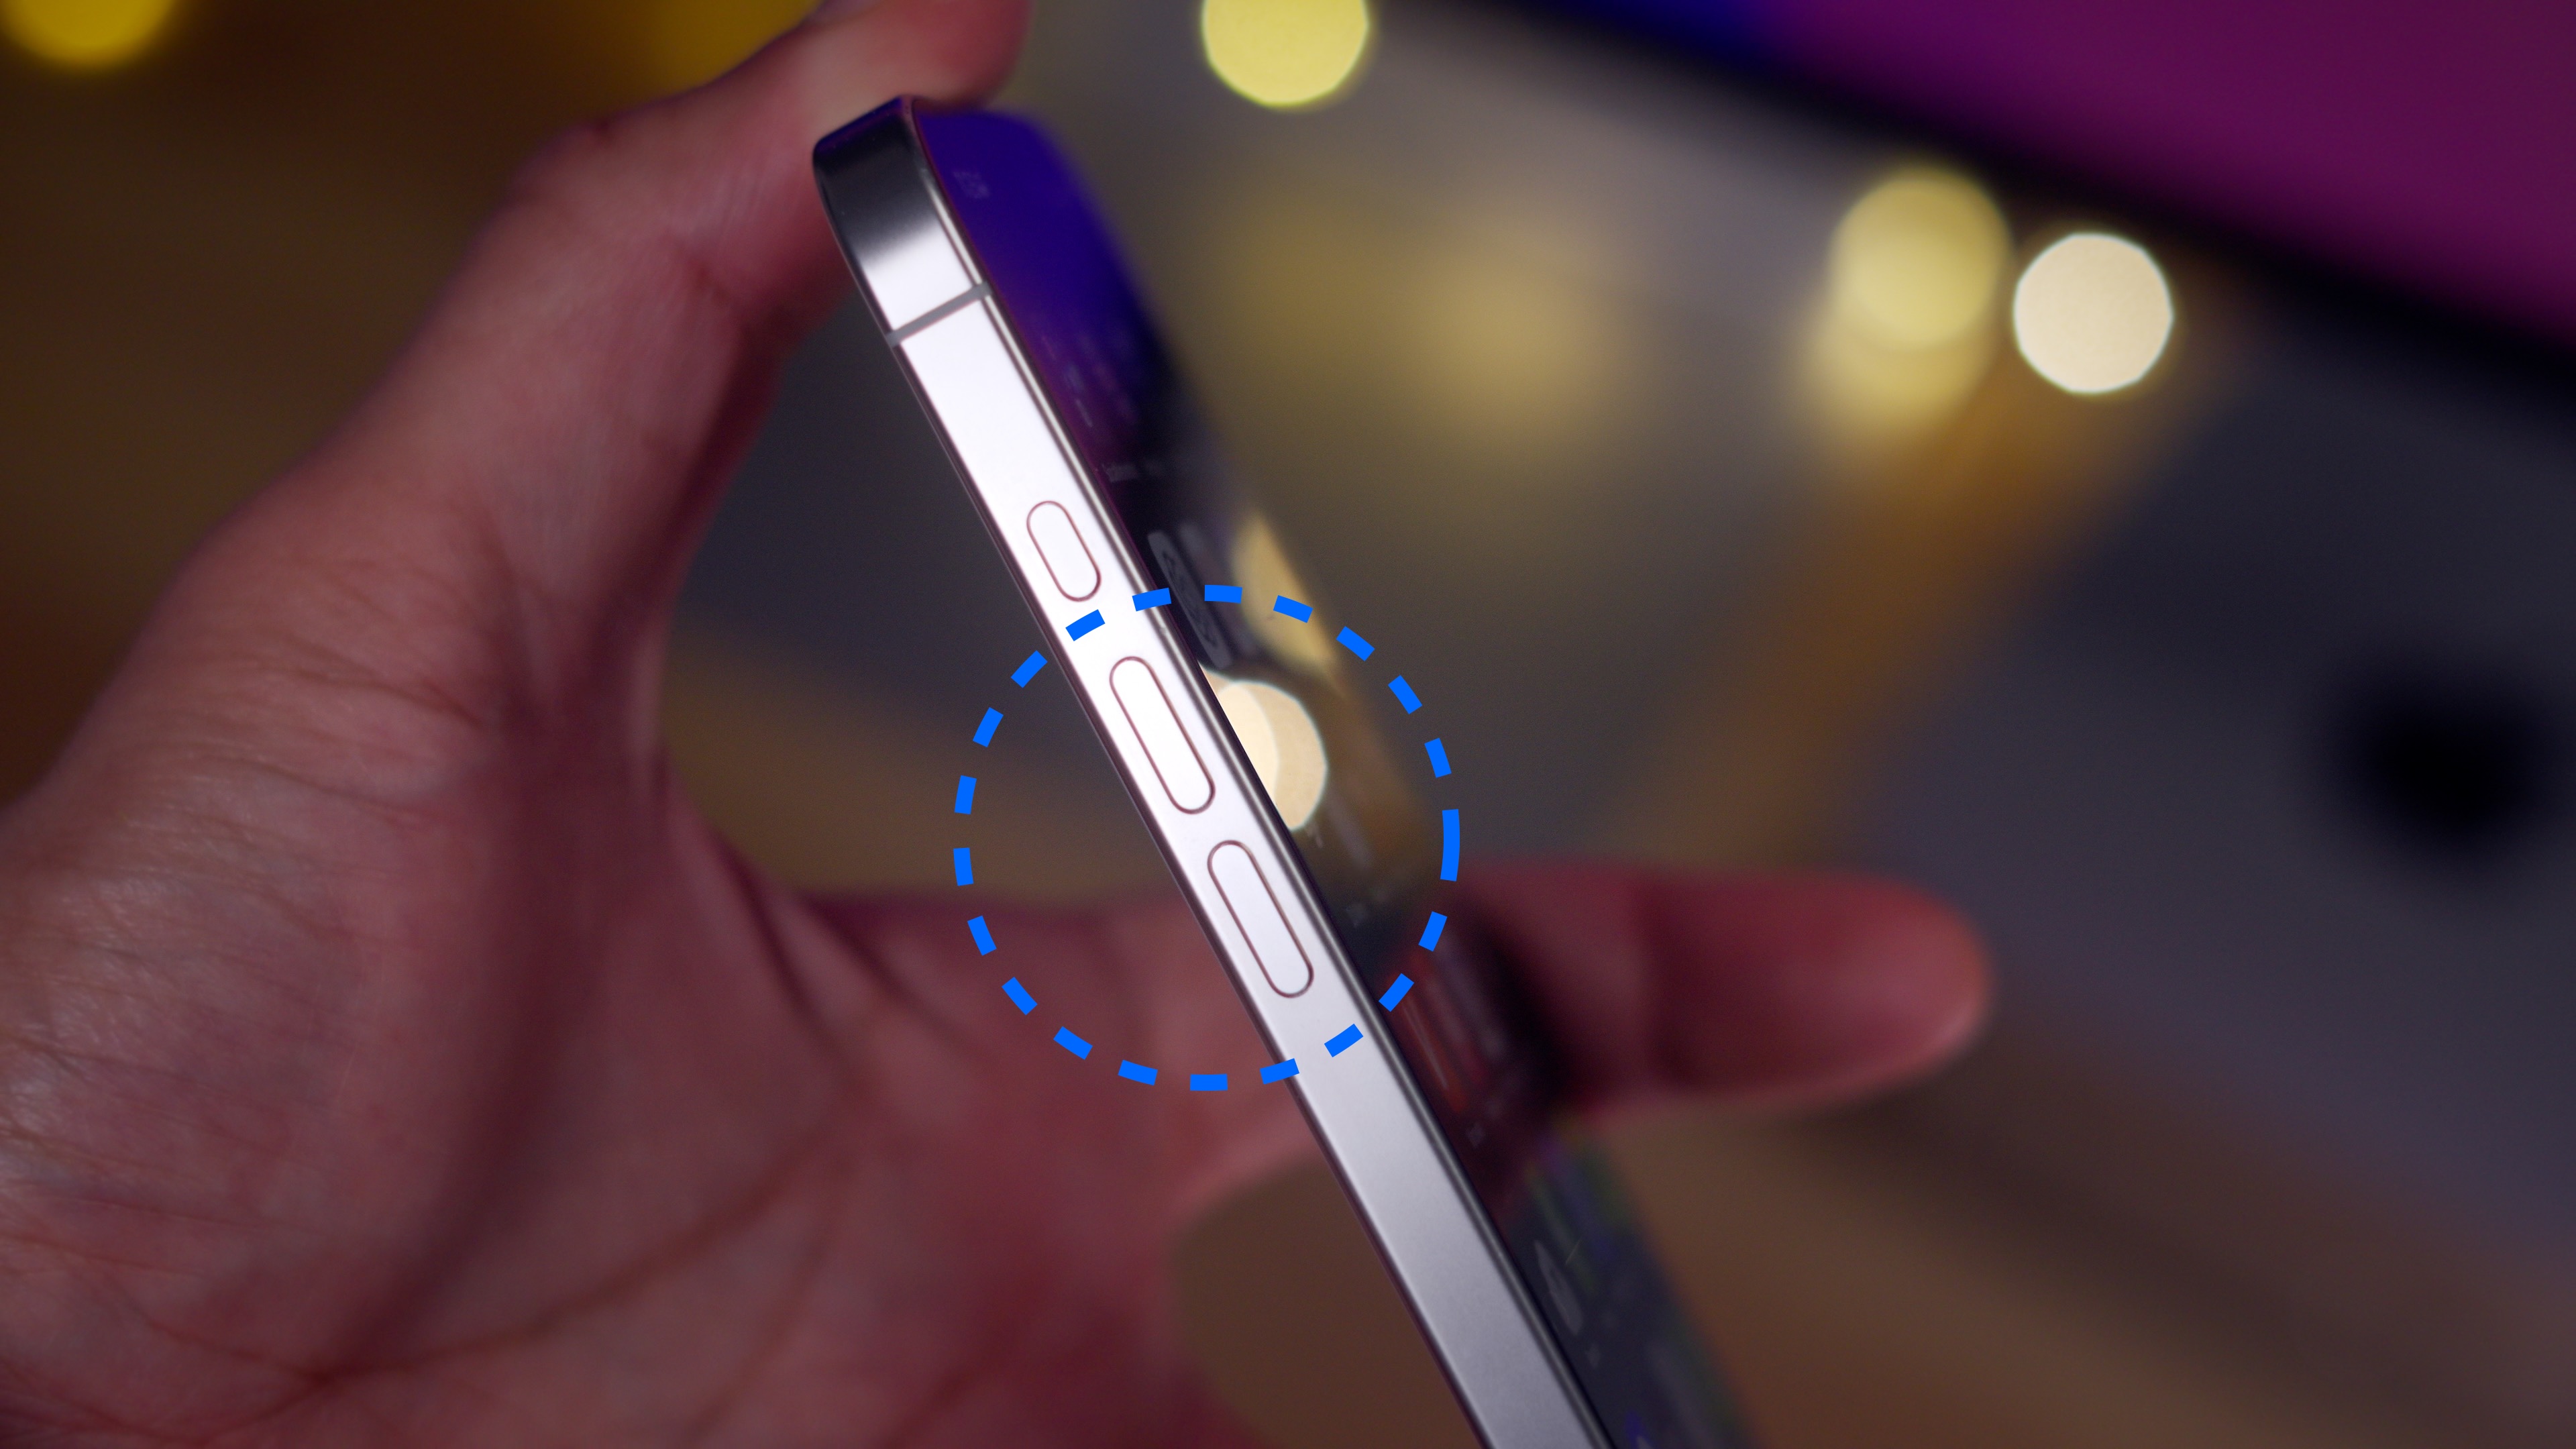
On the left side, you will find the two volume buttons, while the side button is located on the right side. Note that the Action button and Camera Control button are not relevant in this tutorial.
Video Guide: Restarting iPhone 16, Recovery, DFU, etc.
Subscribe to 9to5mac on YouTube for more tutorials
Steps to Power Off iPhone 16
There are multiple methods to turn off your iPhone 16:
Method 1: Access the Control Center by swiping down from the top right, briefly press the power button located in the upper right corner, and then slide to power off.
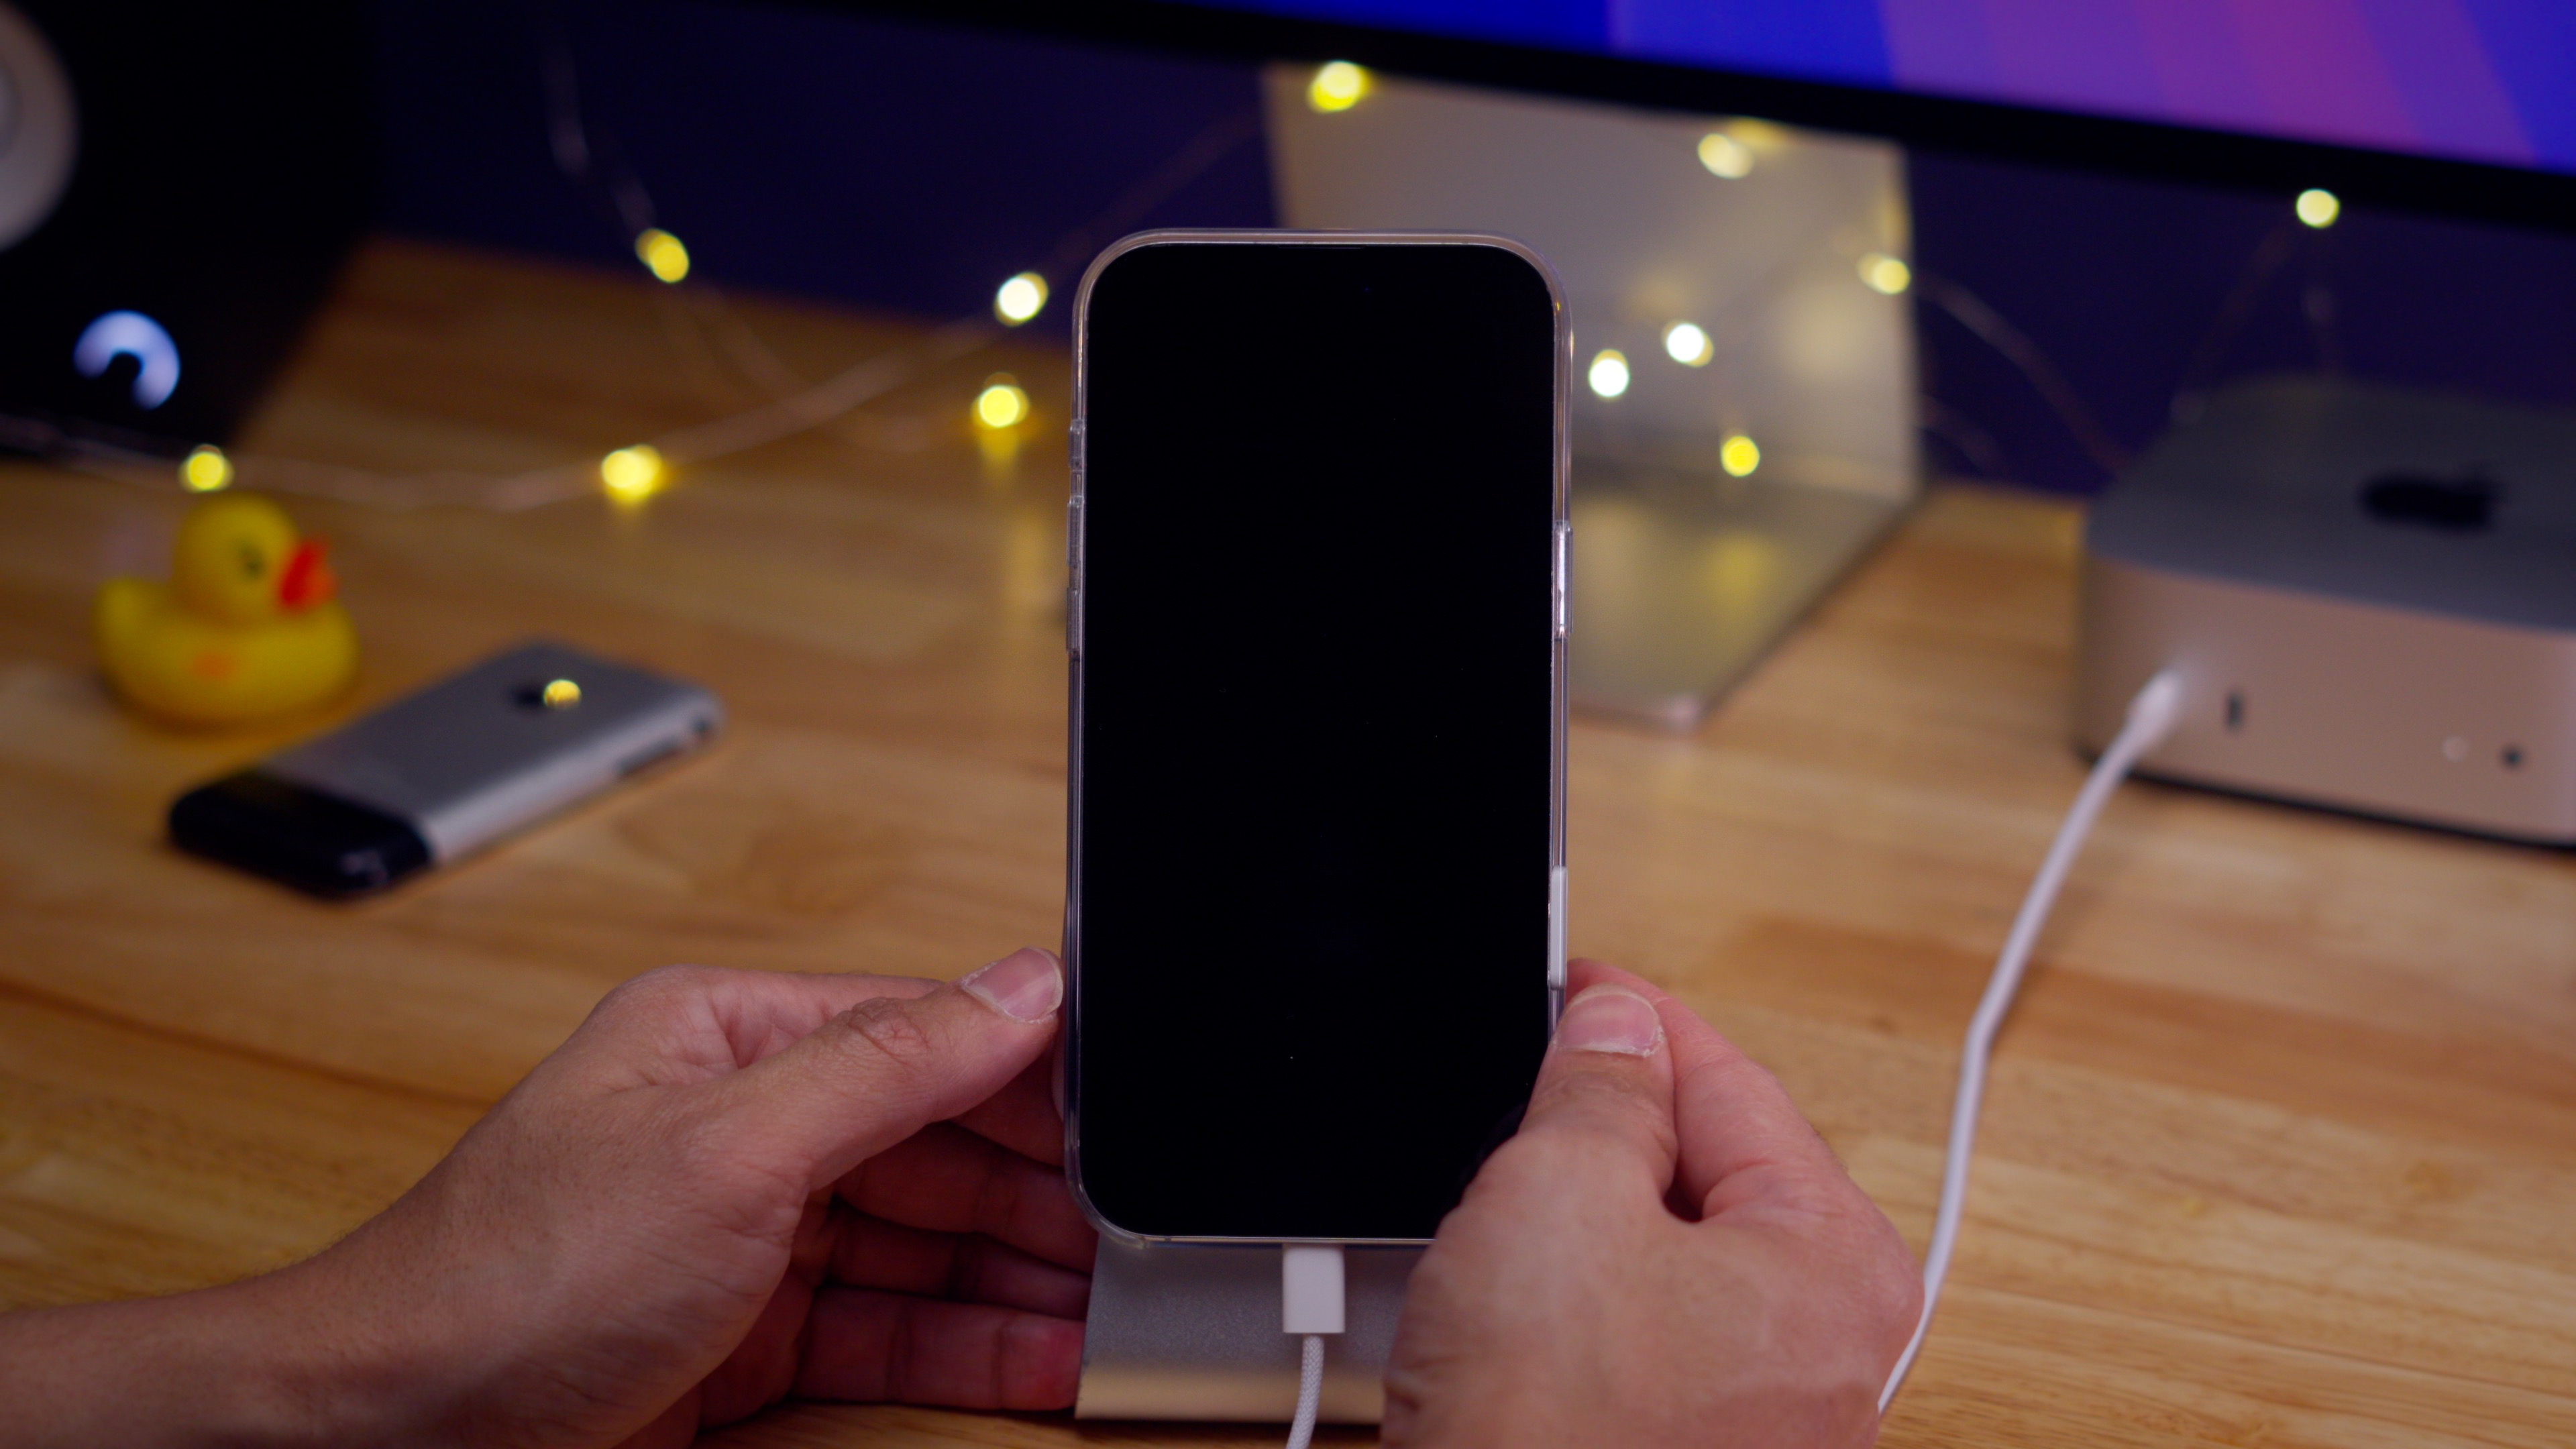
Steps to Power On iPhone 16
To power on the iPhone 16, press and hold the Side button until you see the Apple logo. If the logo doesn’t appear, your device might be completely drained. In that case, charge your iPhone and try again.
A black screen could also indicate that your iPhone is in DFU mode, but this is unlikely. To exit DFU mode, follow the instructions in the DFU section below.
Force Restart iPhone 16
If your iPhone 16 is unresponsive or acting strangely, quickly pressing the following buttons should force it to restart.

Step 1: Quickly press the Volume Up button and release it.
Step 2: Quickly press the Volume Down button and release it.
Step 3: Long-press the Side button until your iPhone 16 powers off.
If successful, your iPhone 16 will reboot, displaying the Apple logo, and eventually return to the Lock Screen.
Entering Recovery Mode on iPhone 16
Getting your iPhone 16 into recovery mode follows a similar process to force restarting, but you’ll first need to connect it to a Mac using a USB-C cable.
If this is the first time connecting your iPhone 16 to the Mac, tap the Trust button that appears on the iPhone and enter your passcode to establish a pairing between devices. You’ll also need to confirm the USB connection on macOS by clicking “Allow.” Next, open Finder, and select your iPhone 16 listed under the Location heading in the Finder sidebar. Click the Trust button in Finder to finalize the connection.
Once connected, proceed with the following steps in quick succession:
Step 1: Quickly press the Volume Up button and release it.
Step 2: Quickly press the Volume Down button and release it.
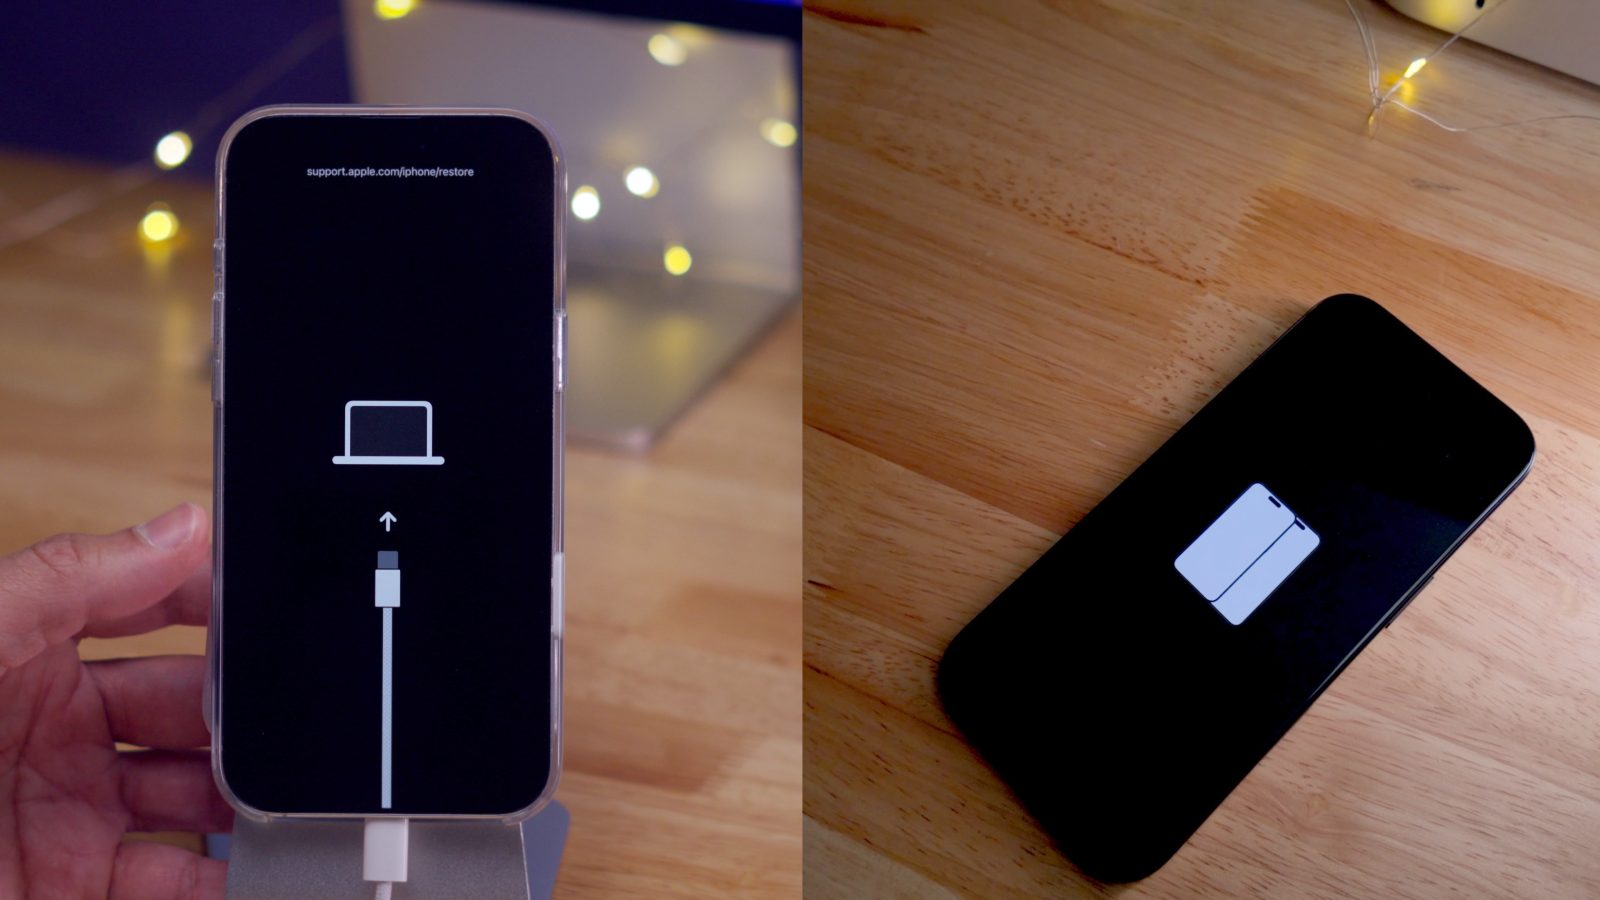
Step 3: Long-press the Side button until the connect-to-computer screen appears on the iPhone 16’s display.
Next, you’ll see a Finder window on your Mac indicating that your iPhone 16 is in recovery mode. macOS will give you the option to update to the latest version of iOS, keeping your data intact, or to restore, which will install a fresh copy of the latest iOS version without retaining any data.
Exiting Recovery Mode on iPhone 16
To exit recovery mode, long-press the iPhone 16’s Side button until the connect-to-computer screen disappears, bringing your iPhone back to the Lock Screen.
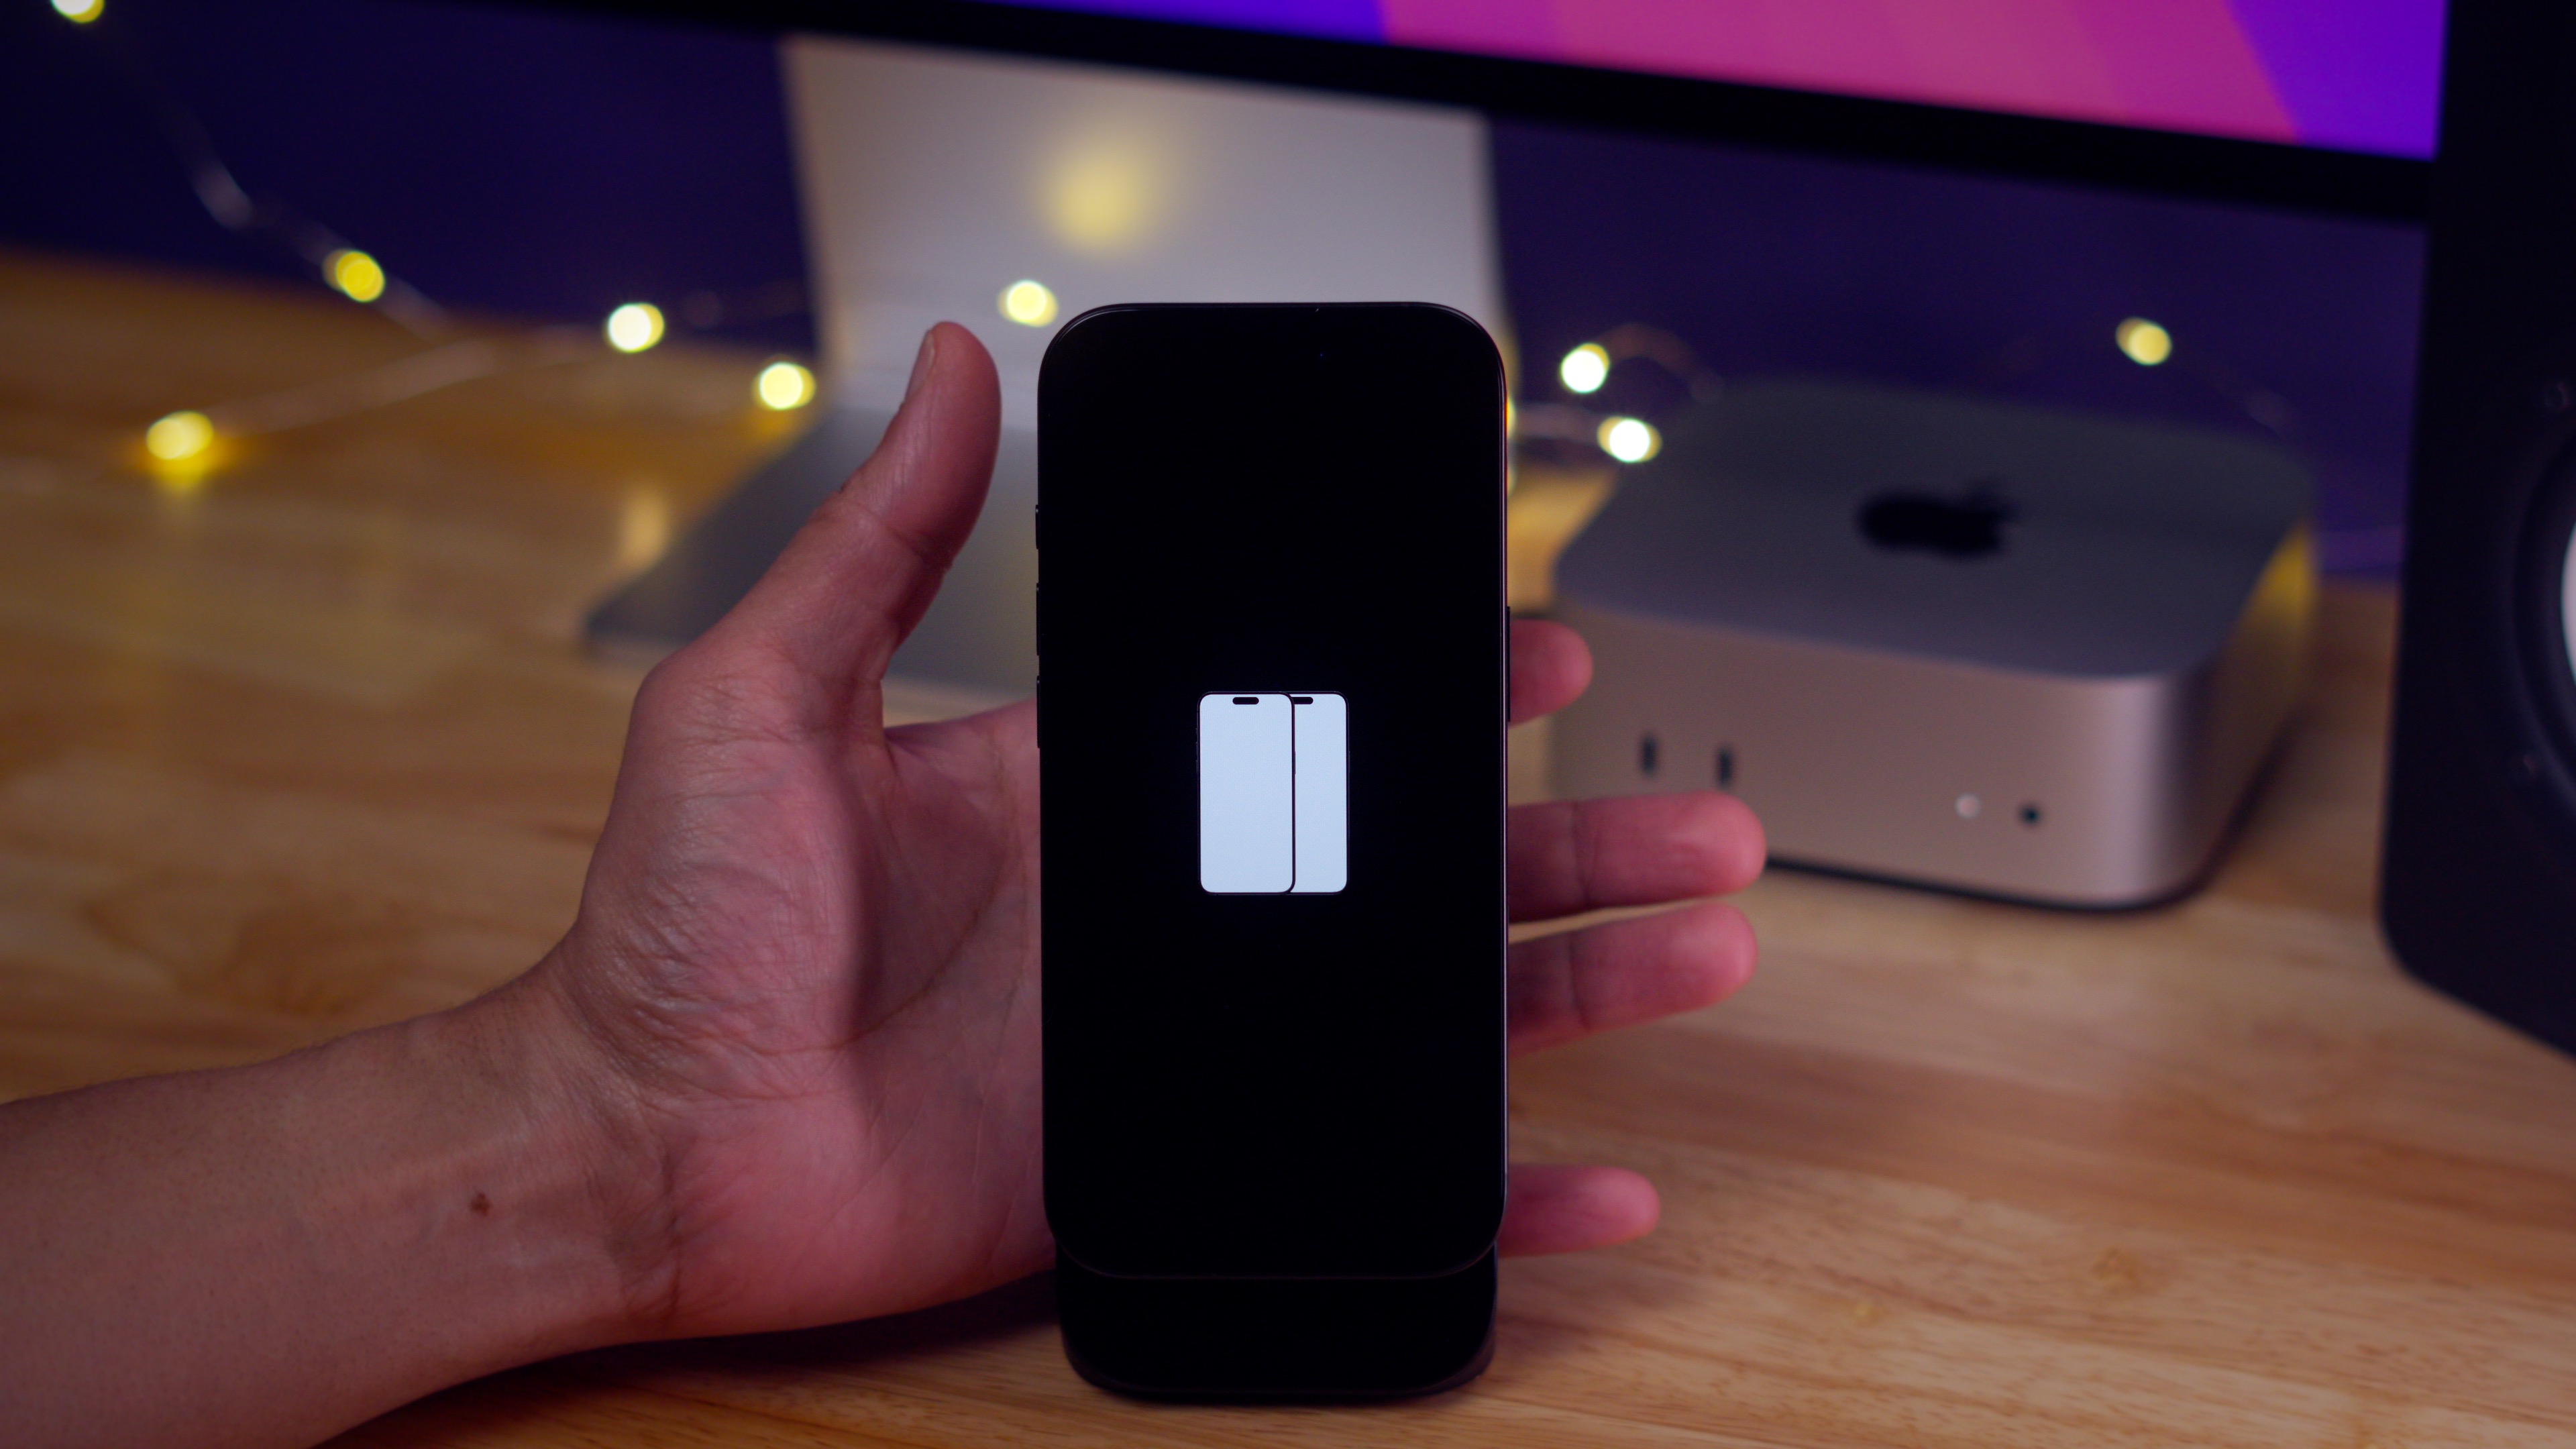
Using Wireless Restore on iPhone 16
The wireless restore feature in iOS 18 allows you to restore an iPhone using a nearby iPhone running iOS 18 that is connected to Wi-Fi. This feature is most useful when your device is stuck in recovery mode due to an interrupted update.
Apple offers minimal documentation on wireless recovery, suggesting it is not meant for widespread use, as it only appears when there’s an issue during an update. I tested this feature by disconnecting my USB-C cable during an update, inducing a recovery mode boot loop. Note that this is not something I recommend doing for practical use.
Wireless restore is compatible with models like the iPhone 16 and iPad mini featuring the A17 Pro chip, and likely works on iPhone 15 Pro devices too due to the shared A17 Pro architecture.

Wireless restore can be utilized when you’re experiencing a recovery mode boot loop, meaning your iPhone perpetually shows the connect-to-computer screen and fails to reboot back to the Lock Screen or iOS Setup screen.
While your iPhone shows the connect-to-computer screen, follow these steps:
Step 1: Quickly press and release the Volume Up button.
Step 2: Quickly press and release the Volume Down button.
Step 3: Long-press the Side button until the screen goes black.
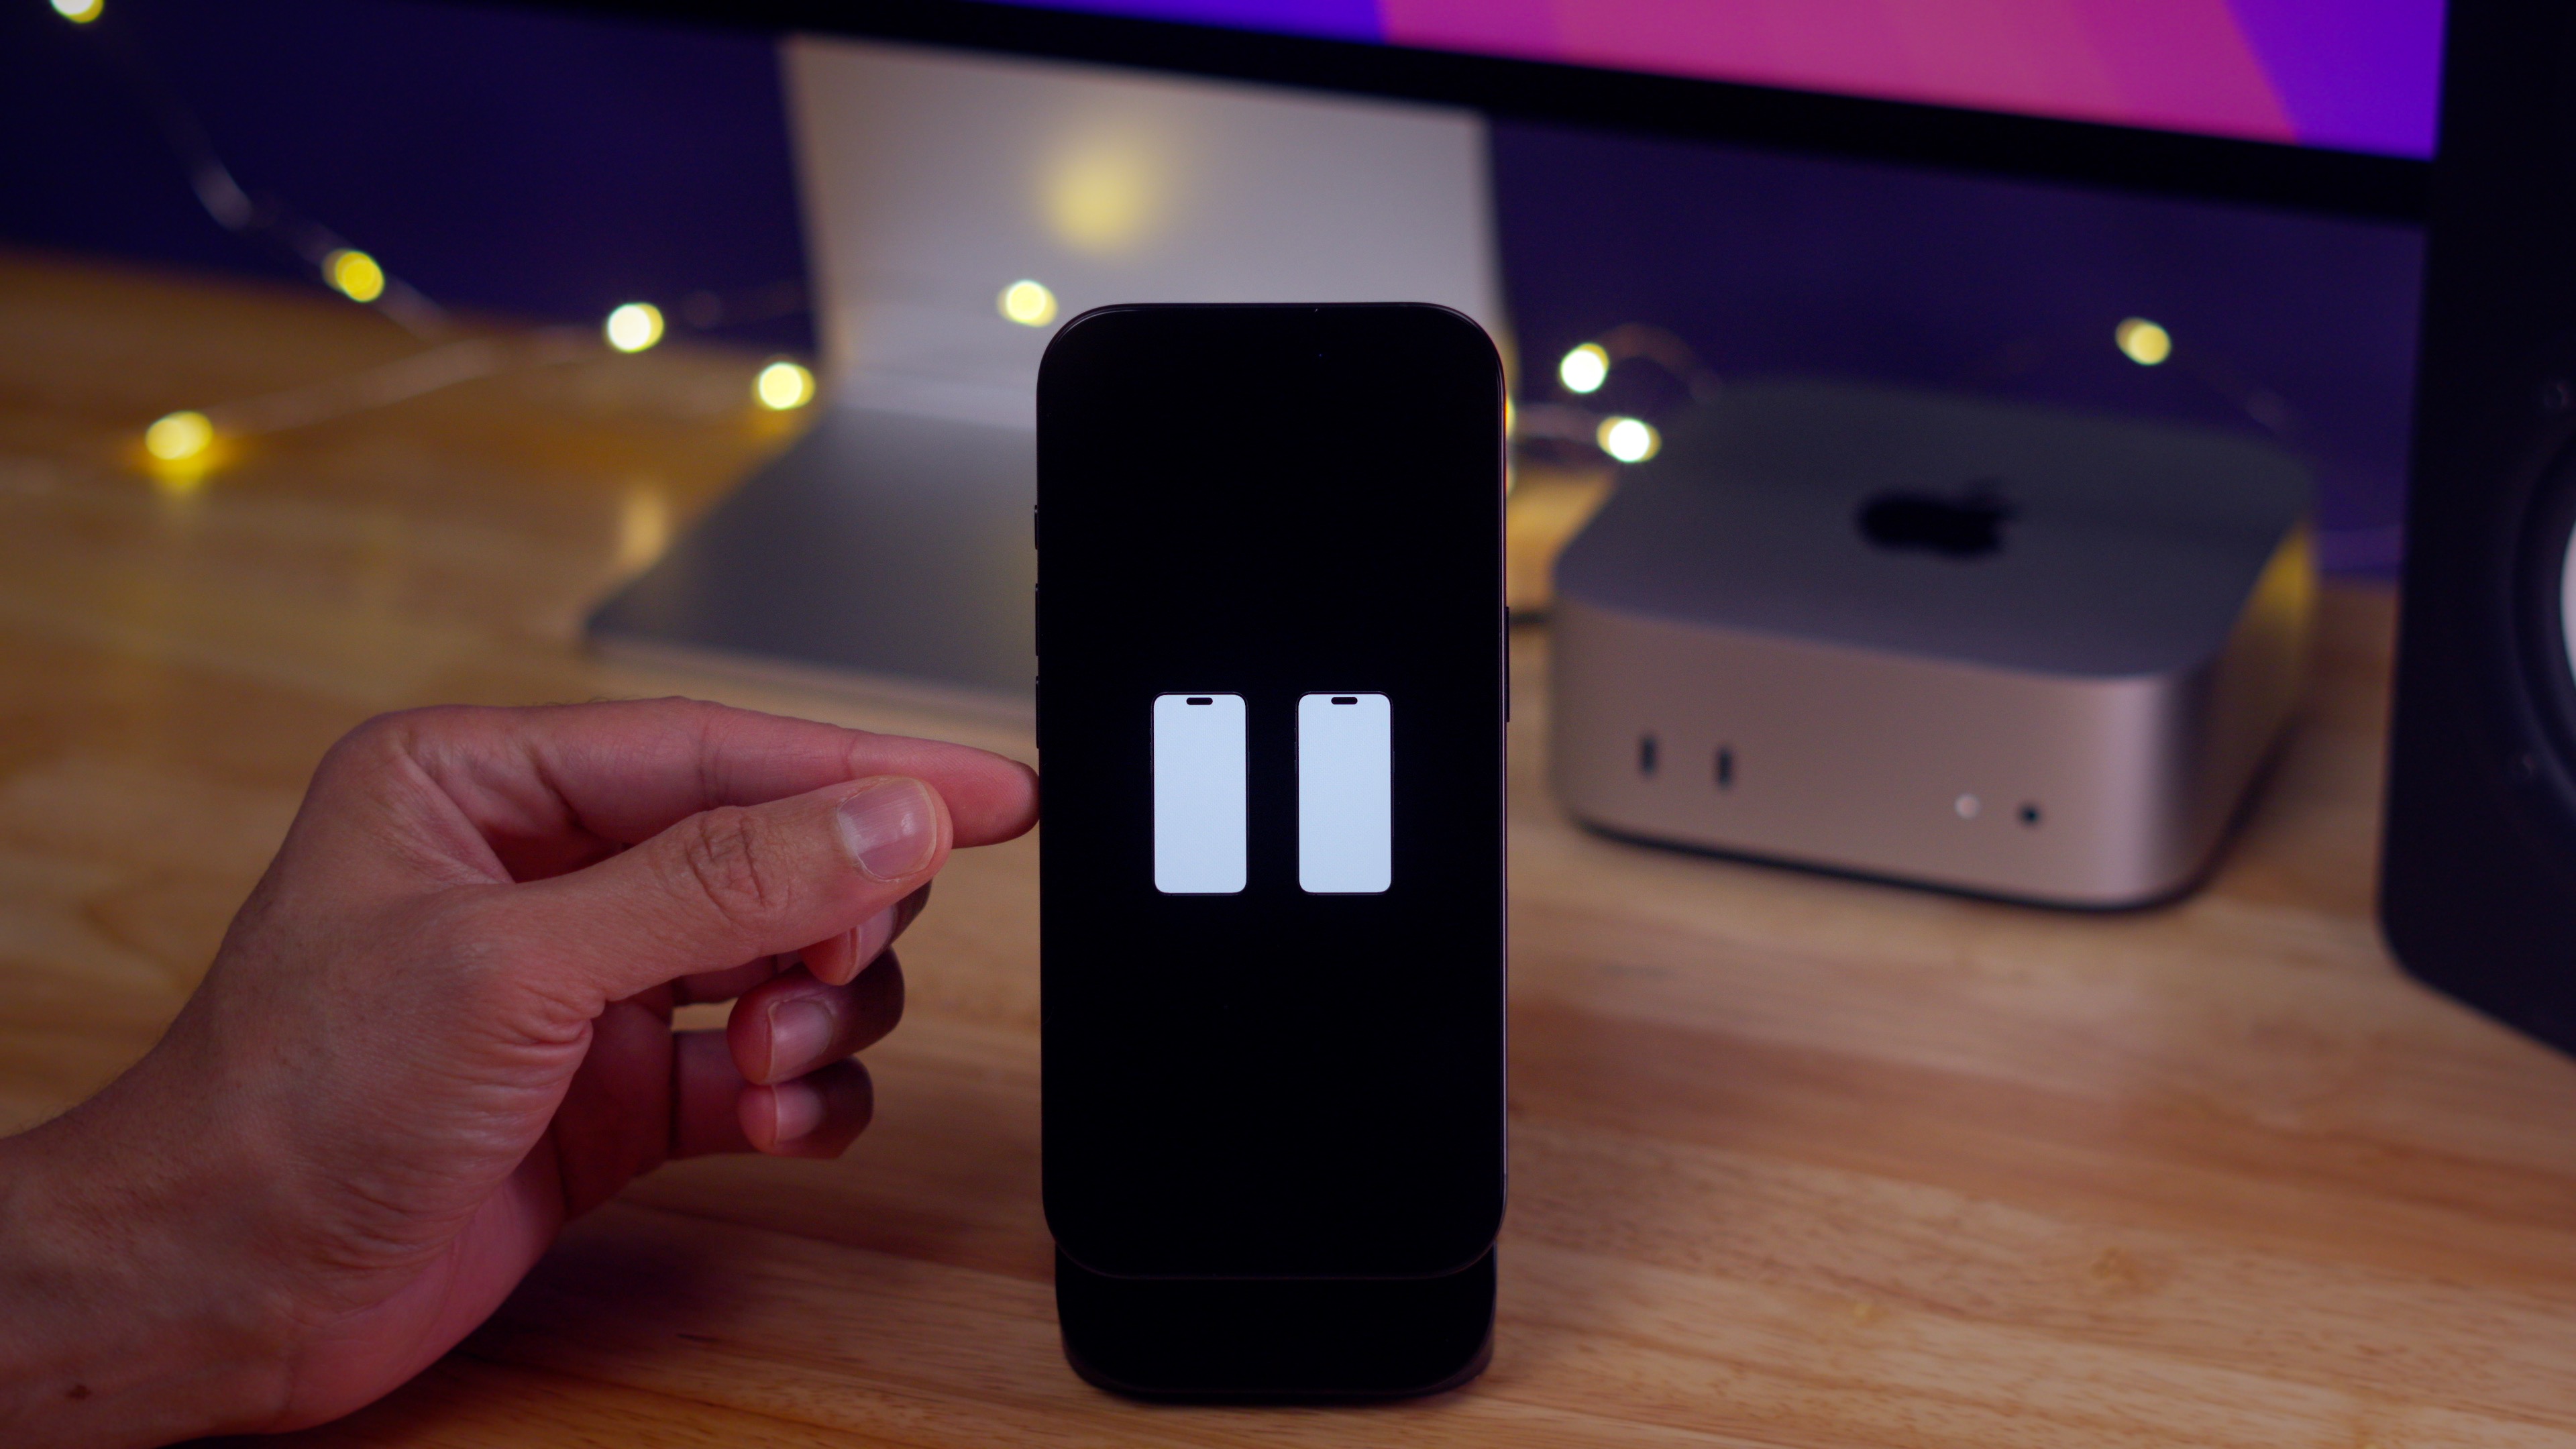
Step 4: Press the Side button repeatedly until the Apple logo briefly appears, then vanishes. If these steps were successful, the Apple logo will reappear, slowly fading in and out, along with a glyph prompting you to bring your iPhone close to another iPhone running iOS 18.
Step 5: On your working iPhone, tap on the Restore Nearby iPhone dialogue when it pops up. If it doesn’t appear, lock and unlock your device again.
Step 6: Press Continue on the working iPhone.
Step 7: A code will display on the iPhone in recovery mode. Type this verification code into the working iPhone.
Step 8: You will see two choices in the Recovery Options dialogue of the working iPhone: System Recovery and Exit Recovery Mode. Select Exit Recovery Mode first, then tap Continue.
Your iPhone in recovery mode will restart and make an attempt to boot normally. If the software update was unsuccessful, it may lead to the iOS Setup screen.

Wireless Restore – System Recovery
If the Exit Recovery option fails, a System Recovery will be needed via wireless restore. Follow steps 1-7 previously outlined, then:
Step 1: Select System Recovery in the Recovery Options dialogue on the working iPhone and press Continue.
Step 2: Tap Update now to begin downloading and installing the latest iOS version on the iPhone in recovery mode.
Ensure the iPhone in recovery mode remains connected to power throughout the process. You can continue using the working iPhone as normal by selecting OK, while the other iPhone continues its restore process. To check on the restore progress, bring the iPhones close together. This process may take some time as it prepares, downloads, and installs the firmware.
Entering DFU Mode on iPhone 16
In rare situations, you might need to set your iPhone 16 into Device Firmware Upgrade (DFU) mode for reinstalling iOS by directly uploading firmware via USB. Similar to recovery mode, you’ll connect your iPhone to your Mac using a USB-C cable. If it’s your first time connecting, you’ll need to follow the trust process explained in the recovery section earlier.

To enter DFU mode, follow these quick steps:
Step 1: Quickly press and release the Volume Up button.
Step 2: Quickly press and release the Volume Down button.
Step 3: Long-press the Side button for 10 seconds.
Step 4: While still holding the Side button, press and hold the Volume Down button for 5 seconds.
Step 5: Release the Side button while continuing to hold the Volume Down button for another 10 seconds.
Upon entering DFU mode, your iPhone’s display will remain black. If done correctly, the Apple logo will not appear during these actions.
Exiting DFU Mode on iPhone 16
Step 1: Quickly press and release the Volume Up button.
Step 2: Quickly press and release the Volume Down button.
Step 3: Long-press the Side button until the Apple logo appears. Your iPhone 16 will then restart to the Lock Screen.
Temporarily Disabling Face ID on iPhone 16
To disable Face ID quickly, long-press both the Side button and either Volume button until you see the slide to power off option. Face ID will be disabled until reactivated, which can only be done by entering your device passcode.

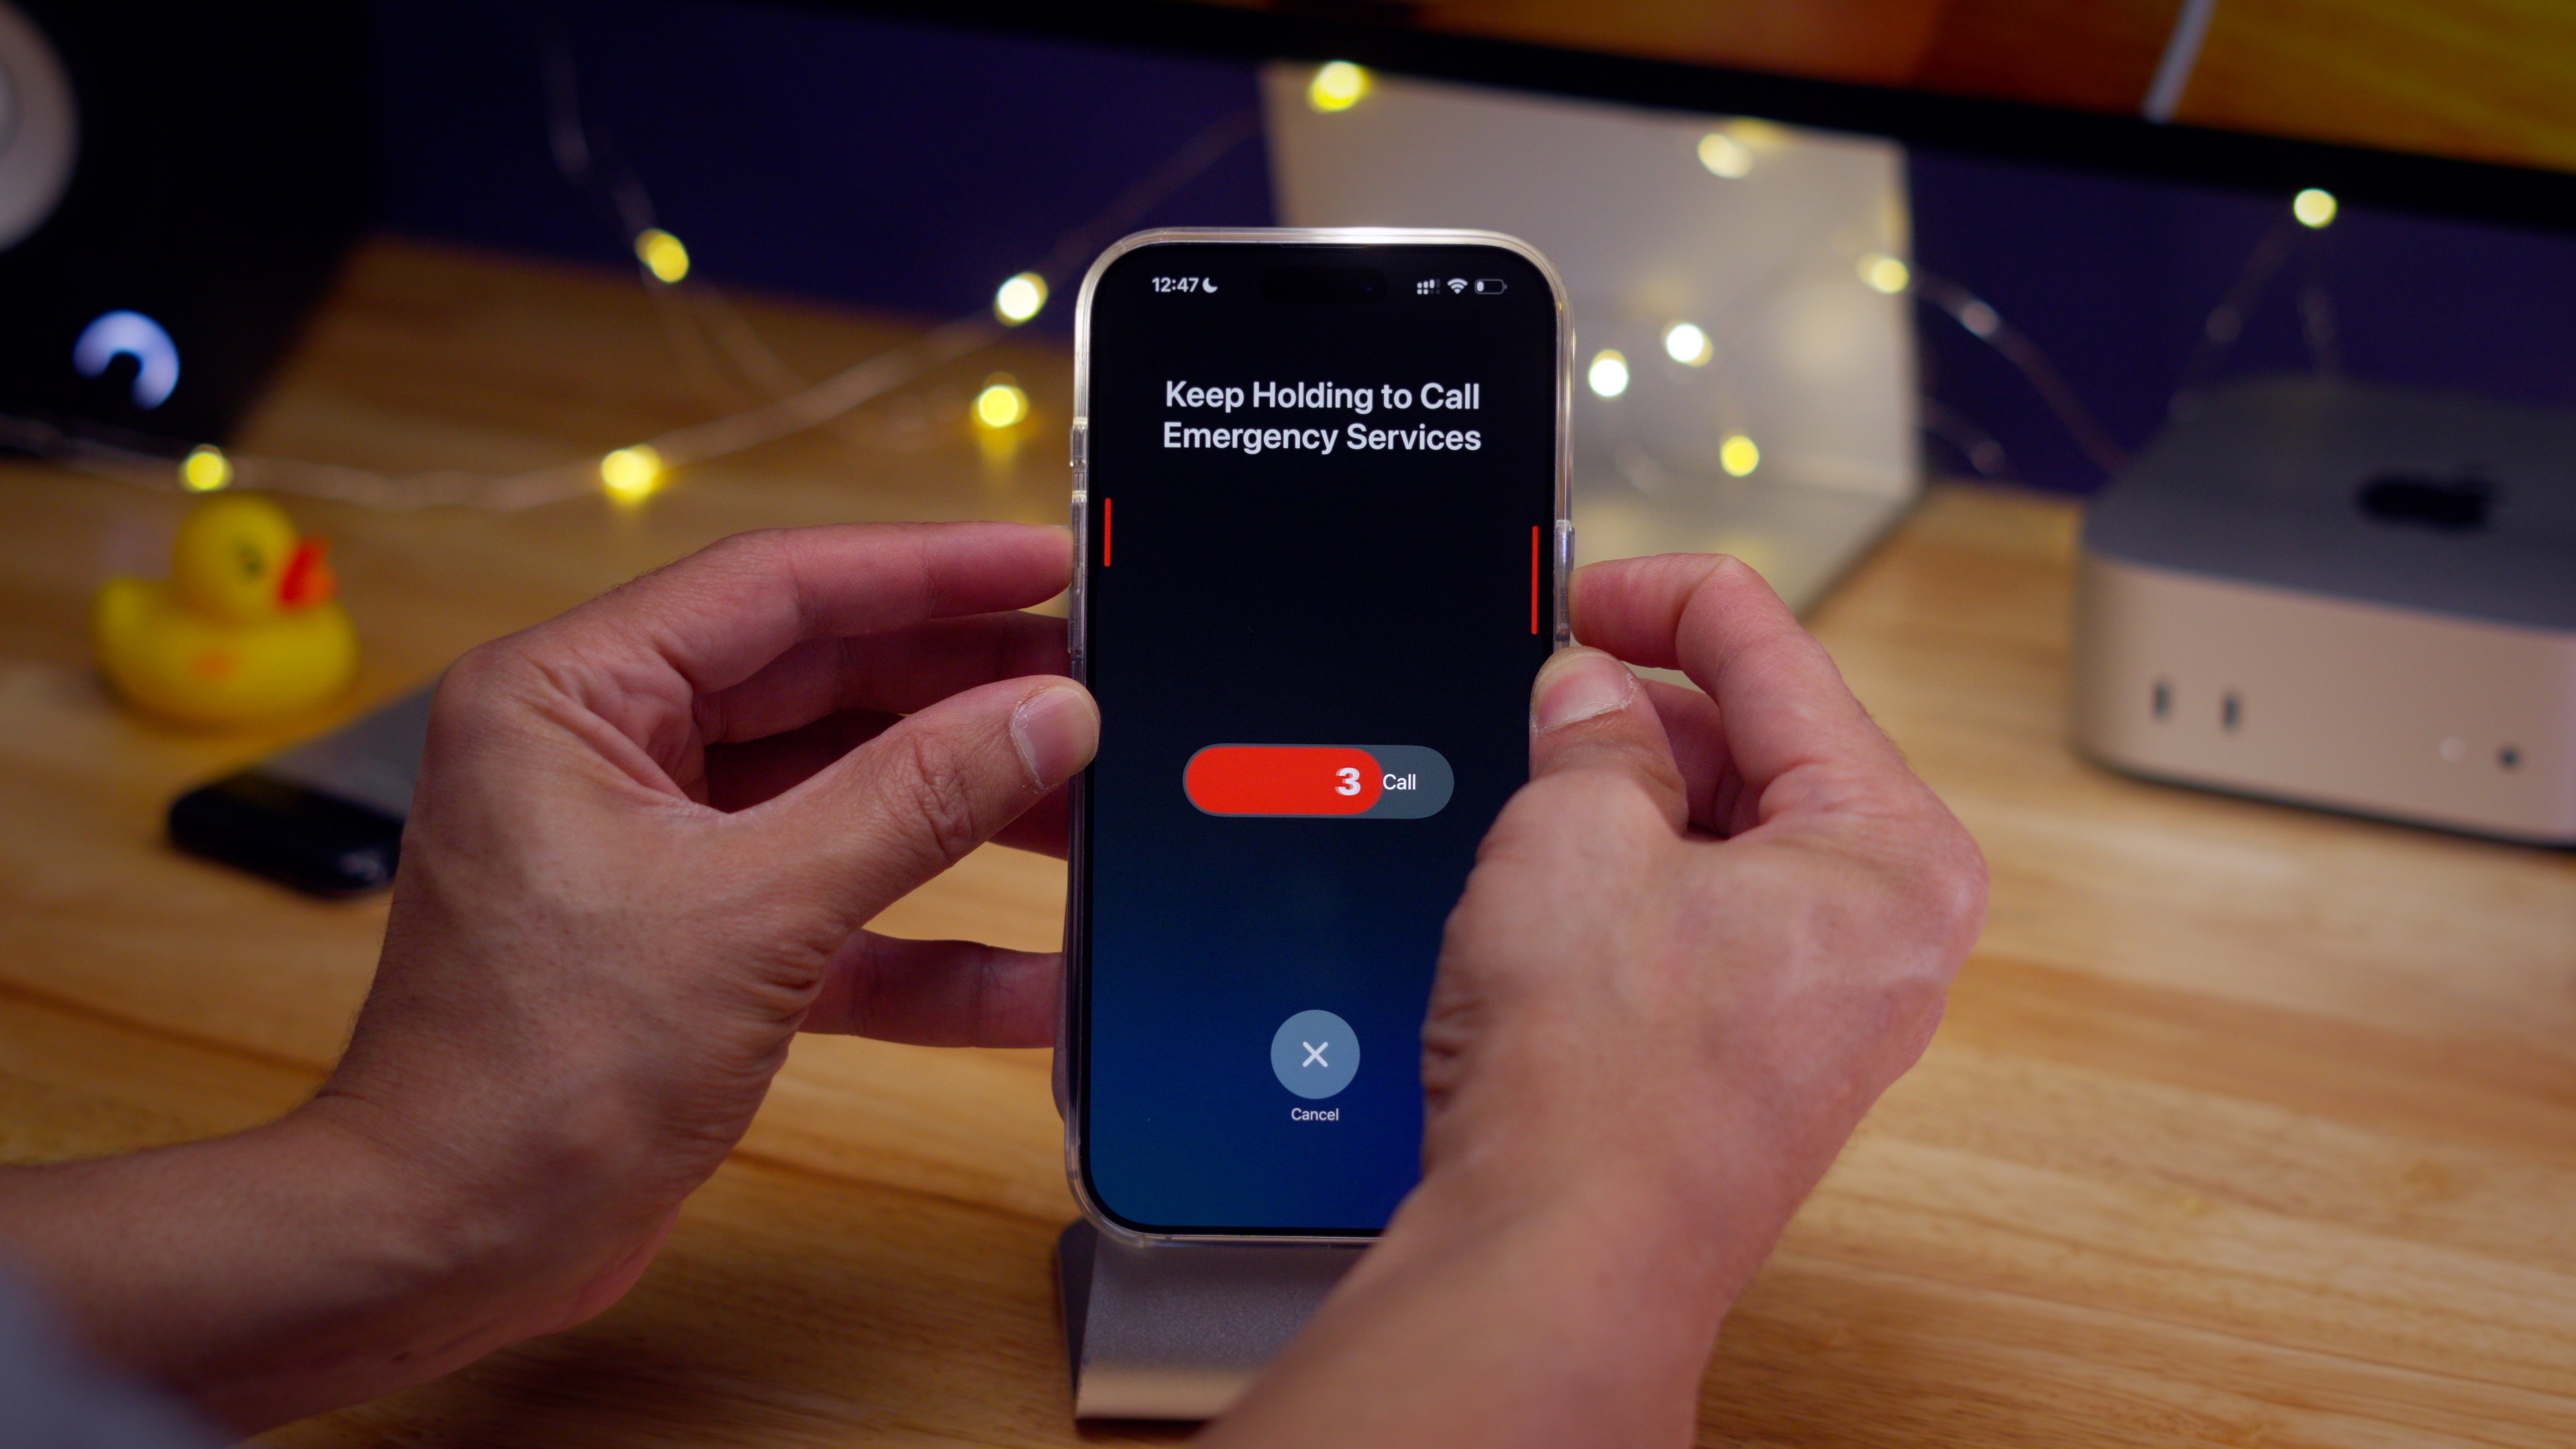
Using Emergency SOS with iPhone 16
Warning: Dialing Emergency SOS will connect you with local emergency services. Please use this feature only in genuine emergencies.
You can trigger Emergency SOS in three different ways:

Additionally, there’s a Call Quietly setting in Settings → Emergency SOS. If enabled, this will keep Emergency SOS alarms, flashes, and Voice Over announcements silent for a more discreet method of activation.
You can also activate the Crash Detection feature in Settings → Emergency SOS, which automatically dials emergency services if it detects you’ve been in a car accident.
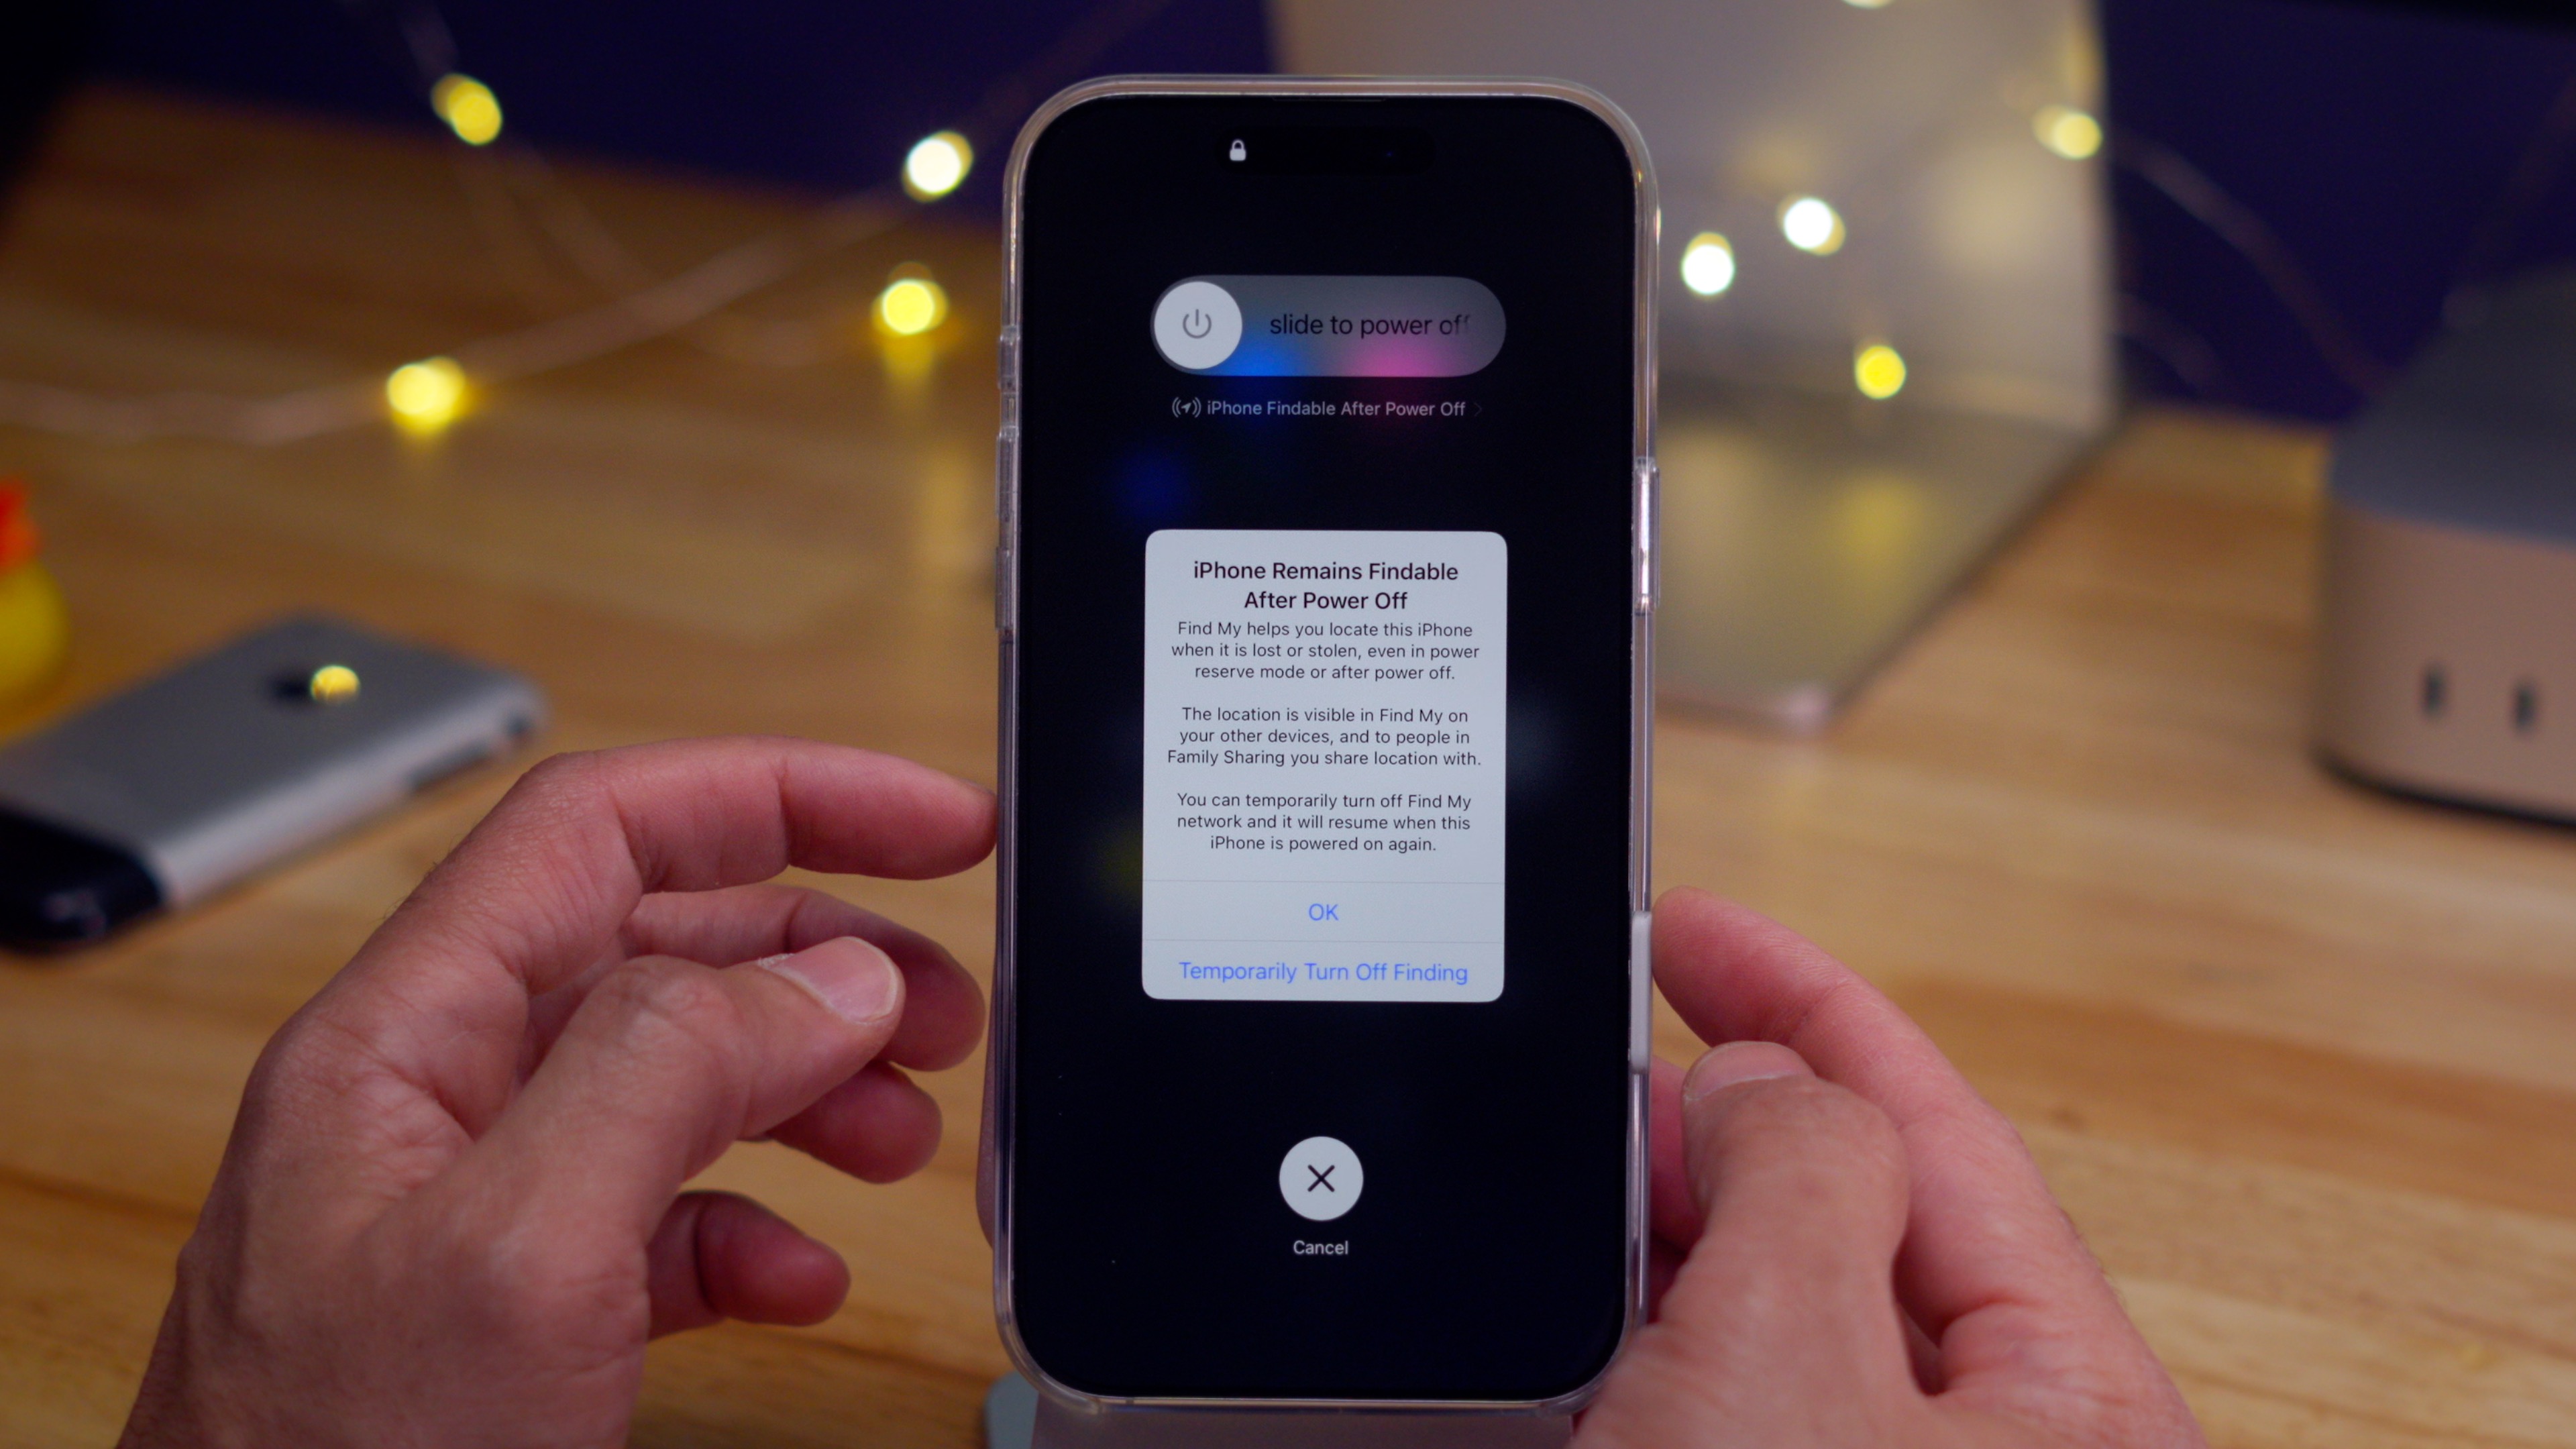
Disabling Find My When Shutting Down iPhone 16
With iOS 18, your iPhone 16 can still be tracked via the Find My network, even when it’s powered down. To utilize this functionality, ensure that your iPhone is logged into the Find My network and that location services are turned on.
Telling the Time When Your iPhone 16 Battery has Died
iOS 18 introduces a feature allowing you to check the current time, even if your iPhone 16 has died. Simply press the Side button once, and the time will be displayed in the upper right corner of the screen.
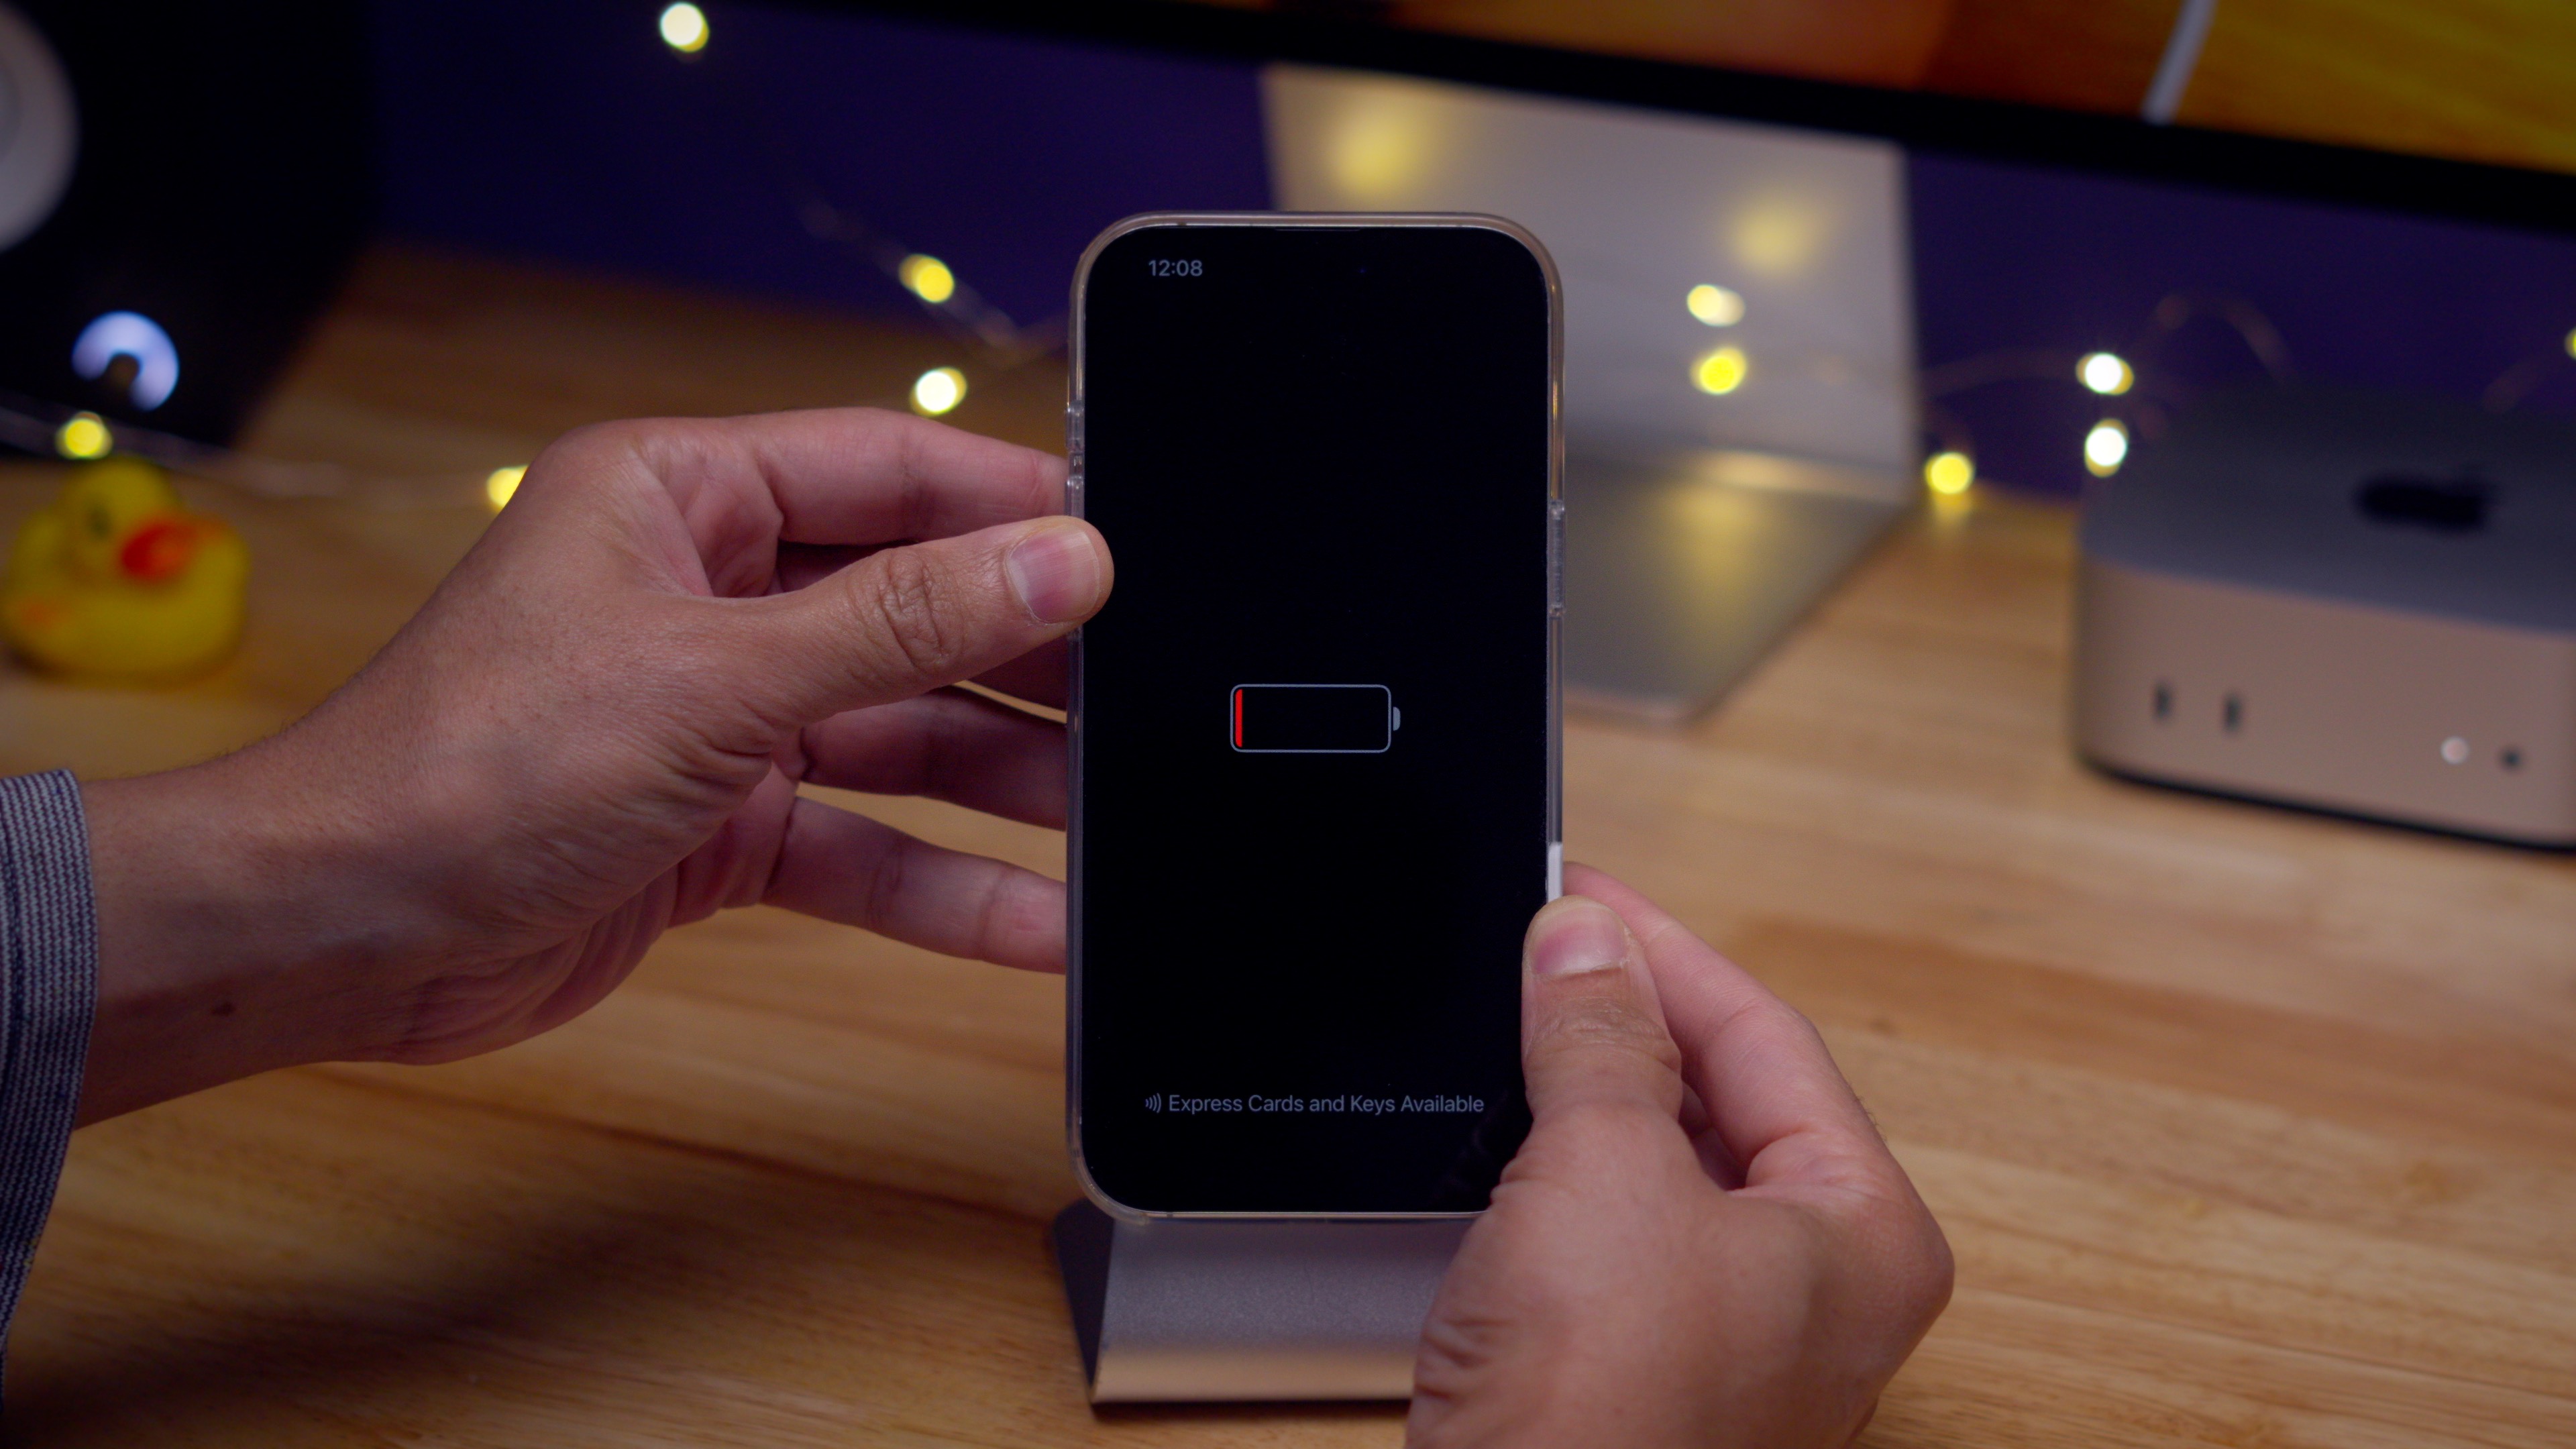
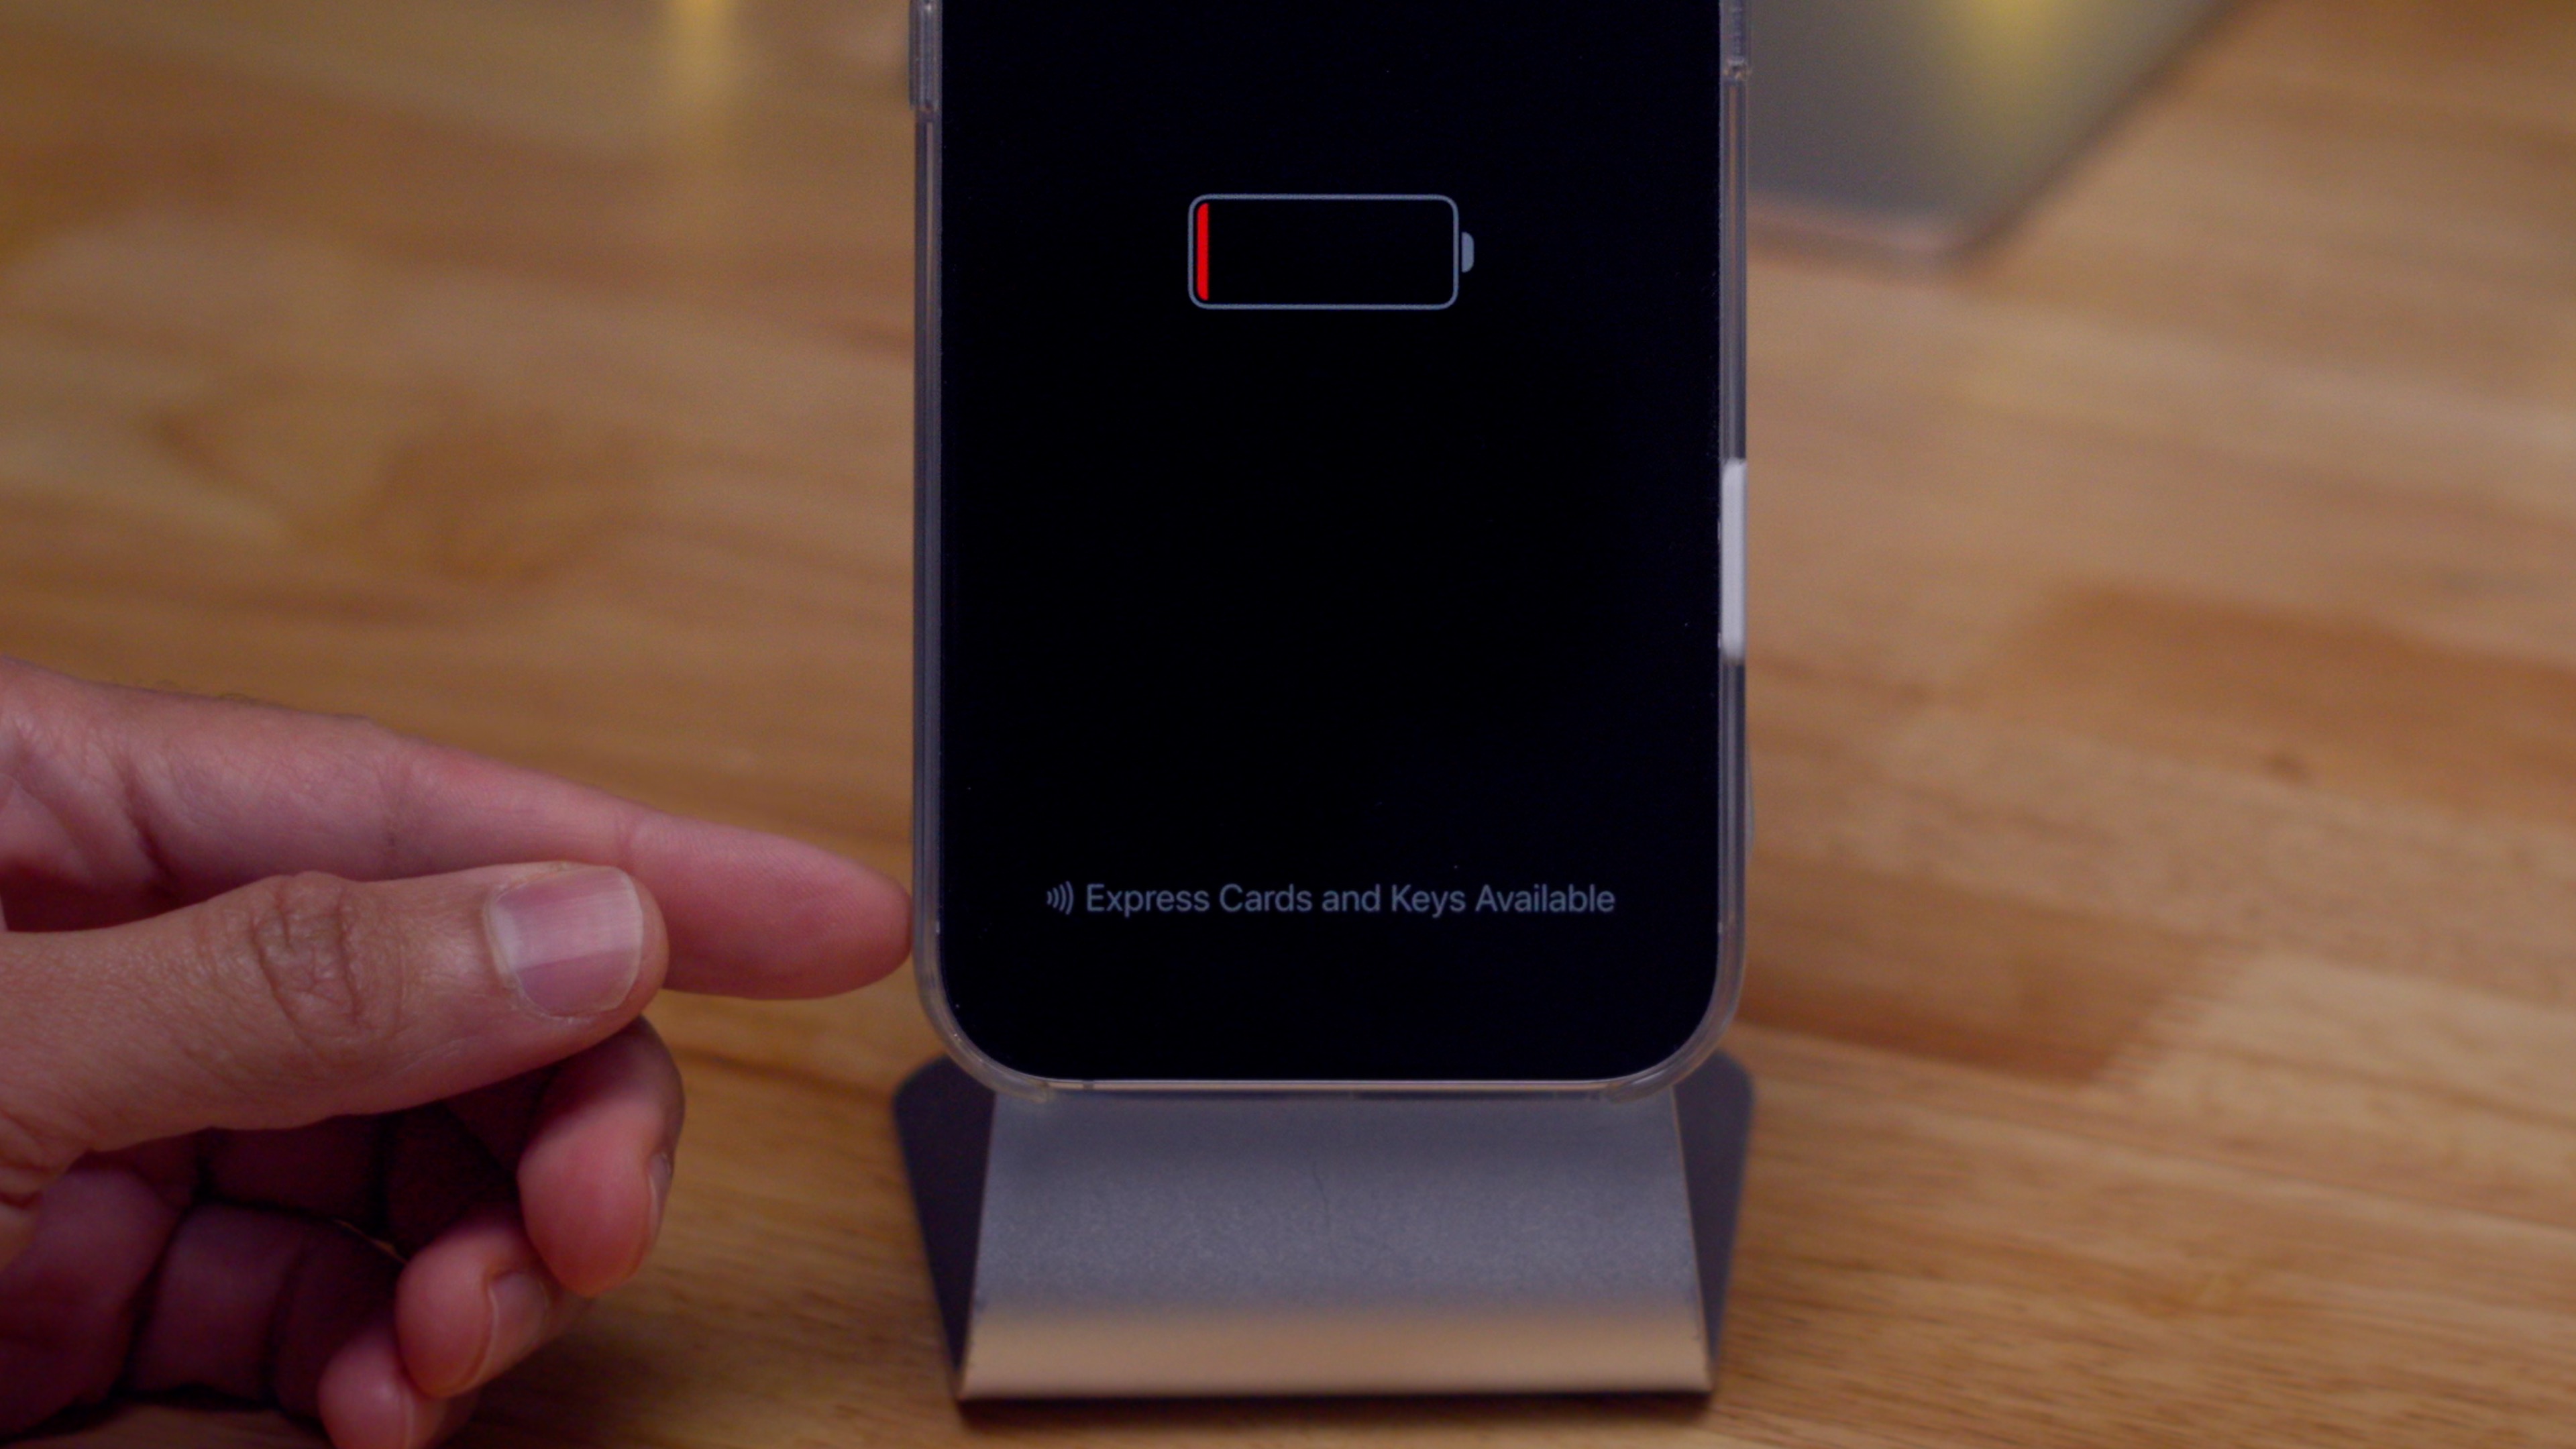
Using Home Key When Your iPhone 16 Battery is Dead
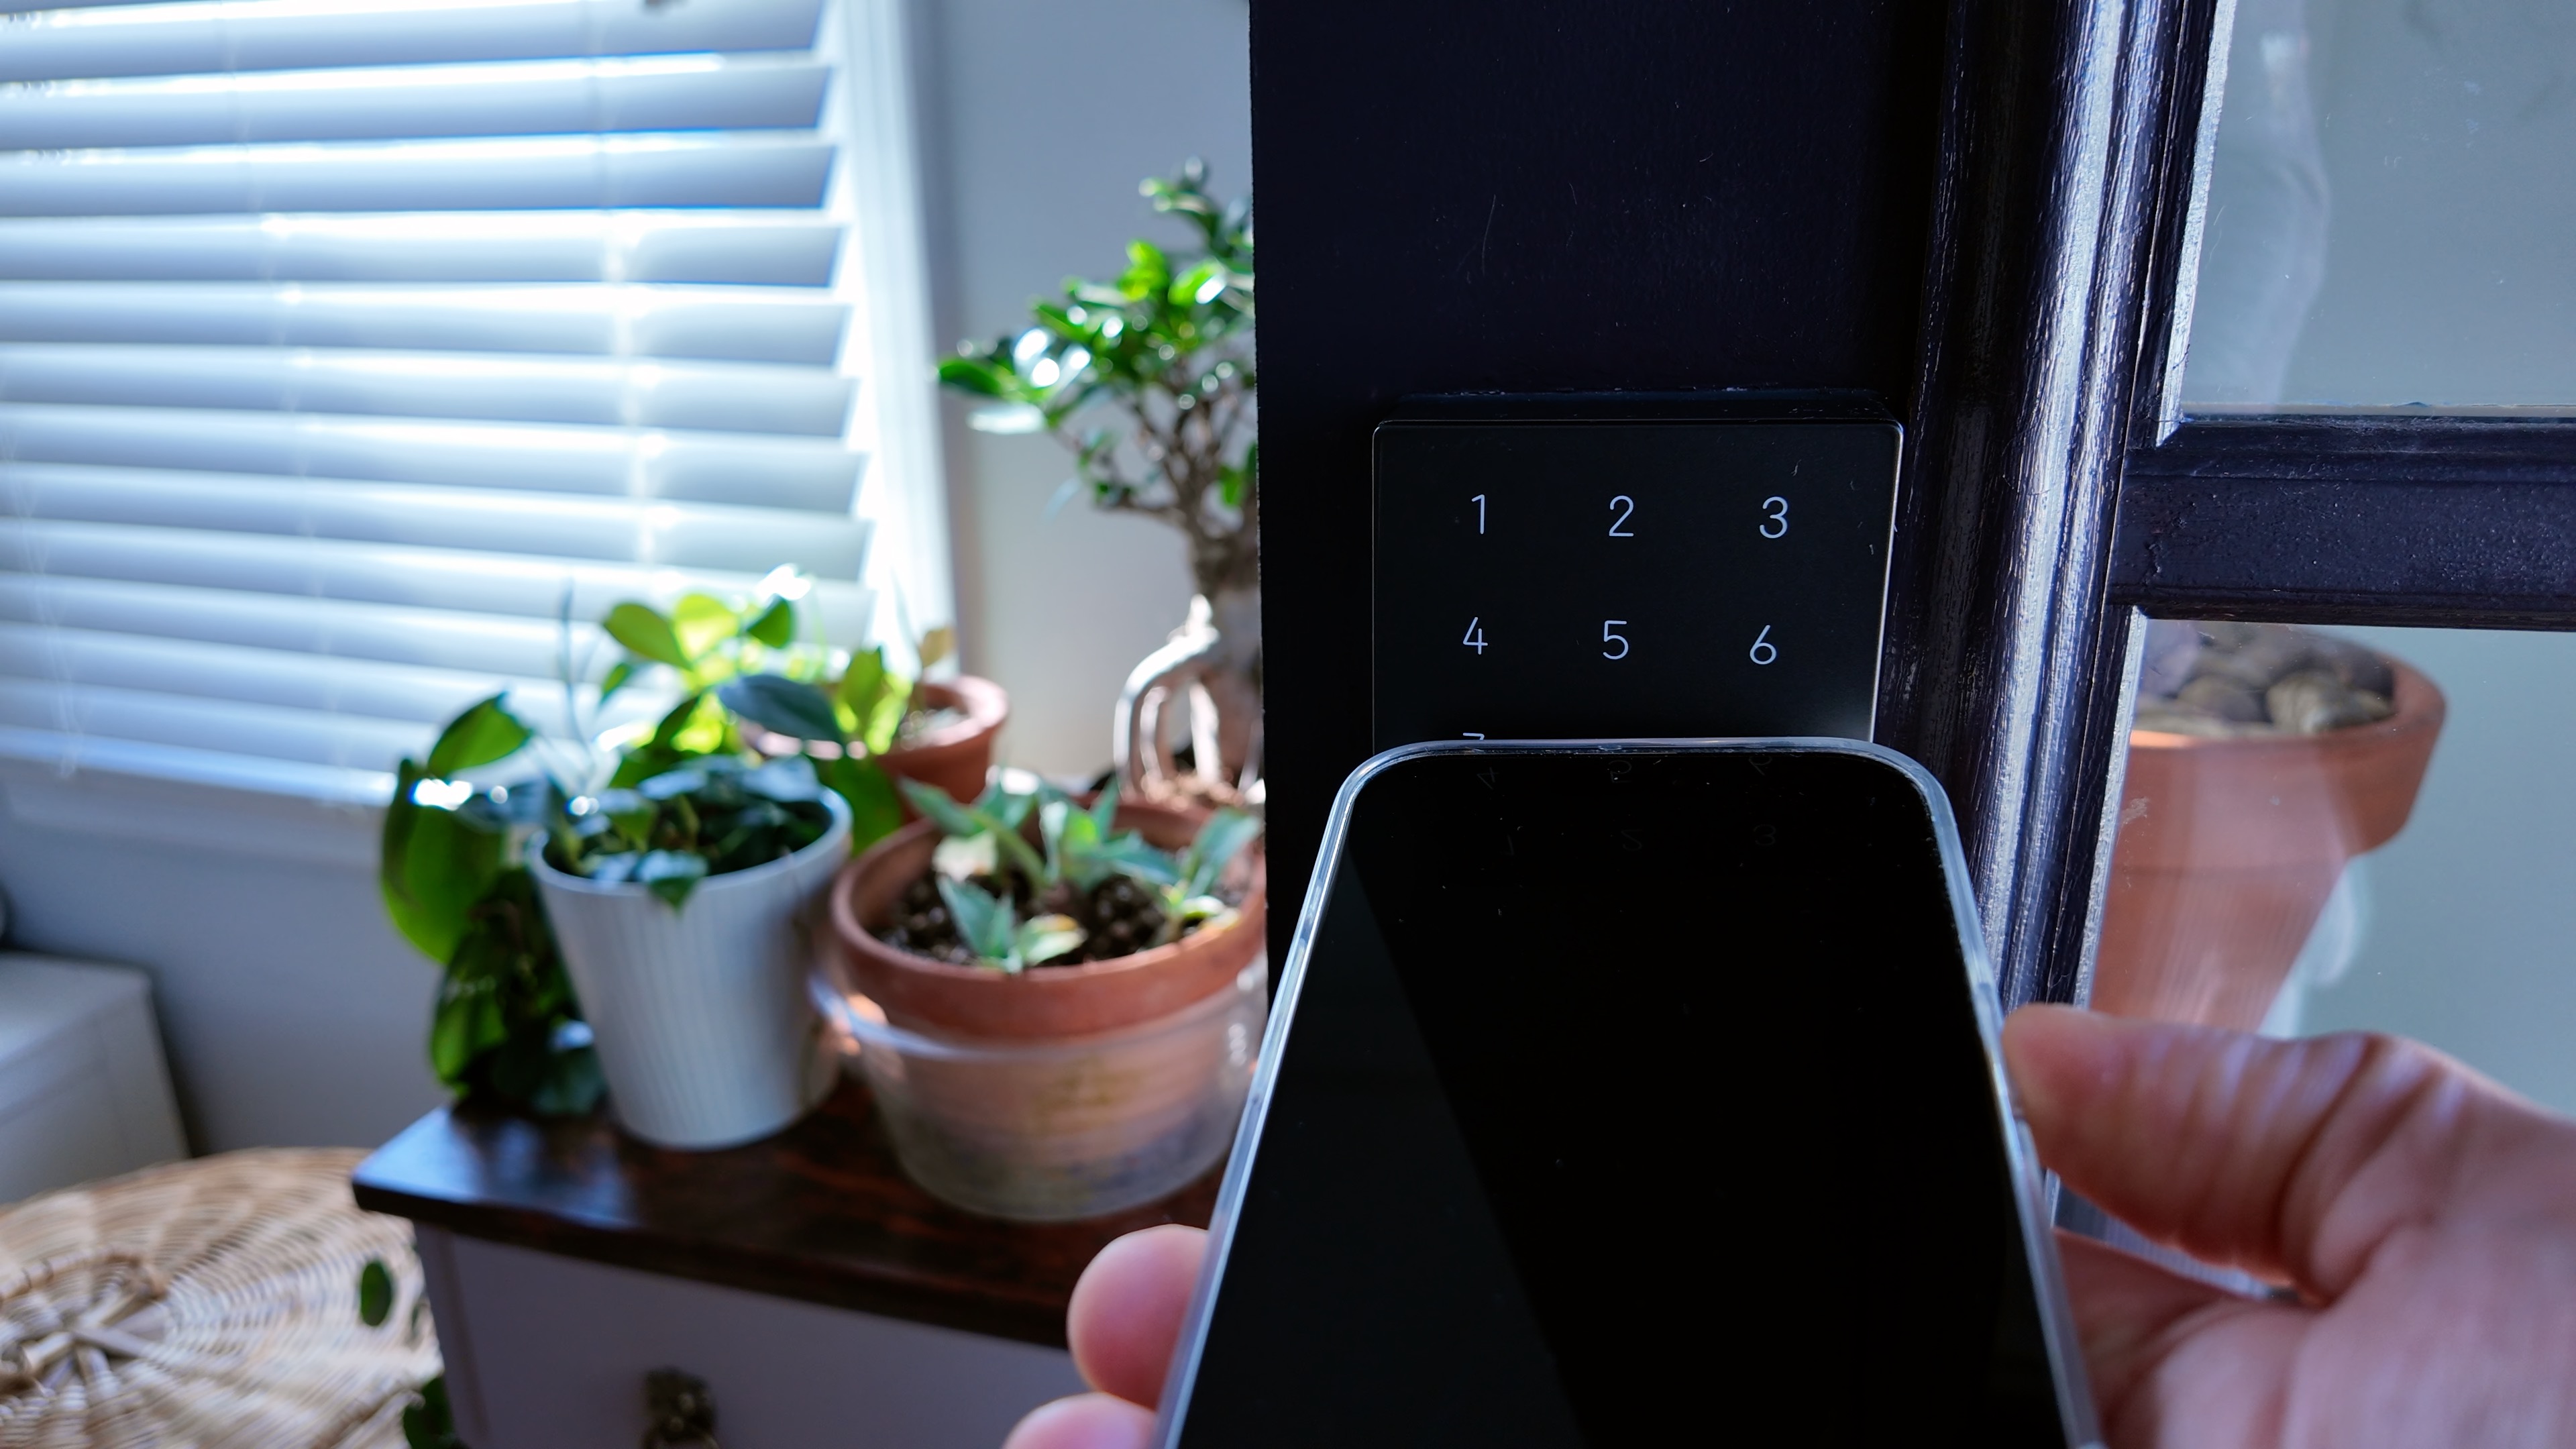
If you own a compatible smart lock supporting Apple Home Key, such as the Aqara U100, Schlage Encode Plus, or Level Lock+, you can still unlock your doors using the iPhone 16 even when it has no battery left. Just ensure that you’ve enabled Express Mode for the lock in your Wallet app’s Home Key settings. When pressing the Side button on your dead iPhone 16, you should see a message indicating that Express Cards and Keys are available at the bottom of the display.
To unlock, place your iPhone close to your Home Key lock, and it should unlock. Note that there won’t be any display or sounds because the battery is dead.
9to5Mac’s Perspective
Although most users won’t frequently utilize recovery mode and rarely require access to DFU mode, these are essential tips that all iOS users should be aware of. Particularly useful is the ability to force restart a misbehaving iPhone 16, which even casual users should know about, along with other handy features in iOS 18 such as wireless restore. What are your thoughts on these features? Share your opinions in the comments below!