Select Language:
Your garage serves as your base in Synduality: Echo of Ada. While you can’t explore it freely, the various sections reflect the upgrades you make. These enhancements aren’t just cosmetic; they also introduce new gameplay features as your garage evolves.
Upgrading takes time, as repairs happen in real-time. However, the effort is worthwhile—not only to improve functionality but also to tidy up your cluttered space. Here’s a guide on how to get your garage in excellent condition and where to concentrate your efforts first.
Unlocking All Areas of the Garage
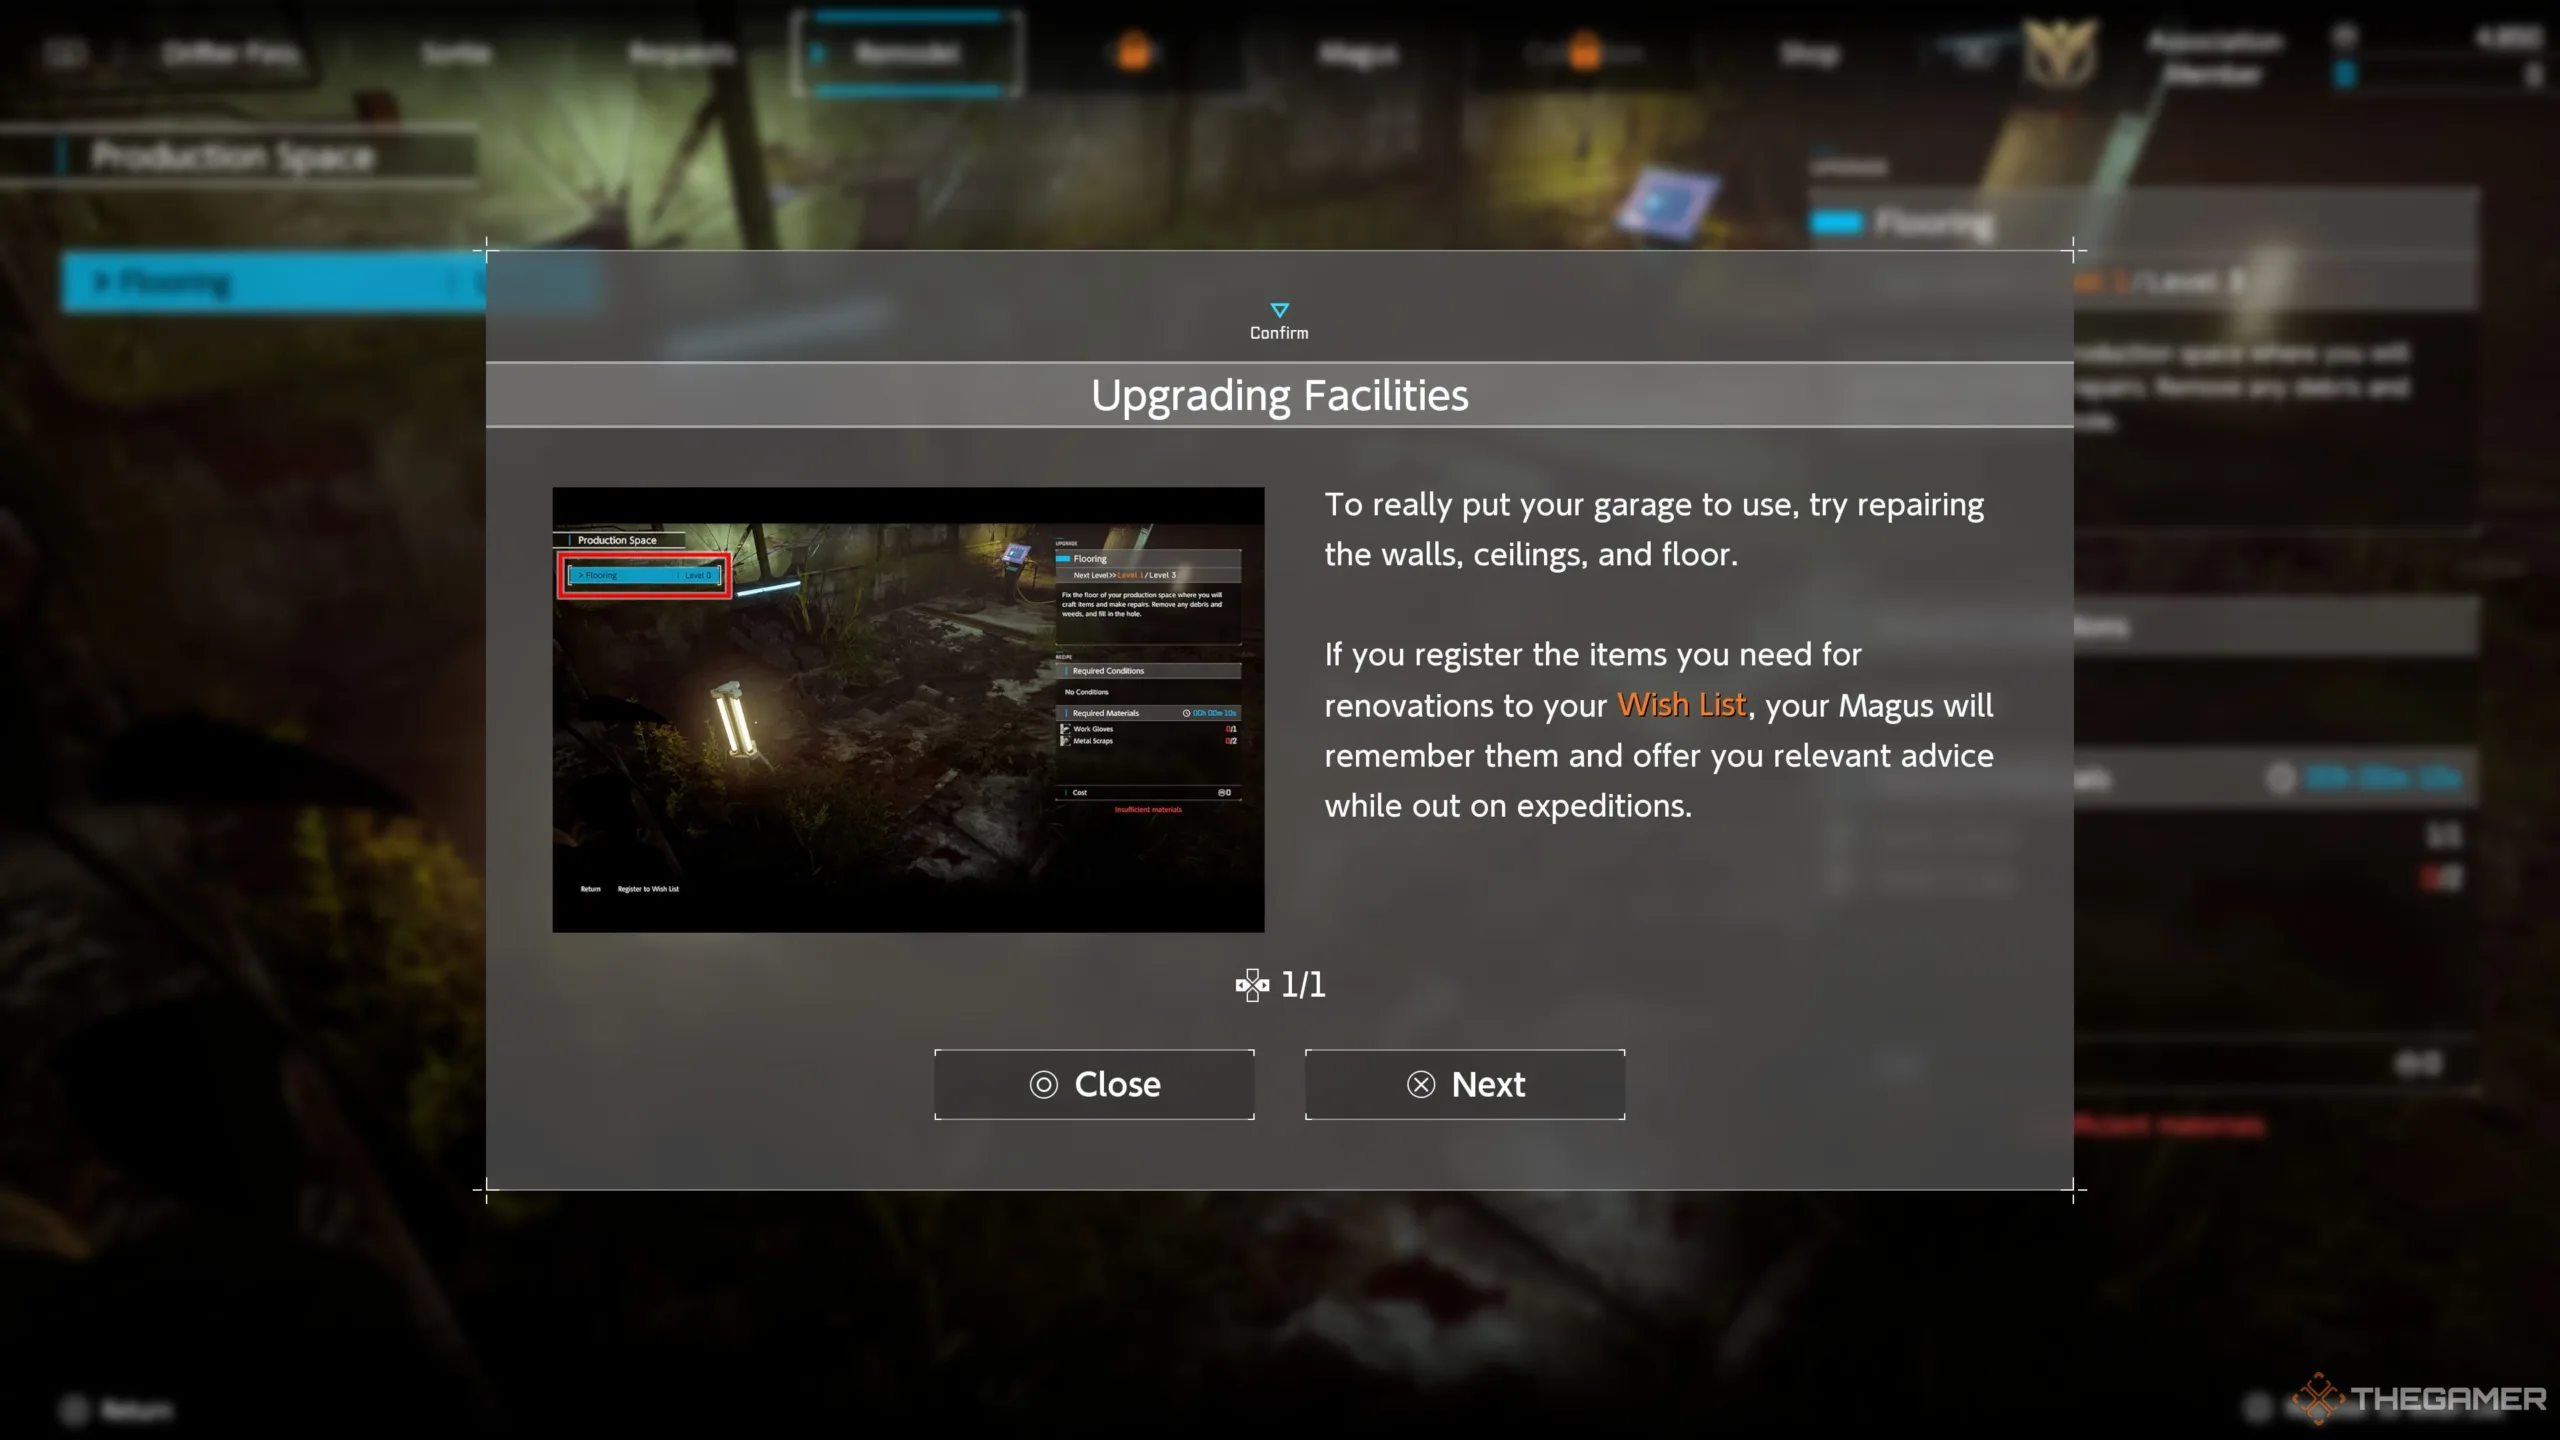
Initially, you’ll have three areas to focus on, and you’ll need to tackle them sequentially before you can expand further. Start with the Production Space, then move to the Pit Space, and finally the Living Space. For each area, you’ll need to renovate its Floors, Walls, and Ceiling. The first stage takes just ten seconds, but upgrades will take longer as they become more advanced.
After completing the renovations in all three spaces, the rest of the upgrades will become available, except for the Living Space, where most facilities remain locked until later upgrades. The good news is that many areas will be ready for upgrades. Let’s explore which areas you should prioritize.
Further improving the Floors, Walls, and Ceiling is required for certain facility upgrades, but these enhancements don’t provide any additional benefits beyond aesthetics.
Top Areas to Upgrade First
Once you’ve unlocked these areas, be smart with how you use your materials and money—they’re limited resources. Focus on key priorities to maximize benefits and access the remaining gameplay features as quickly as possible.
Utilize the Wish List feature to ensure your Magus points out required items while you’re out on missions.
Production Space
The Production Space is where most of your crafting and repair work will happen. There are two key upgrades available here, both of which are essential. Here’s what each does:
- Craft Station – Adds another crafting slot, allowing you to create multiple items at once.
- Renovator – Reduces the cost of repairs on your equipment with each upgrade.
These facilities are vital for your adventures, so make sure to upgrade them right away. You can choose which one to prioritize, but the Craft Station is highly recommended.
You can have as many facilities under construction at the same time as you desire.
Pit Space
The Pit Space revolves around your Cradlecoffin and resources. It’s where you store all your gathered materials and where your mech stays between missions. This area serves as both your prep zone and storage. Focus your upgrades here.
- Item Warehouse – Increases your item storage capacity with each upgrade.
- Transport Elevator – Provides a random mix of items and cash once daily. Each upgrade enhances both the quantity and quality of items received.
Your top priority should be the Item Warehouse, as you’ll quickly hit the initial limit of 100 items. The first upgrade doubles this limit to 200, giving you much more space. The Transport Elevator is helpful but not as critical; however, it can provide valuable resources.
Sadly, the only way to check how many items are in the Item Warehouse is to visit the Item Shop in the Sortie Menu to see what items you can sell.
Living Space
The Living Space is where your Magus (and you, presumably) unwind between missions. It contains beds, personal collections, and all the comforts you’d expect. This area offers the most upgrades, but we’ll focus on just a few key ones.
- Insurance Payout Receiver – Shortens the wait time for insurance payouts on destroyed equipment.
- Piggy Bank – Allows your Magus to collect money over time, which you can access at any moment. Further upgrades increase the storage limit and earnings.
- Washroom – Lets you clean your Magus after they get dirty following a mission.
To access these upgrades, you must first improve the Living Space further. You’ll eventually be assigned a Request to upgrade your Sleeping Quarters. Completing this task will unlock the remaining facilities in the Living Space for upgrades.
The Washroom will be unlocked along the way, and further upgrades are optional unless you want a more luxurious bath for your Magus. Aim for the Insurance Payout Receiver next, as you’ll likely receive many insurance payouts given the game’s challenge. Finally, don’t forget about the Piggy Bank, which requires you to upgrade the tables first.
With those upgrades completed, your garage will be fully operational! There are plenty more enhancements to explore, though they come with high costs and require rare materials. Give it some time, and you’ll have a garage that every Drifter on the surface will envy.