Select Language:
The Greymane camp at Howling Hill is one of the most rewarding long-term features in Crimson Desert. It offers many activities that aren’t fully explained at the start. What begins as a few tents on a windy hill gradually becomes an independent settlement. It can produce food, silver, crafting materials, and even rare gear—all while you’re exploring Pywel. If you’ve been using your camp only as a quick stop between story missions, you’re missing out on a lot.
Here’s everything you need to know about starting and managing your Greymane camp: how to set up Howling Hill, who to recruit first, how to handle dispatches efficiently, and how to keep expansions progressing without running out of resources.
### Setting Up the Greymane Camp
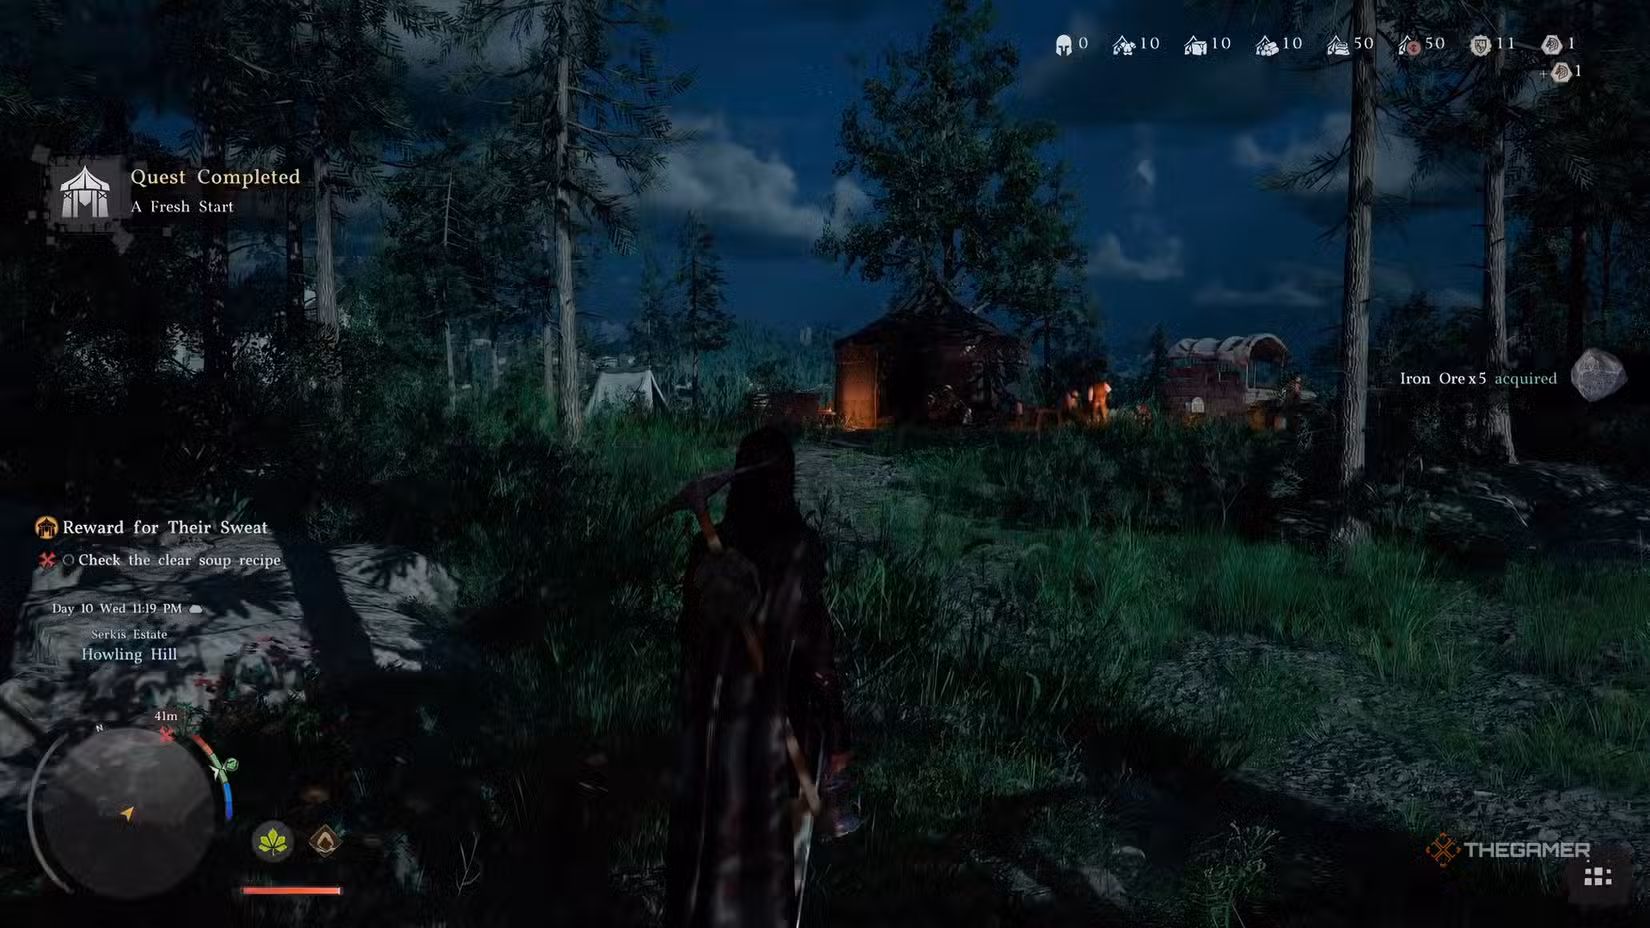
The camp becomes available during Chapter 3: Homestead, after meeting Marius—an old teammate who’s been barely holding things together—and receiving a land grant from Marquis Serkis of House Hernand. From there, you’ll follow a guardsman south of Hernand Town to Howling Hill and complete the “A Fresh Start” quest.
This process involves moving supply sacks, pushing a wagon, driving stakes into the ground, and raising the Greymane banner. Although it sounds simple and maybe even boring, finishing this officially establishes your camp and unlocks Damiane as a playable character.
There’s also a quick cooking lesson for Modest Clear Soup at a nearby pot before escorting Marius back. This introduces food mechanics and many recipes you’ll rely on throughout the game.
Once the camp is set up, your first step should be activating the Abyss Nexus fast travel point in the north part of the settlement. It becomes available after Chapter 4, and having it allows you to quickly return to Howling Hill without interrupting your exploration.
### The People Running Your Camp
After establishing your base, two key characters join immediately: Carl and Ross. They are the most important NPCs you’ll interact with daily.
Carl manages the provisions. Located near the camp’s supply chest, you can donate resources to him to keep the camp’s supplies topped up. You can also access the provisions system through him, where you’ll manually contribute materials.
Ross is your Dispatch Coordinator. All missions you send out run through him. As your system becomes fully active, Ross is the NPC you’ll see most often when you return to camp, so check in with him regularly.
Marius oversees the camp overall and is your main contact for expanding Howling Hill. He gives out new quests for expanding and recruiting as you develop the settlement and is the person to talk to when you’re ready to push the camp further.
Other NPCs, like Eric the barber and Oliver the dye merchant (who are key for character customization), as well as various faction vendors, become available as you complete faction quests and advance through the main story.
### Don’t Skip Greymane Faction Quests
Although not essential for the main story, the Grounds of the Sunrise quest chain in your Journal—under “Faction Quests” for the Greymanes—is one of the most important. Every building, new recruit slot, and overall camp expansion is locked behind it.
#### Greymane Commissions
These are small requests from Greymane members living at camp. They often serve as brief tutorials for new mechanics or merchants. Completing each grants a Medium Bag, increasing your inventory by three slots. There are 27 commissions in total, so finishing them can net you up to 81 extra inventory slots—crucial for managing all your loot in Crimson Desert.
#### Rumor Missions
These are recruitment quests that bring new comrades to your camp. You can grow your roster to nearly 40 Greymanes, which unlocks more dispatch missions simultaneously. Always complete these when they become available to strengthen your camp.
### Dispatch Missions: The Heart of the Camp’s Growth
Dispatch missions are how your camp earns resources. Through Ross, you send Greymanes on various missions to gather supplies, generate silver, clear enemies from regions, or advance building projects—all automatically, so you can focus on other things.
Each mission requires certain conditions like the number of comrades, specific skills, and sometimes resources like food or silver. You’ll mostly run:
– Production missions: to gather food, timber, ore, and crafting materials.
– Combat or suppression missions: to reduce enemy activity and unlock trade benefits or new areas.
– Construction missions: directly related to upgrading your camp.
– Rumor missions: for recruiting new Greymanes.
Matching the right skill to the mission increases efficiency and rewards. For example, a Builder is essential for construction tasks, while a Hunter performs best gathering food.
To manage missions, open the Map, find the camp icon, and select “Inspect” (Y on Xbox, Triangle on PS5, or double-click on PC). From there, go to the Mission tab, assign your Greymanes, and start. Traveling to the mission site allows you to see them in action, which can be useful to check progress.
### Expanding Howling Hill
Expanding the camp isn’t done through a menu but through quests and dispatches linked directly to the story. Progression depends on your current chapter and available resources.
The key expansion milestones include:
| Expansion | Requirements | Key Unlocks |
|———————-|——————————————–|————————————————|
| 1st (Bustling Hill) | 2 recruits, 100 food, 250 silver | Dispatch system, new recruit slots, Marius unlocks new quests |
| 2nd | More recruits, increased materials | Farm and Ranch construction unlocked |
| 3rd | Further recruits and resources | Extra mission slots, facility upgrades |
| 4th | 10 recruits, heavier material needs | Wagon, Hot Air Balloon, advanced crafting |
| 5th+ | Late-game chapter unlock | Pailune rebuilds, Council, Institute |
The first expansion can trigger during Chapter 3, taking about 18 hours once dispatched. Each following tier needs more recruits and materials.
Once the farm and ranch unlock with the second expansion, build the farm first and start the “Apple Trees” mission. Trees take real time to grow, so plant early, and queue the Ranch tutorial missions to have it ready once the trees mature.
By the fourth expansion, weapon and armor production slows down compared to raw materials, so funnel armaments into the camp supply early to avoid shortages.
### The Supply Chest and Resource Pool
Behind Carl, inside your camp tent, is the Private Storage supply chest. It receives all loot from missions and camp production. Make it a habit to check it regularly; resources there feed your crafting and cooking systems. Letting it overflow is wasteful.
If certain resources frequently run low, quick fixes include:
– Food: Use the Sin Volt Ranch for over 50 pieces of quality meat per cycle—no need to hunt manually.
– Silver: Locations like Thornbriar Food Storage, Sungrove Manor, Azerian Manor, and later Gorthak Ironworks for armaments.
– Materials: Regularly convert loot through Carl and donate gear you don’t need instead of hoarding.
You can also package goods in the Trade Wagon (unlocked at the 4th expansion) to sell at trade posts. Building more wagons and watching the market prices helps maximize profits.
### Tips for Efficient Camp Management
Every time you return to Howling Hill, check your faction journal for new quests. Missing them for a few chapters can slow your progression without notice.
Be aware that merchants or NPCs can get sent out on dispatch missions accidentally. If an NPC disappears, verify active missions first—they’re likely out gathering resources.
Donations at church offering boxes can boost mission efficiency in nearby regions. Keep an eye out for these when planning your dispatches.
When waiting for missions or crafting, use the camp bed. Sleeping advances time by up to twelve hours, allowing you to skip waiting.
Finally, after Chapter 7, keep an eye on Pailune’s reconstruction. Building the Council and Institute provides your dispatched comrades with meaningful ongoing work and unlocks the most powerful production options. Though resource-heavy, by this stage, your camp should be generating enough resources if you’ve managed it well.