Select Language:
Quick Links
In Act 2 of Destiny 2: Revenant, one of the last missions you will undertake is Captive Memories. Like many story-driven tasks, there are a few twists and turns in store for you at the end. This mission isn’t particularly lengthy or overly difficult, striking a balance that should be manageable. With a solid character build, you should be able to wrap up Captive Memories without too much trouble.
Similar to recent narrative missions, Captive Memories features light puzzle-solving along with minimal Raid-style mechanics, which will be covered here.
How to Complete Captive Memories
Completing the Captive Memories mission should take no more than about ten minutes, whether you’re playing solo or with others. This mission assumes you have a decent build, such as effective Hunter setups for PvP and PvE, or at least some solid Exotics and weapons from Revenant or other sources.
Ideally,
you should be fully equipped with Legendary weapons and armor and use a strong Exotic weapon like the
Gjallarhorn, Dragon’s Breath, or any of the
top Solar weapons to enhance your performance.
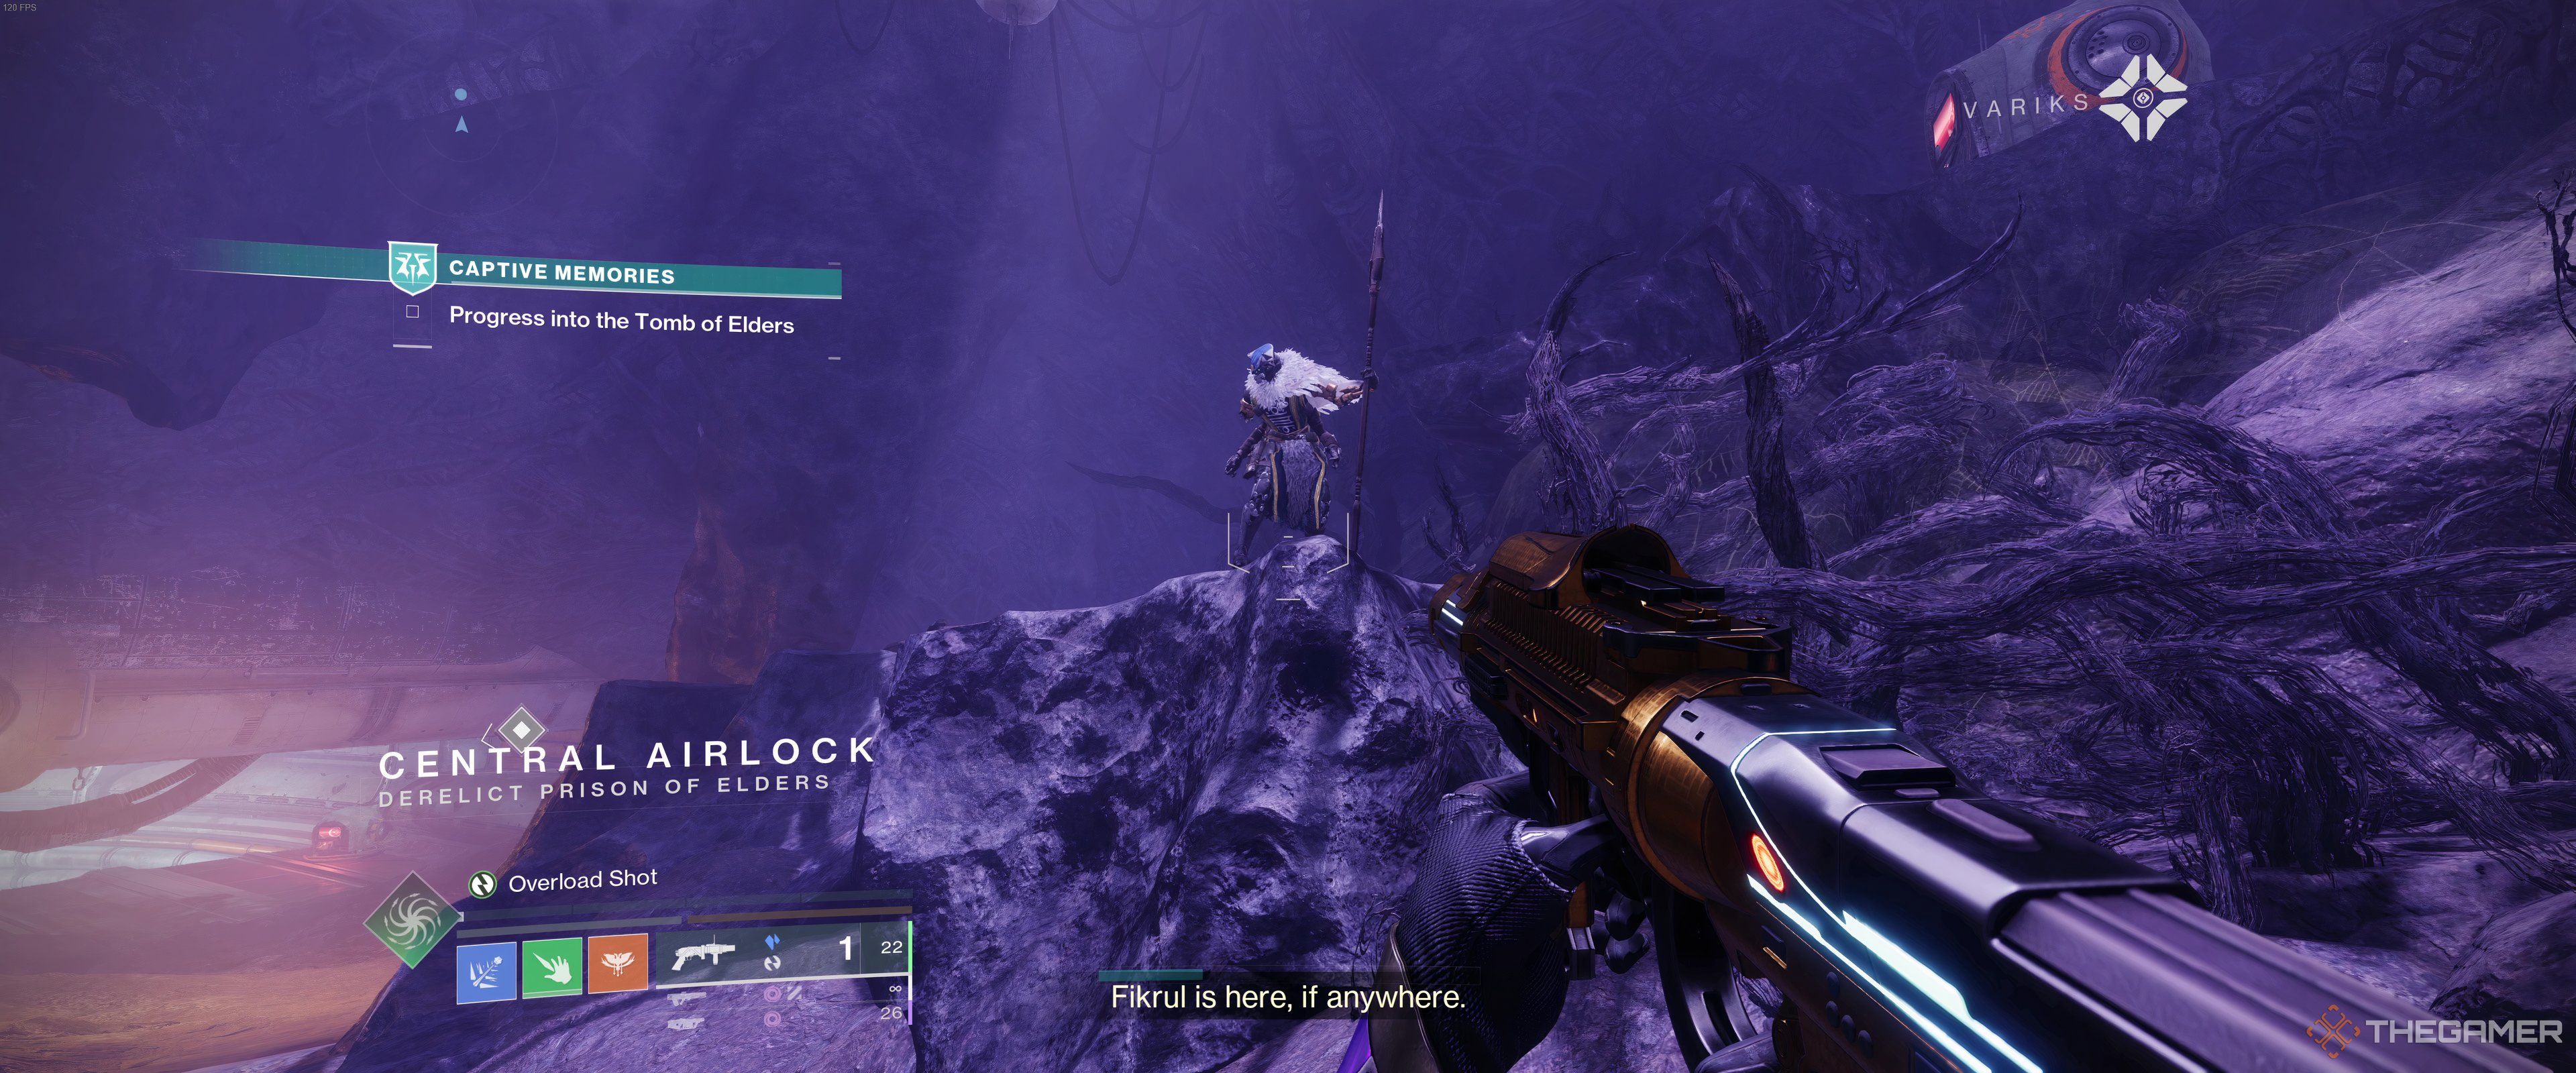
Shortly after entering the mission, you’ll encounter Variks, who will share some lore with you. You can choose to listen to him or let him communicate over the radio.
Proceed through the cave entrance and the illuminated opening below the overhang. Navigate around the large machine in the purple-lit chamber, where you’ll face the mission’s only puzzle.
How to Solve the Door Puzzle

Be aware that several Dread enemies will spawn, including a yellow-bar Grim and a Subjugator known as the Enlightened Omen. Clear them out first to have peace while you solve the puzzle.
Once the room is secure, you’ll notice that the four doors surrounding it are blocked by electricity and marked with Fallen script.
To open the path forward, interact with the terminals next to the specific doors in the correct sequence. Observant Guardians will have noticed the same symbols on the floor in front of the containment pod when entering the room.

To complete this challenge, you need to activate the terminals in the order shown by the symbols on the ground. Selecting the correct one will prompt the message, “The hymn resonates throughout the chamber,” while an incorrect choice will say, “The hymn fades.”
After entering the correct sequence into all five terminals, the door to continue deeper into the Tomb will unlock, and the electricity dissipates. Move down the corridor and take the right path through a smaller, well-lit passage off the main route.
How to Beat the Lockout Encounter

Your next challenge involves a combat arena. This initial encounter in Lockout introduces you to the Devouring Essence mechanic. Upon starting, you’ll receive the Devouring Essence buff, which will deplete your health when its 43-second timer runs out.
To get past this encounter, you need to take out three designated enemies (known as “High Revenants”) to drop the shield on the Revenant Baron. Defeating the Baron will allow you to destroy the totem it leaves behind.

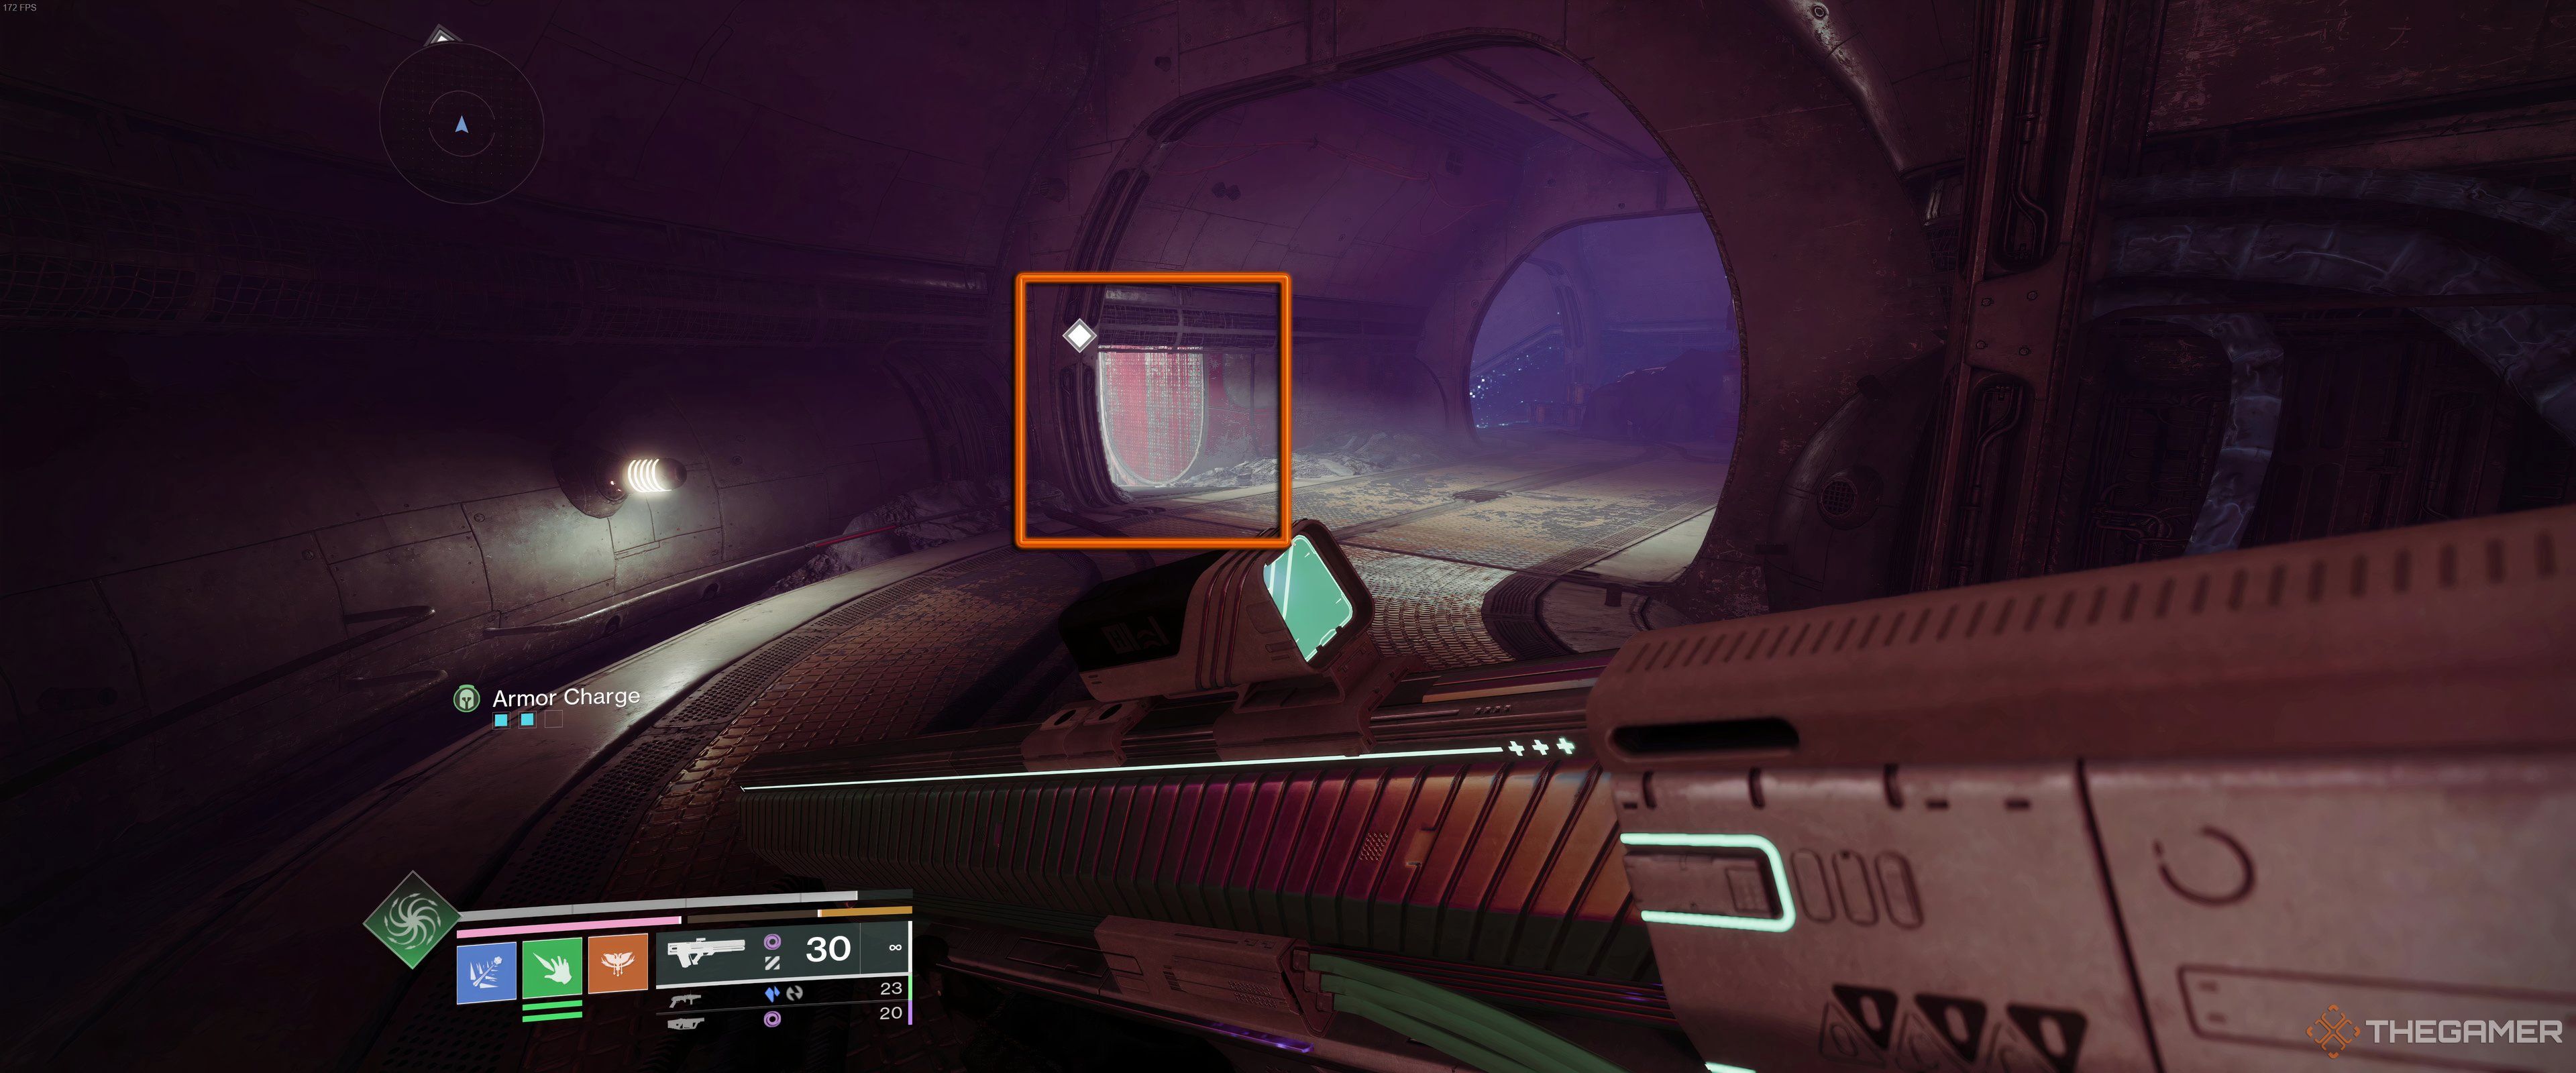
Next, continue through the newly accessible door at the back-left of the room, making your way deeper while clearing out enemies. Be cautious of the group of Screebs that may ambush you from around a blind corner.
As you approach a gap to cross, defeat the Subjugator (referred to as a Harbinger of the Witness here) and veer right through the chamber housing the large spinning turbine. Stick to the right as you progress further, heading up and around through the broken pipe.
How to Defeat Skolas

At the conclusion of your journey, you will face the final arena, where Fikrul is resurrecting an old adversary: Skolas, the Fallen Kell first encountered during the House of Wolves expansion in Destiny 1 back in 2014.
The battle follows a familiar pattern from earlier encounters with two significant variations: no respawns and the presence of Splinter Mines. If the Splinter Mines explode, they can wipe out everyone in the room, forcing you to restart the entire encounter.

The first mine will appear when Skolas hits 60 percent health, shortly before entering his immune state. You’ll need to stand in the circle under the mine to disarm it, all while avoiding Skolas as much as possible.
When Skolas reaches 50 percent health, he’ll become immune to damage, you’ll receive the Devouring Essence debuff, and three High Revenants will spawn. Just like the previous encounter, defeat all three to lower Skolas’s shield and advance in the fight.
There’s one final Splinter Mine phase when Skolas drops to ten percent health; after dealing with that, finish him off to complete the mission. Listen for some dialogue from Variks and Mithrax, and once that’s done, you’re free to return to your grind.