Select Language:
After collecting a sample of the alien substance for the crew to analyze in The Dark Pictures Anthology: Directive 8020, the fourth episode begins with Simms still missing somewhere near the crashed Cassiopeia. The crew continues searching for her, and at least one of your team members has already died, possibly more.
Several factors in episode four, called Dragnet, will vary based on the choices you’ve made previously. Your decisions and the lives you choose to save or not will significantly influence the story progression during this part of Directive 8020.
Ghost – The Growth
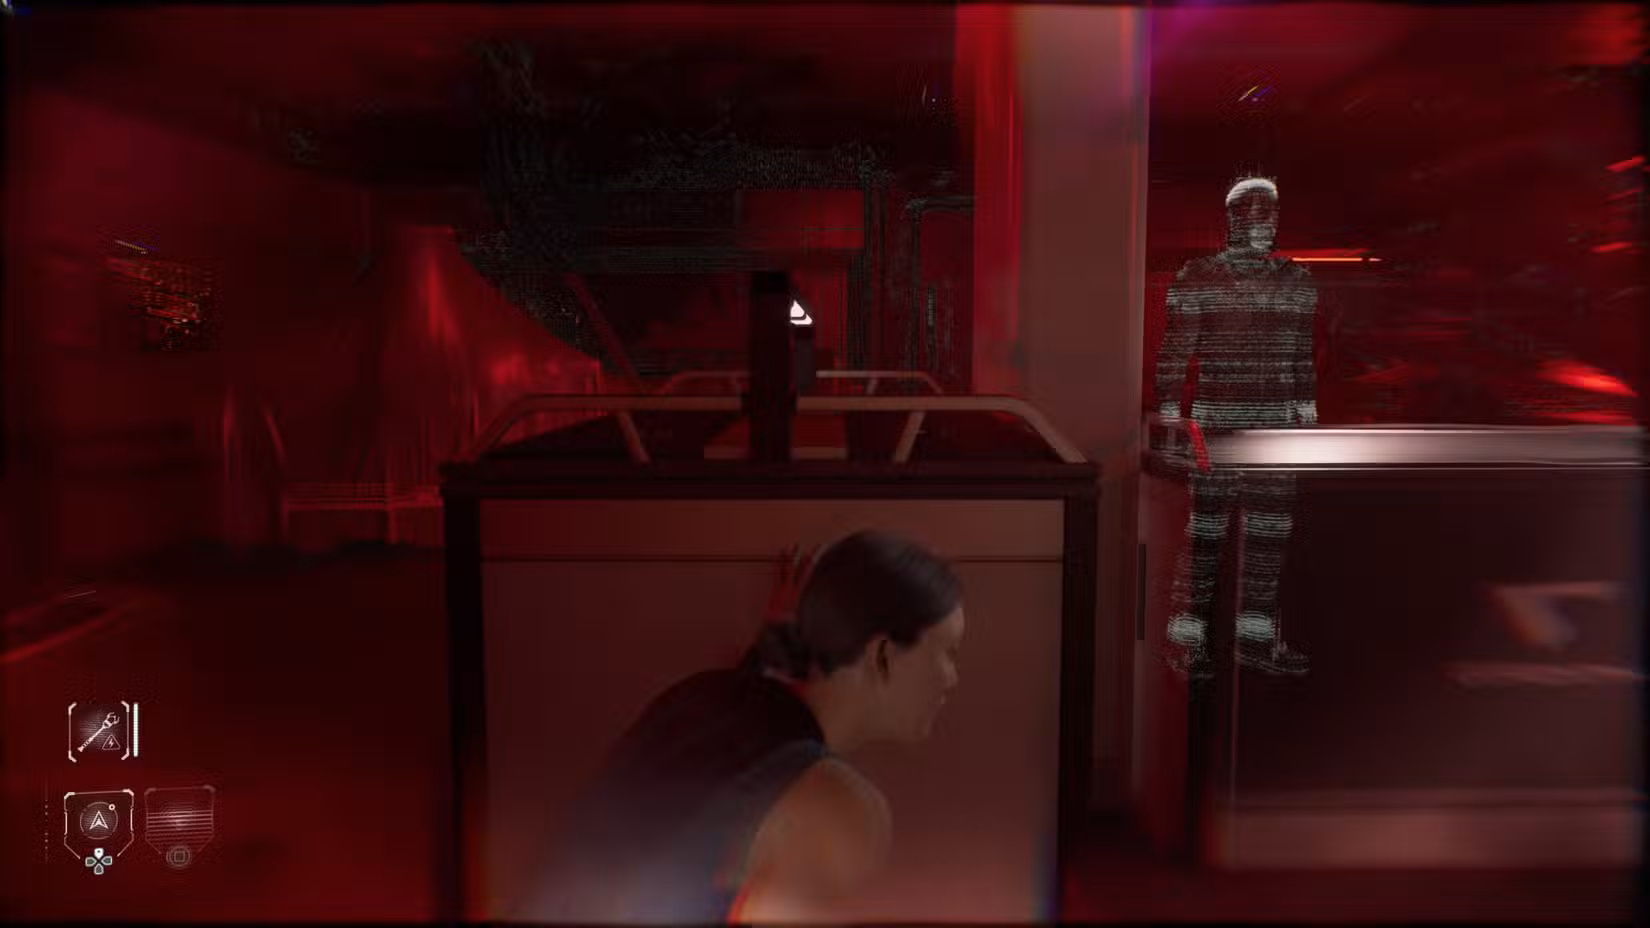
During the first part of episode four, you are again trying to hide from Williams, this time as Cooper and Anders. Your immediate goal is to scan the door beyond Williams to distract him, allowing you to sneak past once it’s safe. Anders recognizes that she can use nearby security cameras to guide Cooper, making her insight valuable. This kicks off the Overwatch scene.
Wait for Williams to go into the room you just opened, then quickly slip behind him. Be cautious to stay out of sight from the windows ahead, as Williams will look through them regardless of how fast you are. Once he leaves, head through the door on the right of the locked one he’s peering into and enter the vents. Proceed to the end, but don’t exit yet — wait for Williams to pass again, as he opens the vent cover and might spot you if you’re not behind the wall.
When he’s gone, leave the vent and run toward the kitchen, prepared to hide. Duck behind the desk to the left of the door and wait for Williams to pass, then enter the kitchen. Exit through the window as Anders advised, and be ready to hide again behind the desk when you emerge, since Williams will be nearby. He’ll check the far right and left sides before leaving, giving you a clean shot to override the door on the left and allow Anders inside.
Follow Anders as she moves through the open door to finish this scene by reaching the elevator and returning to the present. Several potential outcomes for the Overwatch scene depend on your earlier decisions:
- If you manage to escape without being caught and Stafford is alive, you’ll leave this scene unscathed, unlocking the Escaped path.
- If you’re caught by Williams and Stafford is dead from the Tau Ceti F crash, she will fight him and find a way to escape, unlocking the Defend path.
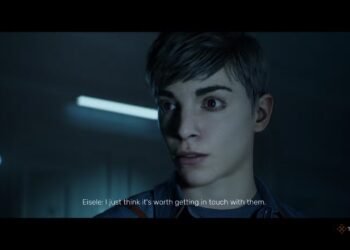
Both scenarios lead to Eisele providing a damage report on the Cassiopeia, and your choices here will influence character traits, helping to shape their destinies.
Trap – Fight
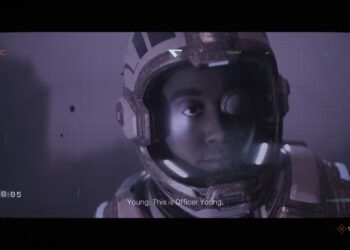
Based on a strategy meeting, Simms is known to be in the maintenance tunnels. Most of the crew are hesitant, but Eisele has designed the system to help trap Simms by sealing the tunnels gradually. You’ll control Young, checking the comms unit for optional conversations that can affect her traits. Your main task is to move between checkpoints in the vents and locate three waypoints to corner the enemy.
If you saved Simms earlier in the game, her body will be found here. After Young emerges from the vents, Eisele notes she still senses movement, even though no one appears to be caught. Suddenly, Young is attacked from behind and falls to a lower level. Cooper tells her she needs to extend the drawbridge to escape her attacker.
The monster wakes up and continues to attack, pushing you into the Drawbridge scene. In this dark, tight space, escaping requires careful navigation and constant checks of your waypoint and scanner. You’ll have to run around behind yourself, loop back to the stairs, and follow the waypoint to the Bridge Control panel.
Restore power to the panel by visiting the battery box marked on your map. Then, override the sealed door while keeping enough distance from the monster. If it catches you, you’ll trigger the Spotted outcome; if not, you’ll proceed further.
During the fight scene where Young defends herself, success depends on quick reaction to QTE prompts. You have a limited number of chances to stun the monster, making timing crucial. If you’re caught, the scene will end differently depending on your choices—either young escapes unharmed, or she gets injured, such as losing an eye.
The chapter concludes with a message from Eisele, who reports on the ongoing situation, and your decisions here will continue to influence character development and the unfolding story.