Select Language:
No matter if Carter managed to send a message in the previous part of Directive 8020, the fifth game in the Dark Pictures series, you’ll start the second episode with the rest of the Casseopeia crew waking up without Carter and Simms. They’re confused about what stopped them from waking properly.
Explore different parts of the ship and get to know the crew a little better. The choices you make for your crew members will influence their personalities and how their stories unfold in this second chapter.
BIRTHDAY – 0 DEATH
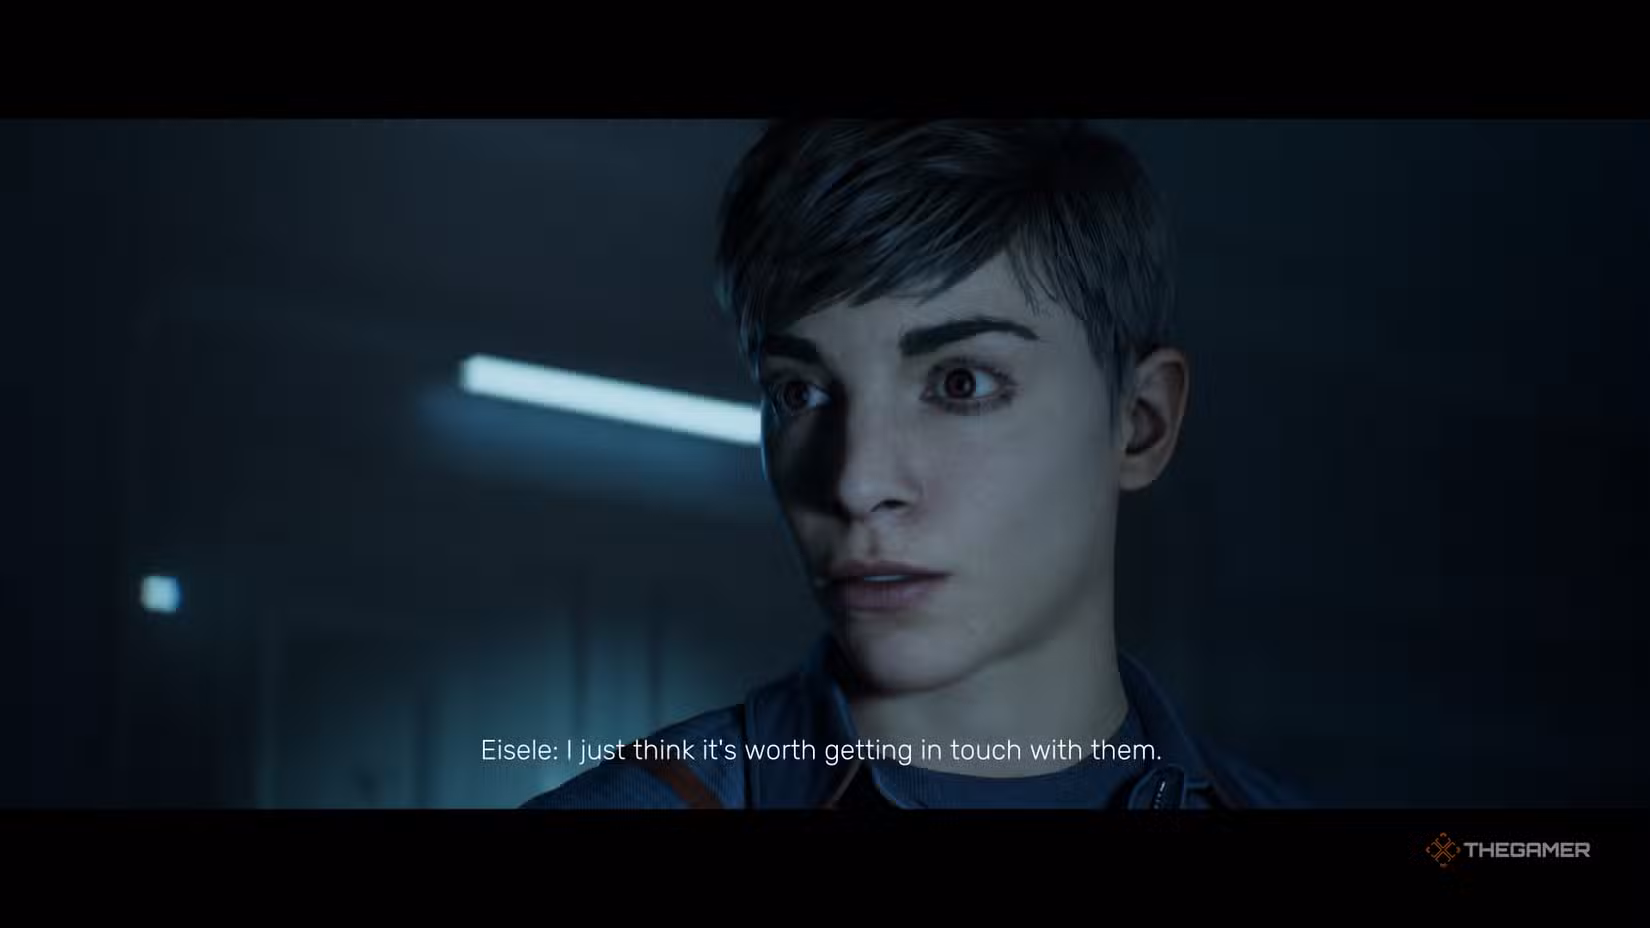
[Image of Eisele sharing her concerns with Stafford]
The second chapter of Directive 8020 introduces you to Brianna Young, a new astronaut on the mission to Tau Ceti F, and Nolan Stafford, a veteran commander heading out on his last mission before retirement. Stafford used to work with Brianna’s father. The first main scene celebrates what would have been Bill Young’s birthday.
EYES OPEN
You’re back on the Casseopeia as Brianna is woken from deep sleep by Laura Eisele. Laura is frantic because the ship’s computer, Oracle, woke her up unexpectedly, instead of Carter and Simms. Throughout the episode, Laura expresses her concerns, and Brianna’s mission is to talk with Stafford at the far end of the ship and wake Mitchell as best as possible.
Along the way, Stafford and Eisele discuss Eisele’s irritation that the Sleep Crew didn’t wake them up. She suggests checking security cameras. Stafford might try to persuade her either way. Then the scene shifts to Little Faith, where Mitchell asks Stafford how he feels about Anders, the science officer called in to replace a crew member whose situation remains uncertain. This moment is a key turning point for the game.
[Image of approach decision]: You can choose how to approach a conversation about the new recruit:
– Trust: Convince Stafford to dismiss suspicions about Anders and trust the ship’s system.
– Doubt: Reassure Mitchell but express some doubts about the new crew member.
Afterward, control returns to Young, who and Eisele head to the Reactor Room to restore power in the scene called Ship Shape.
When restoring power, you’ll decide whether to cut power to the Fire Control systems or the Landing Computer, affecting how the ship’s systems respond. This choice triggers the second major turning point of the episode, where Oracle suggests shutting down one system before fully restoring power. Either action will complete the power check.
Stafford and Eisele discuss Young and Mitchell, with Eisele again questioning Carter and Simms. She considers reviewing their logs. You can agree or dismiss her concerns, impacting Stafford’s traits:
– Accept her proposal but remind her everyone is on the same team.
– Dismiss her suspicion and focus on fixing the ship.
Next, the scene titled 0 Death begins with Mitchell and Young discussing what to do if they die in space. Mitchell jokingly asks if she’d open the airlock and send him floating out. You can choose to disapprove or joke along, which updates their characters’ traits.
Once finished, the episode moves into the Evidence – Booster Ring scene. No matter how you handled the earlier scenes, Eisele checks security logs, reviewing footage from the previous episode. She notices anomalies in the recordings, which vary depending on who survived the last episode—Simms or Carter. Eisele then shares her suspicions with Stafford.
You have options here:
– Question her suspicions: Leads to a trait change later.
– Accuse her: Opens more dialogue options and opportunities for trait updates.
In the scene called Radio, Simms reports interference affecting communication. This is followed by Booster Ring, where Eisele explains the ship’s approach to Tau Ceti F’s orbit. Mitchell prefers landing as scheduled, but Stafford emphasizes their operational priorities. The scene ends with the booster ring detaching from the ship.
SLEUTH – DEAD WEIGHT
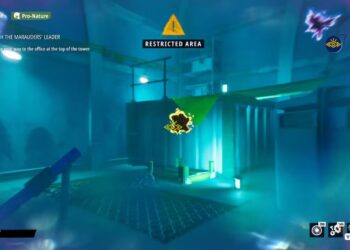
[Image of exploring crew quarters]
Eisele again controls the story and decides to investigate the Sleep Technician’s Quarters, despite Stafford’s orders. She searches for clues that might confirm her suspicions about the crew. The investigation involves exploring the crew quarters, including the second floor, which overlooks a statue in the center of the area. Unlocking the locked door involves scanning a lockdown panel; inside, you can find secrets like the code to Carter’s computer or collectible notes.
In Carter’s quarters, find her computer and enter the birthday on the calendar—August 28, or 0828—to access her files. There are 11 secrets scattered throughout the quarters plus a recording from Simms.
As Eisele, you can choose to Question or Accuse her. Questioning offers paths to gather more details, while accusing may lead to different reactions and traits.
[Image of Eisele approaching the vent]
Eisele then attempts to leave through the door Simms used, but she’s quick to lock it and shut down the airlock in an effort to kill her. You have Quick Time Events (QTE) where you can plead, threaten, or stay silent. The outcome depends on your choices. If successful, Eisele escapes, heading toward a vent system to contact the crew.
Once outside, she finds an obstacle blocking the vent. She must identify the source of the obstruction to finish the episode. Moving through the vent system, she eventually reaches a point where she must act fast to avoid being caught or suffocated.
Finally, after making her way out, Eisele encounters an obstruction that needs to be cleared from the vent to proceed. The episode closes with her efforts to contact the ship’s crew and survive.