
Select Language:
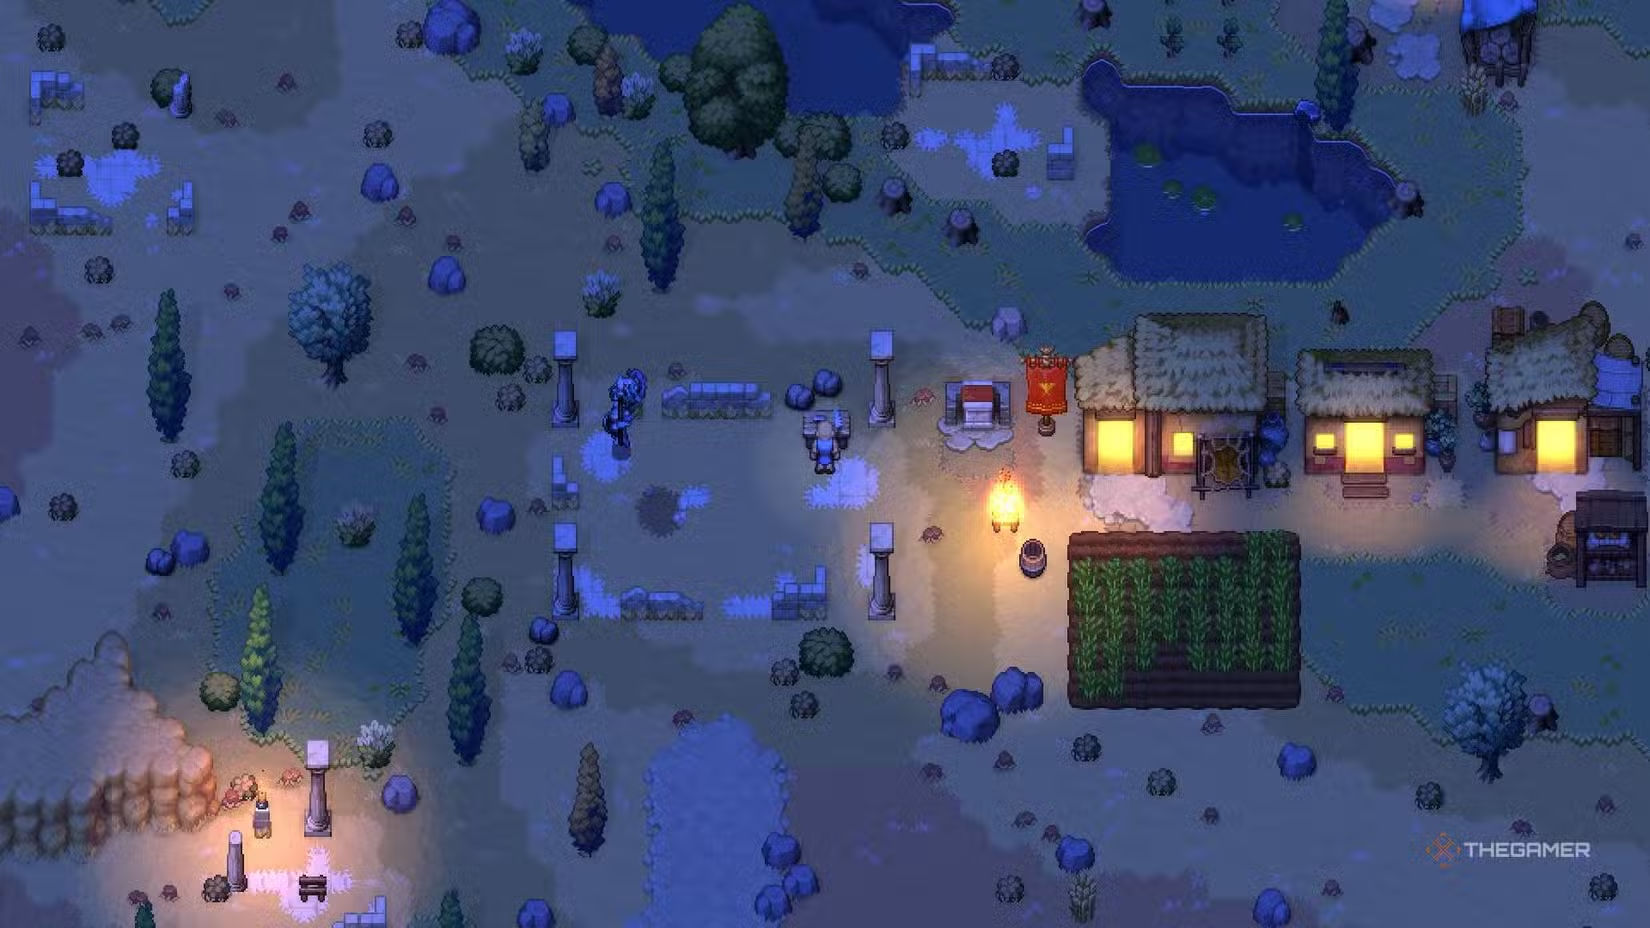
Romestead is a sizable game for an early access release, with many complex mechanics that are poorly explained. After playing for about 20 hours, I’ve learned some key things I wish I knew at the start — like where to place your base, how to keep your citizens happy, and the best strategies for building.
Here are ten tips to help you understand Romestead better.
Don’t Just Place Your Town Where You Spawn
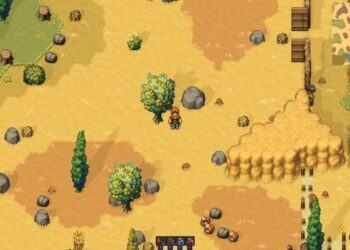
This is the most important advice I wish I had before starting my first game. I started right next to my spawn point but soon realized I was far from crucial resources like coal, water for mills, and the biomes I needed — like desert and volcano. Transporting materials from these distant spots became a hassle.
Next time, I plan to head toward the center of the map and build my town there, ideally where three biomes meet. This saves time and effort later. Later in the game, you can unlock a trading post to move resources between towns, but that’s a late-game tech.
Be Careful About Which Citizens You Recruit
Building your town requires recruiting citizens, but not all are equally useful. Watch out for two bad perks:
- Gluttonous: These citizens eat more food, which is bad early on, as managing food already is tough.
- Disloyal: These citizens give less loyalty over time, making it harder to reach higher expertise levels necessary for crafting legendary items.
Avoid making your blacksmith disloyal. Citizens level up individually, so if you realize this late, it can be a problem.
You Can Respec Your Favors
Don’t worry too much about your build early on. Experiment with different weapons and scrolls to find what works for you. I had success with a dual crossbow build. You can also unlock the Canteen of Youth, which can reset your favor points. To level up your merchant, buy goods early to start purchasing health potions, since you can’t craft those yet outside of finding them in dungeons.
Search for Hidden Chests
Many of the best loot—rare items and accessories—are hidden in chests scattered around the world. Often, they’re in plain sight:
- Inside fallen logs
- In monster spawners inside dungeons
- Tents and bushes
You can find chests by hitting objects that seem out of place; if there’s one, you’ll hear a magical sound indicating loot.
Maximize Your Gear
Playing solo can be tough, especially because you’re heavily punished if you’re not properly equipped. Keep upgrading your gear from leather to copper, then bronze, and later use endgame materials like fire scales for better armor. Legendary items, which come from mastery above level 20, are crucial for beating the game solo—especially in the volcano biome, which is very hard alone.
Build Roads
This was something I should’ve done earlier. Building roads might take some initial time, but it greatly speeds up resource transportation. If you have a clay deposit far away, build a road. Roads are cheap and quick to make. You can even get a Road Maker favor, which doubles the speed of construction for each tile. That’s a huge time-saver, and you can reset favors later when needed.
Always Carry A Tent
My favorite item in the game is the tent. Crafted at the leatherworker, it lets you set your spawn point anywhere on the map. If you’re heading into a dungeon or boss fight, place a tent outside; if you die, respawning next to the entrance saves a long trek back.
Establish Satellite Towns With Level Two Altars
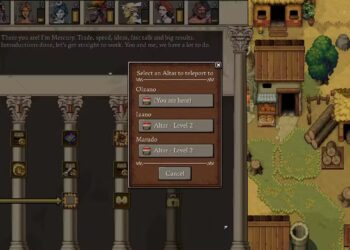
Most of what you do in Romestead is about saving time. Unlocking the Level Two Altar and the teleportation feature is a game changer. To do this, upgrade your altar via the carpenter’s upgrade bench, offer resources to unlock fast travel, then build new towns with their own altars and carpenter shops. It takes effort but pays off by letting you quickly move around the map.
Focus On Food Buffs
It took me a while to understand that I was dying because I relied on basic snacks like rats. Instead, invest in better food made at your bakery. High-quality dishes often need multiple ingredients—like dates, honey, garum, and crab meat—which require farms and production buildings. Choose one food type to specialize in early on to simplify planning.
Get Your Automation Going
Once you unlock the Logistics Tent after defeating the Cyclops boss in the desert, managing resources becomes much easier. Link your farms, mills, and bakeries to automate resource movement. For example:
- Farm produces wheat
- Watermill grinds wheat into flour
- Bakery turns flour into bread
- Bread gets stored in your food warehouse automatically
This setup saves time and makes resource management smoother, especially early in the game. Also, having a higher-level quarry producing coal helps keep everything running efficiently. Automation allows you to craft items like olive oil that can be sold for profit or use in other recipes.
 ChatGPT
 Perplexity
 Gemini AI
 Grok AI