Select Language:
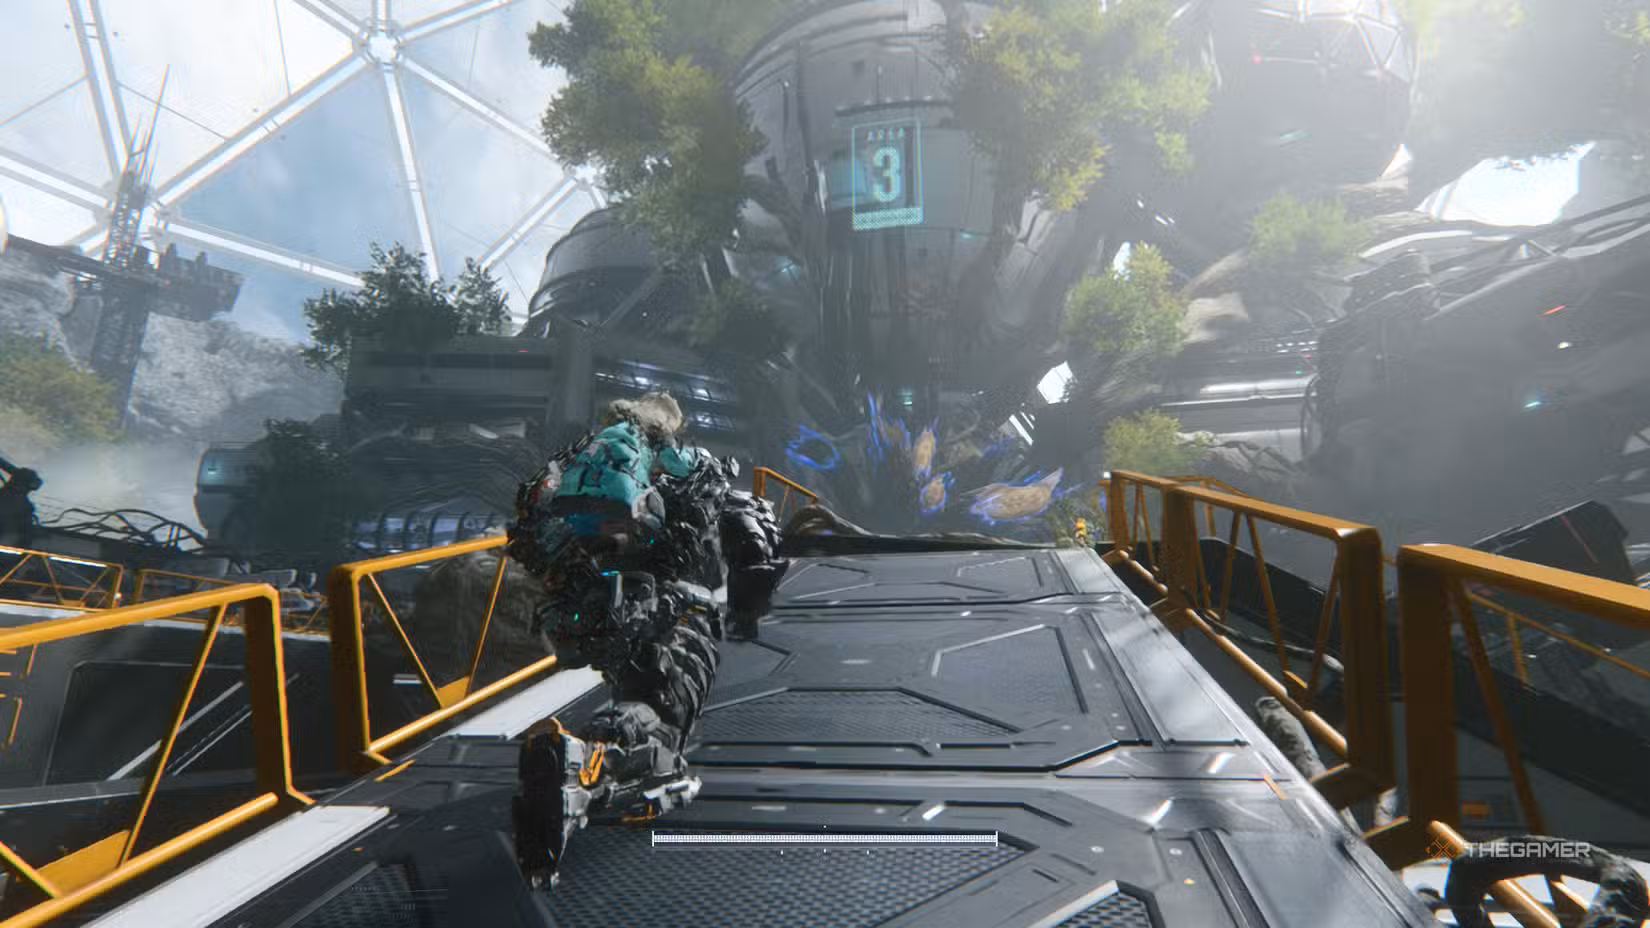
The third main area in Pragmata is the Terra Dome. Unlike the city-like setting of the Mass Production Array, the Terra Dome is designed to mimic Earth’s natural plants and trees, even if it’s all made from Lunafilament.
This sector can be tricky to navigate because it contrasts sharply with the tidy zones and the wild, overgrown trees. It can feel very cramped at times, so we’re here to guide you through collecting all the hidden items.
### Terra Dome Sector Overview
After a quick outdoor section and fighting a new Lancer enemy, you’ll enter a central chamber. Here, IDUS causes all the roots to grow over everything, leaving only a few ways forward. The path splits into two directions. Both need to be completed, so choose whichever side you prefer first.
#### Plant Factory
In this area, you’ll have options to go left or right at each junction. Both routes lead to the same place but offer different enemies, which are listed by signs so you can decide which you’d rather face.
After clearing two rooms, the next part changes. The left path is a Red Zone requiring a Red Gate Key, while the right path is open and less challenging. The tougher route promises better rewards but both lead to the same point. Once you finish these rooms, you’ll activate a terminal to clear some of the overgrowth, then drop back down to the central area.
#### Eco Modeling Lab
The goal here is to find several Gen Chips that activate terminals to create jumpable branches. The first chip is located on a lower level beneath the terminal. Next, you’ll need to find three more chips: one on a raised platform guarded by an enemy, another on a lower passage, and the last inside the interior of this zone.
Later, you’ll face a tougher version of the SectorGuard boss from earlier, with added enemies. Focus on taking out the smaller foes first to make the fight easier. Defeating this boss unlocks the terminal to return to the main hub.
After both terminals are active, you can take an elevator up. A short cutscene follows, leading you toward Sol Research, where Hugh and Diana share a heartfelt moment.
Once there, activate switches to access a new underground area. Expect to encounter invisible enemies here; dodge in their last moment when they try to grab you, as they become visible during the attack. After overcoming these foes, you’ll arrive at the Terrarium, where the boss battle against the Garden Keeper awaits.
—
### Every Item in the Terra Dome Entrance
There are ten collectibles in the large entrance area of the Terra Dome sector. Here’s what you can find and where:
| Item | Description | Location |
|———|————–|———|
| Safe Box #1 | 400 Lunafilament | On a hidden ledge to the left of where you fight the Lancer. |
| Safe Box #2 | 3 Upgrade Components | At the end of the first two battle rooms in Plant Factory. |
| Safe Box #3 | Cabin Coin | Between the last two rooms of Plant Factory. |
| Safe Box #4 | 350 Lunafilament | After the first two rooms in Plant Factory. |
| Safe Box #5 | 3 Upgrade Components | On a root-covered ledge accessible after fixing the elevator. |
| Pure Lunum | N/A | End of the third battle room in Plant Factory. |
| Mod #1 | Cheap Shot | Next to the Training Data area. |
| Mod #2 | Precision Shot | On a platform above the elevator after reaching the top. |
| Read Earth Memory | Flowers | Behind a mossy boulder in the lower section. |
| Training Data | N/A | In a climbing area beyond the beach area, near a climbing point with Diana. |
—
### Every Eco Modeling Lab Collectible
This zone is packed with collectibles—13 items in total—making it one of the densest parts. Here’s what to find and where:
| Item | Description | Location |
|———|————–|———|
| Safe Box #1 | 700 Lunafilament | Within interior leading toward a Gen Chip. |
| Safe Box #2 | 500 Lunafilament | Behind a hidden wall after fighting the SectorGuard. |
| Safe Box #3 | 3 Upgrade Components | Inside a broken container in the Gen Chip collection area. |
| Safe Box #4 | Cabin Coin | Near stairs going up the Pure Lunum #3. |
| Safe Box #5 | 300 Lunafilament | Behind a hidden wall just past the tree you generate. |
| Pure Lunum #1 | N/A | In the Red Gate Zone of the Eco Modeling Lab. |
| Pure Lunum #2 | N/A | Just after the SectorGuard fight. |
| Pure Lunum #3 | N/A | Climb a ladder from a lower interior area. |
| Mod #1 | Collateral Damage | Inside the Red Gate Zone. |
| Mod #2 | Recursive Learning | Inside a broken wall section of an interior area. |
| Mod #3 | Aggressive Defense | Inside an interior section after grabbing the Red Gate Key. |
| Read Earth Memory #1 | Balloons | On the lower area collecting Gen Chips, behind moss. |
| Read Earth Memory #2 | RC Car | In the main Gen Chip area, accessible after the Cleanse ability. |
—
### Every Soil Research Collectible
Soil Research contains 13 items, mainly Safe Boxes, scattered throughout the zone:
| Item | Description | Location |
|———|————–|———|
| Safe Box #1 | Cabin Coin | Corner in the first area before reaching the beach. |
| Safe Box #2 | 3 Upgrade Components | Unknown location. |
| Safe Box #3 | 100 Lunafilament | Unknown location. |
| Safe Box #4 | 3 Upgrade Components | Unknown location. |
| Safe Box #5 | 3 Upgrade Components | In a room with beds connected to the central zone, below Soil Research. |
| Safe Box #6 | Cabin Coin | On an upper platform in a combat room. |
| Safe Box #7 | 3 Upgrade Components | Opposite Safe Box #6 in the same room. |
| Safe Box #8 | 300 Lunafilament | Near the elevator before the Terrarium. |
| Safe Box #9 | 400 Lunafilament | Behind a hidden wall. |
| Safe Box #10 | Unknown | Unknown location. |
| Pure Lunum | N/A | Dark area before the lift to the Terrarium. |
| Read Earth Memory | Swing | Opposite Safe Box #5. |
| Training Data | N/A | Hidden in a climbable area after the beach. |
—
### Every Terrarium Collectible
The Terrarium holds only two items, both behind the Red Gate Zone:
| Item | Description | Location |
|———|————–|———|
| Pure Lunum | N/A | In the Red Gate Zone itself. |
| Storage Expander | N/A | Also in the same sector. |
When you gather all these items, you’ll almost complete the entire collection needed for 100% completion of the sector.