Select Language:
When you start playing Neverness To Everness, you’ll immediately be introduced to combat. It’s clear that much of your gameplay revolves around upgrading your characters and choosing the right strategies during fights, especially once you reach the late game when there aren’t many quests or other content to complete.
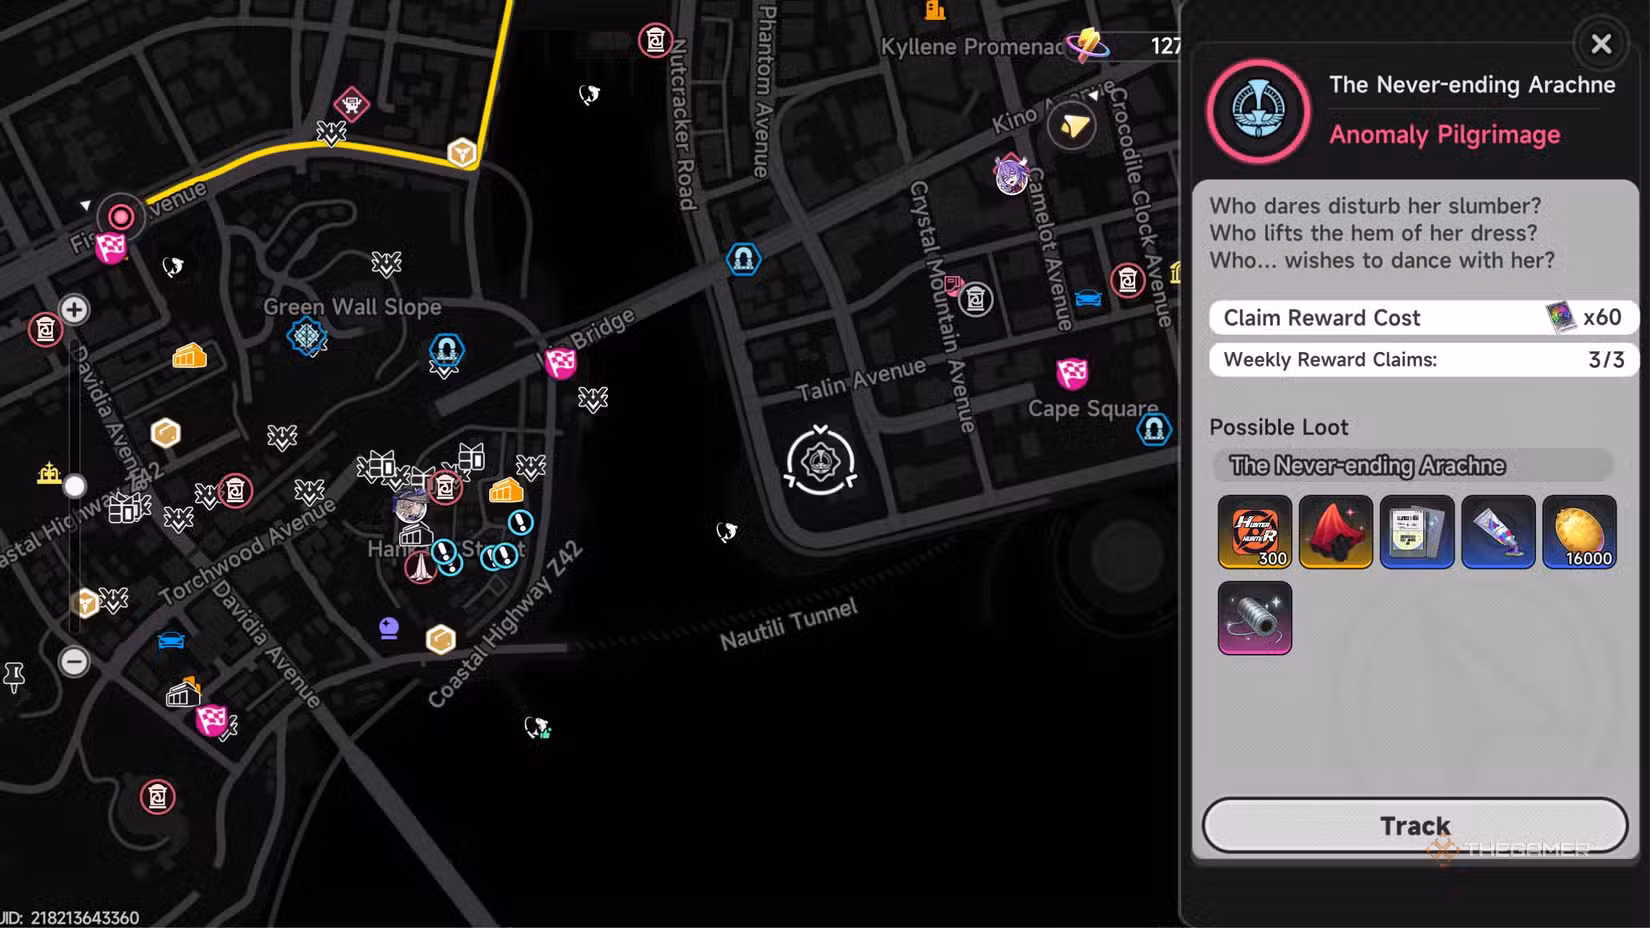
One of the hardest parts of the game is facing the weekly boss battles, such as the Never-Ending Arachne. At first, she might be a bit easier to defeat since you get a trial team to fight her. However, fighting her with your own characters can be much tougher if you don’t know her attack patterns.
### How to Unlock Never-Ending Arachne
To face the Never-Ending Arachne, you first need to progress through the main story until you reach episode three, called “Deal? Deal.” During this episode, you participate in an auction to bid on an item, but it gets stolen. You then have to defeat several anomalies to escape the area. The final anomaly you encounter is the Never-Ending Arachne, which will do anything to stop you.
In this part, you’ll need to interact with small bubbles in the environment to advance. After defeating the Arachne once, her fight gets added to the bottom right side of the New Herland District. You can challenge her there anytime, and you can also spend 60 Character Pixels three times each week to earn rewards from boss fights.
### How to Defeat the Never-Ending Arachne
The boss fight against Arachne has three distinct phases, each requiring different tactics.
#### Arachne Phase One
In the first phase, Arachne stays on the stage where she can’t be hit. Puppet enemies dance on the ground, and every few seconds, they send out waves in all directions at high speed. You can dodge these waves easily if you hit the dash button in time. Your best move here is to dodge and then use your Critical Riposte attack on the puppets. Sometimes, a puppet will spin a female version of Arachne toward you after a red-marked attack—dodge that in time. Defeating these puppets will bring on the second phase.
#### Arachne Phase Two
This phase mainly involves normal, parryable attacks. Pay attention to when Arachne is doing a parry attack, as it’s your chance to break her shield faster. Her slash attacks usually consist of three or four strikes, but not every slash will be highlighted with a red shine, so stay alert. Characters like Hathor are great here because their constant attacks help build up stacks faster. Once her health drops to about 30-40%, she will enter the third phase.
#### Arachne Phase Three
In this final stage, movement on the field is heavily restricted. Arachne teleports around frequently and creates two spotlights—one for you and one for her. You must stay inside one of these spotlights or get frozen in place. Her spotlight only moves every few seconds, which gives you some time to stay safe. She’ll also summon waves and attack with red-shined strikes, but your focus should be on dodging her assaults. After a few moments, Arachne will get close and perform a parry attack. It’s hard to tell exactly when she’ll do this, so vigilance is key.
When you see her charge up for a parry, parry the attack. Doing so will leave her vulnerable for a few seconds, giving you a windows to deal damage. Keep in mind, this opportunity is brief, so you won’t be able to fully rotate your entire team during that window, but it’s your best chance to hit her hard.