Select Language:
Quick Links
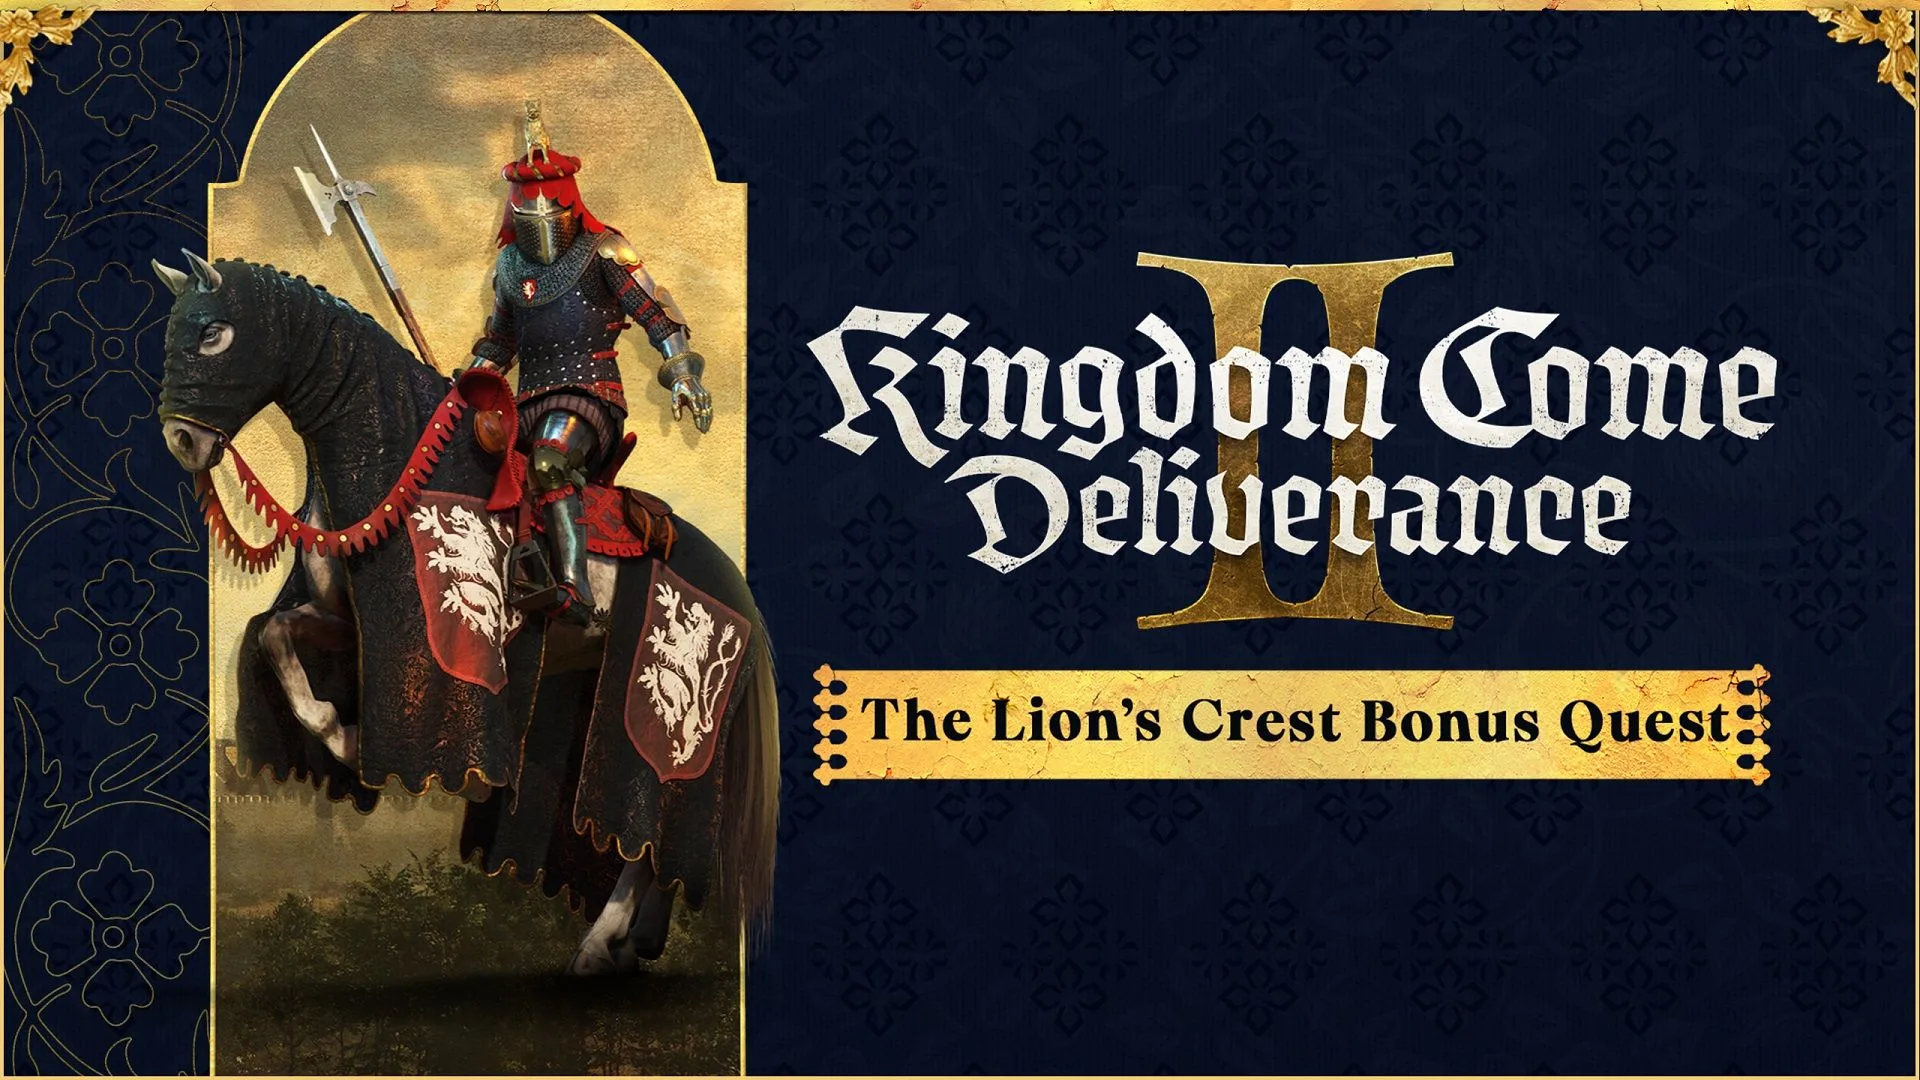
The pre-order bonus for Kingdom Come: Deliverance 2 provides access to the DLC quest ‘The Lion’s Crest,’ where players hunt for the famed armor of Sir Brunswick. This mission can be initiated right after the game starts, but don’t be surprised if it proves more challenging than it appears.
The adventure kicks off with a riddle to crack and a series of treasure maps to uncover, which can be quite daunting—especially if you’re not well-versed in the terrain. Here’s a guide to help you navigate these challenges and discover the legendary armor for yourself.
How to Start the Lion’s Crest DLC Quest in Kingdom Come: Deliverance 2
To kick off The Lion’s Crest mission, advance through the opening portion of the game until you can freely explore from Troskowitz after being released from the stocks.
Make sure you have a spade for this quest. You can find one at merchants, from miners, or at local farms.
A DLC quest marker will appear on your map, indicating where to start. This will direct you to the scribe in Troskowitz, Gaibl. Speak with him to begin the quest, and he’ll share a legend along with a riddle.
He’ll also provide you with the recipe for Brunswick’s polearm, which you can craft at a forge.
How to Solve the First Riddle in the Lion’s Crest DLC

Following your conversation with Scribe Gaibl, you’ll see the riddle listed in your quest log for reference, as this quest won’t provide any additional markers to guide you.
This may seem like a lengthy set of instructions, but there are a few important details to focus on.
|
Take leave of crone and maiden ADVERTISEMENT |
The two towers of Trosky Castle are known as the Crone Tower and the Maiden Tower. Exit north through the castle gates. If this is your first time passing through, you’ll hear Henry reference the riddle. |
|---|---|
|
Pass through the hall of forest kings |
Follow the road north to find a path leading further through the forest, starting at a shrine at a crossroads. |
|
Standing tall, two guards of stone |
This region will be quite rocky as you move deeper into the forest. As the road shifts west, look to your left for tall rock formations with passages. |
|
A place to give one’s heart to God |
As you navigate through these rocks, you’ll find an old chapel within a cavern, featuring a stone cross on a smaller rock. Interacting with this cross will reveal a spot to dig. |
This area will unveil the first piece of Brunswick’s Armor, along with two treasure maps. Note that the treasure maps will be added to your inventory rather than found as loot items, and Henry will comment on them.
The Lion’s Crest DLC Treasure Maps Locations Guide
After solving the riddle and unearthing the initial treasure, you’ll have a couple of maps to decipher. More maps will appear later, and they are numbered to guide you from one discovery to the next.
Brunswick’s Map 1
This first map will be beneficial as you embark on your quest. The right side marks Trosky Castle, the shrine, and the chapel further north.
Continue on the road past the chapel, heading further west. Utilize your map to align the roads with those depicted on the treasure map, particularly focusing on the distinct triangular crossroads.
To the woods just north of that crossroads, a wolf den awaits, along with two closely spaced tall trees. After dealing with the wolves, check between two smaller trees above the den entry, where you’ll find a bag containing your next piece of armor.
Brunswick’s Map 2
The subsequent map will guide you onwards, heading southwest. Key landmarks include a large pond and an arrow pointing to Tachov to the east.
This map displays the small settlement at Vidlak Pond. Make sure to follow the path shown just behind the fisherman’s house.
Almost immediately, you’ll encounter large rocks along the cliff’s edge, where three stone crosses are located. Scale the rocks to the northernmost cross to find the treasure chest waiting nearby.
Brunswick’s Map 3
The third map directs you not too far from your last location. In this image, Tachov is visible to the northeast, along with a pond merging into a river, two bridge crossings, and some baths.
The baths belong to the Zhelejov Tavern. From your current position, cross both bridges and follow a short, subtle path along the stream that meanders into the woods. Keep an eye out for a fallen log laid across the brook, and then ascend the hill overlooking the valley.
Here, beneath a significant oak tree on the hill’s edge, you’ll discover remnants of a skeleton. Next to it lies a bag containing the next piece of your DLC rewards.
Brunswick’s Map 4
The final map leads you southwest to the initial pond where the game begins. If you have a fast travel point at the Nomad camp, your search becomes much easier.
Your target is a hill situated directly between the Nomad camp and Bozhena’s hut. The terrain can be tricky, but expect to encounter treasure hunters that will be hostile, so prepare for battle.
After dealing with them, look for a cross atop a rock pile. Interacting with this will reward you with the final loot for The Lion’s Crest quest, completing it and giving you the full set of Brunswick’s Armor.