Select Language:
At the end of each biome in Saros, you will encounter a tough boss. These enemies deliver exciting battles with multiple phases that require your best skills. Defeating them is essential for progressing in the story. The second boss you face is Bastion.
Bastion rules the Ancient Depths as a powerful machine that can fire millions of projectiles in various ways. Here are some basic tips and strategies to defeat Bastion efficiently in Saros.
If you’re struggling with the previous boss, check out our Prophet Boss Guide for helpful tips.
### How to Defeat Bastion
#### First Phase
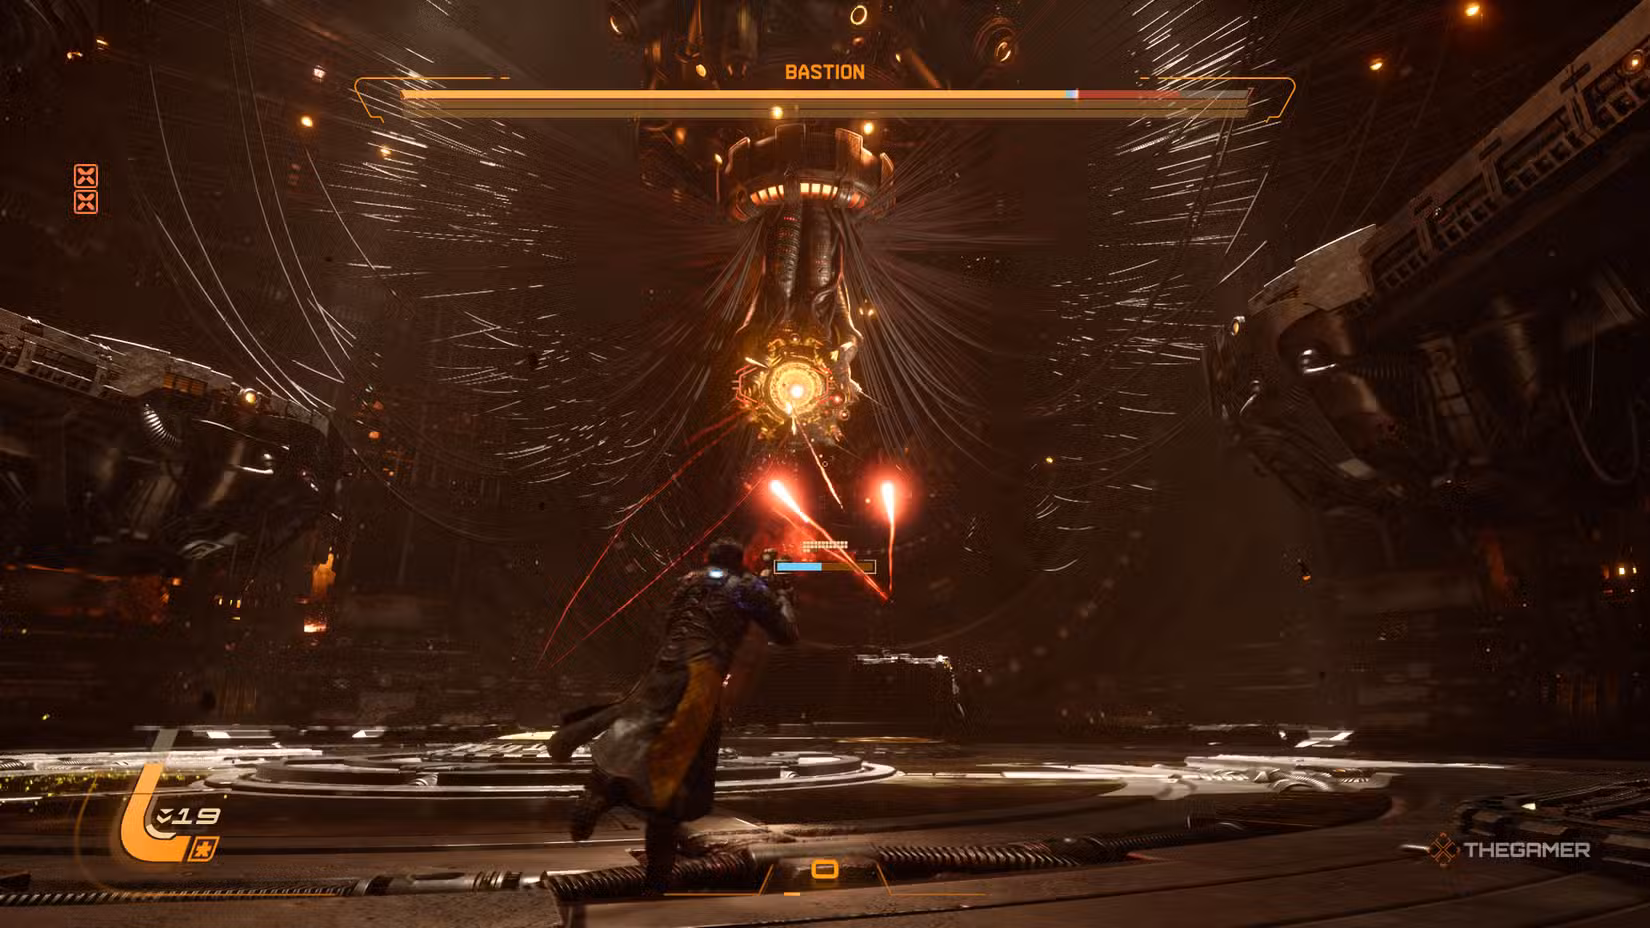
Before the fight starts, notice the arena’s layout: it’s large, with jump pods in the center and two platforms above on your sides. It’s best to stay mostly around the middle, always aiming and shooting at Bastion. Avoid going underneath the floating platforms because the floor there can activate and shoot lasers.
Bastion can charge up corrupted energy and fire a laser beam. When you see it charging, quickly dash to the side because simply running away won’t avoid it. The beam lasts a few seconds, and nearby blue projectiles can be absorbed with your shield to recharge your power.
Bastion also sends a series of yellow homing projectiles in a specific pattern. Dashing sideways when they’re about to hit is a good way to dodge. Sometimes, Bastion aims at the ground and shoots two big projectiles—a yellow one and a blue one, or two of the same color. These create walls of projectiles. Use your shield to block blue ones or dash past the yellow ones to get through.
When Bastion prepares to shoot a laser at the ground, it creates shockwaves covering the entire arena. Some are thin and easy to jump over, but taller ones require you to use the jump pods or dash through them for safety.
Later, Bastion emits a “galaxy” of blue projectiles that stay in place for a few seconds while the boss continues attacking. Activate your shield to clear small areas and prepare for the next moves.
Finally, Bastion will shoot a wall of alternating blue and yellow projectiles from a higher position, covering much of the arena. Use this opportunity to absorb blue projectiles with your shield and recharge your Power.
#### Second Phase
After completing a phase, Bastion temporarily leaves and spawns some smaller enemies. Defeat them to continue.
Once the room is clear, the second phase begins. Bastion launches a barrage of yellow homing projectiles. Dodge them by dashing just before they hit, and repeat this process twice.
Bastion also unleashes a new attack involving a “galaxy” of blue projectiles distributed around the arena. They stay in place for several seconds, so activate your shield to clear the area and prepare for the incoming attacks.
During this phase, Bastion can now shoot two red balls forming barriers—these cannot be absorbed with your shield or dashed through. When you see red projectiles, you must move to the blue or yellow side of the wall or jump over them using the jump pods.
#### Third Phase
After the second wave of minions, the final phase begins, which combines elements from previous phases without introducing new moves. Bastion will shoot more red barrier projectiles along with the existing attack patterns. Though no new moves appear, the red projectiles are more frequent when creating projectile walls.
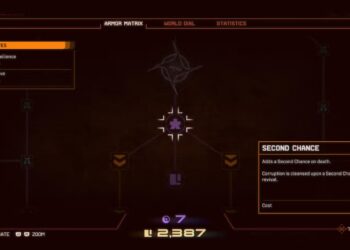
When the fight ends, you unlock new Matrix Armor upgrades and access to a new biome called Shattered Descent.