Select Language:
Crimson Desert features numerous puzzles scattered across its expansive world. From the complex Abyss island challenges to the various spire-locking tasks, players will encounter plenty of mind teasers in this action-adventure game.
Many of these puzzles are found in ancient ruins and crypts located throughout each region. One such puzzle is the Secret Chamber of the Golden Plains, which can be found in Demeniss. Here’s where to locate it, how to solve it, and what rewards to expect.
Location of the Secret Chamber of the Golden Plains
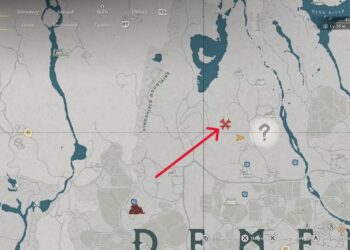
To find this puzzle, go to the Demeniss region in the east. North of the Wheelsmith Wainwright, locate a large barricaded fence and search for ruins that are overgrown with plants and vines. This isn’t the area marked with a question mark on the map but is just east of that point, a few meters away.
Approach the ruins and use your Blinding Flash ability (Left Bumper + Right Bumper) to burn away the vines until you can reach the stairs leading into the crypt below. Be cautious, as groups of mushroom enemies will rush you if you get too close. If they do, step back and use fire-based attacks to scare them off.
How to Complete the Secret Chamber Puzzle
Descend the stairs, equip your lantern, and stop once you reach the bottom. Two flame jet traps will activate, which you can dodge by crouch-walking underneath the fire. Even if you get hit, these traps deal minimal damage. Be careful in the next room because the middle of the floor gives way, revealing a spike pit. Falling into it will kill you instantly.
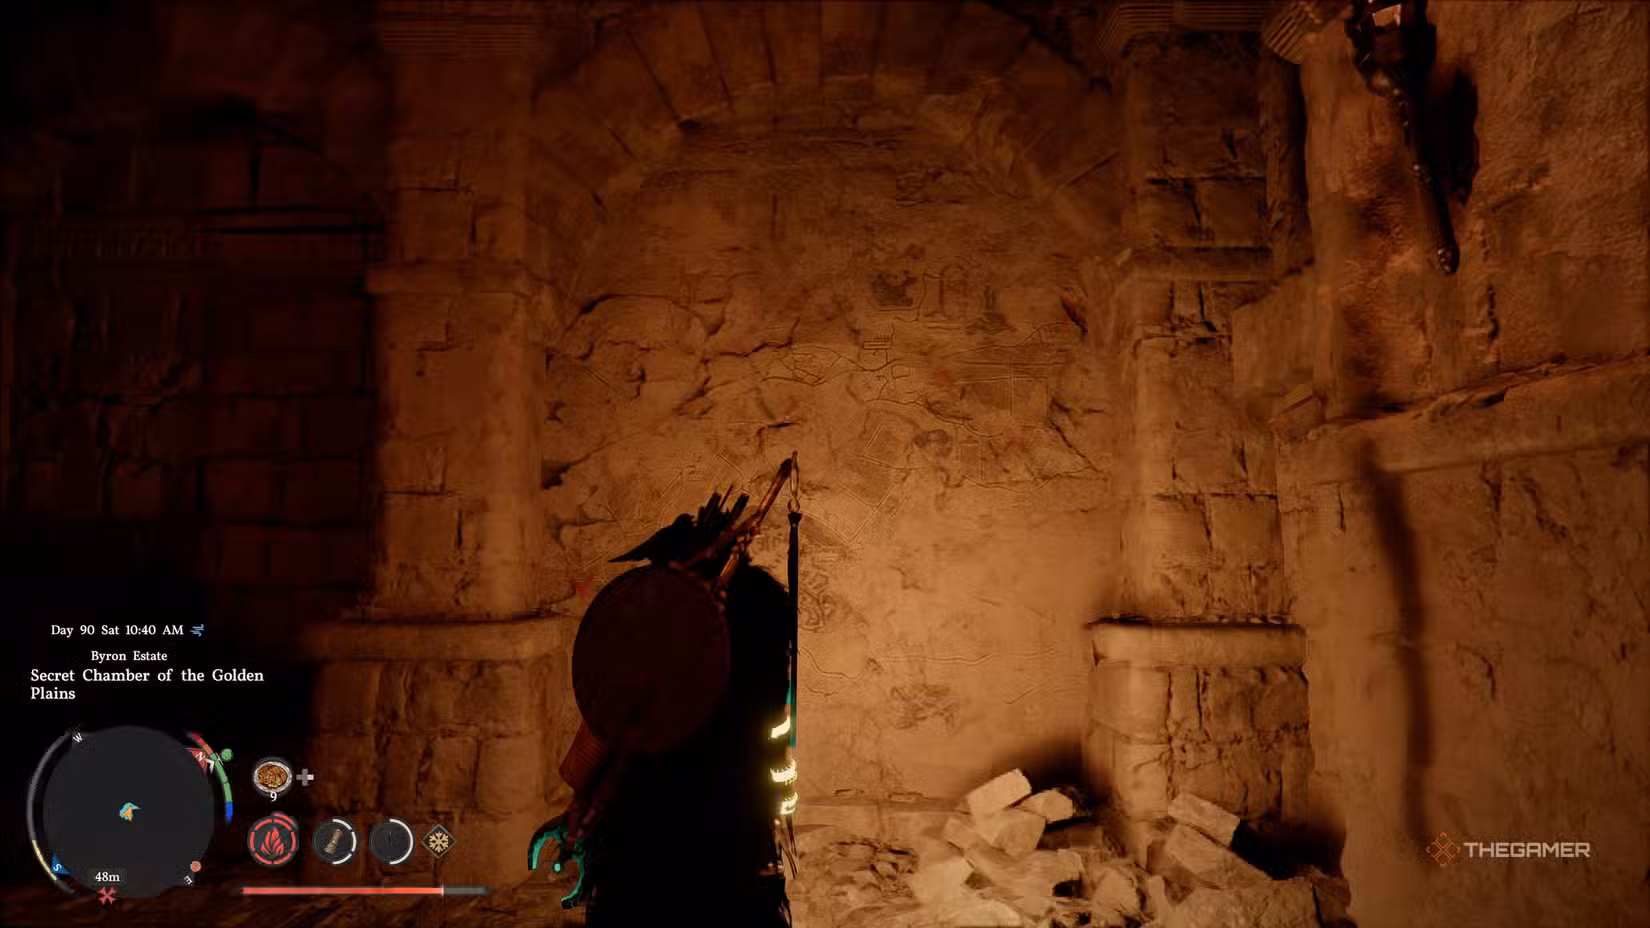
Enter through the door into a chamber with three connected rooms. The rooms on your right and straight ahead are empty and can be ignored. There’s also a mural of Demeniss marked with several locations. If you want to do the puzzle step-by-step, mark these spots on your map and visit them to find symbols for each one — though this isn’t necessary to complete the puzzle.
Proceed up the stairs on the left, where a zipline is located. Use it to reach the door below, carefully avoiding the spike pit again, as falling will likely kill you.
In the next room, look to your left. You’ll see a wall with three columns of nine symbols protruding from it. Your goal is to press the correct symbols, which you do by climbing onto the mural, holding the Left Trigger to latch onto it, and then performing a Force Palm strike over the selected symbol.
Doing so will press the button in, allowing you to move on to the next symbol. The order in which you activate the symbols doesn’t matter. The correct symbols to press are:
- Grape — Top symbol in the first column
- Pomegranate — Middle symbol in the second column
- Horse — Top symbol in the third column
- Bird — Middle symbol in the third column
- Fish — Bottom symbol in the third column
Once all the correct symbols are pressed, the wall will lower, revealing an Abyss Artifact pedestal. There is also a lever nearby to open a passage back outside, but first, explore a small room in the back right corner of this chamber.
Treasure Room Access
In that small hidden room, you’ll find a door leading to a treasure chamber. Quick movement through this door is needed to avoid a spike trap on the floor. Inside, you’ll see piles of copper, crude gold bars, a Bekker Shield, assorted vases for selling, silk, and fabric. When you’ve gathered enough, pull the lever you previously activated to open the passage back to the surface and exit the crypt.