Select Language:
The Crimson Desert offers many hidden items such as collectibles, weapons, armor pieces, secret bosses, side quests, and puzzles. If you mainly stick to the main storyline and avoid exploring the large regions, you might miss a lot of this content.
One puzzle located in the Golden Plains is easy to overlook, and it can be tricky if you don’t know what to look for. Here’s everything you need to know to solve the Golden Plains puzzle in Crimson Desert, plus what rewards you’ll get.
### Golden Plains Puzzle Solution
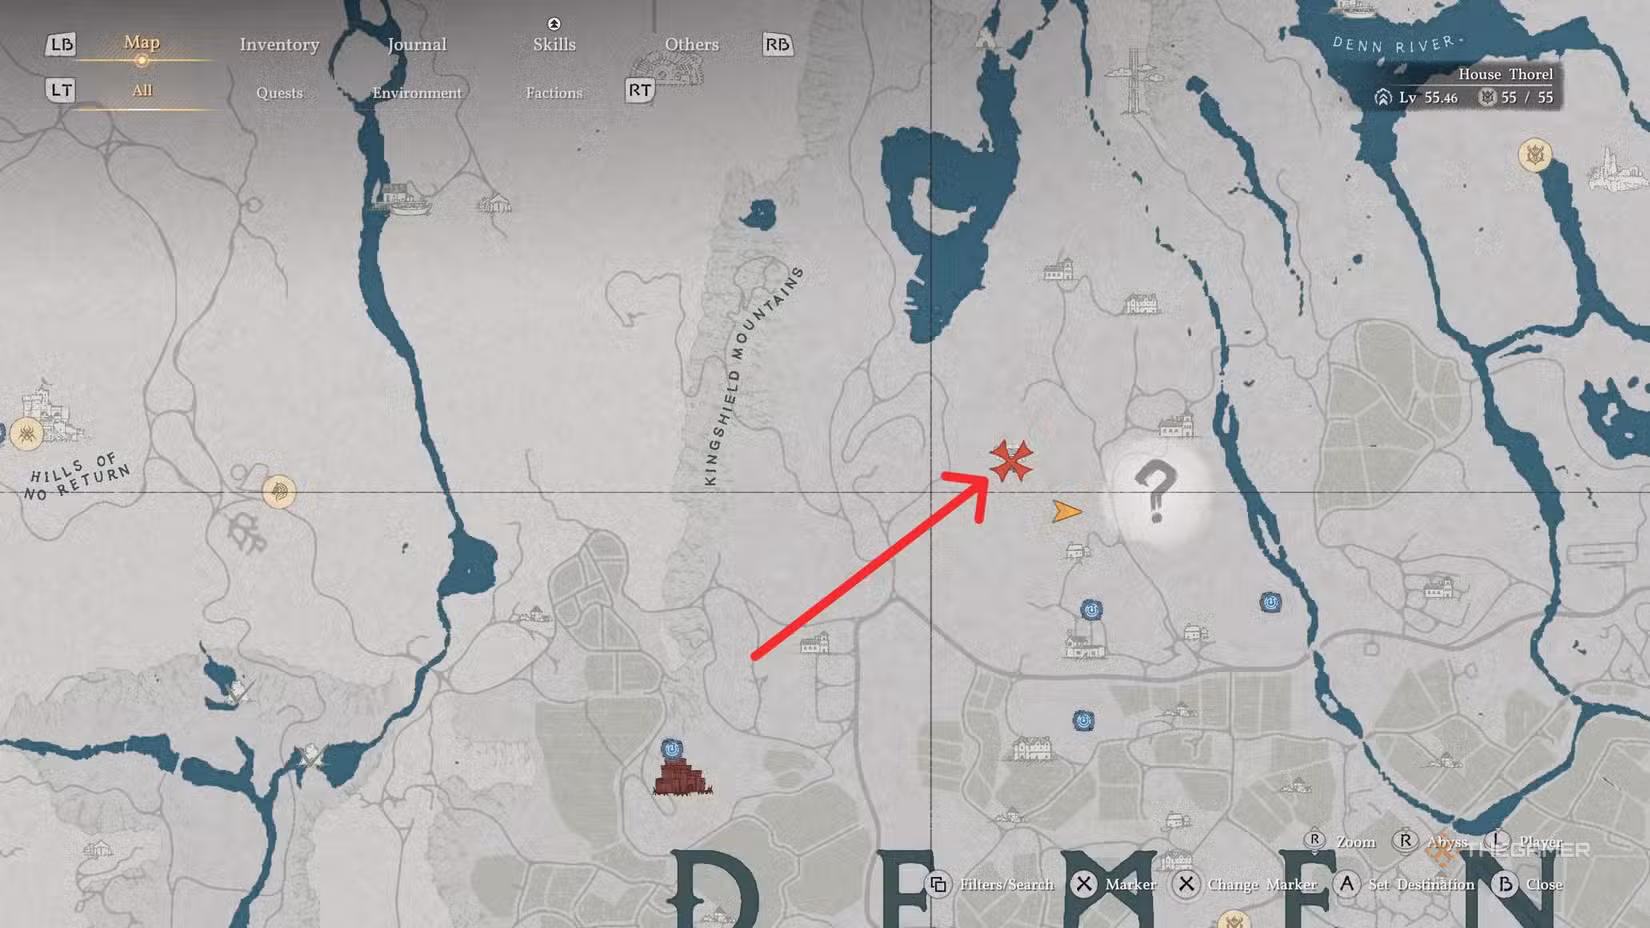
To find this puzzle, head north of the Western Court and west of Honeywood Apiary in the Demeniss region. Among the trees, you’ll see a big stone ruin with four statues facing a central platform. When you arrive, these statues will be facing different directions and will move if you interact with them.
Your goal is to make all four statues face the central platform again. Moving one statue can cause others to move too, so you need to follow a certain order to get all of them pointing toward the middle. Before you start moving the statues, you need to free one from vines.
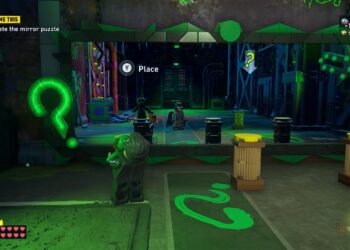
Look toward the broken wall and use your Blinding Flash ability by pressing both the Left and Right Bumpers simultaneously. Focus the light by pressing the Left Bumper again and aim the beam at the vines. After a few seconds, the vines will catch fire and burn away, revealing a hidden statue. You can also use any flame-based ability to light the vines if you prefer.
Once the hidden statue is revealed, you can continue with the puzzle.
With all four statues visible, we can begin. For clarity, let’s label them as Statue 1, 2, 3, and 4, starting with the one opposite the vine-free statue from earlier.
Start with Statue 4. Approach the back of the statue and interact. Turn the statue until its arrow at the base and the front face the central platform.
Next, go to Statue 3 and rotate until Statue 2 faces the middle platform. This step can be challenging, so adjust your camera to see Statue 2 clearly while moving Statue 3. Releasing the movement and checking the position can help if you’re unsure.
Finally, move Statue 1 and turn it left until both it and Statue 3 face the middle platform. When these two statues are aligned correctly, the platform will begin to shake and transform into a small altar containing an Abyss Artifact. This also creates a fast travel point for easy return to this location.