Select Language:
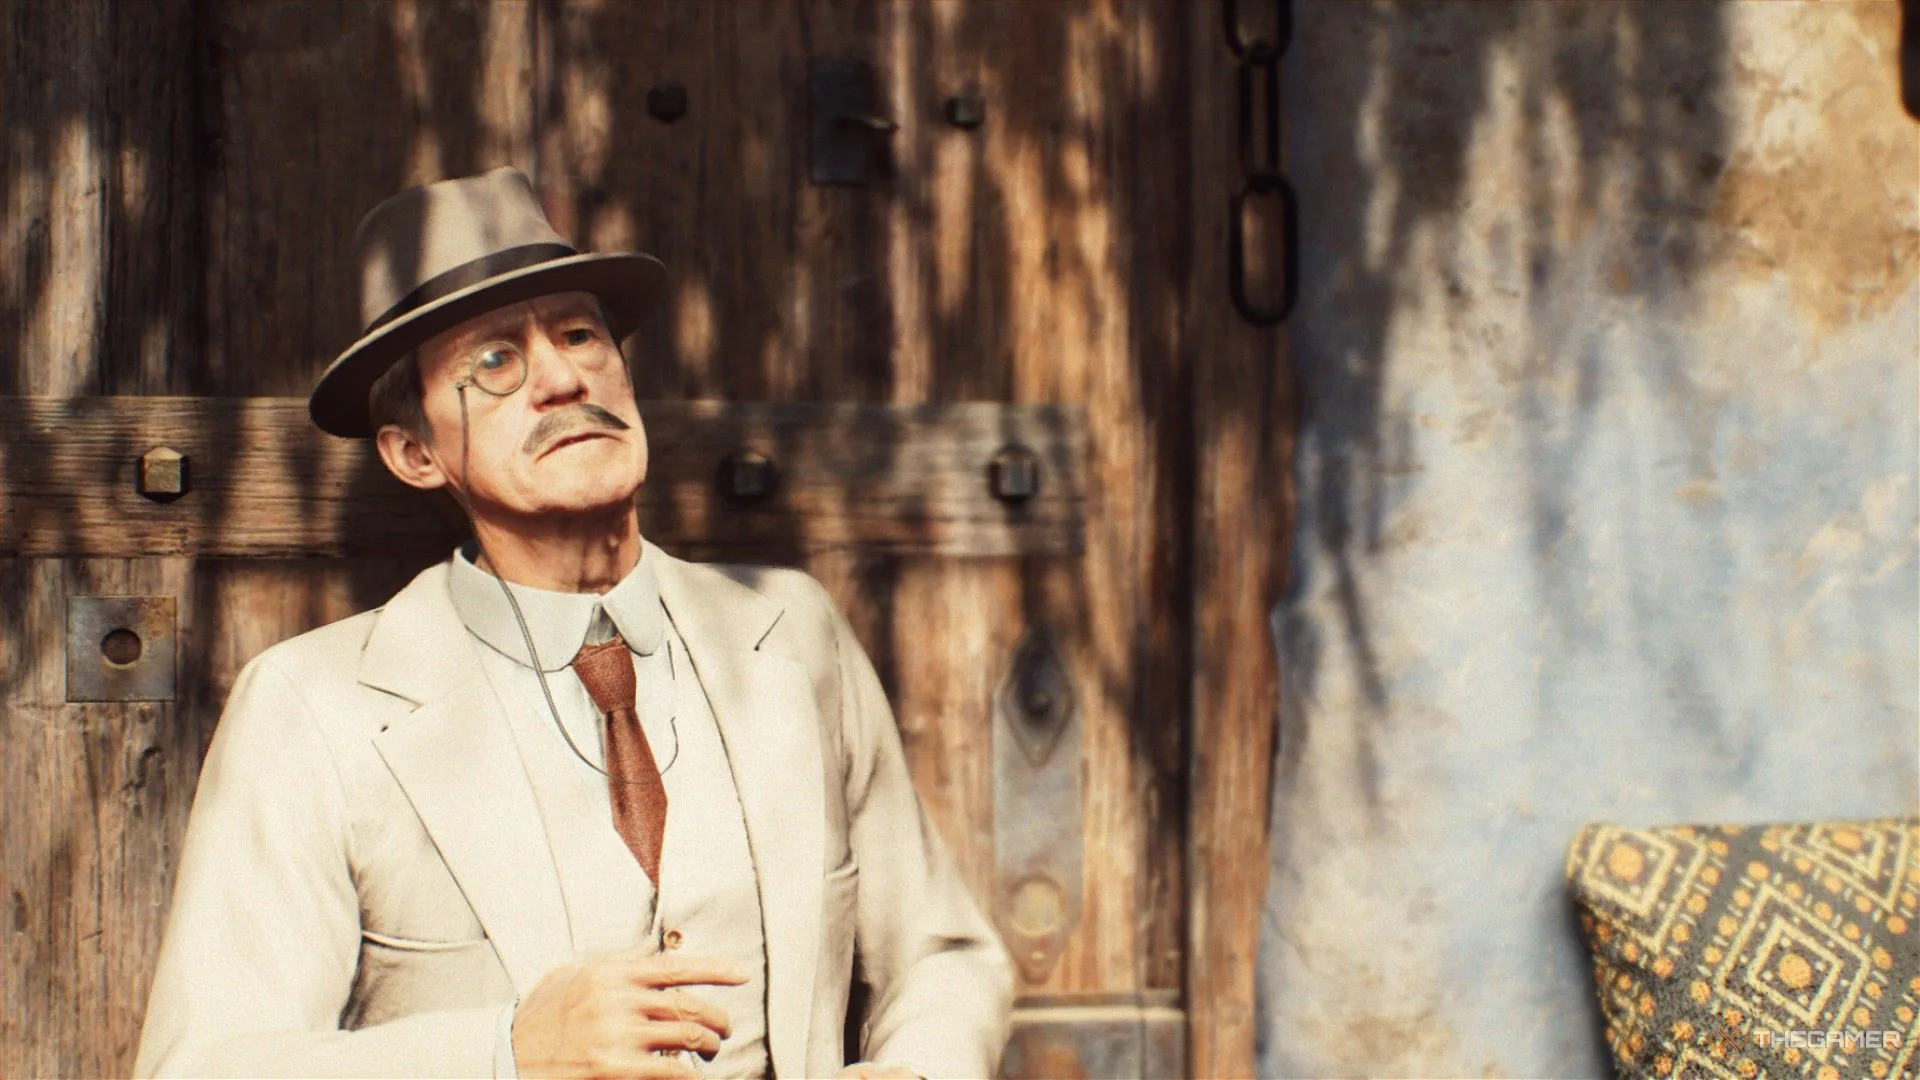
Assisting Professor Savage and rescuing Sidney in the Vatican was no small feat in Indiana Jones and The Great Circle, and now the unfortunate British scholars find themselves in yet another predicament. As you approach the end of your escapades in Gizeh, whispers about an Englishman needing assistance start to circulate—a situation that is becoming all too common.
Of course, you can’t forsake Sidney in his time of need. This rescue mission is far more perilous, with better-armed guards who are quicker to open fire. Here’s your guide to ensuring both your and Sidney’s safe escape.
Getting Started with the Savage Predicament Fieldwork Mission
This quest becomes accessible only after you have successfully infiltrated and exited the Nazi compound in Gizeh and returned safely to Nawal’s tent. Additionally, you must have completed A Savage Discovery in Vatican City.
To return to the Vatican, utilize the Travel Tab in your Journal and select the Revisit option.
When Nawal mentions that there’s an Englishman in the village seeking assistance, take that as your signal that the mission is ready for you. Travel to Gizeh Village, located on the east side of the map; you’ll find Savage in the village square, close to the merchant where you purchased the lighter earlier. As you approach, you’ll hear him calling for help.
Chat with Savage to kick off a cutscene and officially start the quest.
How to Obtain the Wehrmacht Uniform (Optional but Recommended)
If you haven’t already, head north of the village to the checkpoint located east of the Nazi compound, where you resurfaced after the cave-in. Navigate to the back of the guard tower and use your whip to climb up. Move around the ledge to the front and enter through the open window.
Defeat the guard inside and then take his uniform from the table downstairs. Wearing this will greatly ease your infiltration of the compound later, as only officers will question your presence.
Returning to the Detention Center
You don’t have to go through the tunnels at the Great Pyramid dig site again like you did during the story mission, though that’s still an option. Now, you’re able to enter through the western entrance across from the dig site. This route is much faster, and the tunnels won’t get you very far, so taking the direct approach is the best choice now.
The Detention Center is the wooden building located at the southern edge of the compound where you encountered Voss and Gantz. This time, you can enter through the front door if you choose, but it’s wiser to sneak in through the side window as before. The front entrance is crawling with guards, making it easier to catch them off guard from the side exit.
Once inside, turn left from the main entrance and then head right into the holding cells. Grab the note from Gantz on the table to learn that Sidney has now been moved to the Khafre Excavation Site. You can also check the cell on the right to find a letter Sidney wrote home.
After collecting both letters, exit the compound and make your way to the Excavation Site to the southwest.
How to Rescue Sidney at the Excavation Site
Upon arriving at the Khafre Excavation Site, your Journal map will change to a more detailed view of the area. Start by heading to the central building of the site. Entering from the north side allows you to quickly grab a Medicine Bottle and a Radio Frequency. Afterward, take the page from Gantz’s journal off the mess table inside the main room.
The note indicates that Sidney has been assigned to Tunnel A1. The entrance is located southeast of your current building, accessible by going up the wooden ramp from the A2 entrance. Be cautious on your way there; even with the Wehrmacht uniform, there’s an officer stationed just outside between the mess tent and the tunnels. If he spots you, expect to deal with an unusually high number of heavy guards in the area.
Follow Tunnel A1 until you reach the end, then use your whip to climb down into the hole where Sidney is. After the cutscene, you’ll find yourself in front of a breakable wall, with a metal rod conveniently at your feet to help break it. Before you proceed, snap a photo of the mural on the left wall.
How to Escape the Tunnels with Sidney
Break through the wall and follow the tunnels until you reach a fork. There’s a table with some bread that can give you a quick health boost, but stay low; the path ahead is guarded by two heavies, which could lead to a tough skirmish.
The left and center paths will attract the attention of the heavies. Instead, look for a less obvious route to the right that allows you to surprise them. Taking one out silently with a sledgehammer or another weapon before facing the second guard will make the encounter much easier.
Once you’ve dealt with the heavies, follow the minecart tracks uphill until you come to a collapsed support beam; lift it to make your exit. At this moment, Sidney will find his own way back to the village. Be sure to check in on him at the same spot where you met Professor Savage earlier to receive one of the ten hidden Stelae for the Cairo Museum and finish the quest.