Select Language:
In Roblox: One Piece Grand Arena, players can embody their favorite characters from One Piece, leveraging their unique abilities to compete for the title of King of the Pirates in thrilling 20-player battle royales. To enhance your character’s skills, you’ll need to spend diamonds at the Gacha Machine, unlocking new abilities to form powerful skill combinations.
The gacha system is quite user-friendly, allowing you to acquire nearly the entire character lineup in fewer than one hundred attempts. Once you’ve unlocked several character skills, it’s important to differentiate between the less effective options and the top-tier skills. This tier list aims to assist you in making those selections.
Character Skill Tier List
The One Piece Grand Arena skill tier list categorizes character abilities into five tiers: S, A, B, C, and D. Here’s a brief rundown of what each tier signifies:
- S Tier: Exceptional skills that are unmatched in strength. If you have these, you’re well-equipped.
- A Tier: High-performing but slightly less powerful than S Tier. These are solid choices until you acquire the best.
- B Tier: Average skills. With sufficient duplicates, these can be improved, but it’s usually not necessary due to the generous pity system.
- C Tier: Mediocre skills that may disappoint when used in gameplay.
- D Tier: Ineffective skills that should generally be avoided during battle royales.
When ranking these skills, several factors were taken into account, including attack power, speed, and accuracy. Interestingly, the animation length of each skill also played a significant role. Many characters possess impressive damage capabilities, but lengthy animations can leave them vulnerable to counterattacks, often leading to devastating combos from opponents.
S Tier

|
Skill |
Reason |
|---|---|
|
Ace’s Great Flame Commandment: Flame Emperor |
This skill launches a giant fireball, igniting a large area. Enemies take significant damage over time and cannot enter the zone without getting hurt, making it ideal for crowd control and guarding high-value treasure. |
|
Luffy’s Gear Two |
Luffy’s Gear Two is currently one of the most powerful abilities in the game. The rapid-fire punches can quickly deplete enemy health and fill your bounty bar. No skill can currently counter Gear Two, so landing the hit yields substantial rewards. |
|
Magellan’s Poison Dragon (Hydra) |
Magellan’s Hydra attack meets expectations, unleashing a multi-headed stream of poison that looks spectacular and deals exceptional damage while stunning enemies for a few seconds. It boasts the largest area of effect, making it perfect for disrupting enemy plans. |
|
Pacifista’s High-Temperature Laser |
This skill has one of the most formidable straight-line attacks, notable for its speed and ability to penetrate multiple foes. Utilize its cooldown reduction ability to mitigate its few downsides. |
|
Zoro’s Onigiri |
One of the finest skills in the game, Zoro’s attack serves both defensive and offensive purposes. His three-sword strike delivers high damage, is precise, and easy to aim. It can also help you escape combos and occasionally land counter-hits. |
A Tier
|
Skill |
Reason |
|---|---|
|
Arlong’s Shark Tooth Drill |
This skill can either inflict damage or be used to swiftly dodge area attacks. The spinning strike can hit multiple enemies or build damage on a single target, while also providing a means of escape from danger. |
|
Crocodile’s Ground Death |
This ability generates quicksand that pulls in enemies, inflicts continuous damage, and stuns all enemies affected. Its wide area of effect can lead to significant bounties. |
|
Franky’s Weapons Left |
A straightforward point-and-shoot skill that fires a powerful cannon in a straight path, hitting any enemy in its trajectory and igniting the spot for AoE damage. While it can be dodged, when aimed correctly, it can inflict considerable damage on multiple foes. |
|
Bon Clay’s Memoir of that Summer Day |
While challenging to master due to its timing and aiming, this skill sends the enemy flying to the opposite side of the map every time it connects. It can also interrupt enemy combos, offering a chance to escape tricky situations. |
|
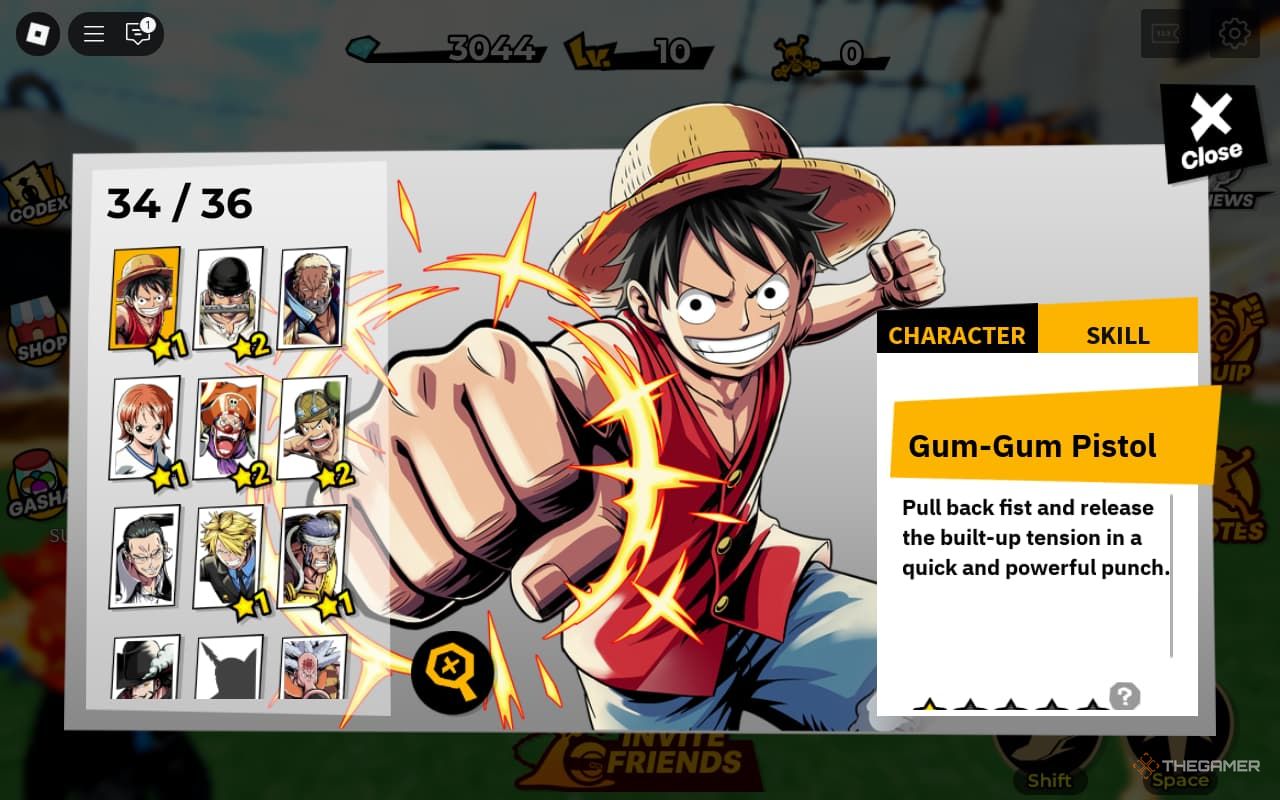
Luffy’s Gum-Gum Pistol |
This skill is highly rewarding, delivering a substantial amount of damage, is fairly easy to land, and boasts a short cooldown. With just a bit more range, it would definitely qualify as an S-tier skill. |
|
Mihawk’s Flash of the Master Swordsman |
This skill lost its S-tier standing due to its lengthy animation. It releases a massive projectile that inflicts significant damage on multiple foes. Still, the animation leaves the user vulnerable for several seconds, allowing dodging enemies to counter-attack easily. |
|
Robin’s Cien Fleurs: Delphinium |
This ability scores higher for its quick, short animation. Though it may not deliver the highest damage, it enables you to initiate a combo by stunning opponents. Its fast animation allows you to transition to a follow-up attack almost immediately. |
|
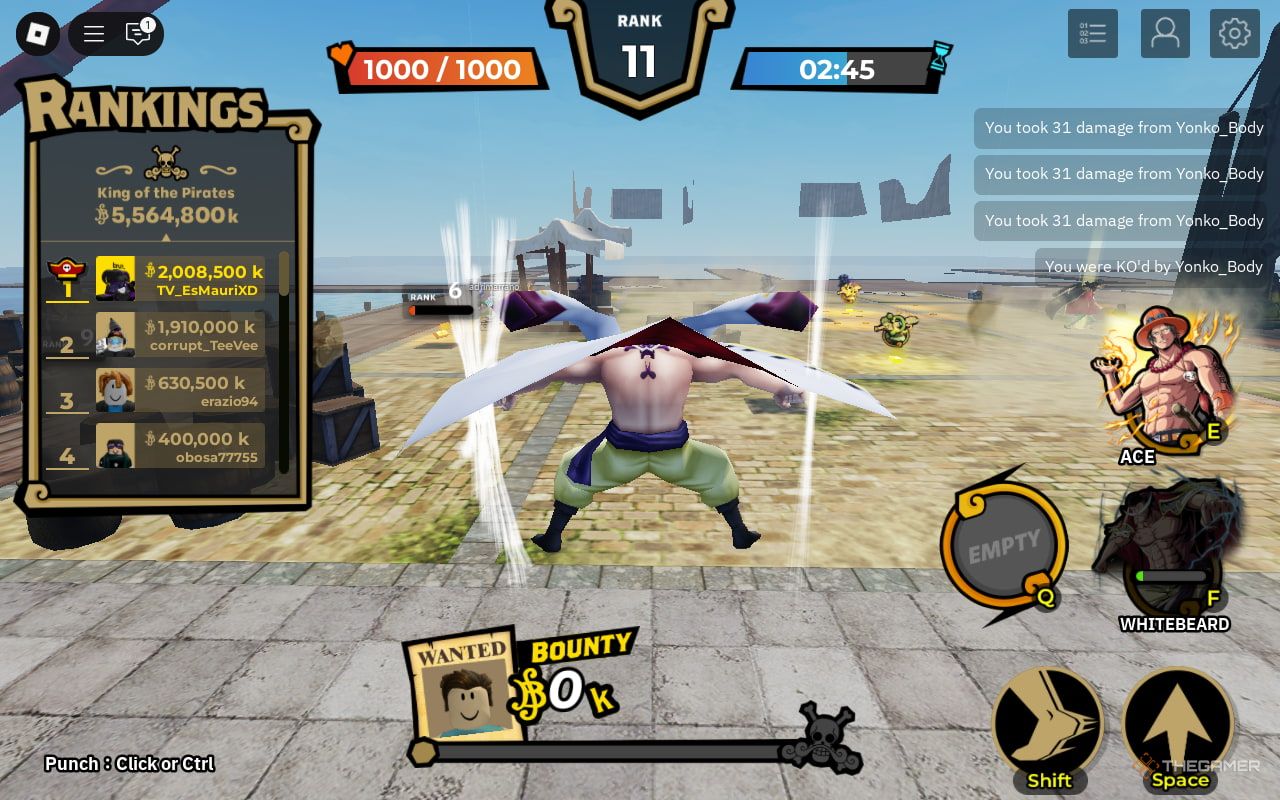
Whitebeard’s Sea Quake |
Upon activation, a towering figure appears and creates a massive sea quake, dealing AoE damage that sends multiple foes airborne. All enemies hit are stunned for a brief three seconds afterward, making it powerful despite its minor animation flaws. |
B Tier
|
Skill |
Reason |
|---|---|
|
Buggy’s Chop-Chop Festival |
This area attack skill delivers multiple blows to foes while momentarily incapacitating them. However, it’s let down by low overall damage. |
|
Brook’s Gavotte Bond En Avant |
Ideal for escaping AoE attacks and interrupting enemy combos, but it’s hard to land successfully. You’ll find it difficult to achieve triple-digit damage. |
|
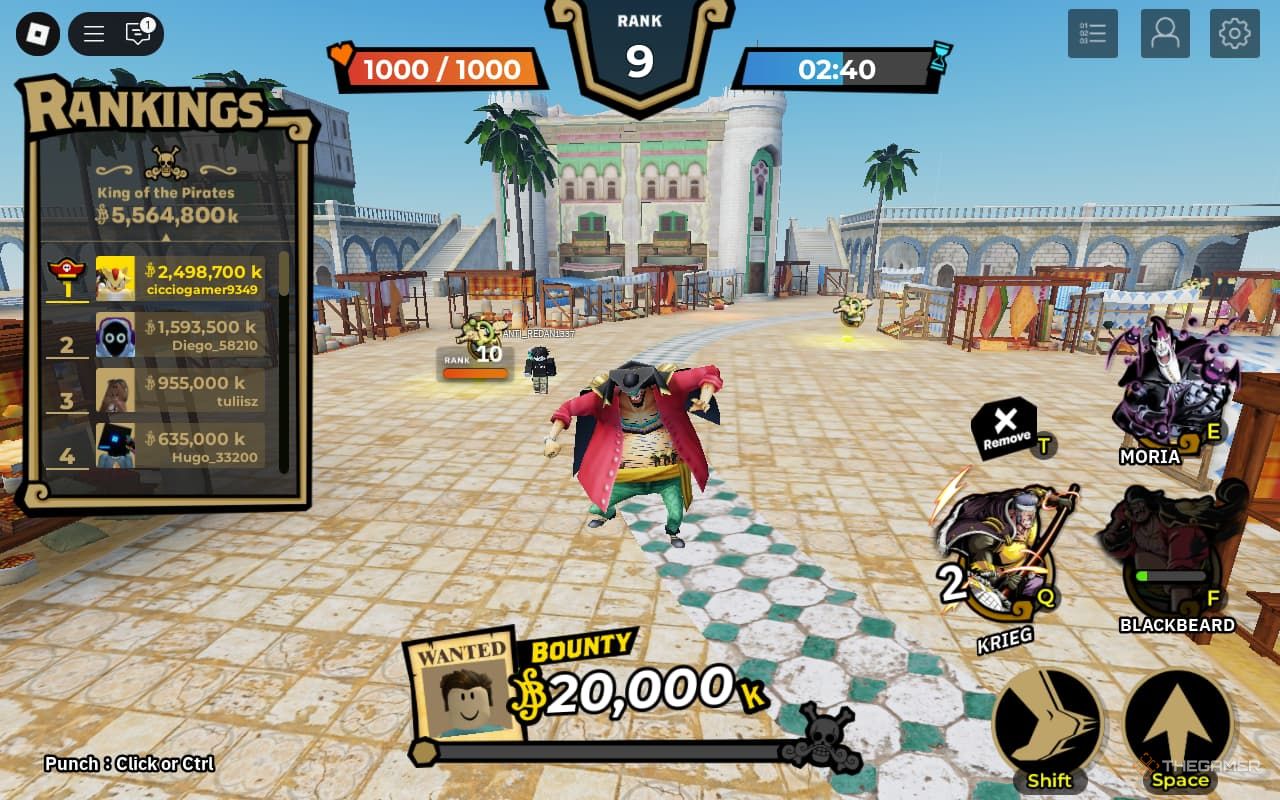
Blackbeard’s Black Hole |
This skill should match the potency of Whitebeard’s Sea Quake, but it falls short. While excellent for area control by grabbing enemies and tossing them away, its low damage output and lack of defensive capacity disappoint. |
|
Chopper’s Cloven Rose |
Chopper attempts to make a significant impact, but you need pinpoint precision to utilize this skill effectively. It’s best suited for evasive maneuvers. |
|
Don Krieg’s Mighty Battle Spear |
A useful dash followed by an AoE attack that provides decent damage and facilitates escape from enemy attacks. However, its slow execution makes it easily avoidable. |
|
Blueno’s Iron Body: Smash |
One of the few high-impact aerial attacks in the game, this skill launches you into the air for a powerful strike, delivering triple-digit AoE damage. |
|
Lucci’s Spots Ultimate Radius: Six King Pistol |
A skill that carries high risk and high reward; landing it unleashes massive damage, but if you miss, you become vulnerable. |
|
Ryuma’s Three-Pace Hum: Notch Slash |
This swift move allows for immediate damage with minimal delay, but its good attack is counteracted by its tendency to be easily dodged. |
|
Usopp’s Secret Technique: Exploding Stars |
A highly accurate attack that causes a massive explosion and burn damage over time. Despite its effectiveness, there are better long-range options available, placing it in Tier B. |
|
Hatchan’s Hachi Ink Jet |
This primarily defensive skill fires ink at opponents, obstructing their vision for three seconds, making it possible to escape. However, its damage output is nearly non-existent. |
C Tier

|
Skill |
Reason |
|---|---|
|
Kuro’s Creeping Cat |
Kuro’s skill allows him to go invisible and slash opponents, making it appear powerful. However, it fails to inflict meaningful damage. It’s more useful for evading AoE attacks or breaking free from combos rather than as a primary attack. |
|
Nami’s Thunder Lance Tempo |
This skill has a slow and lengthy animation that makes the user susceptible to enemy hits. While the thunder bolt is decent, it’s the only thing keeping it from dropping to D tier. |
|
Moria’s Brick Bat |
Summoning bats to attack opponents sounds impressive, but it’s a multi-hit skill that suffers from poor dodge mechanics. The animation is slow, making it easy for opponents to evade. |
|
Sanji’s Concasser |
This skill can dish out decent AoE damage, but its precision is lacking. The attack launches you into the air, making it easy for most opponents to avoid. |
D Tier

|
Skill |
Reason |
|---|---|
|
Wapol’s Munch-Munch Mutation: Tongue Canon |
This skill is plagued by the slowest animation, poor aiming, and subpar damage, even on direct hits, making it one of the least effective long-range abilities. Avoid it at all costs. |
|
Mr.1’s Buzz Saws |
This ability requires you to be dangerously close to an enemy to land two weak punches. With no stun effect, you’ll find yourself taking more damage than you deal. |
|
Absalom’s Invisiskating |
This invisibility skill offers no following attack, making it even less useful than others, resulting in mere invisibility rather than any strategic advantage. |
|
Kaku’s Nose Pistol |
Though it deals reasonable damage, its control and aim issues make it best suited for avoiding sandstorms, admiral attacks, and other threats. |
|
Morgan’s Axe-Hand Execution |
With a minuscule hitbox and a single swing that’s easy to dodge, Morgan’s Axe-Hand skill has little to offer in combat and should be avoided when possible. |
|
Kuroobi’s Thousand-Brick Fist |
As the epitome of melee skill in One Piece Grand Arena, it requires you to stand practically on top of your enemy to cause any damage, which yields minimal results. |
|
Hancock’s Love-Love Mellow |
The very limited range and low damage output make this skill underwhelming. Though it can petrify opponents to start a combo, its lengthy animation means foes are likely to evade before it lands. |
|
Ivankov’s Death Wink |
Intended for crowd control, Death Wink often misses the mark. It tends to propel the user backward more than it knocks down any enemies. |
|
Jimbei’s Ocean Current Shoulder Throw |
This skill, while promising in the anime, underwhelms in the game, as the water projectile travels far too slowly to connect effectively. |