Select Language:
If you’re diving into the world of Nintendo Switch, you might need some assistance setting up your Nintendo Switch 2. Don’t worry—we’ve been through this before and can guide you through the process, from connecting your dock to transferring data from your old Switch to your new one. Read on for a complete guide to getting your Nintendo Switch 2 up and running.
1. Unbox Your New Console
(Image: © Future)
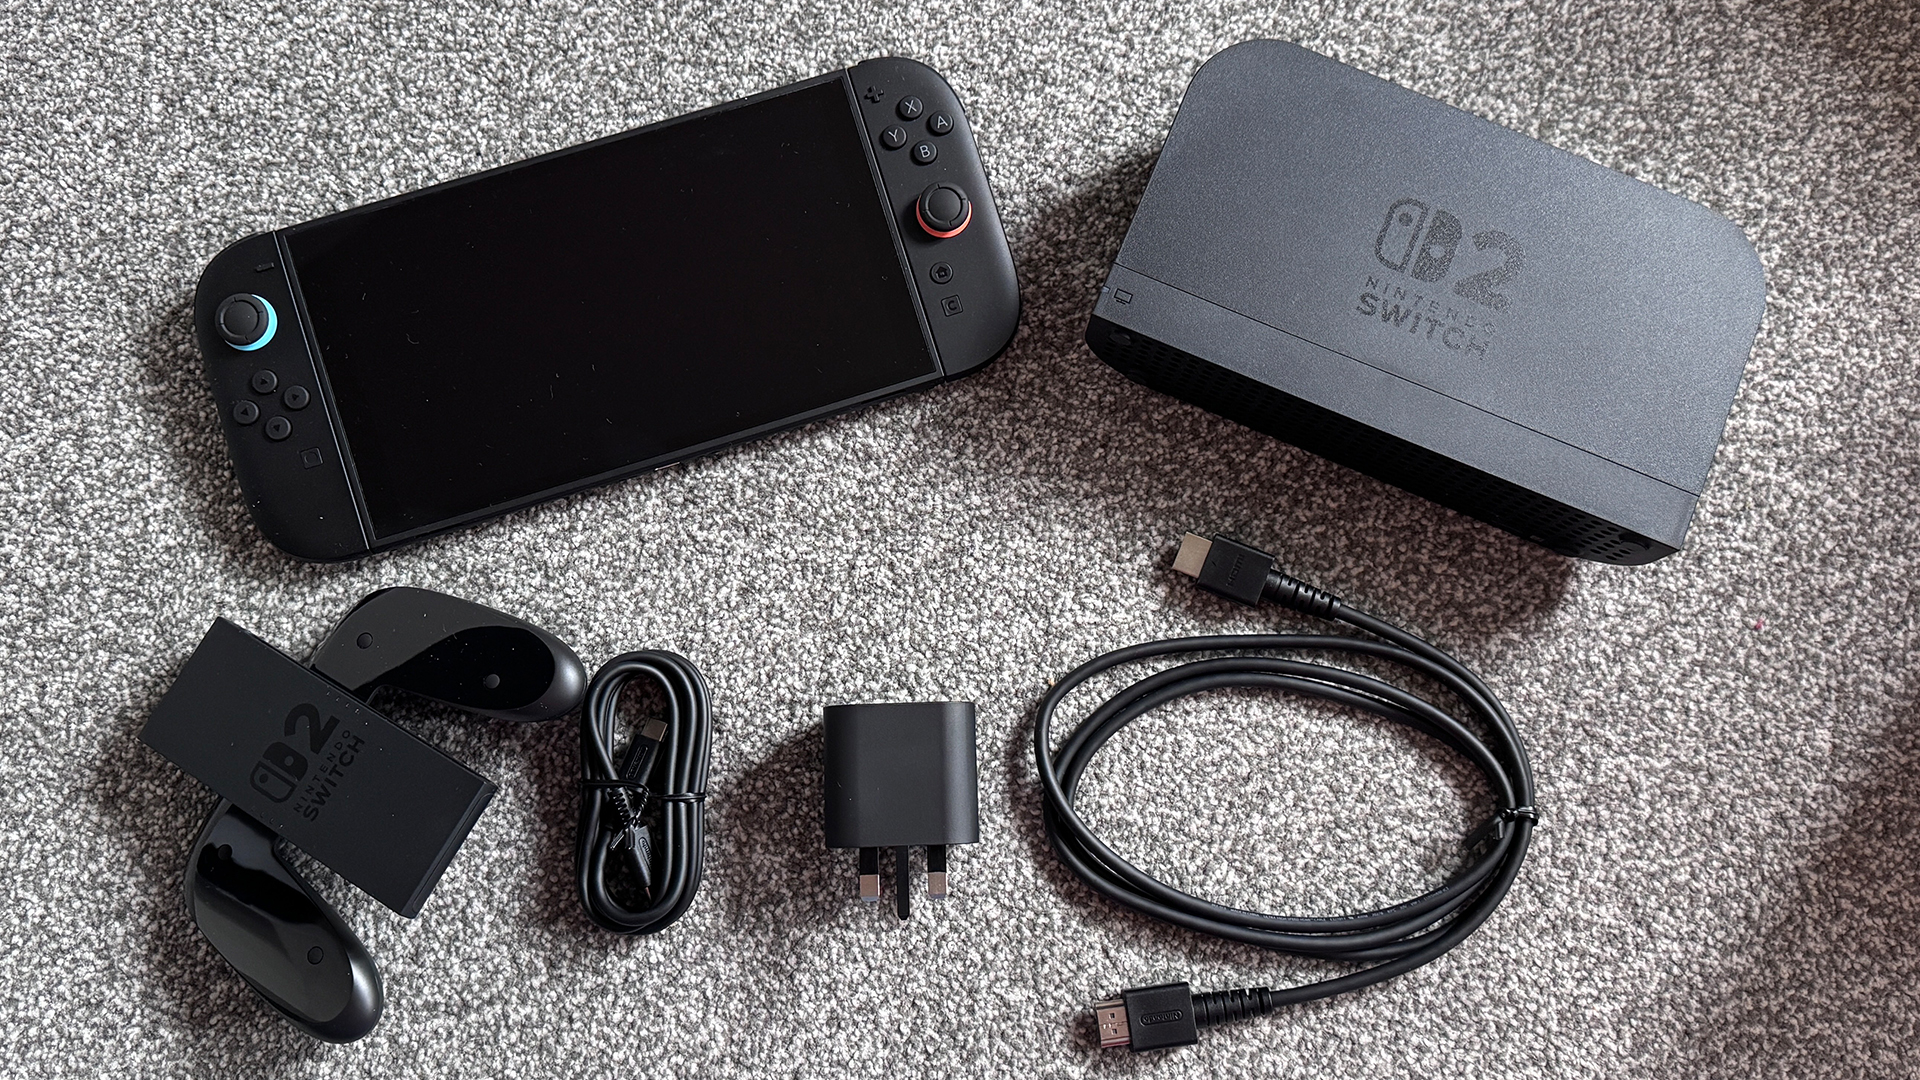
Your Switch 2 box comes with everything you need for setup, including:
- The Switch 2 console
- Two Joy-Con 2 controllers
- HDMI cable
- Power cable
- The dock
Feel free to explore the additional items later!
2. Power On and Begin Setup

(Image: © Future)
Press the power button located on the top left of the screen, and follow the on-screen prompts to begin your setup.
Start by selecting your preferred language and region, which will configure the language settings and your Nintendo eShop location.
You’ll also need to review an Important Information document, but we all know how that goes.
3. Connect to the Internet

(Image: © Nintendo)
Next, you’ll need to connect to the internet. Have your Wi-Fi password handy; the process is straightforward, especially with the touchscreen.
After connecting, your console will automatically start an important system update. Don’t forget to select your timezone for the Switch 2 clock.
4. Discover Different Play Styles

(Image: © Nintendo)
This section familiarizes you with the different play styles of the Nintendo Switch 2—handheld, tabletop, or docked.
You’ll also learn how to detach the Joy-Con 2 controllers by pressing the button beneath the shoulder buttons on each one. Plus, there’s a guide on using the safety wrist straps that come with your console.
5. Set Up Your Switch 2 Dock

(Image: © Future)
Now, it’s time to connect the Switch 2 dock. This dock is slightly different from the original Switch or the Switch OLED, with a rear panel that may be a bit trickier to remove.
Once you’ve got the panel off, plug in the USB-C power adapter and HDMI cable into their respective ports before putting the rear panel back on. To attach it easily, start at the bottom and hinge it back up.
Connect the dock to your TV and plug in the power cord. If your TV supports 4K and 120Hz refresh rates, be sure to use the suitable HDMI port.
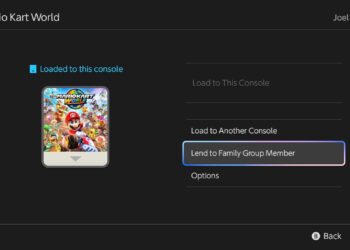
6. Transfer Data From Your Old Switch

(Image: © Nintendo)
If you’re upgrading from an original Switch or Switch OLED, you can transfer your data now. This includes games, save files, and more. If you have a microSD card, insert it at this stage.
Log into your Nintendo Account by scanning a QR code and entering a verification code on your Switch 2. Then, bring your old Switch and new Switch 2 close together for the transfer.
On your old console, go to System Settings > System > System Transfer and follow the prompts until you see “Searching for the Nintendo Switch 2 console.”
It may take time, but once you press ‘Start Receiving Data’ on your Switch 2, the transfer will begin. Once finished, you’re ready to play!
Note: If you prefer not to transfer data, you can skip this step. Just choose ‘Don’t Transfer Data’ and log into your Nintendo Account or create a new one to get started.
7. Insert Your MicroSD Card (If Applicable)
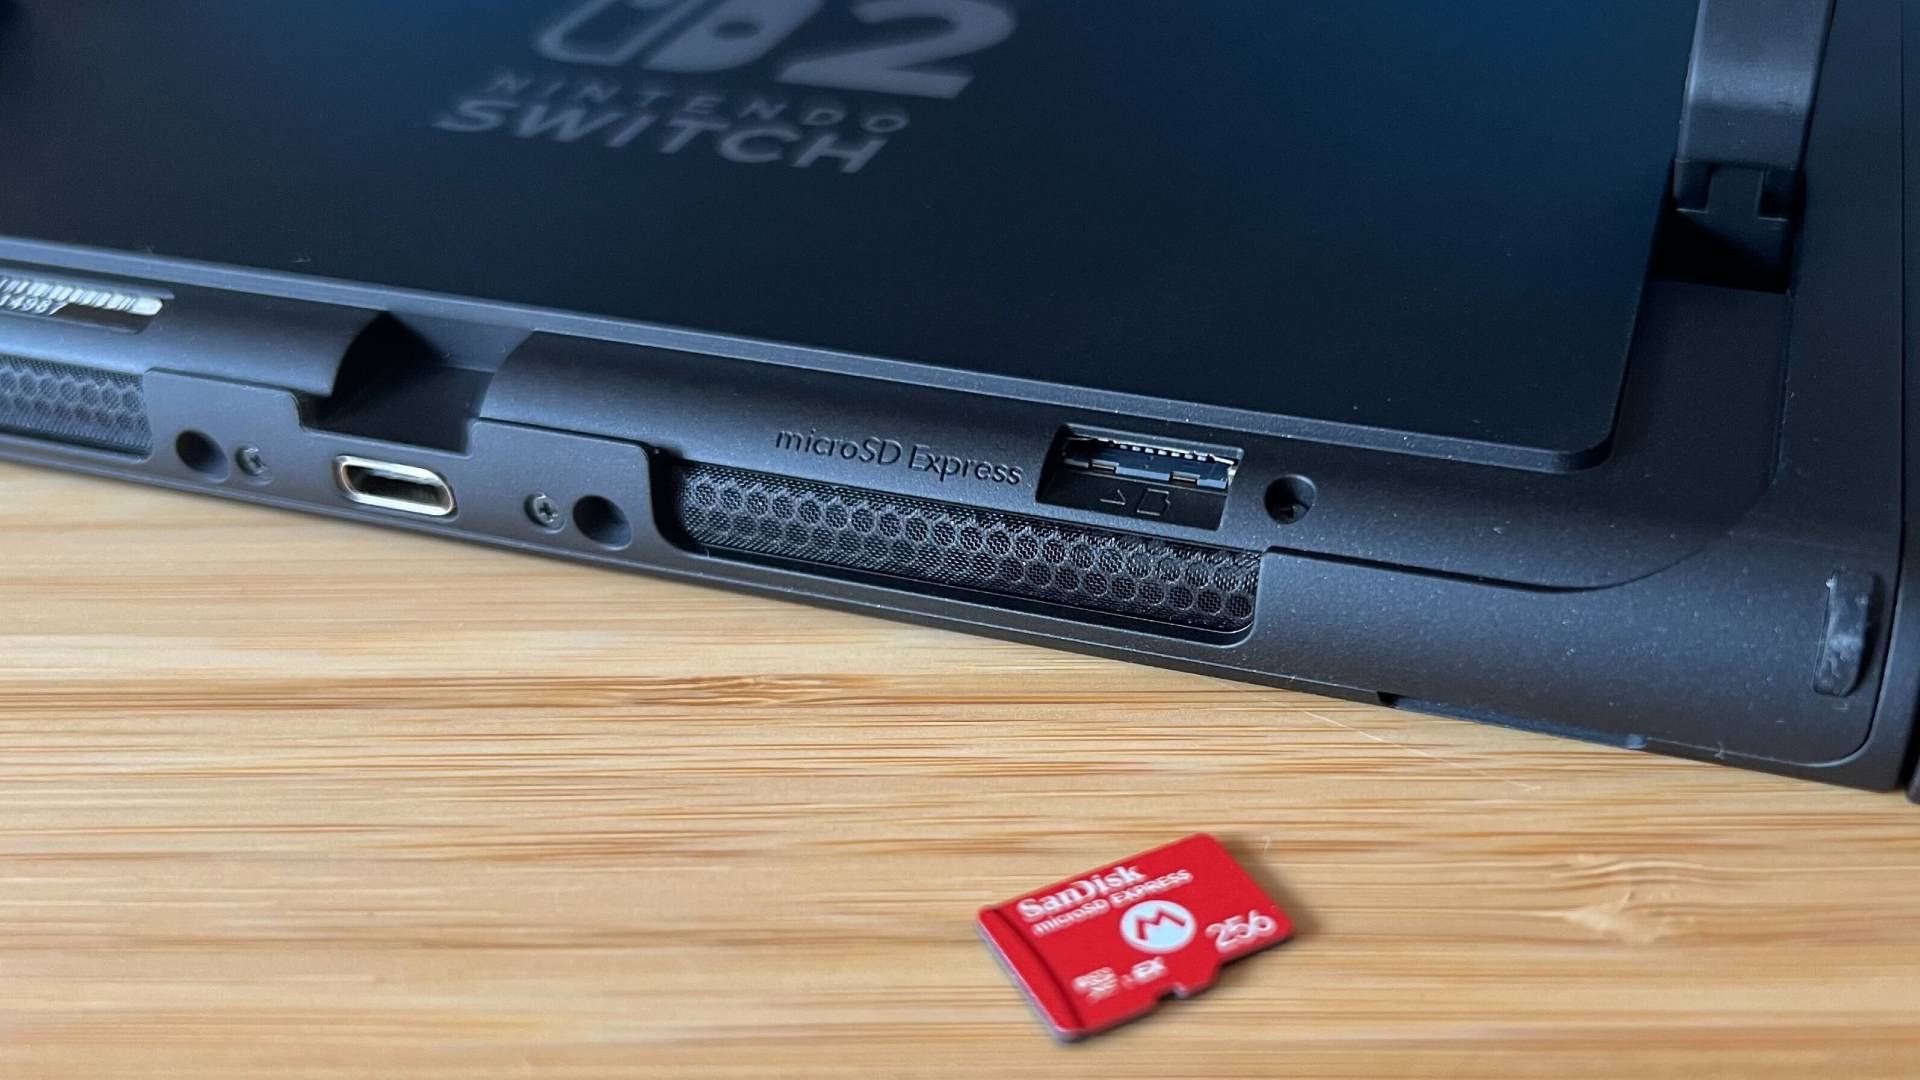
(Image: © Future/Tabitha Baker)
If you have a compatible microSD card, now’s the time to insert it. Make sure to use one marked with express or EX for game storage.
The microSD card slot is hidden beneath the stand on the back of the console. Insert it with the tabs on the right side and the text facing up.
If you plan to buy one later, check our guide on the best Nintendo Switch 2 Express microSD cards.
Now you’re all set to enjoy your Nintendo Switch 2. Congratulations!