Select Language:
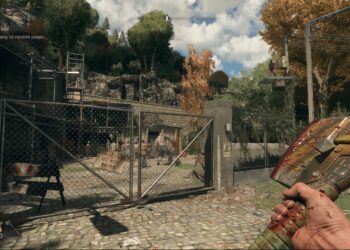
A well-designed photo mode can greatly enhance a gaming experience. It extends the time players engage with a game as they devote hours to capturing the ideal shot. Plus, it results in some amazing screenshots that players proudly showcase online. Fortunately, Sniper Elite: Resistance features a solid photo mode.
While the photo mode isn’t flawless and some expected features are missing, it performs well enough for players to capture numerous pictures during their missions against the Nazis.
How to Access Photo Mode
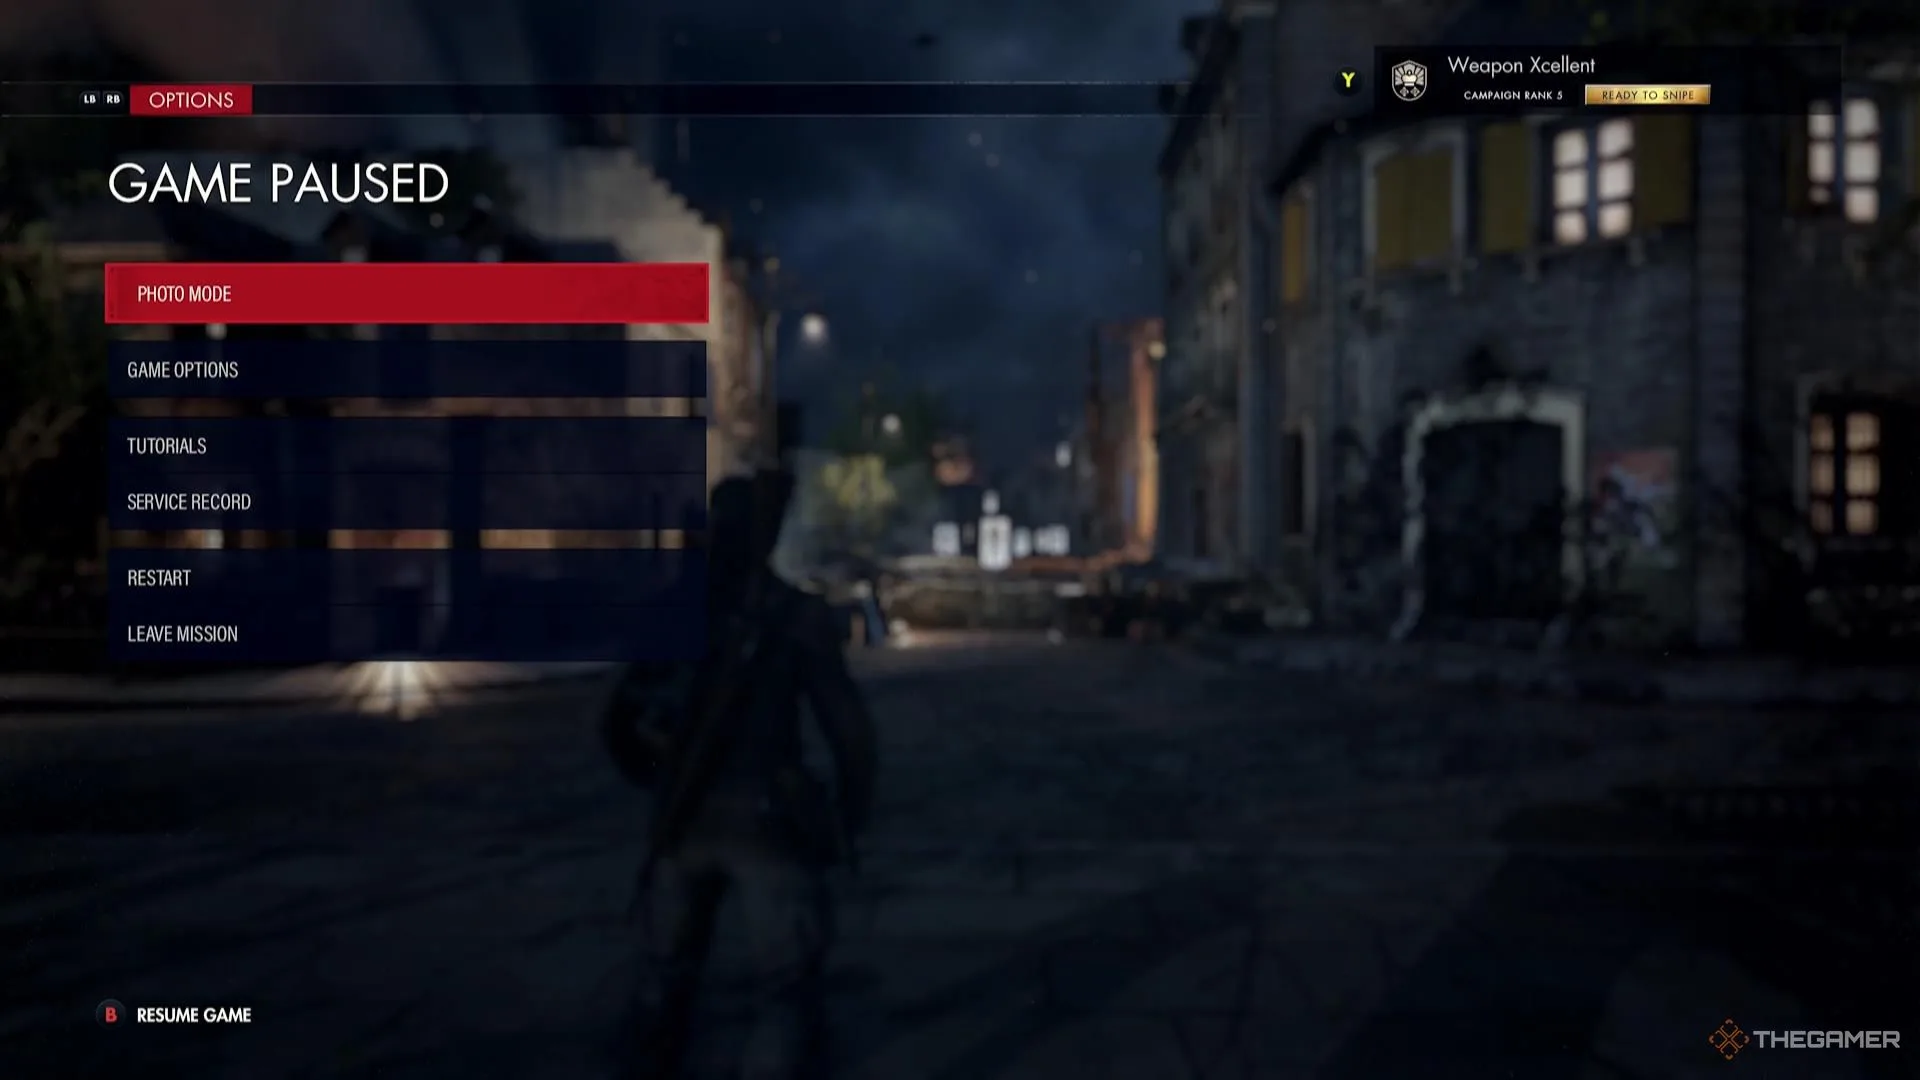
Accessing Photo Mode is straightforward. Simply pause the game, and you’ll find the ‘Photo Mode’ option on the pause menu. This works on both console and PC. Currently, there’s no ‘Quick Photo Mode’ button or key bind available.
In Photo Mode, you can toggle additional features such as ‘Enable Camera Control’ and ‘Toggle Grid,’ the latter providing a grid to assist with alignment. You can also activate ‘Toggle UI’ to hide on-screen elements while preparing your shot.
Moving the Camera in Photo Mode
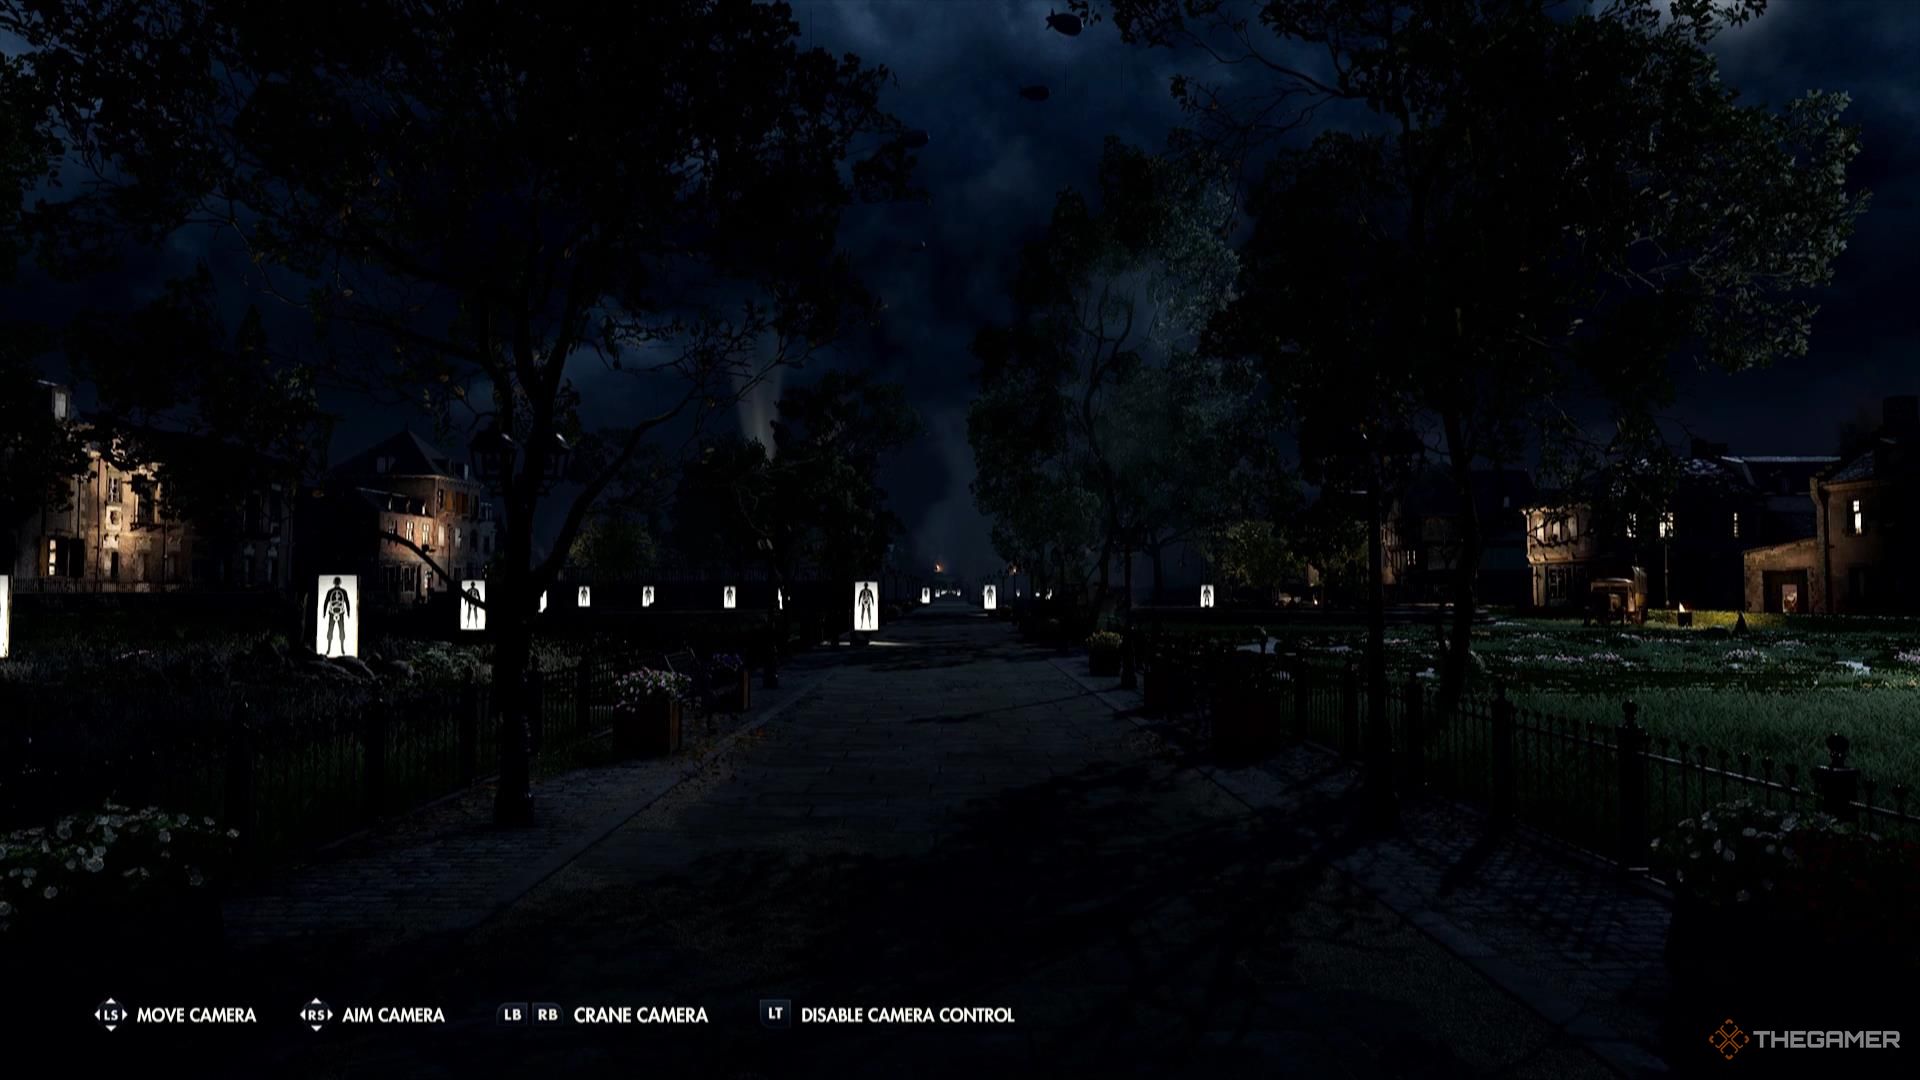
Once in Photo Mode, you control the camera independently from the settings. The controls for your system or keybinds will appear in the bottom left. Hit the button for ‘Enable Camera Control’ to freely move the camera within a limited range around your character.
You can navigate the camera in all directions and tilt it up and down. However, you cannot adjust the field of view (FOV) while moving the camera; you’ll need to switch ‘Disable Camera Control’ to do that.
If you move the camera to an undesirable position or alter settings incorrectly, a button prompt in the bottom right of your screen allows you to reset Photo Mode to start afresh.
Camera Settings in Photo Mode
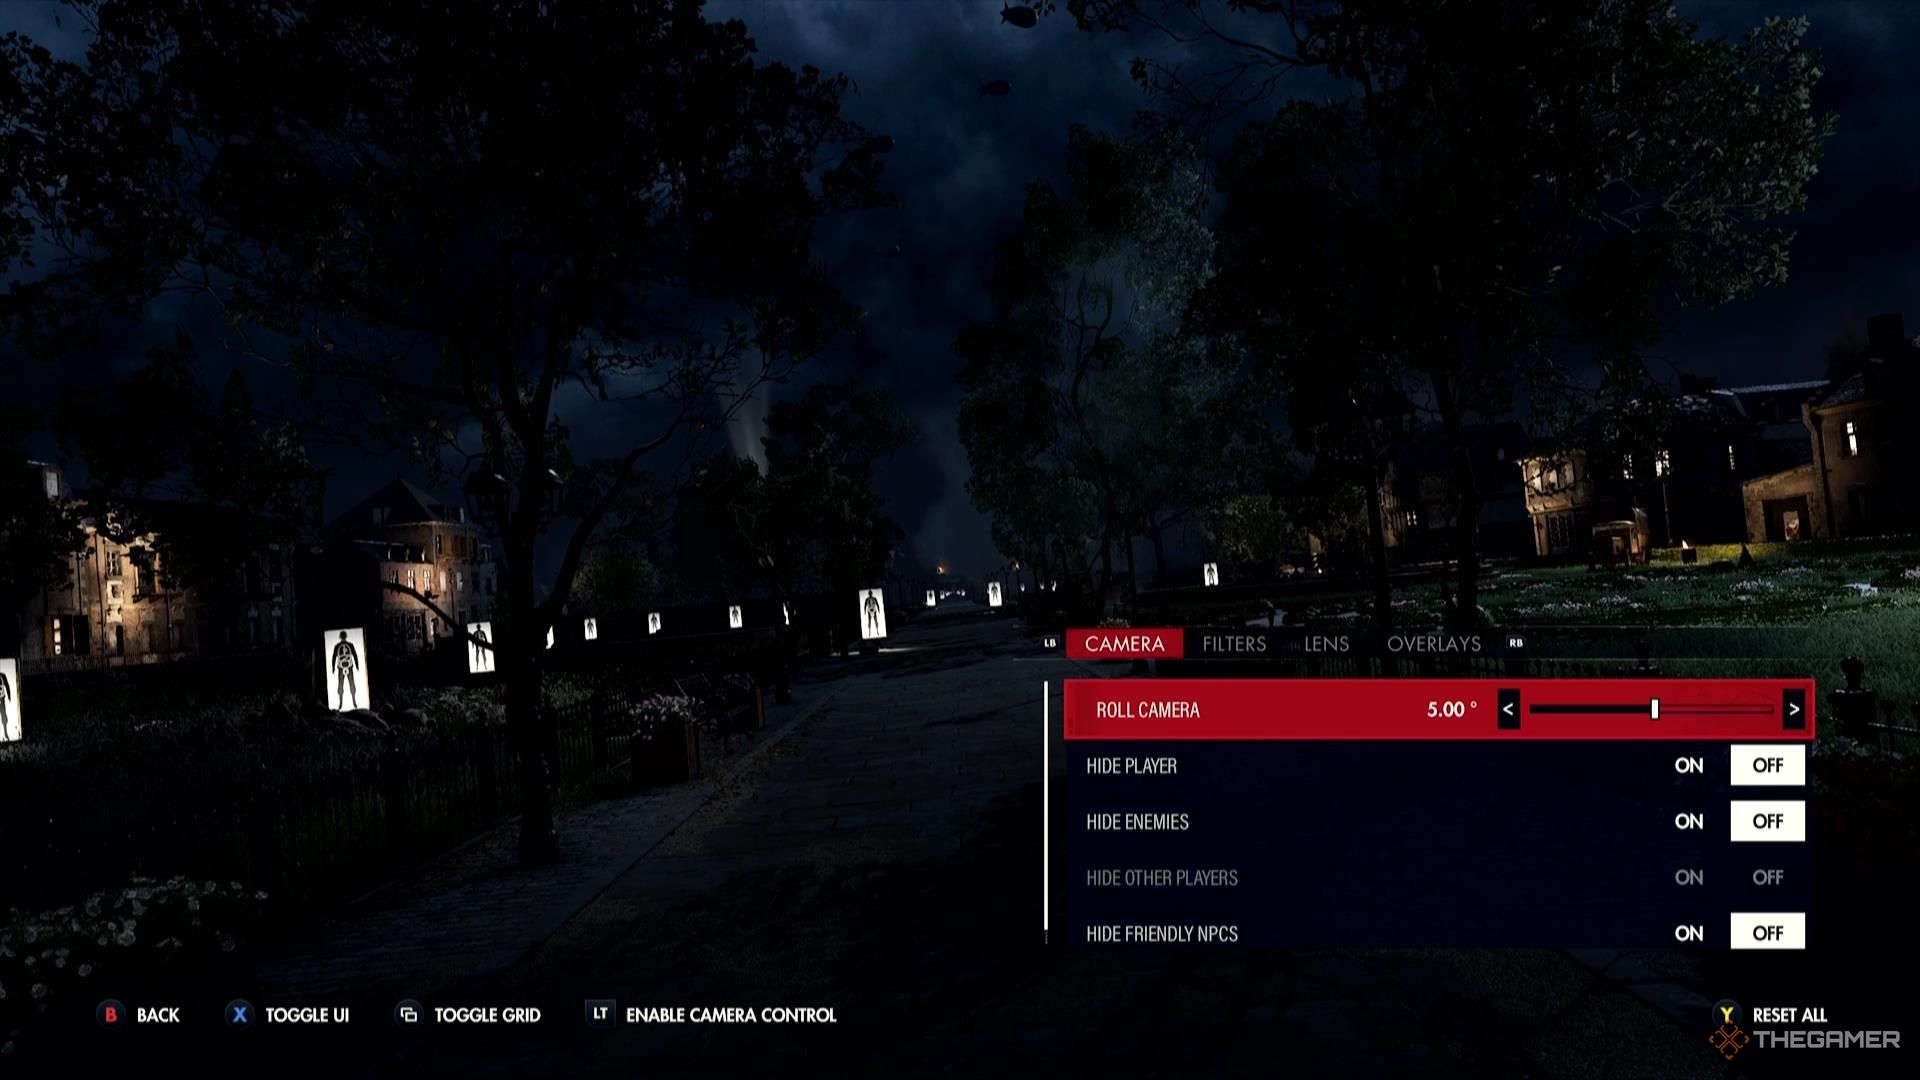
After positioning your camera, you can disable Camera Control to access options on the right side of the screen.
The first tab is ‘Camera,’ containing five settings:
|
Option ADVERTISEMENT |
Description |
|---|---|
|
Roll Camera |
This feature allows you to tilt the camera left or right, creating a ‘Dutch Angle’ which can enhance creative photo compositions. |
|
Hide Player |
This option removes the player character from the scene. |
|
Hide Enemies |
This choice conceals enemy characters from view. |
|
Hide Other Players |
|
|
Hide Friendly NPCs |
This setting hides friendly non-player characters from the view. |
Filter Settings in Photo Mode
The next tab after ‘Camera’ is ‘Filter,’ which offers options to adjust the color and balance of your photo.
|
Option |
Description |
|---|---|
|
Type |
This cycles through seven different filters, including options for black-and-white and sepia-toned effects. |
|
Filter Intensity |
This adjusts how strong the selected filter appears. For instance, with a 50% intensity on a black-and-white filter, the colors will be partially washed out. |
|
Film Grain |
This feature adds a film grain effect to your photo, simulating a traditional film look. |
|
Brightness |
This setting modifies the overall brightness in Photo Mode without impacting game play. |
|
Contrast |
This adjusts the color contrast, enhancing colors but may darken photos in already dim settings if overused. |
Lens Settings in Photo Mode
The lens settings significantly affect the focus and composition of your images.
|
Option |
Description |
|---|---|
|
Depth of Field |
This option sharpens your focus, ensuring subjects within the range are clear while blurring others outside it. |
|
Focal Distance |
This sets the distance at which your camera is focused. For instance, a distance of 200 mm ensures clarity at that point while blurring everything else. |
|
Aperture |
This configuration dictates the level of blurring for elements outside the focal distance, shaping the shot’s aesthetic. |
|
Field of View |
This setting adjusts the camera’s FOV, ranging from narrow at 10 degrees to wide at 130 degrees, significantly influencing how your photo is framed. |
Overlay Settings in Photo Mode
Overlays serve as stylistic enhancements in photos, providing a final touch.
|
Option |
Description |
|---|---|
|
Frame |
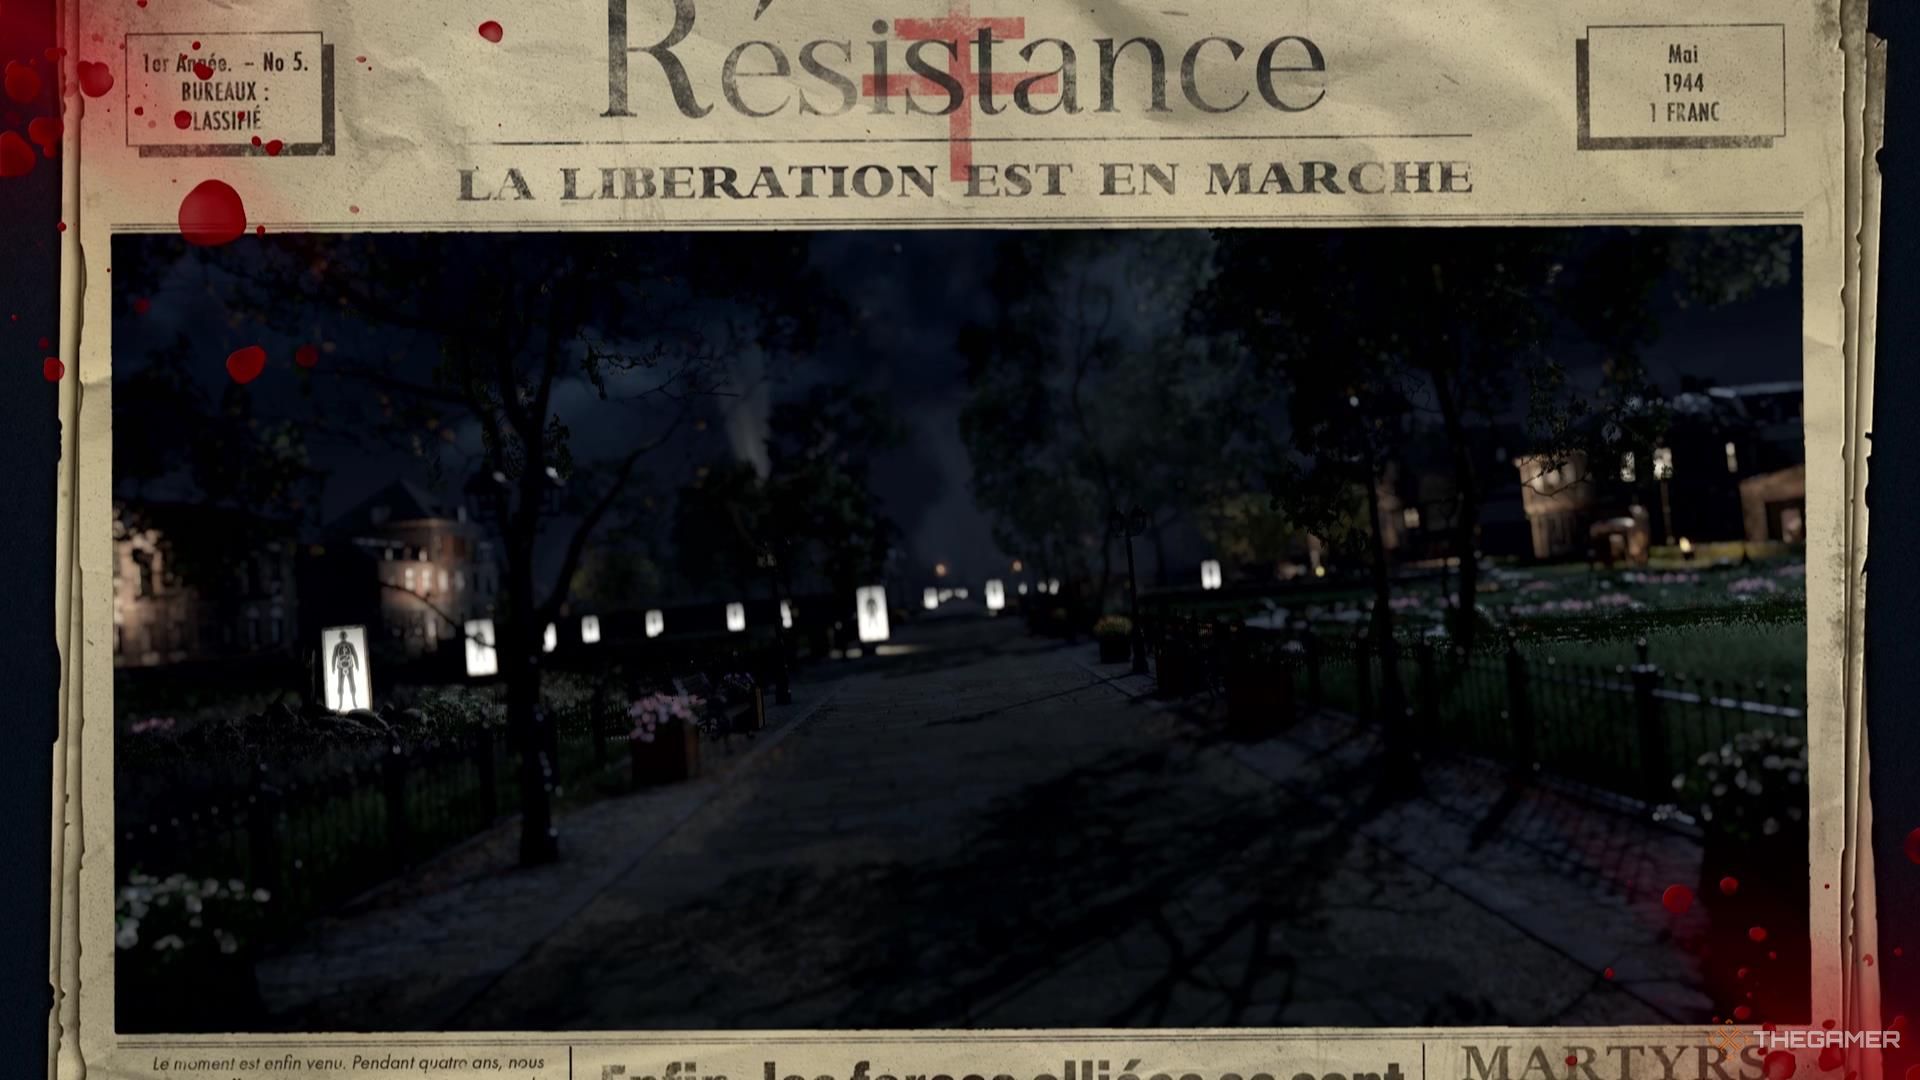
This option adds one of six frames to your photo, from styles mimicking a sniper scope to newspaper layouts. |
|
Overlay |
This feature adds various textures, creating a more physical feel. Options include effects like cracked glass or blood splatters. |
|
Vignette |
This effect darkens the photo’s top and bottom, directing focus to the center. |
|
Logo |
This adds a logo to your image, with customizable positioning. |
Taking a Photo
When you’re ready to capture a photo, press the button to ‘Toggle UI’ in the bottom left of your screen. This option won’t appear when ‘Enable Camera Control’ is activated.
On Xbox Series X/S and PlayStation 5, use the ‘Share’ button to take a screenshot. For Steam users, the default key is ‘F12’.
If you’re on Windows, pressing the Windows Button + Print Screen will capture a screenshot saved in your Pictures > Screenshots folder.