Select Language:
Quick Links
The Mining Base mission in Synduality: Echo of Ada is the longest single-player segment so far and presents a notable increase in difficulty. Surveillance logs are more challenging to locate, enemies are abundant, and you’ll even face a boss.
Getting lost in the Mining Base can happen easily, especially since there are more logs to collect than usual. This guide aims to provide helpful tips and the locations of the logs to help you complete the mission more efficiently.
Where to Find All Surveillance Logs
There are six surveillance logs to discover in the Mining Base, and some can be quite easy to overlook if you’re not meticulous. Here’s where to find them all.
Surveillance Log #1
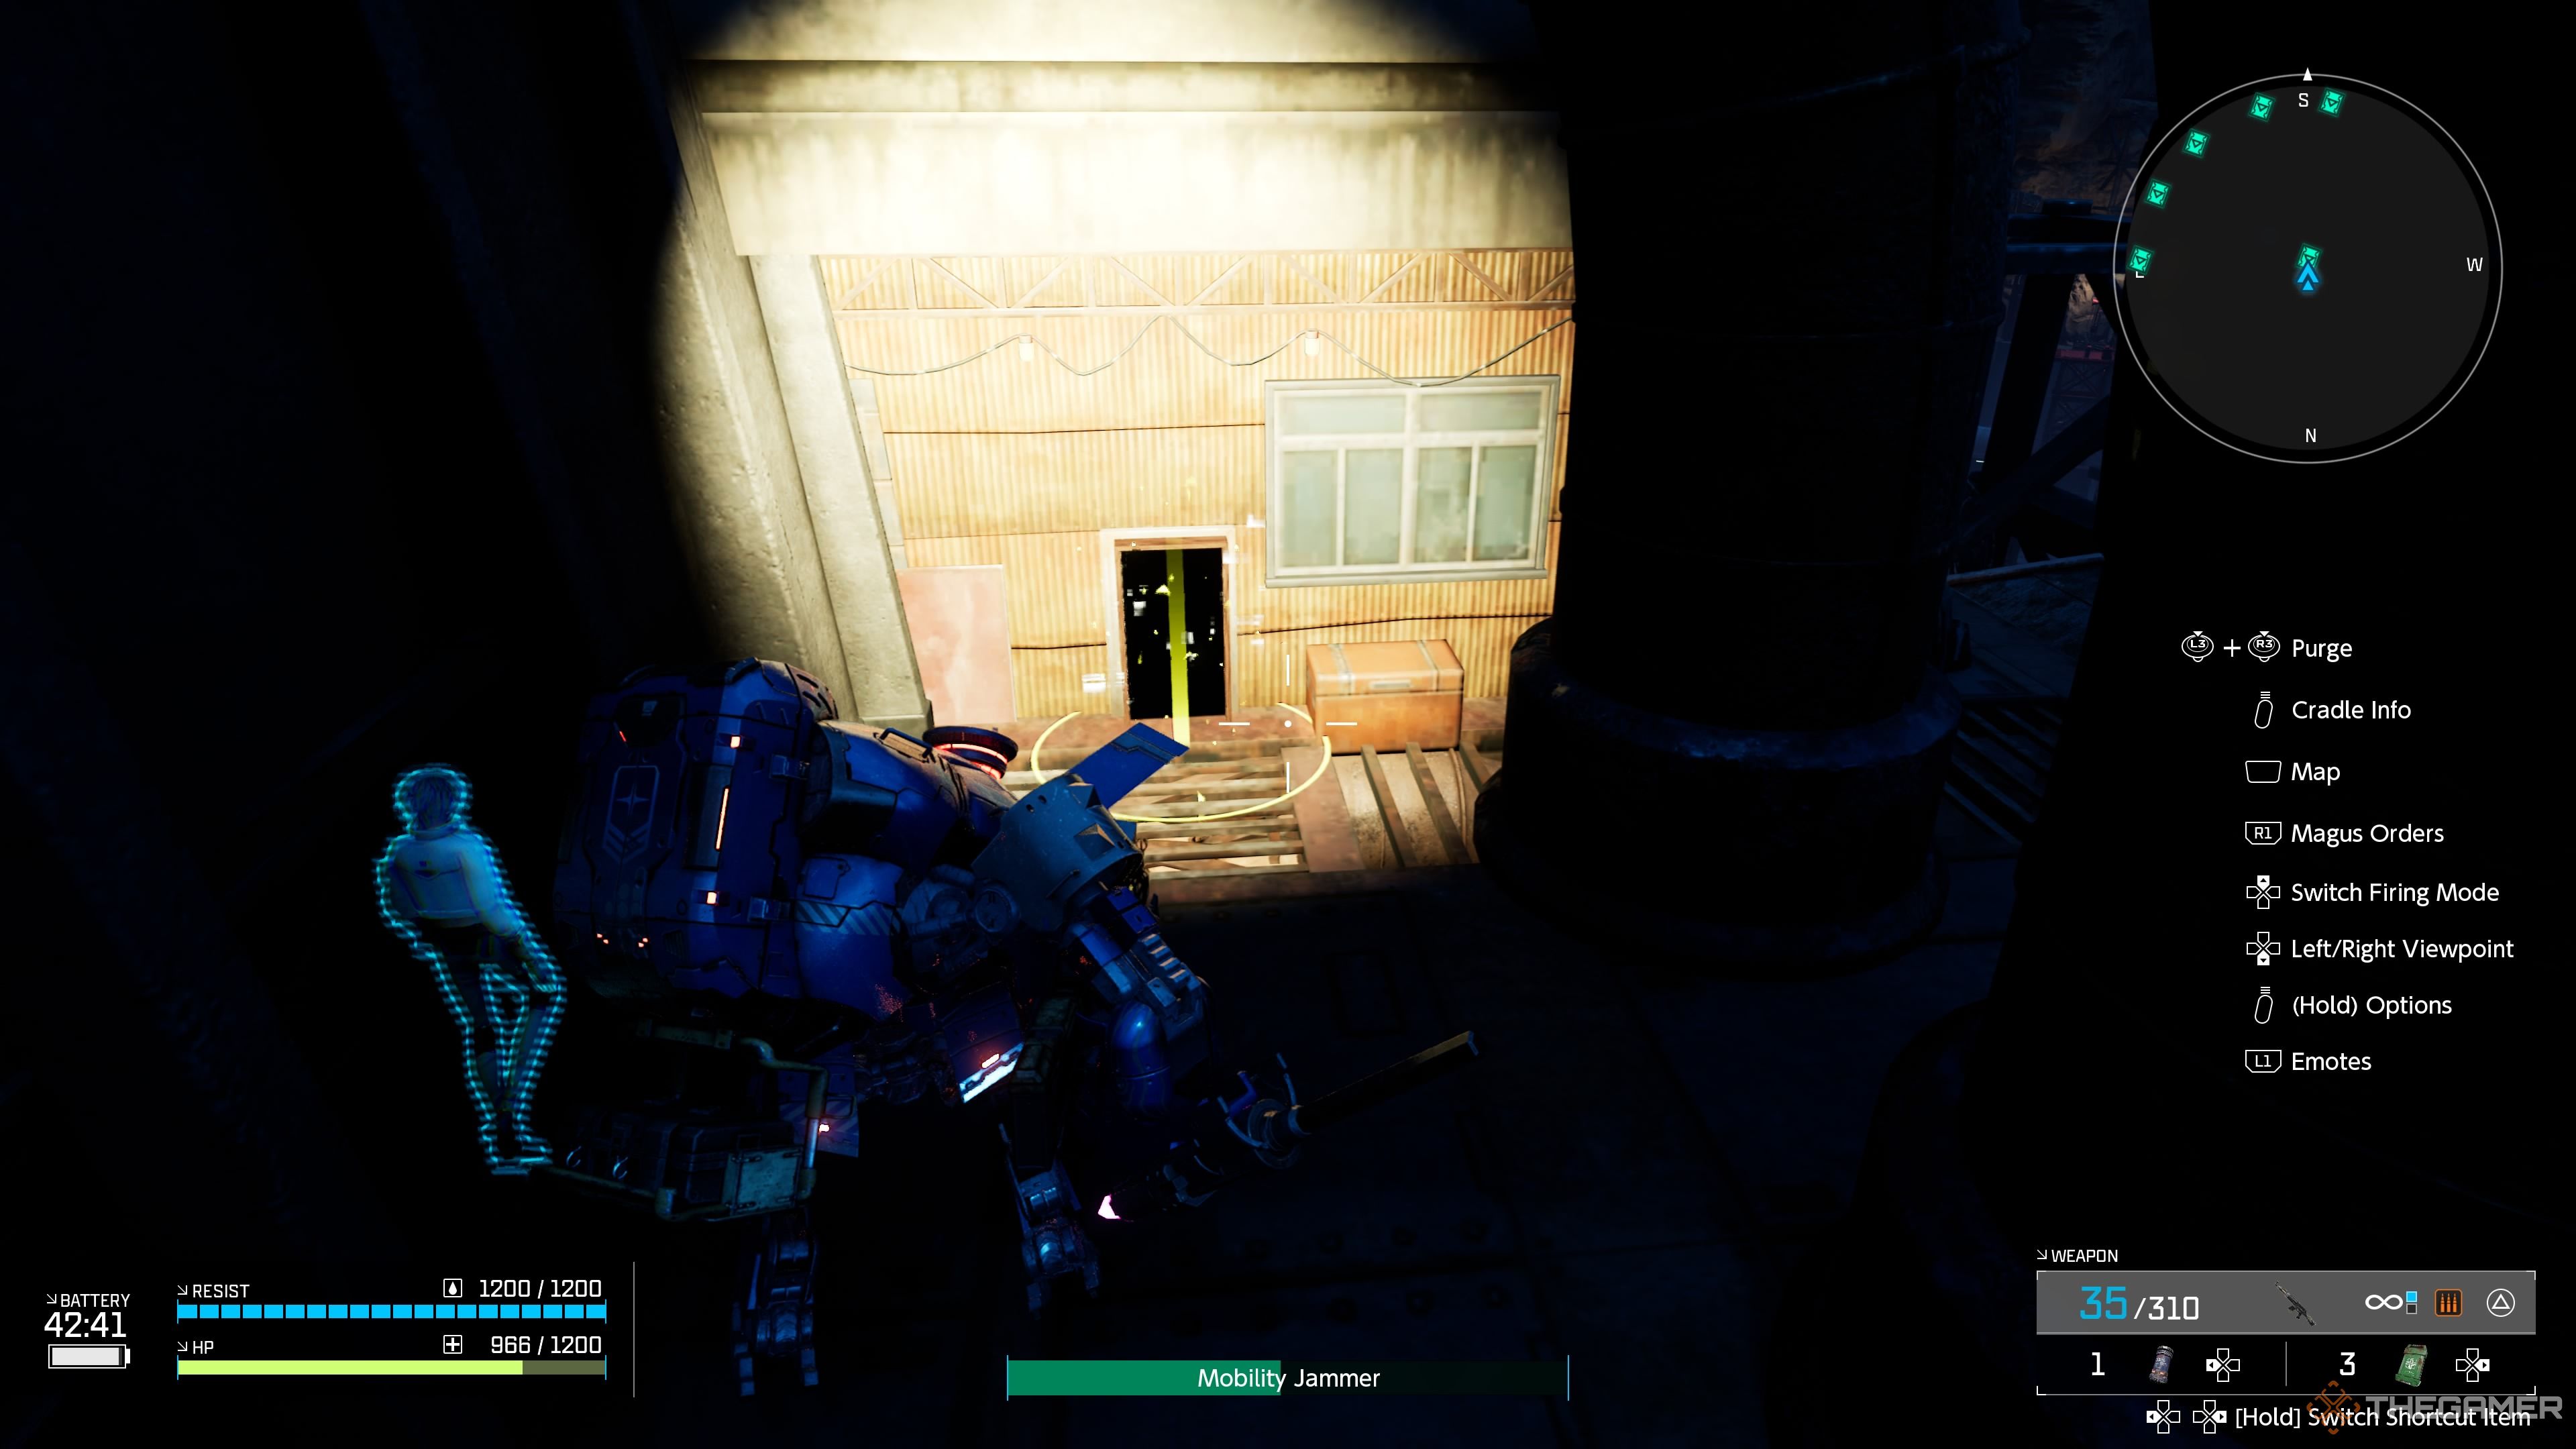
The first log can be found to the left of the large warehouse. Use the elevator to go up and look for the yellow investigation zone. Deploy your Magus to retrieve the first log.
Surveillance Log #2

The second log is located near a section with snipers and bandits. Descend from one of the bridges to the lowest level to find this log within a destroyed Cradlecoffin tucked away in a small alcove.
Surveillance Log #3
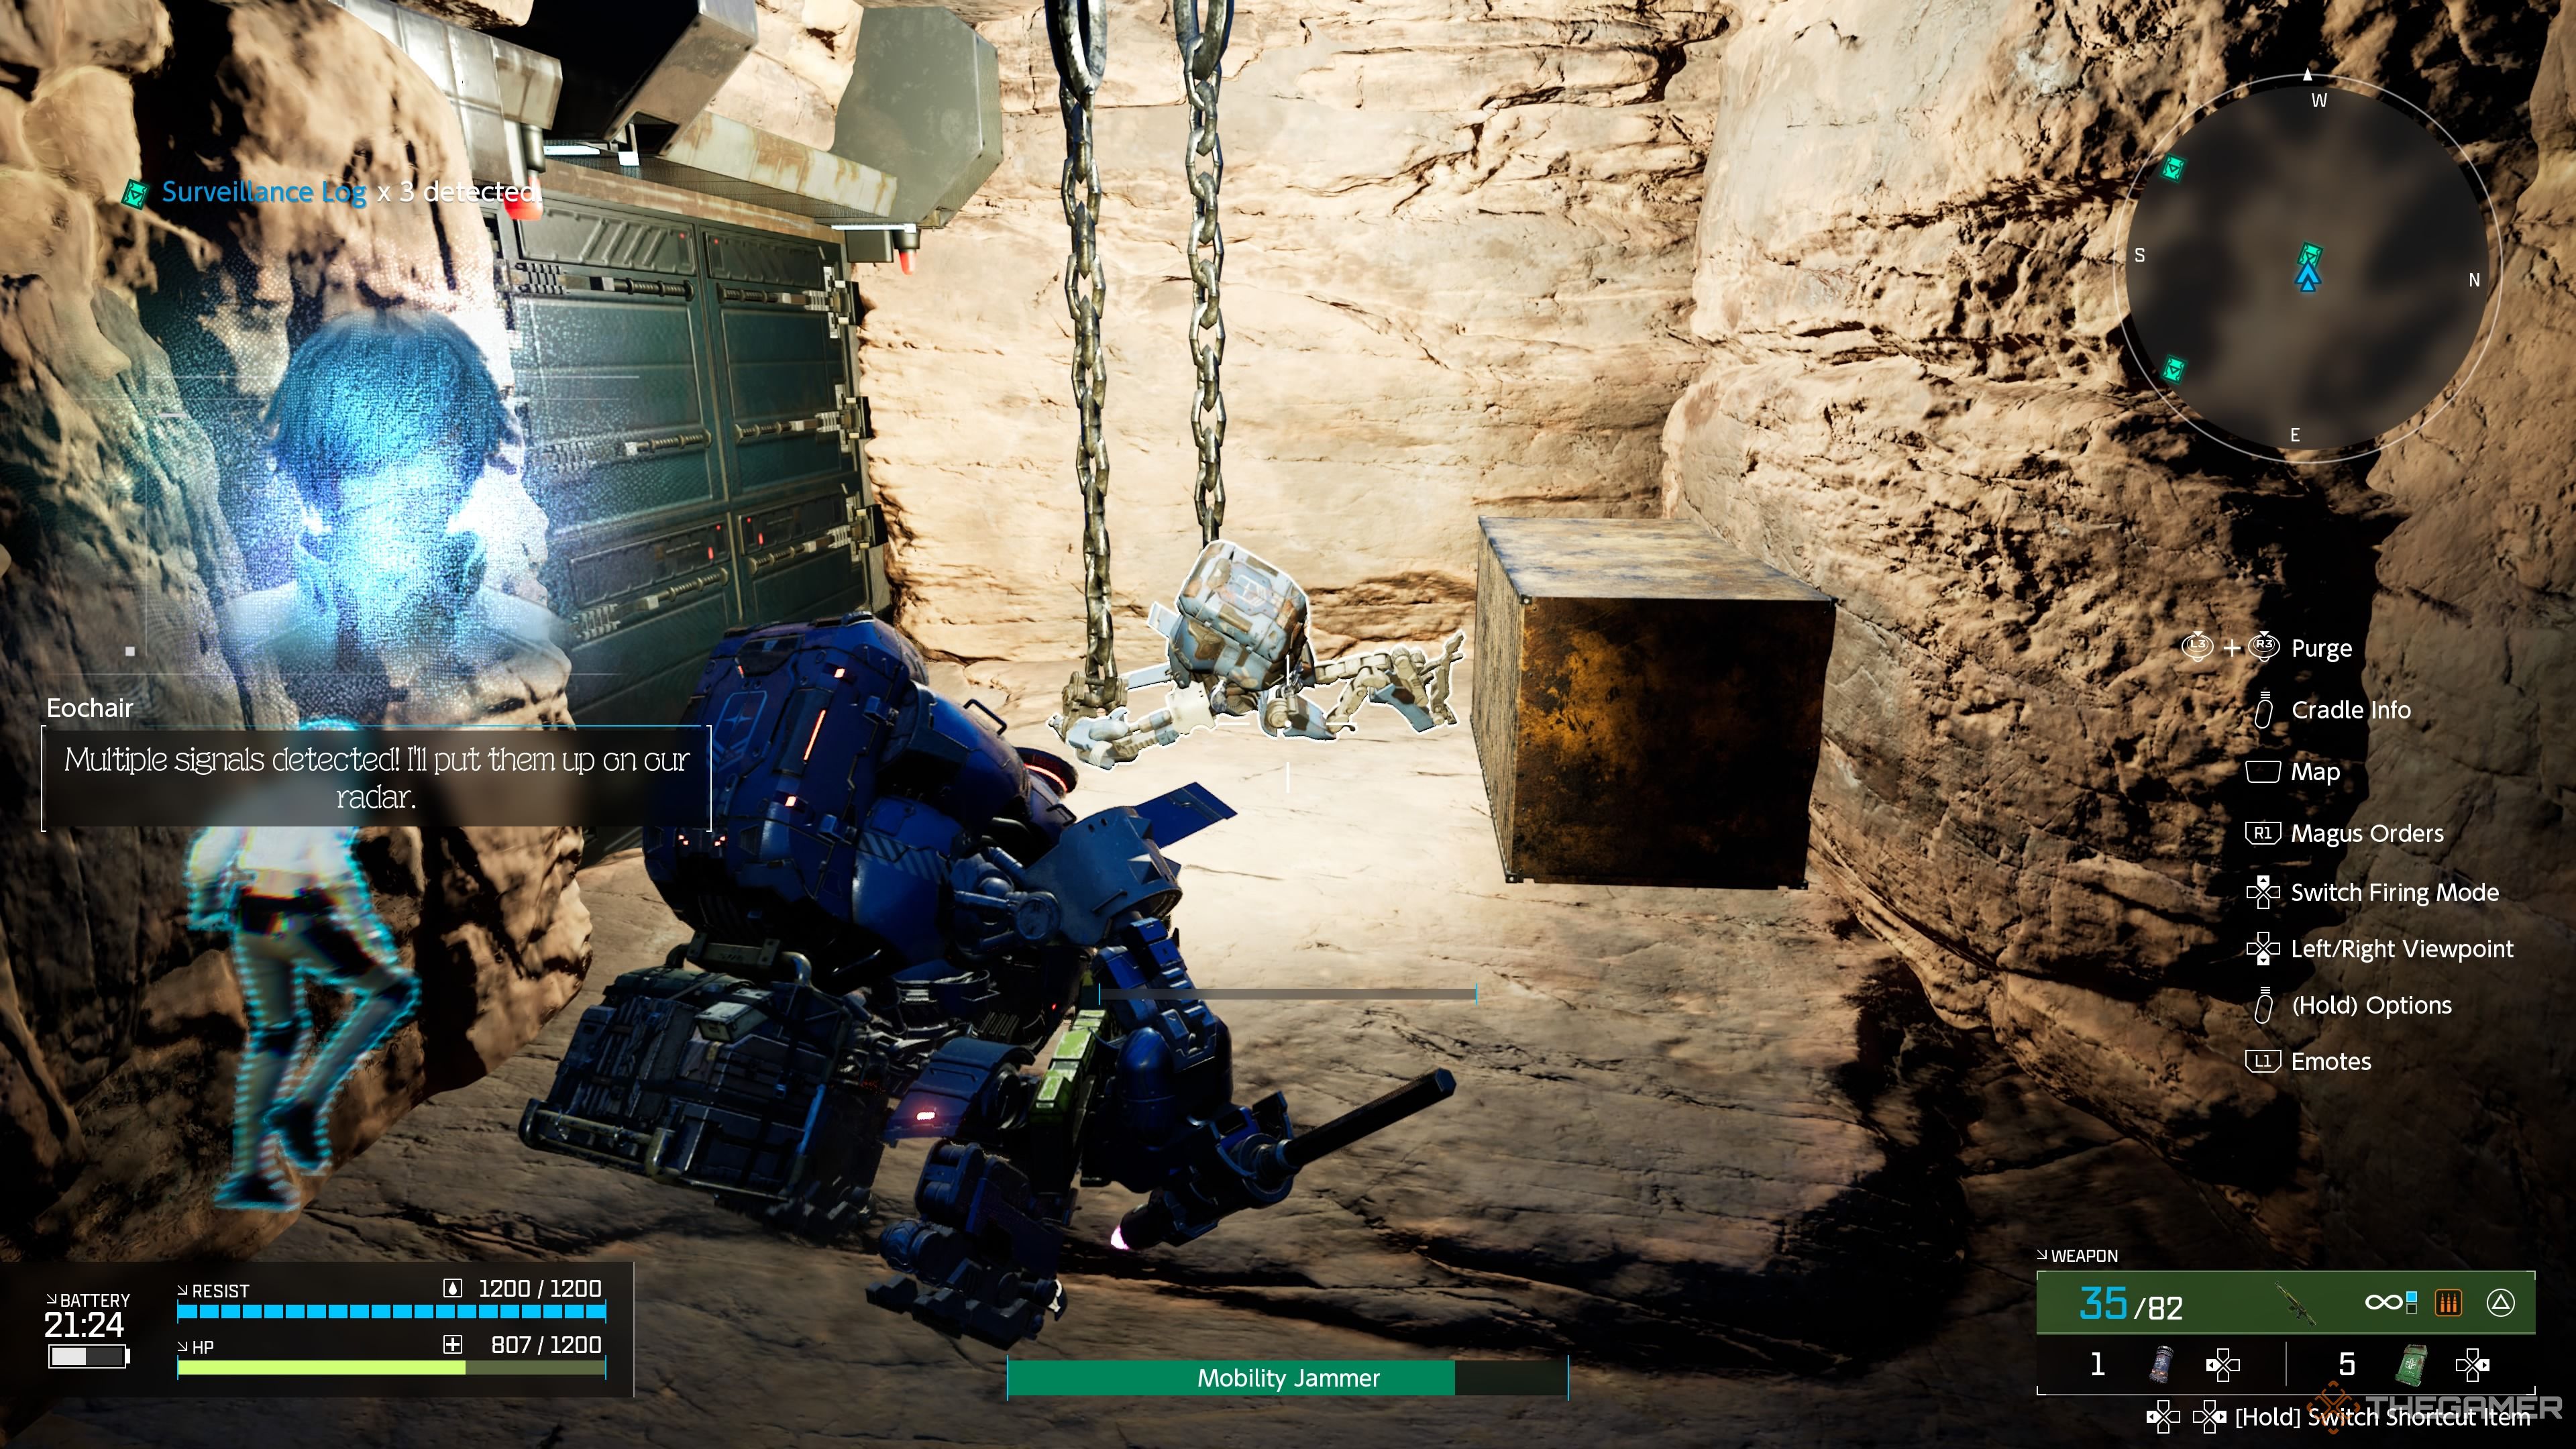
To find the third log, climb the yellow pole and turn right after reaching the top ramp. This route will take you to a secluded lava area filled with incubators. Carefully navigate through this area, avoiding the lava, until you find a spot where your Magus can investigate to obtain the log.
Your Cradlecoffin can move through lava, but it will reduce your weather durability.
Surveillance Log #4
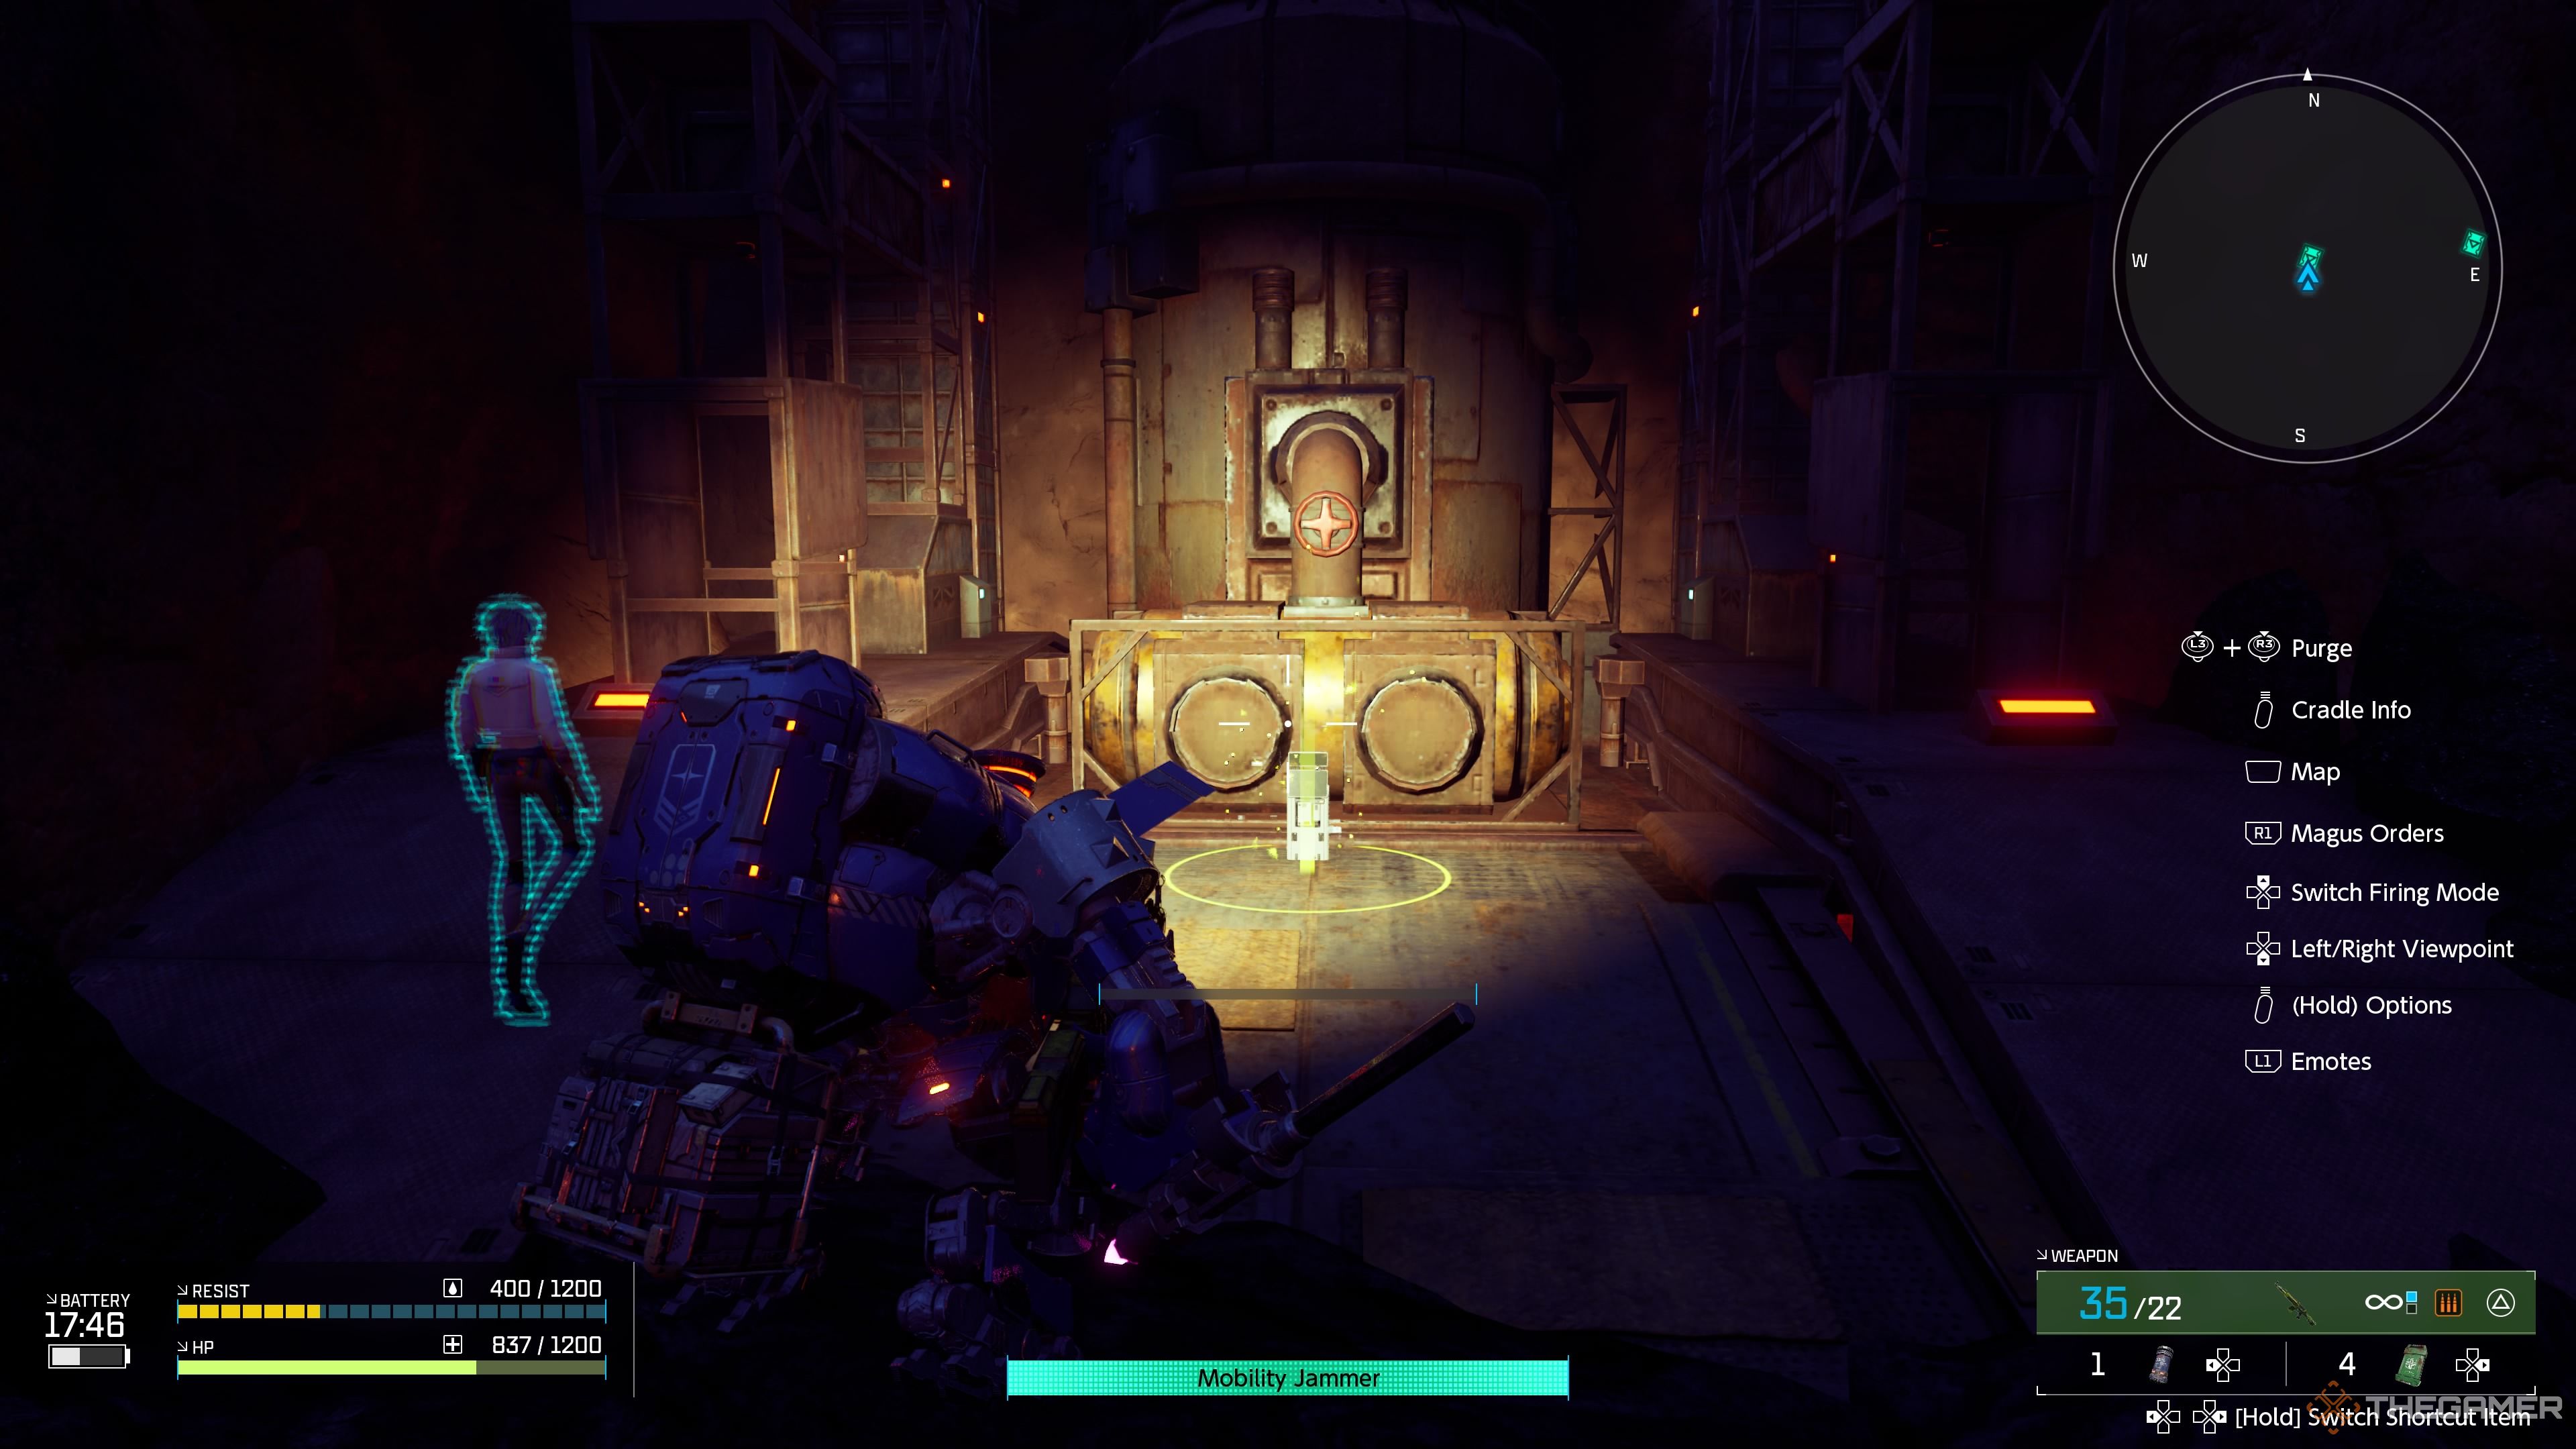
The fourth log can be located inside the Mining Base. Upon entry, take a left and then a right until you find a breakable wall. This will lead you to a room with a submerged Cradlecoffin. Continue through the cave system in this room until you reach a panel you can interact with, which will lift the Cradlecoffin and grant you access to the log inside.
Surveillance Log #5
As you venture deeper into the Mining Base, you’ll encounter a storage room filled with ammo. Proceed through to find a large prison-like area. On the second floor, interact with several panels to unlock various doors. After defeating the enemies that appear, head to the leftmost room on the top floor to discover the fifth log.
Alternatively, you can access the second floor and enter the open cell to jump through the roof and reach the log’s room without engaging with any enemies.
Surveillance Log #6
The sixth and final log is mandatory and located right at the end of the mission after defeating the Bandit Captain. Simply allow your Magus to investigate the area to complete the mission.
Critical Path Through the Mission
Reaching the End
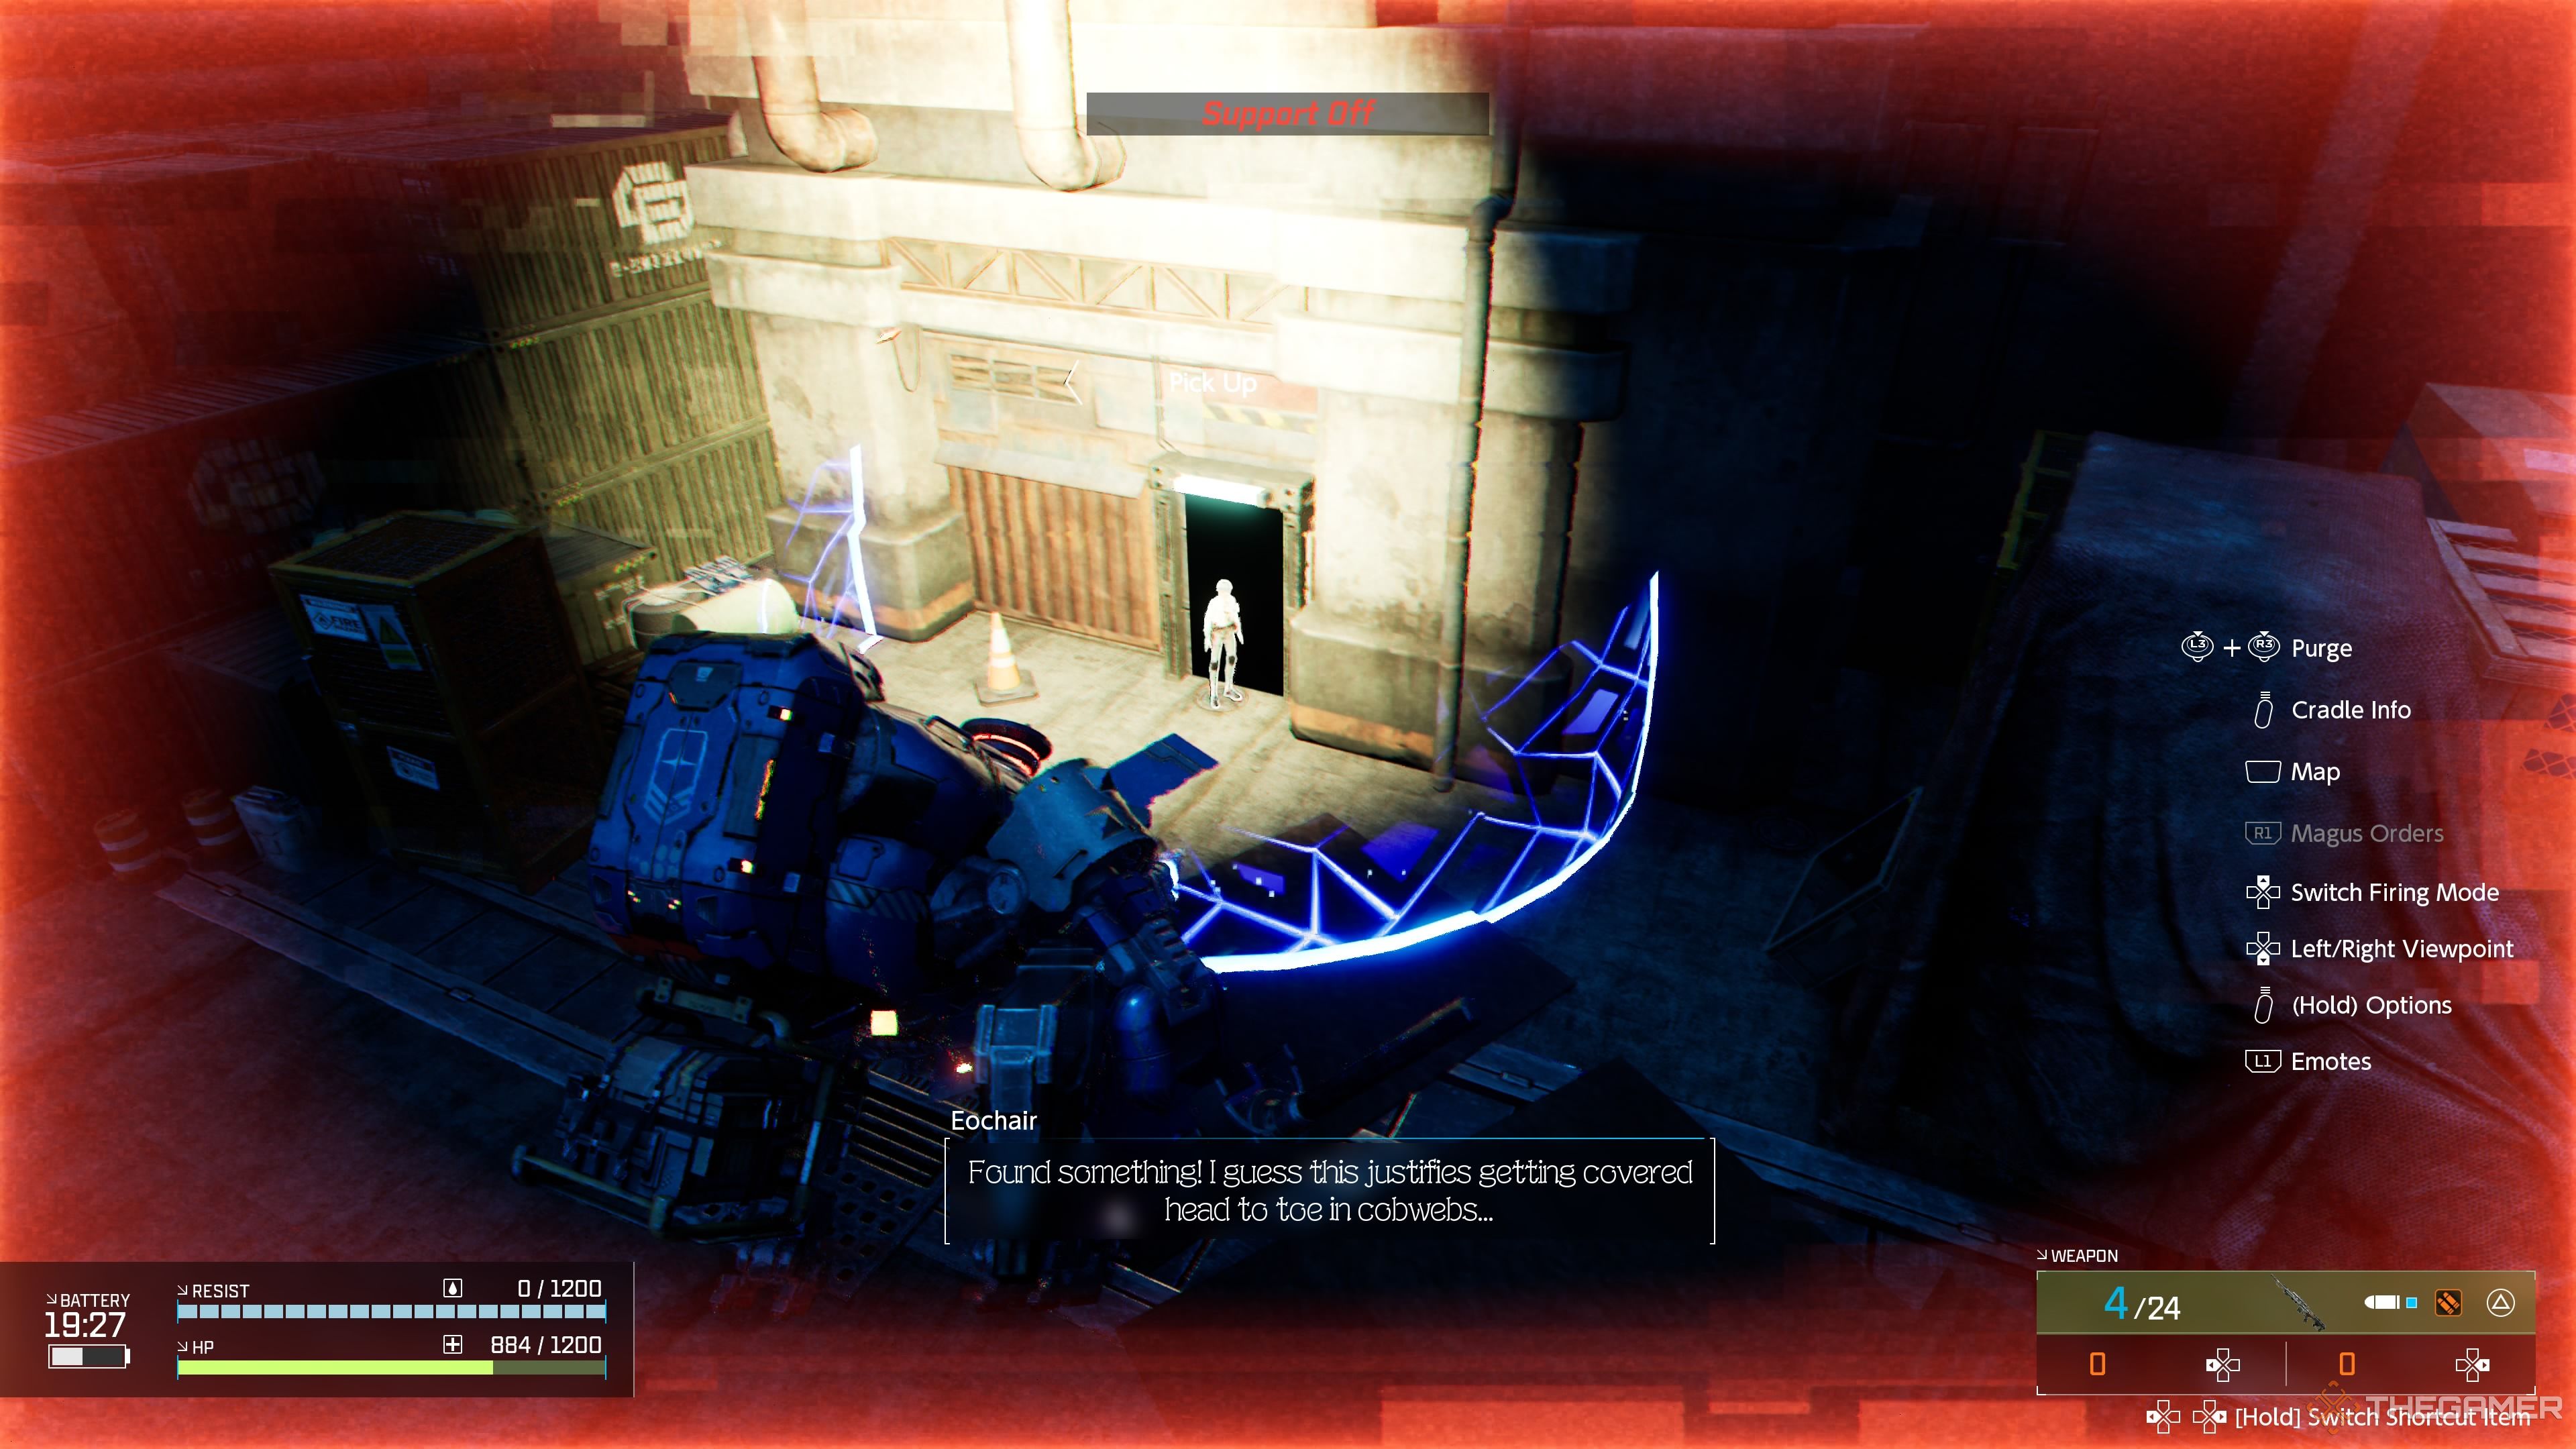
The Mining Base is a lengthy mission with more intricate conditions for completion. You can’t just race to the finish, even if you’ve already gathered all the logs. The outdoor segment is relatively straightforward; just proceed cautiously and stick to the right to evade most enemies while having adequate cover. Look for a Marksman’s Rifle located in a warehouse on the right that leads toward the snipers.
Once you’ve dealt with the snipers in the open area, continue to move northwest. You will encounter large walls with enemies hiding behind them. Take your time to engage carefully and don’t hesitate to use the Mobility Jammer Magus skill to immobilize enemies while you defeat them.
This skill will slow the enemies, although they can still shoot at you.
After clearing these enemies, ascend the ramp to enter the interior of the Mining Base and immediately turn left. You’ll encounter more enemies here. Eliminate them and bypass the majority of this area if you’re not interested in the surveillance logs.
Defeat the foes in this next cavernous room and move straight ahead to find another room containing a bandit and an area for your Magus to investigate. This will reward you with the Bandit Unlock Key, which is essential for accessing the final log and completing the mission.
Head back to the earlier room, take the alternate route to a locked door that requires your newly-acquired key. Have your Magus unlock it and proceed inside once it’s open.
After defeating the boss inside, advance to the last room to allow your Magus to investigate and finish the mission.
Battling the Bandit Boss
Upon entering the final room of the Mining Base, you’ll face a combat situation. Instead of dealing with multiple waves of enemies, you will be up against the Bandit Captain, who is powerful and can inflict serious damage.
The Bandit Captain’s combat style is similar to other bandits, but they possess significantly more health and deal increased damage. They are equipped with a Ballistics rifle that hits hard, so seek cover whenever possible.
Utilizing Burst Mines is an effective strategy here. Place mines around a neighboring piece of cover to catch the boss as they pursue you. They have a tendency to follow you closely, making it easier to lead them into a mine’s explosion.
Additionally, keep a few grenades handy and avoid using a Sniper or Marksman’s rifle, as targeting them while aiming can be difficult. Instead, rely on Shotguns and Assault Rifles for maximum damage output.
Remember, there’s plenty of healing items and ammo scattered around the arena, so collect what you need when you can.
Once you defeat the Bandit Captain, you can safely proceed to the final room to collect your last log and conclude the mission.