Select Language:
As WiFi 7 technology rolls out, many users are upgrading their systems to take advantage of the improved speeds and connectivity. If you’ve recently purchased an Asus motherboard with WiFi 7 capabilities, you might be wondering how to properly attach the Wi-Fi antennas for optimal signal strength. This guide will walk you through the steps to securely attach your Asus motherboard’s Wi-Fi antennas.
Understanding Wi-Fi Antennas
Before diving into the installation process, it’s helpful to understand the function of Wi-Fi antennas:
Purpose of Wi-Fi Antennas
- Signal Reception: Antennas are responsible for receiving wireless signals from routers.
- Signal Transmission: They also send data back to the router, effectively creating a two-way communication channel.
- Improved Range: Properly positioned antennas can significantly enhance your Wi-Fi range and performance.
Tools Needed
Attaching your Wi-Fi antennas is a straightforward process that typically doesn’t require any special tools. However, having the following items handy can make the task easier:
- A pair of Wi-Fi antennas (provided with your Asus motherboard)
- Screwdriver (if your motherboard has screws for antenna mounting)
- Clean cloth (for dusting the area if needed)
Step-by-Step Guide to Attach the Antenna
Follow these steps to successfully attach your Wi-Fi antennas to your Asus motherboard:
Step 1: Prepare Your Workspace
- Power Off Your Computer: Before starting, ensure that your computer is completely powered off and unplugged from the power source.
- Clear the Area: Remove any clutter from your workspace to prevent accidental damage to components.
Step 2: Locate the Antenna Connectors
-
Open Your Computer Case:
- Use a screwdriver to remove the screws holding the side panel and carefully slide it off.
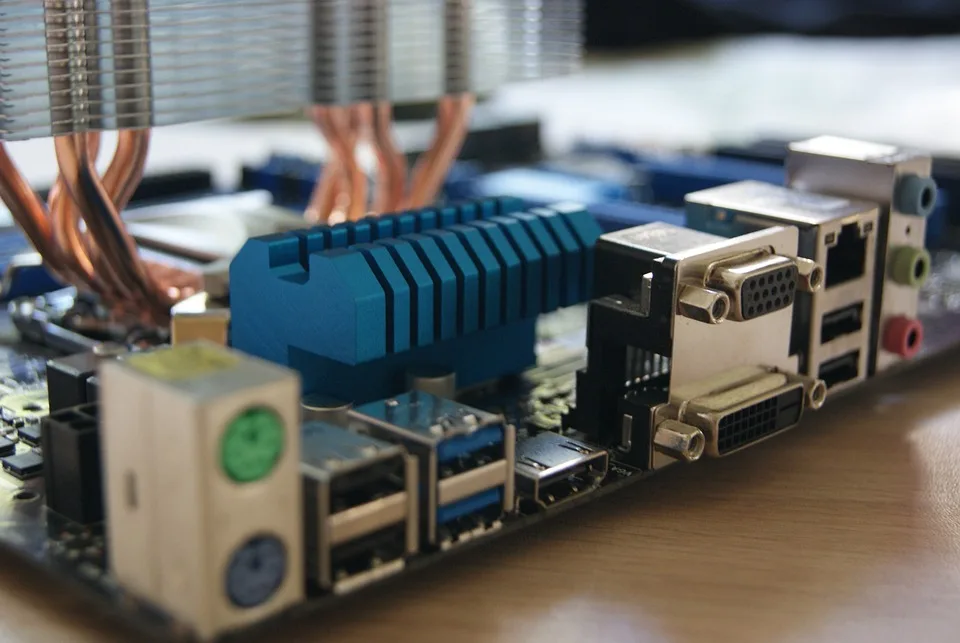
- Find the Antenna Ports:
- Look for the antenna connectors on the back of the motherboard. These are usually labeled and are often located near the I/O shield area.
Step 3: Attach the Antennas
-
Align the Antennas:
- Hold the antenna in your hand and align it with the connector on the motherboard.
- If the antenna is threaded, ensure it matches the threads on the connector.
ADVERTISEMENT - Secure the Antenna:
- Gently but firmly screw the antenna onto the connector.
- Ensure it is snug but avoid over-tightening, which can damage the connector.
Step 4: Position the Antennas
- Optimal Positioning:
- Adjust the antennas to a vertical position. This orientation typically provides the best signal performance.
- If your antennas have adjustable angles, experiment with different positions for maximum coverage.
ADVERTISEMENT
Troubleshooting Common Issues
If you experience connectivity problems after attaching your antennas, consider the following:
- Check Connection: Ensure that the antennas are securely connected to the motherboard.
- Inspect Antenna Condition: Look for any visible damage to the antennas or connectors.
- Router Placement: Position your router in a central location to ensure optimal signal distribution throughout your space.
Tips for Enhancing Wi-Fi Performance
- Avoid Obstructions: Ensure there are no large objects blocking the antennas.
- Use Dual-Band Routers: If possible, use a dual-band router to take full advantage of WiFi 7 speeds.
- Regular Updates: Keep your motherboard’s firmware updated to ensure compatibility with the latest Wi-Fi standards.
By following the above steps, you’ll ensure your Asus motherboard is equipped with the necessary Wi-Fi antennas for optimal performance in your WiFi 7 setup. Enjoy the enhanced speed and connectivity that comes with this latest technology!