Select Language:
Moving from a small regional power to a global empire in Europa Universalis 5 involves many complex decisions related to production, trade, and military logistics. To help manage this large scope, EU5 introduces a comprehensive Automation system that allows players to delegate entire departments—such as Trade, Building, and Cabinet—to AI control. Delegating these tasks enables players to concentrate on large-scale strategy, like warfare or diplomacy.
Automation provides a dependable baseline for your nation’s performance, but it can come at the expense of maximum efficiency. This guide covers every major automation feature in the game, offering straightforward advice on when to enable or disable them, the real impact of their inefficiencies, and the trade-offs between saved effort and optimal play.
All Systematic Automations
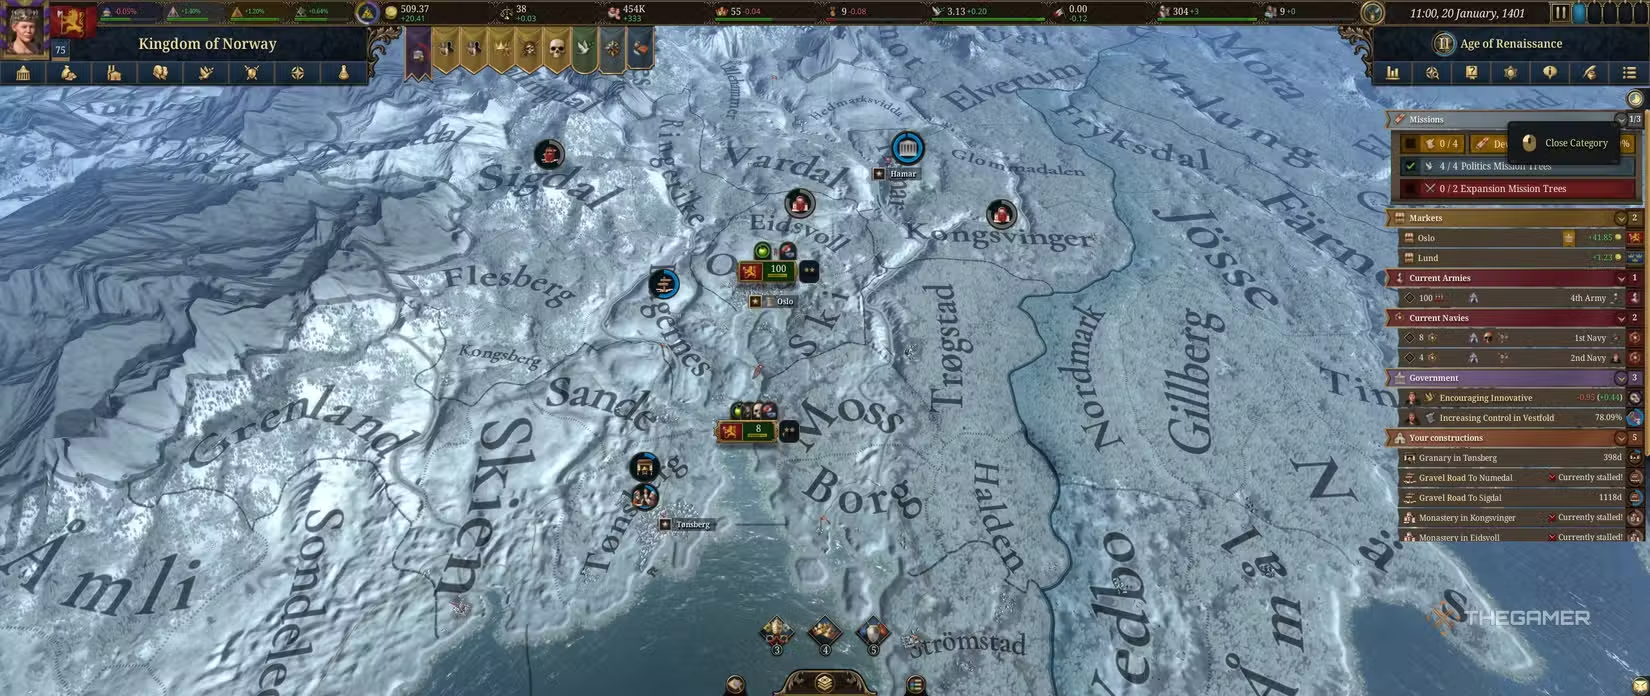
Automation is accessed through a menu located at the top right of the screen. Here, you’ll find a long list of automations covering large parts of the game, each with brief descriptions of their functions.
Below, we provide more details on each automation, along with our recommendations for when and how to use them—especially if you’re new to the game or the grand strategy genre. Our goal is to help you save time and effort in micromanagement while keeping the gameplay engaging.
Economy Automations
| Automation | Description |
|---|---|
| Balance | Manages everything in the Economy menu’s Balance section. The AI excels at keeping your finances in the green and maintaining stability and legitimacy. We suggest enabling this to learn how to grow your economy efficiently. Check periodically to see what changes it makes. |
| Trade | Automates selecting the best trades possible. Critical since trading often needs micromanagement for maximum profit. The Market Automation section lets you allocate Trade Capacity to the AI while still making manual trades if desired. |
| Production Methods | Assigns production methods to buildings, which vary inputs and outputs. Let the AI handle this to avoid micromanagement, especially in larger countries. |
| Buildings | Automates construction decisions, which can be very useful during peace or passive periods. Turn it off during conflict or if you have specific construction plans. |
| Close and Open Buildings | Handles opening or closing buildings based on notifications. It’s recommended to keep this automation active. |
| Subsidize Building | Useful for a healthy economy. In tough times, turning it off may be beneficial temporarily. Overall, the AI makes solid decisions here. |
| Destroy Buildings | Only advisable if you have automated building construction. Remain cautious and only activate when you understand the impact, typically in late-game scenarios. |
| Destroy Estate Buildings | Similar to destroying regular buildings, but focused on estate structures. Use primarily when you are in a stable, peaceful period. |
| R.G.O. (Raw Goods) | Automates management of raw goods through building or trade. Handy to leave on but monitor decisions using the Outliner to learn and improve your understanding. |
Diplomatic Automations
| Automation | Description |
|---|---|
| Research | Not recommended for automation, as research choices are critical to your strategy and AI may not select the best options. |
| Laws | Not advised to automate, since laws significantly affect your country’s operation and changing them can be costly. |
| Government Reforms | These are important, complex decisions best made manually. |
| Cabinet | Automating the Cabinet is highly recommended. The AI makes good decisions, adapts swiftly, and handles hiring effectively, reducing micromanagement. Turn off temporarily for specific plans. |
| Parliament | Automate only if you enjoy managing this mechanic or if your country’s stability is high. It costs stability if it fails, so in red zones, focus on easy wins. |
| Estates | The AI handles estate management well, but it’s best used during peace and when safety isn’t a concern. |
| Culture Acceptance | Delegate if you’re expansionist and busy with military or economic pursuits. |
| Religious Doctrines | Useful mainly if conquering territories of different religions. |
| Diplomacy Interactions | Automating diplomacy can be risky—your AI diplomats will act quickly and freely, which might undermine your personal diplomatic plans. Best used during difficult times. |
| Rivals | The AI chooses rivals well, but it’s better for players to handle rival selection personally. |
Military Automations
| Automation | Description |
|---|---|
| Exploration | If your focus is colonization without specific goals, automating exploration can reduce workload. However, learning mechanics manually is recommended first. |
| Colonies | Automates setting up colonies—use during peaceful times when you’re secure. Turn it off during war unless relying entirely on AI. |
| Army Construction | Useful during peace with good manpower and naval supply; turn off during war unless you want AI to manage armies. |
| Navy Construction | Similar to Army, automate while at peace; manually manage during conflict for better control. |
| Replace Generals | One of the easiest automations—good for general management. You can turn it off if you want to assign specific leaders. |
| Replace Admirals | Same as generals—reliable automation that handles naval leadership. |
Managing Armies and Navies
You can automate armies and navies through two approaches:
- Individually, by selecting a unit and clicking the ‘military objective’ button beside its name.
- In the military menu, where you can set objectives for all your forces at once using a top button.
While AI automation can be helpful for certain scenarios—like carpet sieges in safe zones or focused sieges against weaker opponents—manual micromanagement tends to be more effective in tougher wars. Your reliance on AI in battlefield management depends on how much you enjoy combat mechanics versus strategic planning.