Select Language:
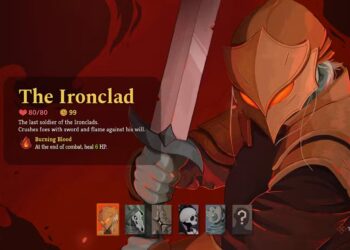
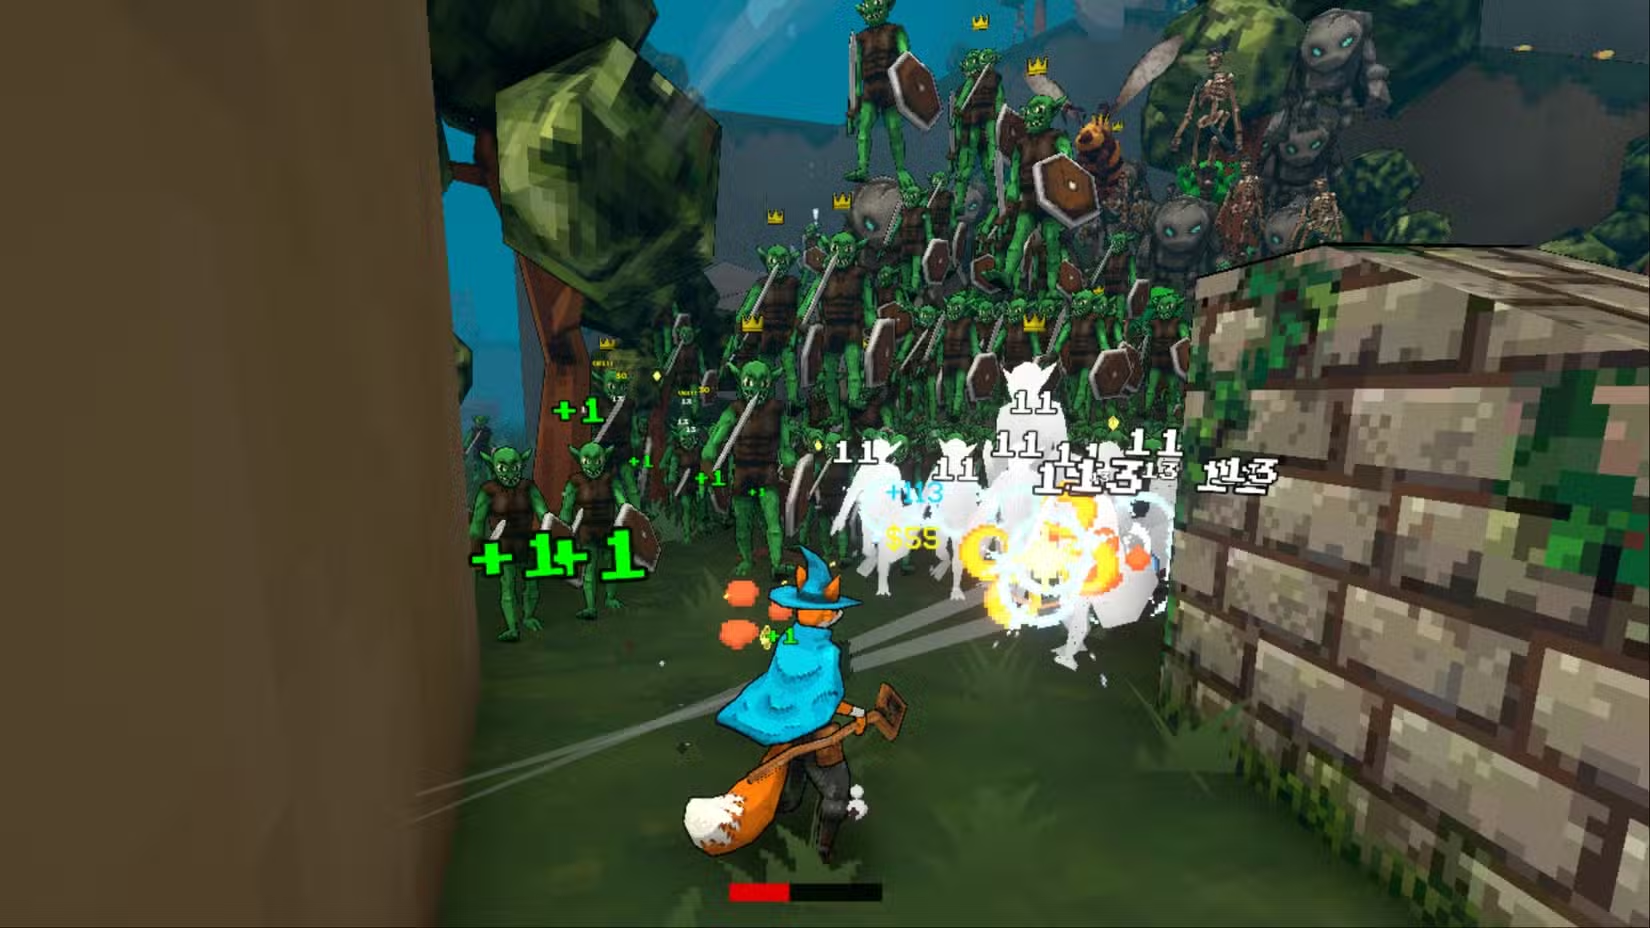
Megabonk can be chaotic and oddly satisfying. The tomes you pick up are small power-ups that can help or hinder your progress. Some turn you into a destructive force, while others are more like polite suggestions rather than actual advantages.
If you’re aiming to push as far as possible without crashing into a swarm of enemies, choosing the right tomes can prevent mistakes. This guide breaks down each tome, ranking them from must-have to meh, so you can focus on defeating enemies instead of doubting your upgrades.
How Our Tome Tiers Work
Here’s how we categorize the tomes:
- S Tier: Must-haves. Usually powerful and helpful in almost every situation.
- A Tier: Excellent but situational; sometimes better options exist.
- B Tier: Decent but require specific setups to be effective.
- C Tier: Weak or unreliable; generally not worth prioritizing.
S Tier Tomes
These tomes are universally strong and provide significant boosts in nearly every run.
| Tome | Effect | Why It’s Here |
|---|---|---|
| Damage | Boosts your base attack damage | Always useful; works well into late-game. |
| Cooldown | Improves attack speed and reduces cooldowns | Great DPS boost; stacks nicely with other tomes. |
| Size | Enlarges all attack sizes | Better mob control, safer gameplay, more damage. |
| XP | Grants more experience points | Faster leveling gives you a snowball advantage. |
| Precision | Raises critical hit chance and unlocks overcrit | Critical hits dominate with this; top-tier scaling. |
A Tier Tomes
Solid options that add consistency or resource advantages but are a bit situational.
| Tome | Effect | Why It’s Here |
|---|---|---|
| Regen | Increases health regeneration rate | Keeps you alive through minor damage. |
| Shield | Absorbs damage and regenerates if unhit | Adds extra survivability; acts as a safety net. |
| Agility | Boosts movement speed | Improves dodging, kiting, and item pickup efficiency. |
| Evasion | Raises chance to dodge | Powerful when paired with other defensive tomes; RNG-based. |
| Quantity | Provides more items/resources | Mid-to-late game snowball effect; slower early payoff. |
| Golden | Increase gold earned | Great for long-term resource farming. |
B Tier Tomes
Decent choices that depend heavily on your setup.
| Tome | Effect | Why It’s Here |
|---|---|---|
| HP | Boosts maximum health | Good buffer, but less effective without regen/shield. |
| Armor | Adds armor to reduce damage | Helps reduce chip damage, especially with sustain builds. |
| Knockback | Increases pushback distance | Fun for crowd control, less useful against bosses. |
| Bloody | Gradually heals you when you deal damage | Raises survivability through lifesteal. |
| Projectile Speed | Faster projectiles | Quality of life, especially for ranged builds. |
| Duration | Extends attack and projectile durations | Useful, but better options exist. |
| Luck | Increases your luck stat | Can be powerful but is unreliable and RNG-dependent. |
C Tier Tomes
Currently weak with limited benefits.
| Tome | Effect | Why It’s Here |
|---|---|---|
| Silver | Gains more silver | No in-run power boost; less useful. |
| Attraction | Brings XP toward you | Quality of life at best; not run-changing. |
| Thorns | Deals damage to attacking enemies | Niche effect; better options available. |
This breakdown should help you decide which tomes to prioritize to maximize your runs in Megabonk.