Select Language:
Stalker 2: Heart of Chornobyl offers players a mix of spine-chilling and thrilling missions, one of which is "The Lost Boys." This side quest is accessible early in the game and tasks you with unraveling the mystery behind a missing team while navigating a deserted base filled with remnants of chaos.
Although it may not be the most intense mission in terms of action, it stands out as one of the finest due to its suspenseful narrative and the dark atmosphere typical of the Stalker series. From beginning to end, this quest will keep you on your toes, challenging you to make difficult choices and observe their consequences.
How to Begin "The Lost Boys" in Stalker 2: Heart of Chornobyl
To kick off The Lost Boys quest, head over to Lens in Zalissya and inquire about any work he might have for you. He will share details about a missing team of diggers. Once he explains the situation and gives you their last known location, let him know that you’re willing to search for them, and the side mission will officially begin.
Your objective is to locate Mastiff’s group, who has not returned from an expedition they embarked on days earlier. Lens expresses concern about their whereabouts, feeling uneasy even before they left, and he hopes you can check on them.
Travel to Mastiff’s Group’s Last Known Location
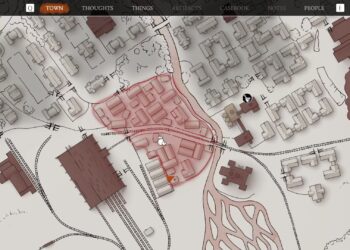
Step out of Lens’ place and follow the blue marker on your compass, traversing through desolate fields and old tunnels until you reach a small building with an open door. This is where Mastiff’s group was last seen. Enter the structure and head down the stairs, delving deeper into the bunker.
Expect minimal enemy encounters here, but watch out for numerous anomalies; keep your Screw ready to navigate past them. It’s wise to carry an extra Medkit for this portion of the quest. If you’re running low, it’s best to find more before proceeding.
Discover What Happened to Mastiff’s Group
As you enter the bunker, turn left and then take another sharp left to find a narrow walkway leading to a corpse. Approach the body to discover a device on the ground next to it. Interact with the device to uncover clues about the fate of Mastiff’s group.
Continue Navigating the Bunker
Keep advancing through the bunker along the main path until you come across a bag next to a shotgun. Loot the bag to find a Fuse among other supplies like ammunition, bandages, and food. Take the Fuse and go into the room directly across from where you found the bag to locate the Fuse Box.
Install the Fuse into the Fuse Box, then exit the room and continue down the main path. This step will be essential later in your exploration of the bunker.
Further Explore the Bunker
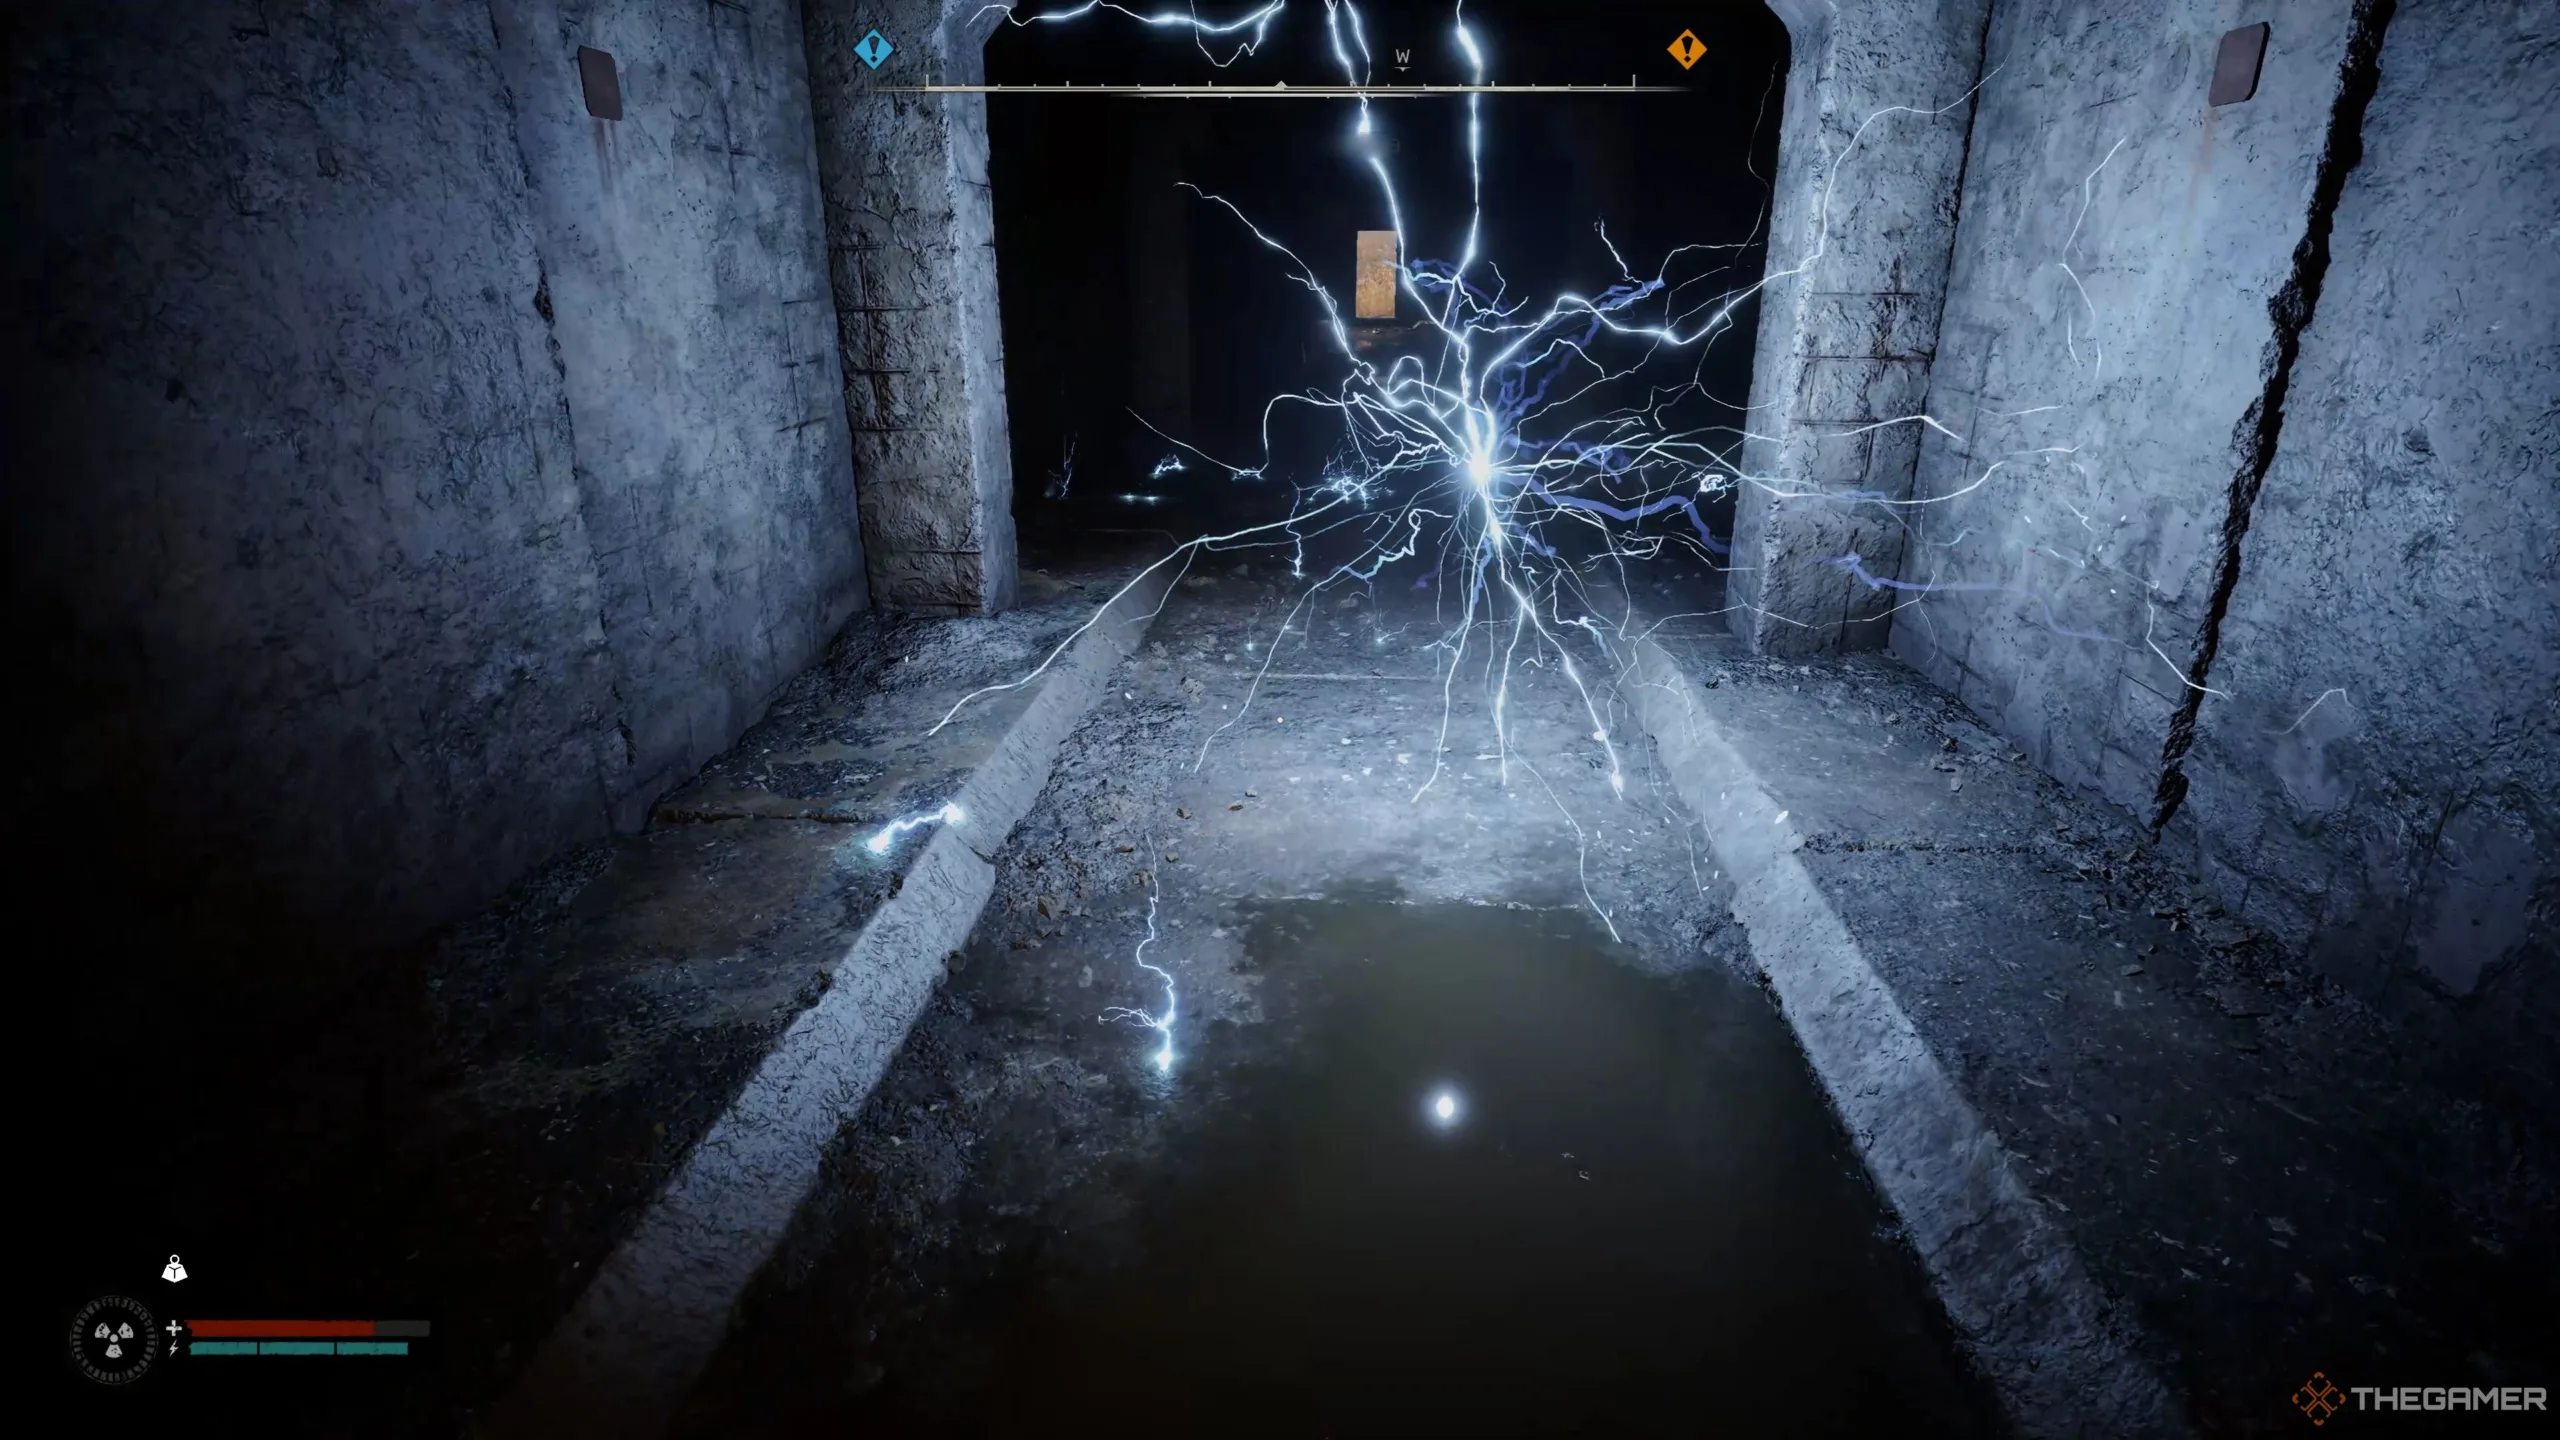
Proceed until you reach a room filled with Electricity Anomalies. Use your Screw and toss it at the anomalies to activate them, allowing you to maneuver through briefly as they deactivate. Keep repeating this until you enter the next room, where you’ll encounter a small group of Rats.
Throw the Screw into the transparent orb anomaly to take out most of the Rats, then finish off the remaining ones with your weapons. After clearing them out, you’ll hear someone in distress on the other side of the room. Approach them and use a Medkit to provide assistance.
Speak with Max Saturday, telling him that Lens sent you to check on the team. He will reveal that a Monolithian ambushed the squad, taking Mastiff captive after eliminating everyone else. Confirm your intention to find Mastiff, and he will mark their route on your map.
Locate the Secret Room in the Bunker
Ascend the stairs behind Max and pull the lever on the wall to open the exit door. Instead of leaving, go back to the bunker’s entrance where you found the first body. You’ll notice a newly opened room.
Enter this new room to find a large duffle bag, numerous medical supplies, ammunition, food, and an Aurora Gas Mask on a shelf. Collect everything you can carry before heading back to Max and moving through the exit.
Exit the Bunker
After looting the secret room, exit through the door behind Max to encounter another set of Electricity Anomalies. Use your Screw to temporarily deactivate them, and make a quick escape back into the open fields. Now, it’s time to locate Mastiff.
Find Mastiff
Just southeast of the bunker lies the location where the Monolithian took Mastiff. Follow your waypoint until you come to a solitary house deep in the forest, surrounded by tombstones and skulls. Approach the house cautiously and try the front door, which will be locked.
This attempt will result in an ambush from a group of Blind Dogs, so you’ll need to deal with them before progressing. Fortunately, there are only about five of them, making it a manageable fight as long as you aim carefully and conserve ammunition.
Enter the House Where Mastiff Is Held
After dispatching the Blind Dogs, go behind the house to find a shed with a padlock. Use your knife to break the lock and enter. Inside, you will find a cave entrance leading to an underground tunnel that grants you access to the locked house.
Follow the tunnel to reach the interior of the house, and push further into the next room to discover a wounded Mastiff lying on a bed. To your left, you’ll see a ladder leading to the attic. Climb it to confront the Monolithian inside.
Should You Kill or Save The Ninth in Stalker 2: Heart of Chornobyl?
When you confront the Monolithian, you’ll learn his identity as The Ninth. He will provide an account of the events that unfolded, claiming that a mutant attacked the team, and asserts that he saved Mastiff and treated his wounds.
Don’t attack him immediately; doing so will lead to an encounter with a group hunting The Ninth that arrives outside. You can choose to offer to help The Ninth, which opens up new options, including leaving and going outside, an approach worth considering.
Talk to Dew
Outside, you’ll find Dew, who is also intent on confronting The Ninth. Inform him that you’re there for Mastiff, and then select the "I got it" option. You’ll face your final choice: decide whether to side with Mastiff, the Monolithian, or to remain uninvolved.
Recall the events relayed by Max in the bunker; The Ninth isn’t a good person. Therefore, it’s wise to eliminate him to save Mastiff. If you choose to ally with The Ninth, you’ll end up turning against Dew and his partner, leaving Mastiff at The Ninth’s mercy.
Ultimately, it’s your decision, but teaming up with Dew to take down The Ninth to save Mastiff is highly recommended.
Battle Against The Ninth
Joining forces with Dew and Mastiff will thrust you into combat against The Ninth, so be prepared to expend considerable ammo. Monolithians are surprisingly resilient, so don’t hesitate to make full use of your allies to overpower him.
Once you’ve defeated The Ninth, loot his body and check his PDA to gain insights into his motivations. Finally, make your way back to Lens in Zalissya to wrap up this mission.
Return to Lens in Zalissya
Take the trek back to Zalissya and speak with Lens, filling him in on everything that happened during your mission, including the fate of Mastiff’s group and where Mastiff ended up. Inform him that a Monolithian had taken him to an abandoned house. In gratitude for saving Mastiff, Lens will reward you with a generous bounty of 1,000 Credits, making all your efforts worthwhile!