Select Language:
Quick Links
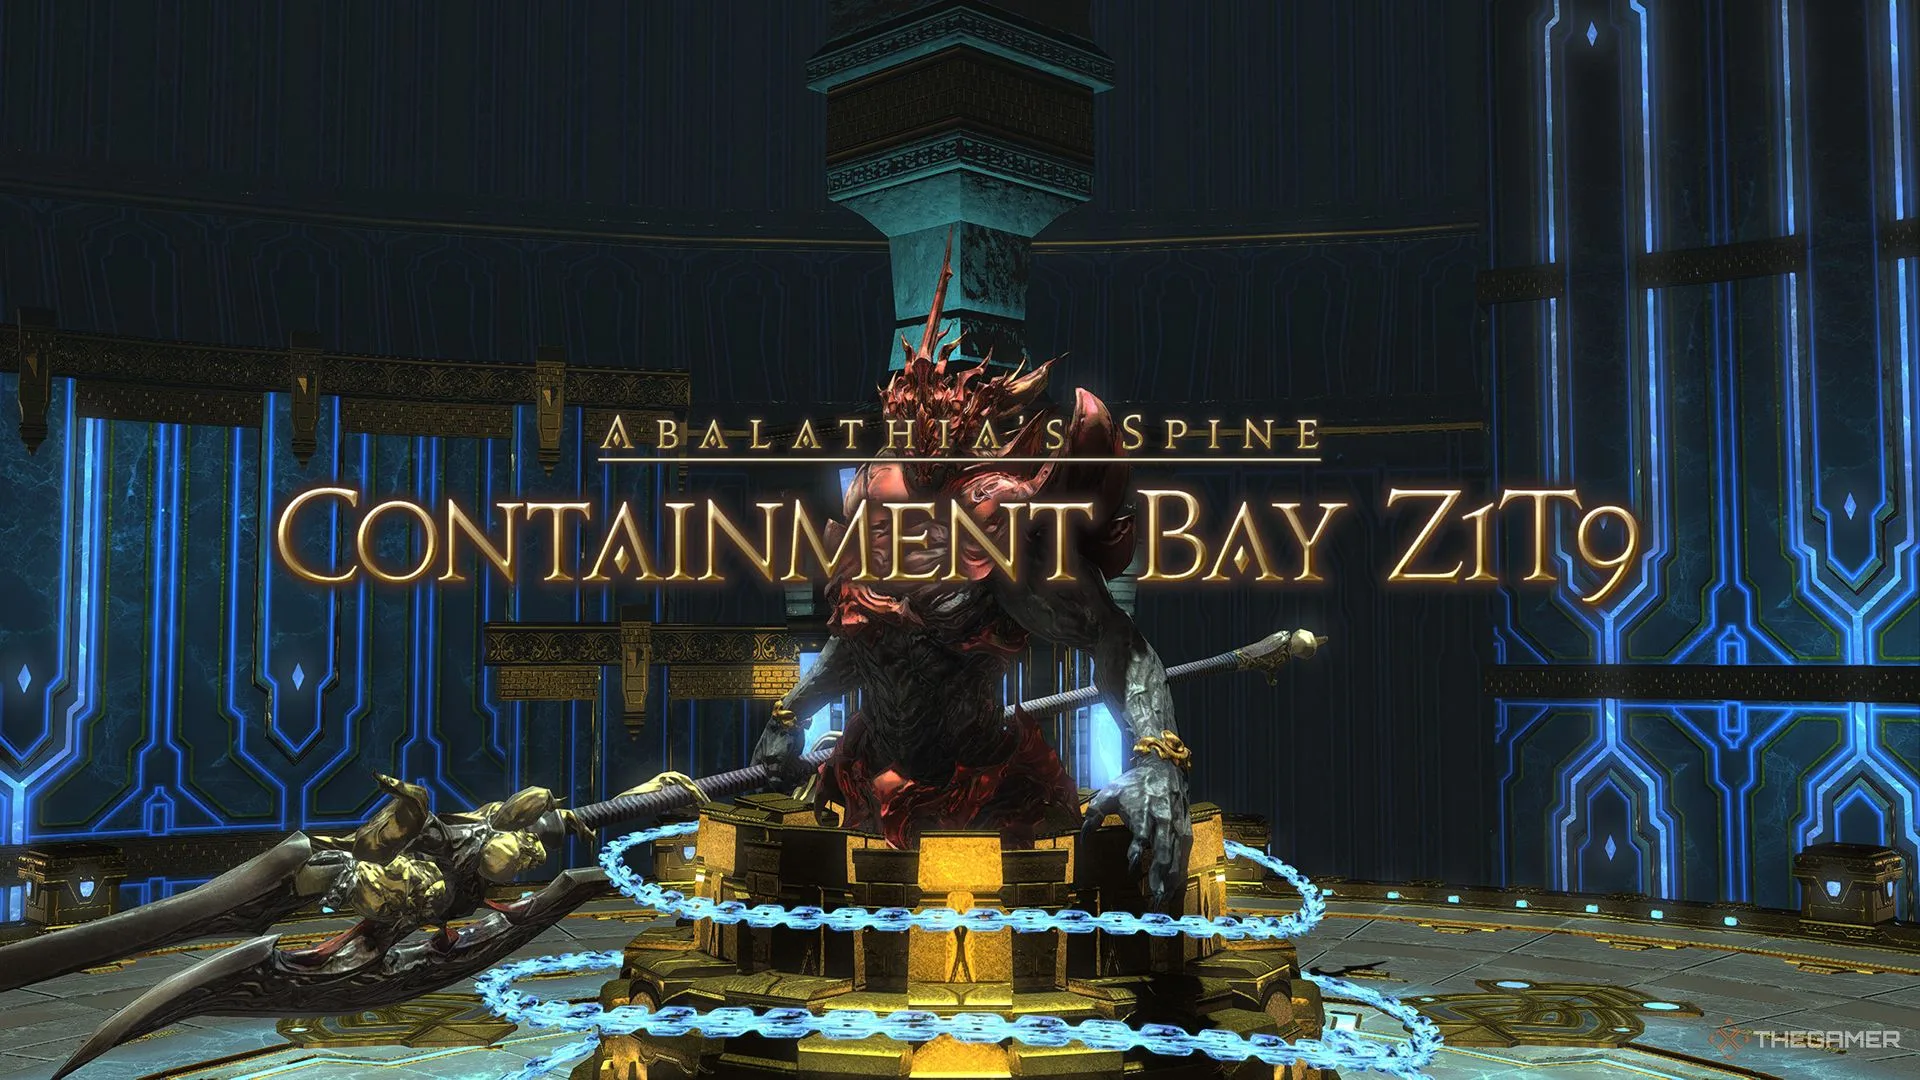
Containment Bay Z1T9 is a level 60 Trial in Final Fantasy 14 where you engage in battle against Zurvan, the final member of the Warring Triad. Once praised as the embodiment of triumph in ancient histories, Zurvan was captured by the Allagans and has been biding his time for centuries to seek revenge.
To face Zurvan before he escapes, you must enter Containment Bay Z1T9 and defeat him. Below, we’ll go over everything you need to know about this encounter, including Zurvan’s various attacks, mechanics, and tips on how to dodge them.
Note that some information may be outdated, and most groups using the Duty Finder are often powerful enough to bypass one or more of Zurvan’s attacks. As a result, you might not encounter all the mechanics discussed below during a typical run in Containment Bay Z1T9.
How to Unlock Containment Bay Z1T9
Containment Bay Z1T9 is the third Trial associated with the Warring Triad. You must first complete the quests and Trials for Sephirot and Sophia, specifically titled ‘When the Bough Wakes’ and ‘Balance unto All’. Once those are done, you can accept the quest ‘The Last Pillar to Fall’ from Unukalhai in The Rising Stones (X:6, Y:5) to unlock your battle against Zurvan.
Zurvan Fight Overview
The encounter with Zurvan is divided into four distinct phases. Here’s what to expect in each phase:
Phase 1
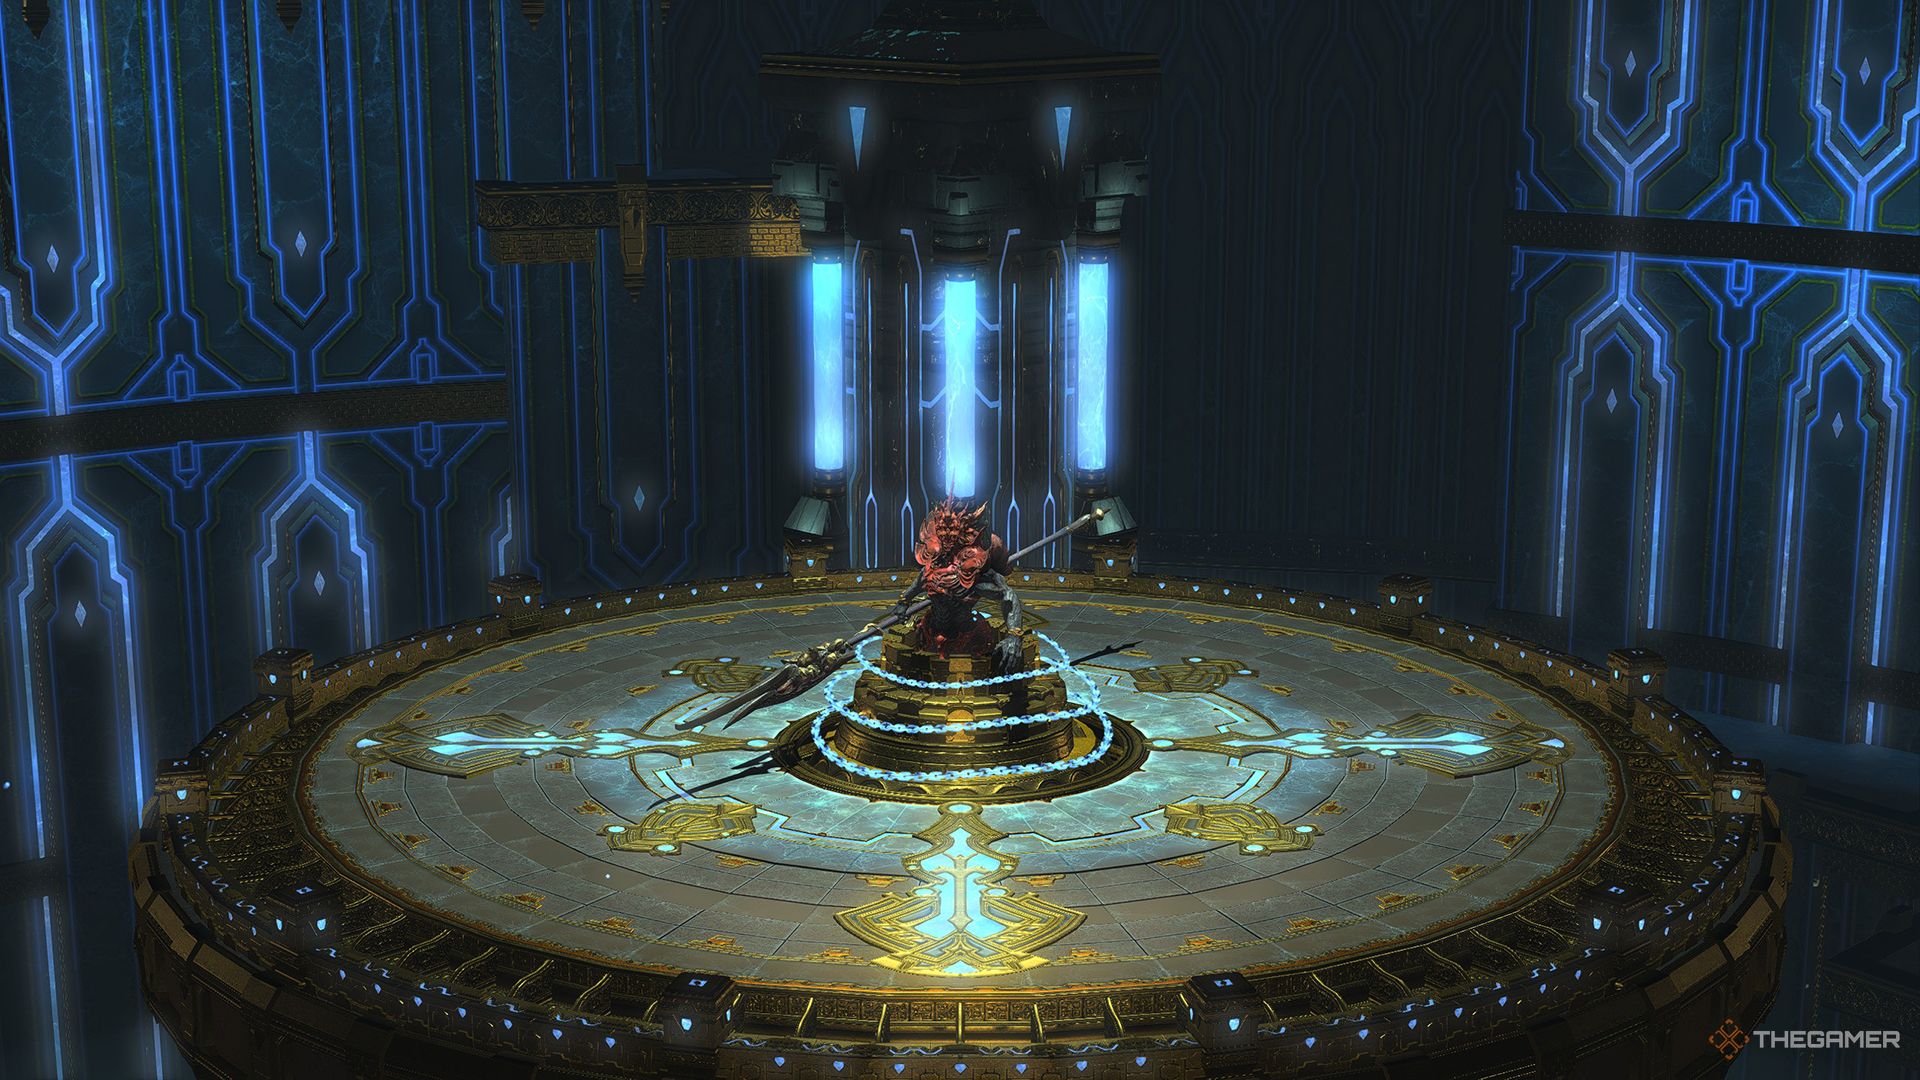
The battle begins in a circular arena with Zurvan positioned in the center. During this phase, he will use the following attacks:
| Attack Name | Type | Details |
|---|---|---|
| Metal Cutter | Conal AoE | This attack damages the area in front of the boss. The Tank should position Zurvan away from the party to prevent hitting allies. |
| Flare Star | Circle AoE | Causes damage in AoE circles that appear under random players. Move away to avoid damage. |
As Zurvan uses these attacks, sections of the arena will begin to collapse. Standing on a collapsing section leads to immediate elimination, so keep moving! Once three of the four arena quarters have fallen, Zurvan will cast The Purge, damaging all players and transitioning to the next phase.
Phase 2
The fight will transfer to a new arena, which features hazardous AoE damage around its edges.
| Attack Name | Type | Details |
|---|---|---|
| Soar | Line AoE | Zurvan will create two clones that charge along marked channels. Move out of these areas before the next attack. |
| Flaming Halberd | AoE Marker | Two players will receive large AoE markers. Everyone else should spread out to avoid overlap, followed by the Demonic Dive attack. |
| Demonic Dive | Stack Marker | A player will be marked, and everyone should gather at their location to absorb the damage. |
| Wave Cannon | Line AoE | This deals significant damage directly in front of Zurvan. Avoid it by moving behind him when he starts his charge. |
| Ice Puddle | AoE | A damaging puddle of ice will appear under Zurvan, causing various negative effects if you step in it. |
| Biting Halberd | Conal AoE | Hits a large area covering most of the arena; look for a safe spot directly behind him and run there to avoid damage. |
| Southern Cross | AoE | Affects random players with circle AoEs—move out of these marked areas to avoid harm. |
| Ciclicle | Ring AoE | This deals damage in a large ring, but you can avoid it by staying close to Zurvan. |
| Tail End | Point-blank AoE | Damage hits around Zurvan. Move away from him to avoid it. |
Eventually, Zurvan will become untargetable and summon several enemies, signaling the start of phase three.
Phase 3
During this phase, you will face three waves of adds. The main tank should gather all enemies in one location while the rest of the party takes them down quickly.
After defeating all three waves, Zurvan will unleash his ultimate attack, damaging all players and leading into the final phase.
Phase 4
This phase resembles phase two but adds a few new mechanics. You will encounter everything from phase two along with these additional attacks:
| Attack Name | Type | Details |
|---|---|---|
| Tyrfing | Tankbuster | This attack inflicts multiple hits of damage on the main tank, finishing with Fire III, a small AoE. Use defensive cooldowns to mitigate the damage. |
| Broken Seal | Special | Zurvan will mark players with either Infinite Ice or Infinite Fire. Fire and Ice meteors will then fall around the arena. You must stand in the matching circle to prevent the meteors from exploding and dealing damage. |
Zurvan will continue to use these mechanics until he is defeated. Pay close attention to the Soar, Flaming Halberd, and Demonic Dive combo, as they can easily take players out if hit by two of these. Also, make sure to keep track of your debuff to position yourself correctly to prevent the Fire and Ice meteors from hitting the arena, as even a single hit results in party damage and adds a Vulnerability Up stack, which can be catastrophic.