Select Language:
Quick Links
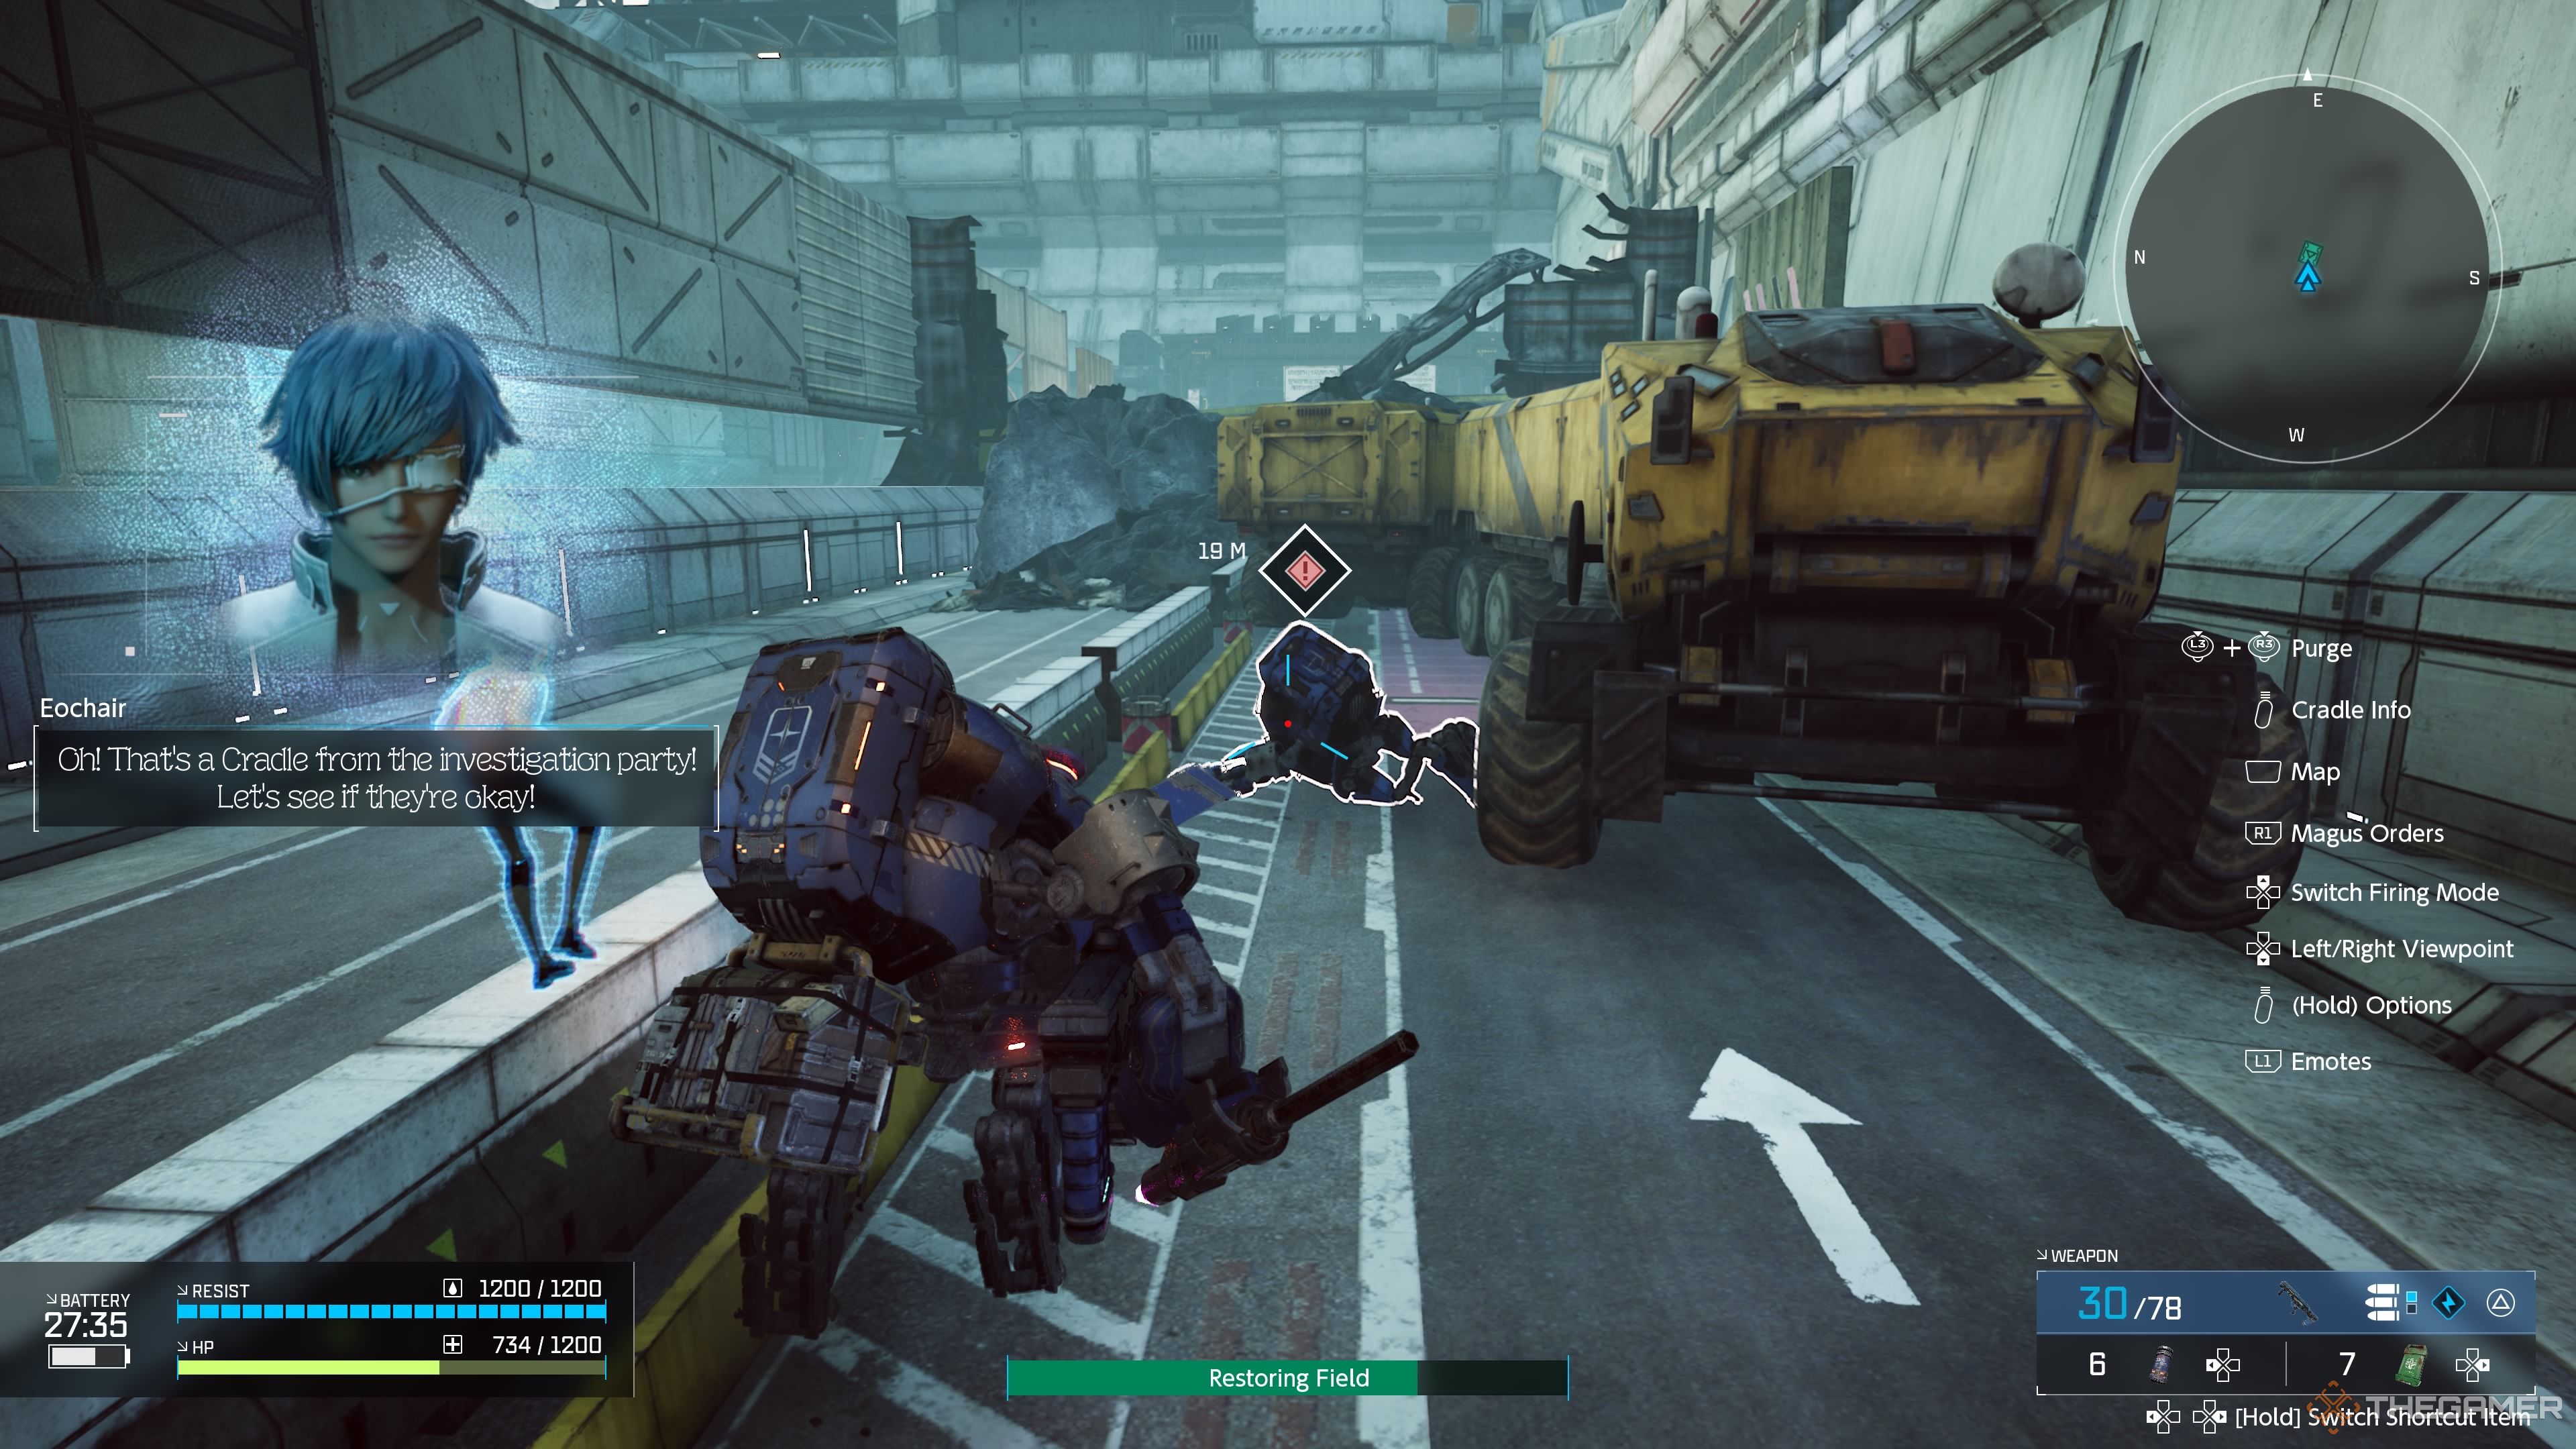
After completing the first three CIC missions in Synduality: Echo of Ada, a new area, the Amasia Outer Rim, becomes available. These new missions follow a similar format as the previous ones but place more focus on Enders while offering a refreshing change of environment.
Your first destination in this area is the Old Amasia Grand Bridge, marking the entrance to the city itself. This mission introduces the game’s first real boss and features several difficult platforming challenges that can result in instant defeat. Stay alert as you search for those surveillance logs.
Where to Find All Surveillance Logs
There are five surveillance logs located in the Old Amasia Grand Bridge, conveniently found in a straightforward order. Here’s the information on each of them.
Surveillance Log #1
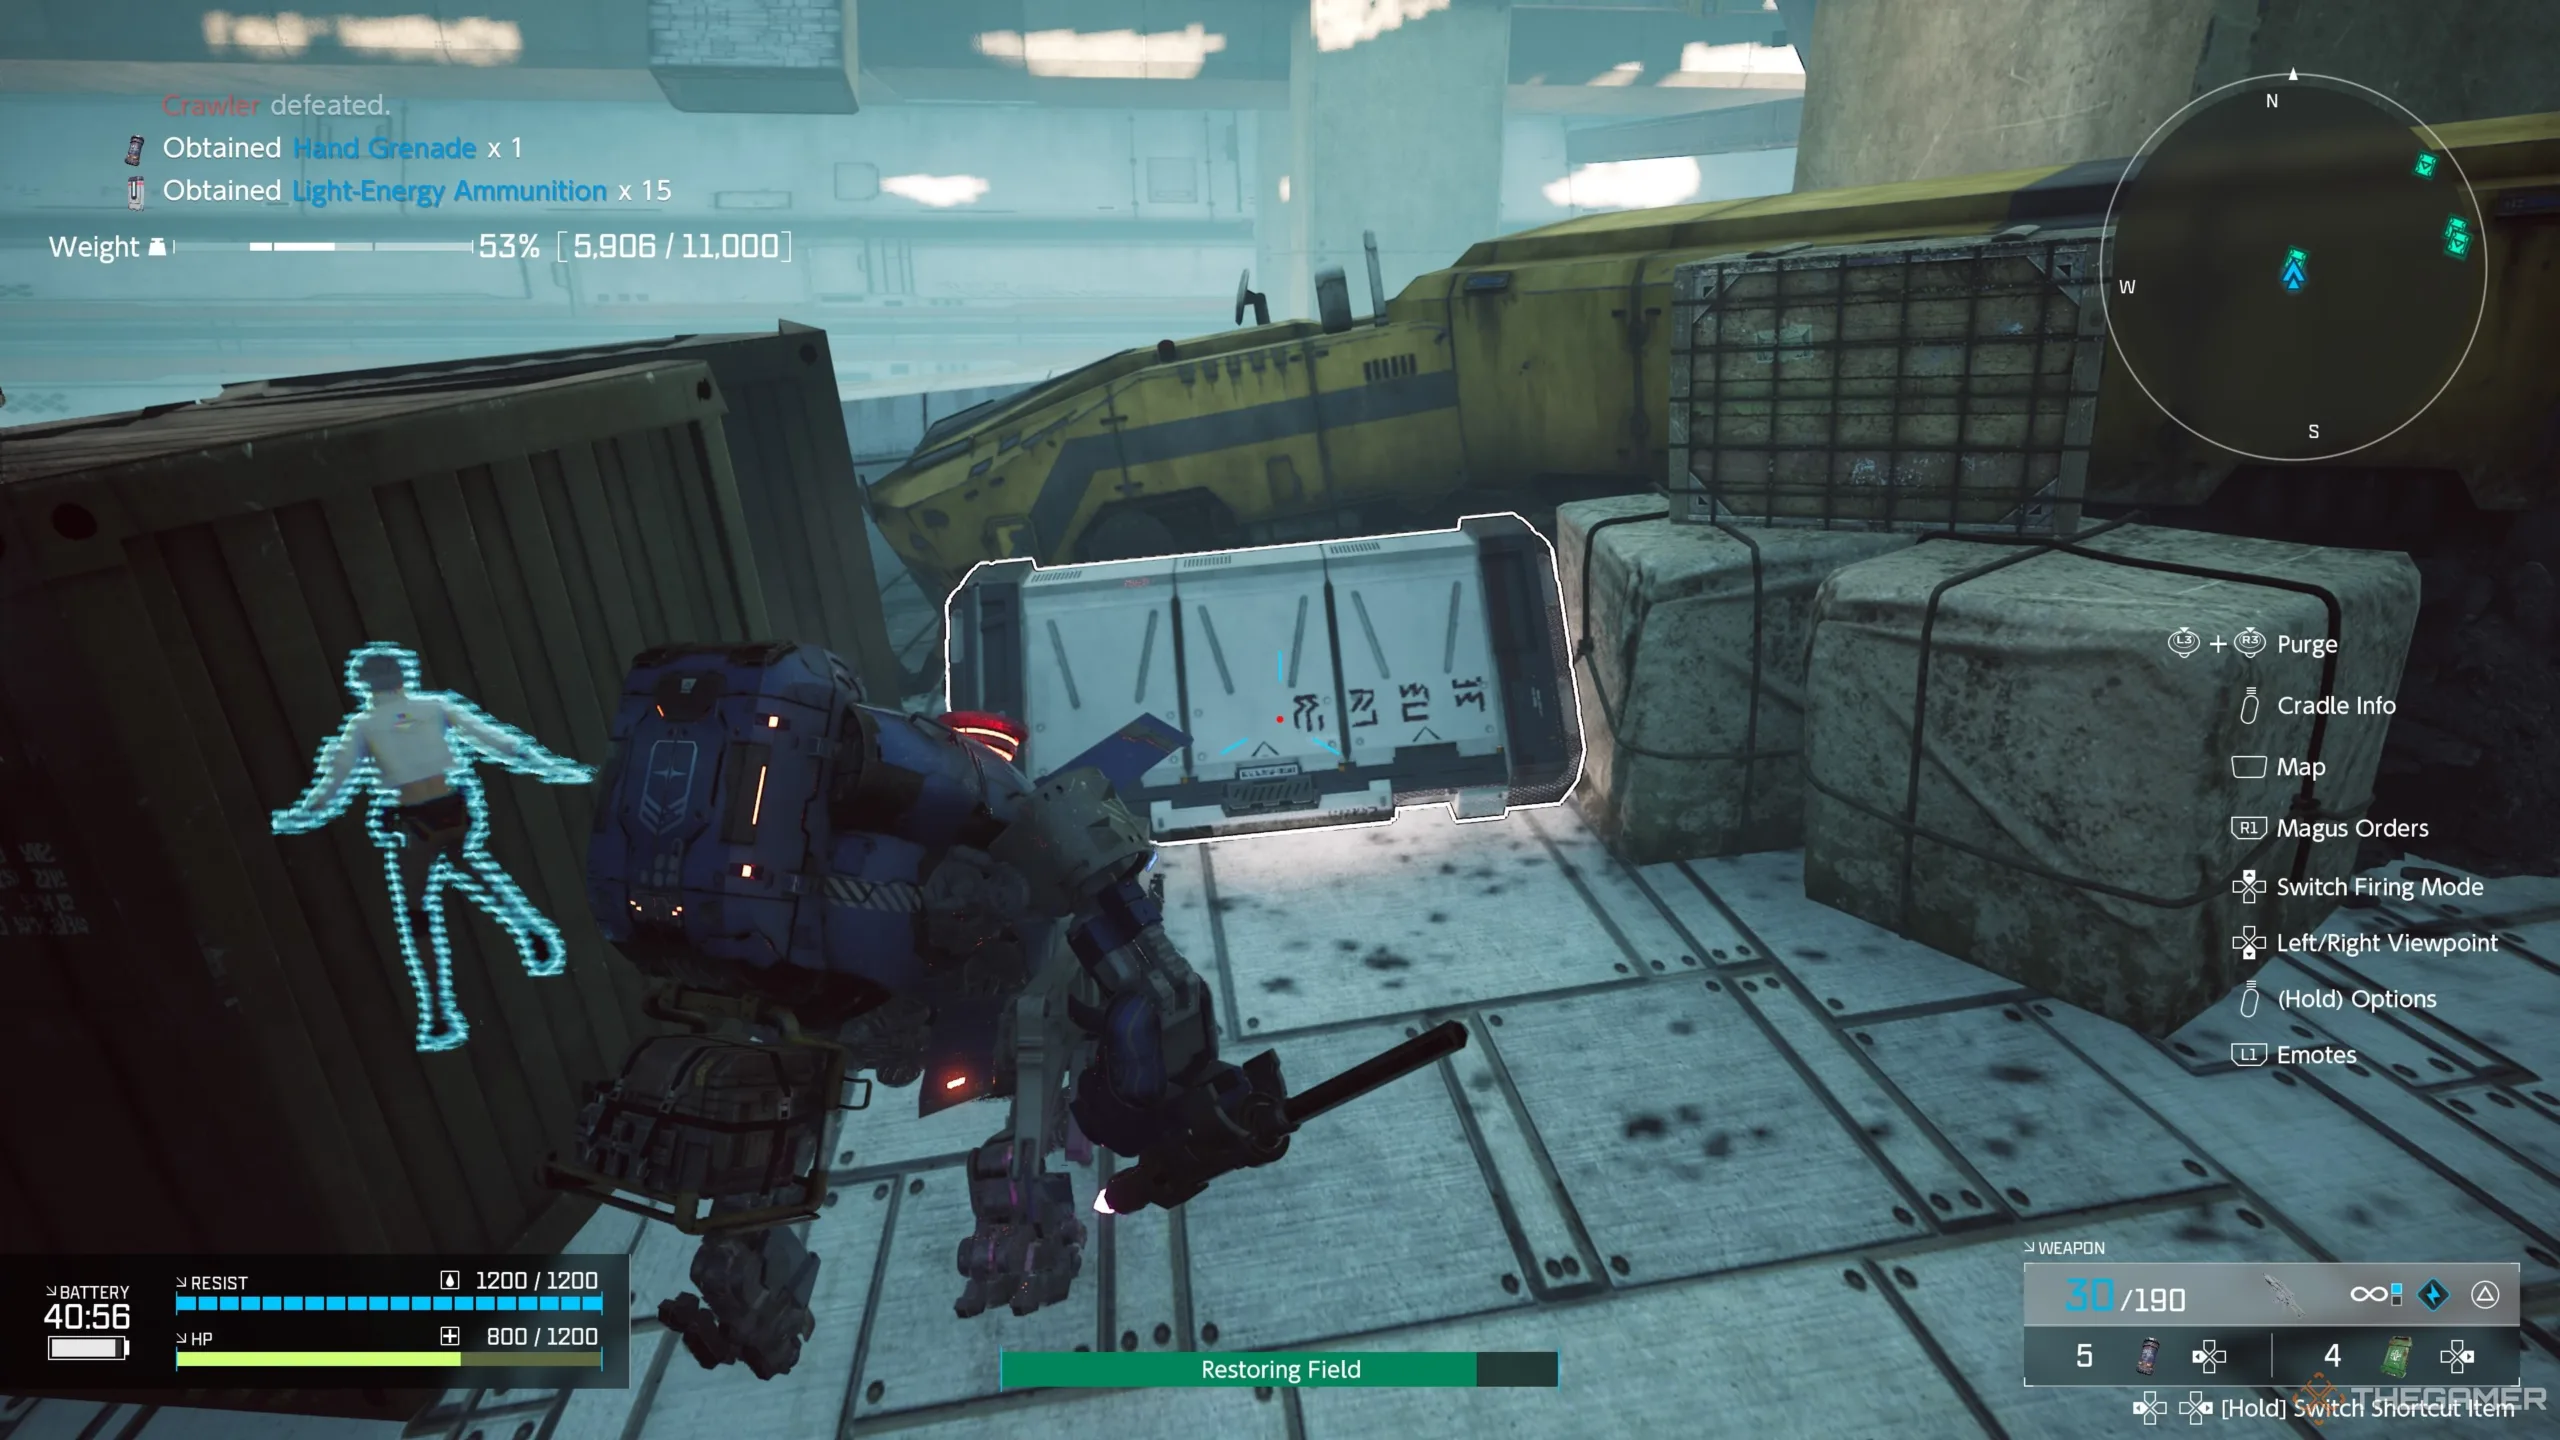
After your initial encounter with the Giant Gazer, cross the bridge and go to the southern end. Drop one level down, where some crawlers will be guarding the container holding the log.
Surveillance Log #2
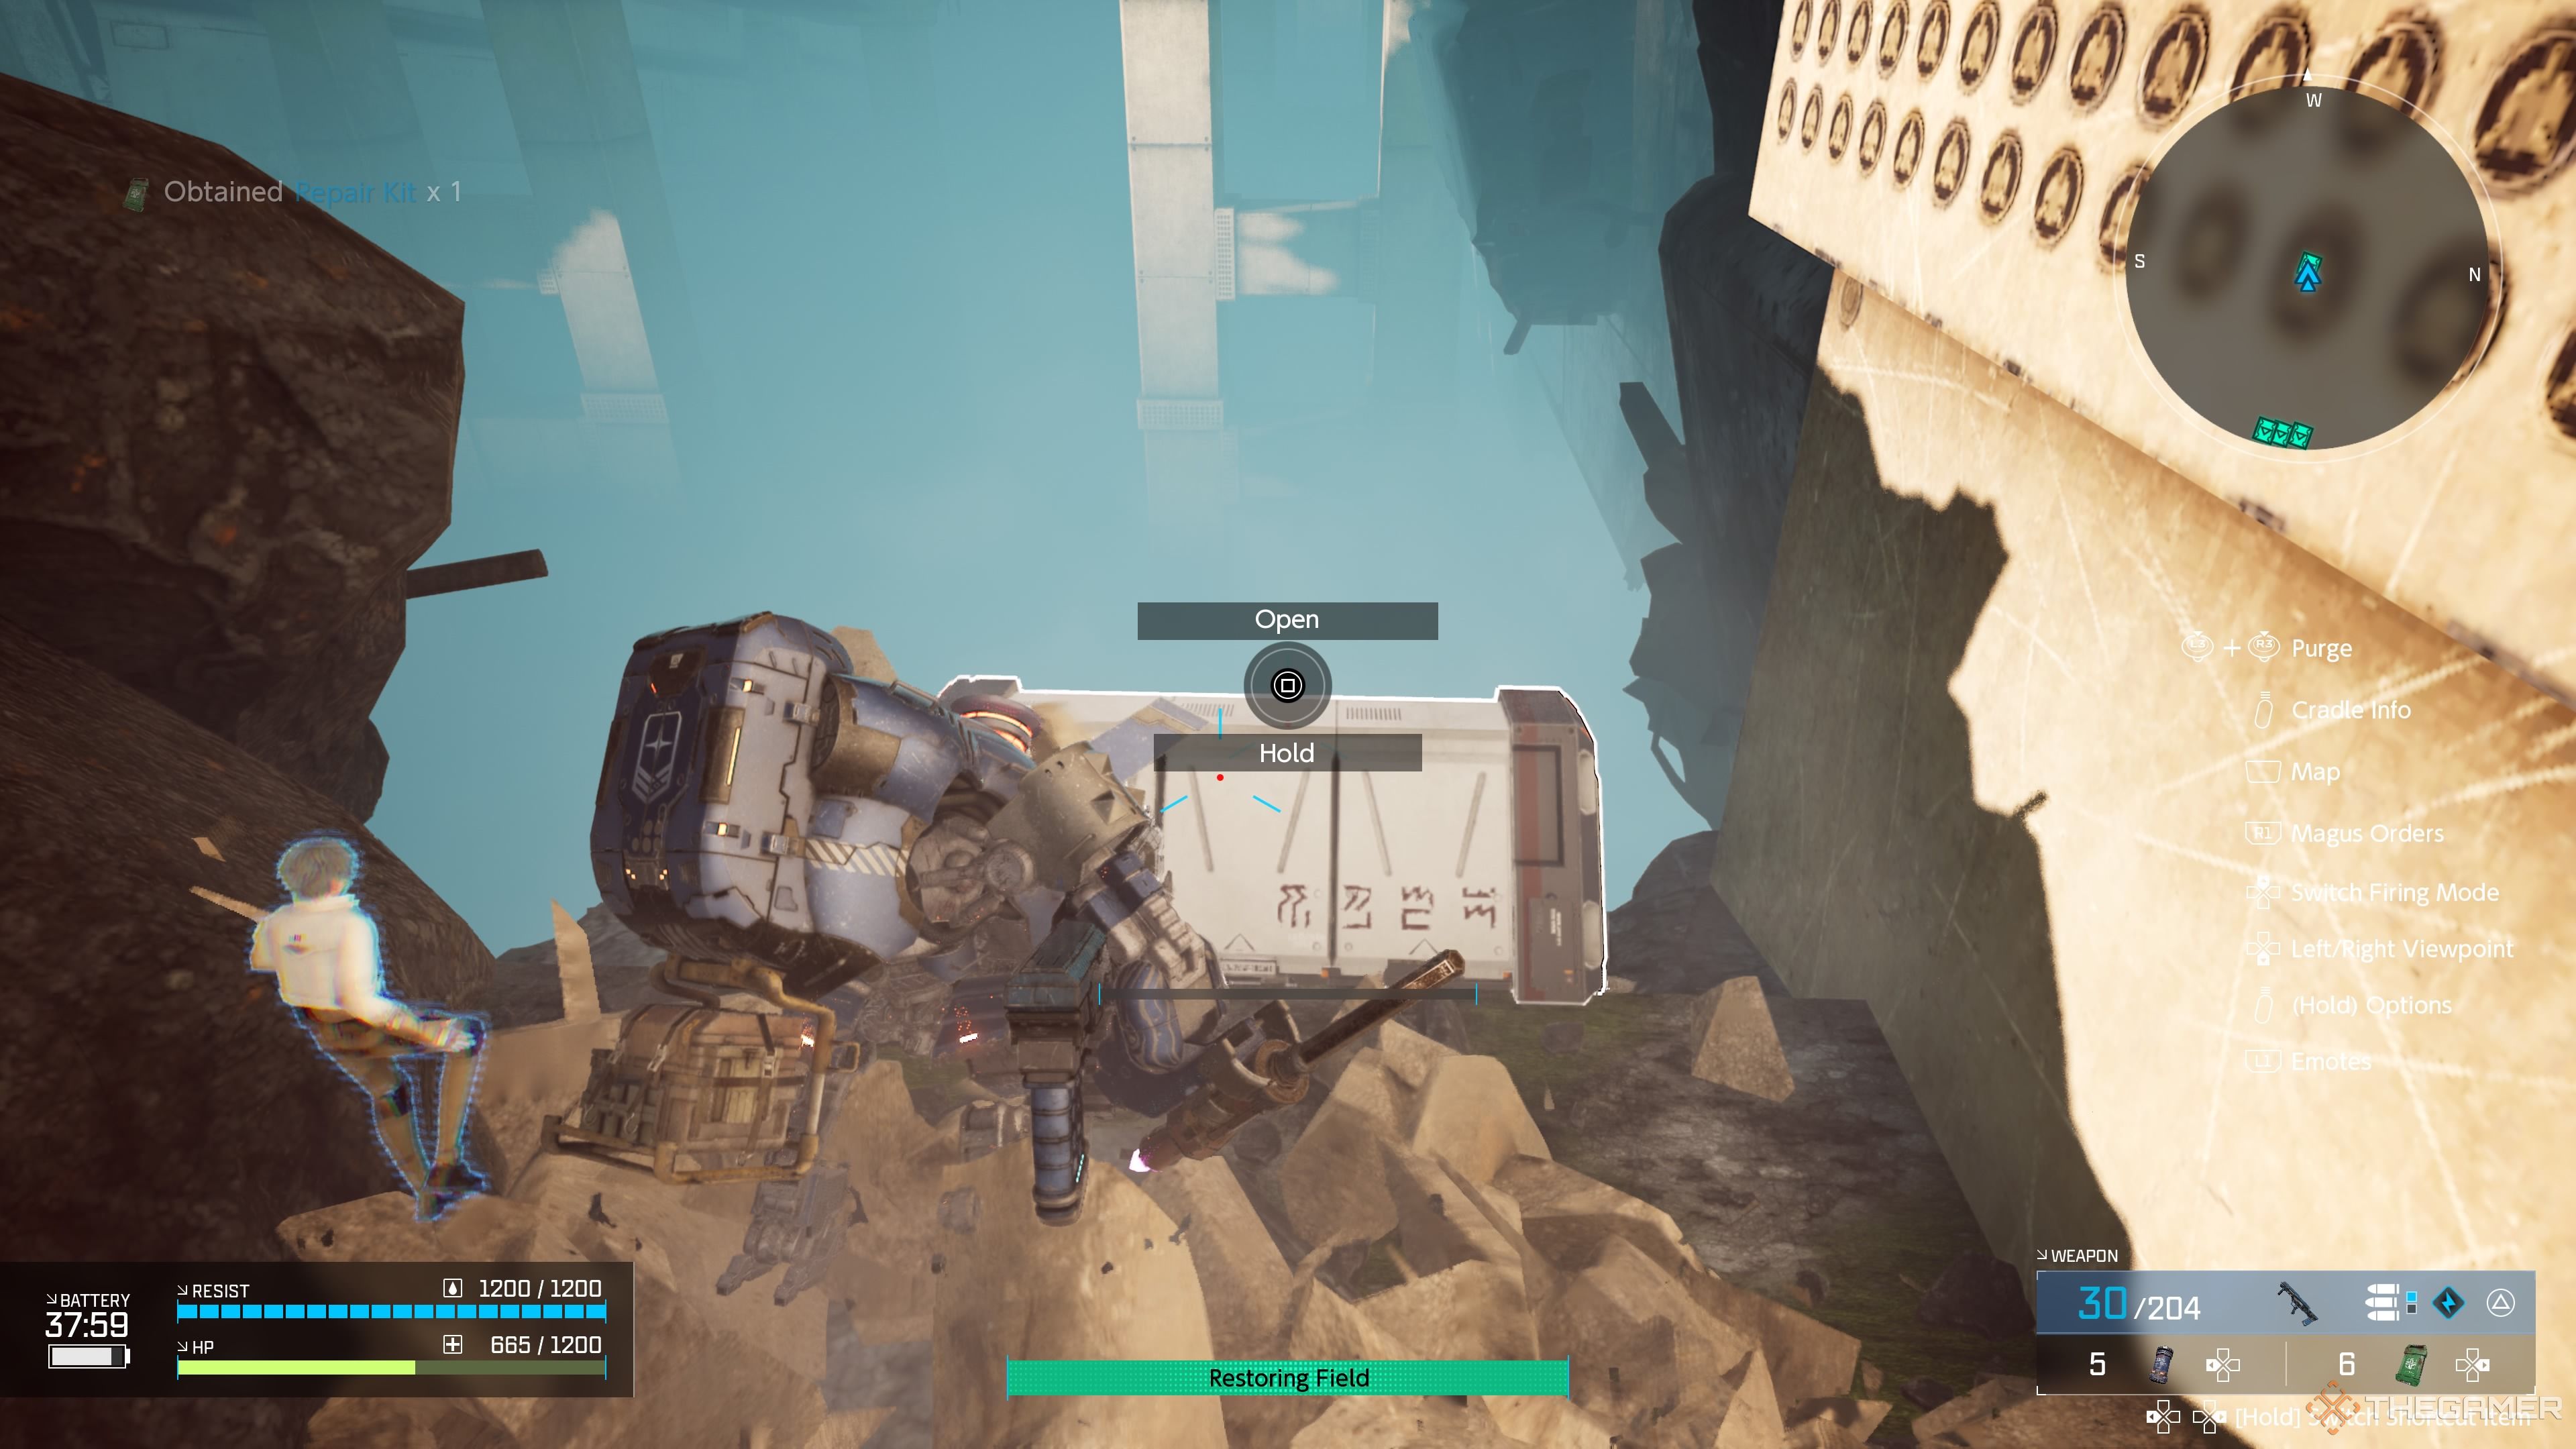
After the brief battle with the Giant Gazer beside some containers, cross the bridge again and go lower. Turn around and break through the wall ahead to locate the log inside the container.
Surveillance Log #3
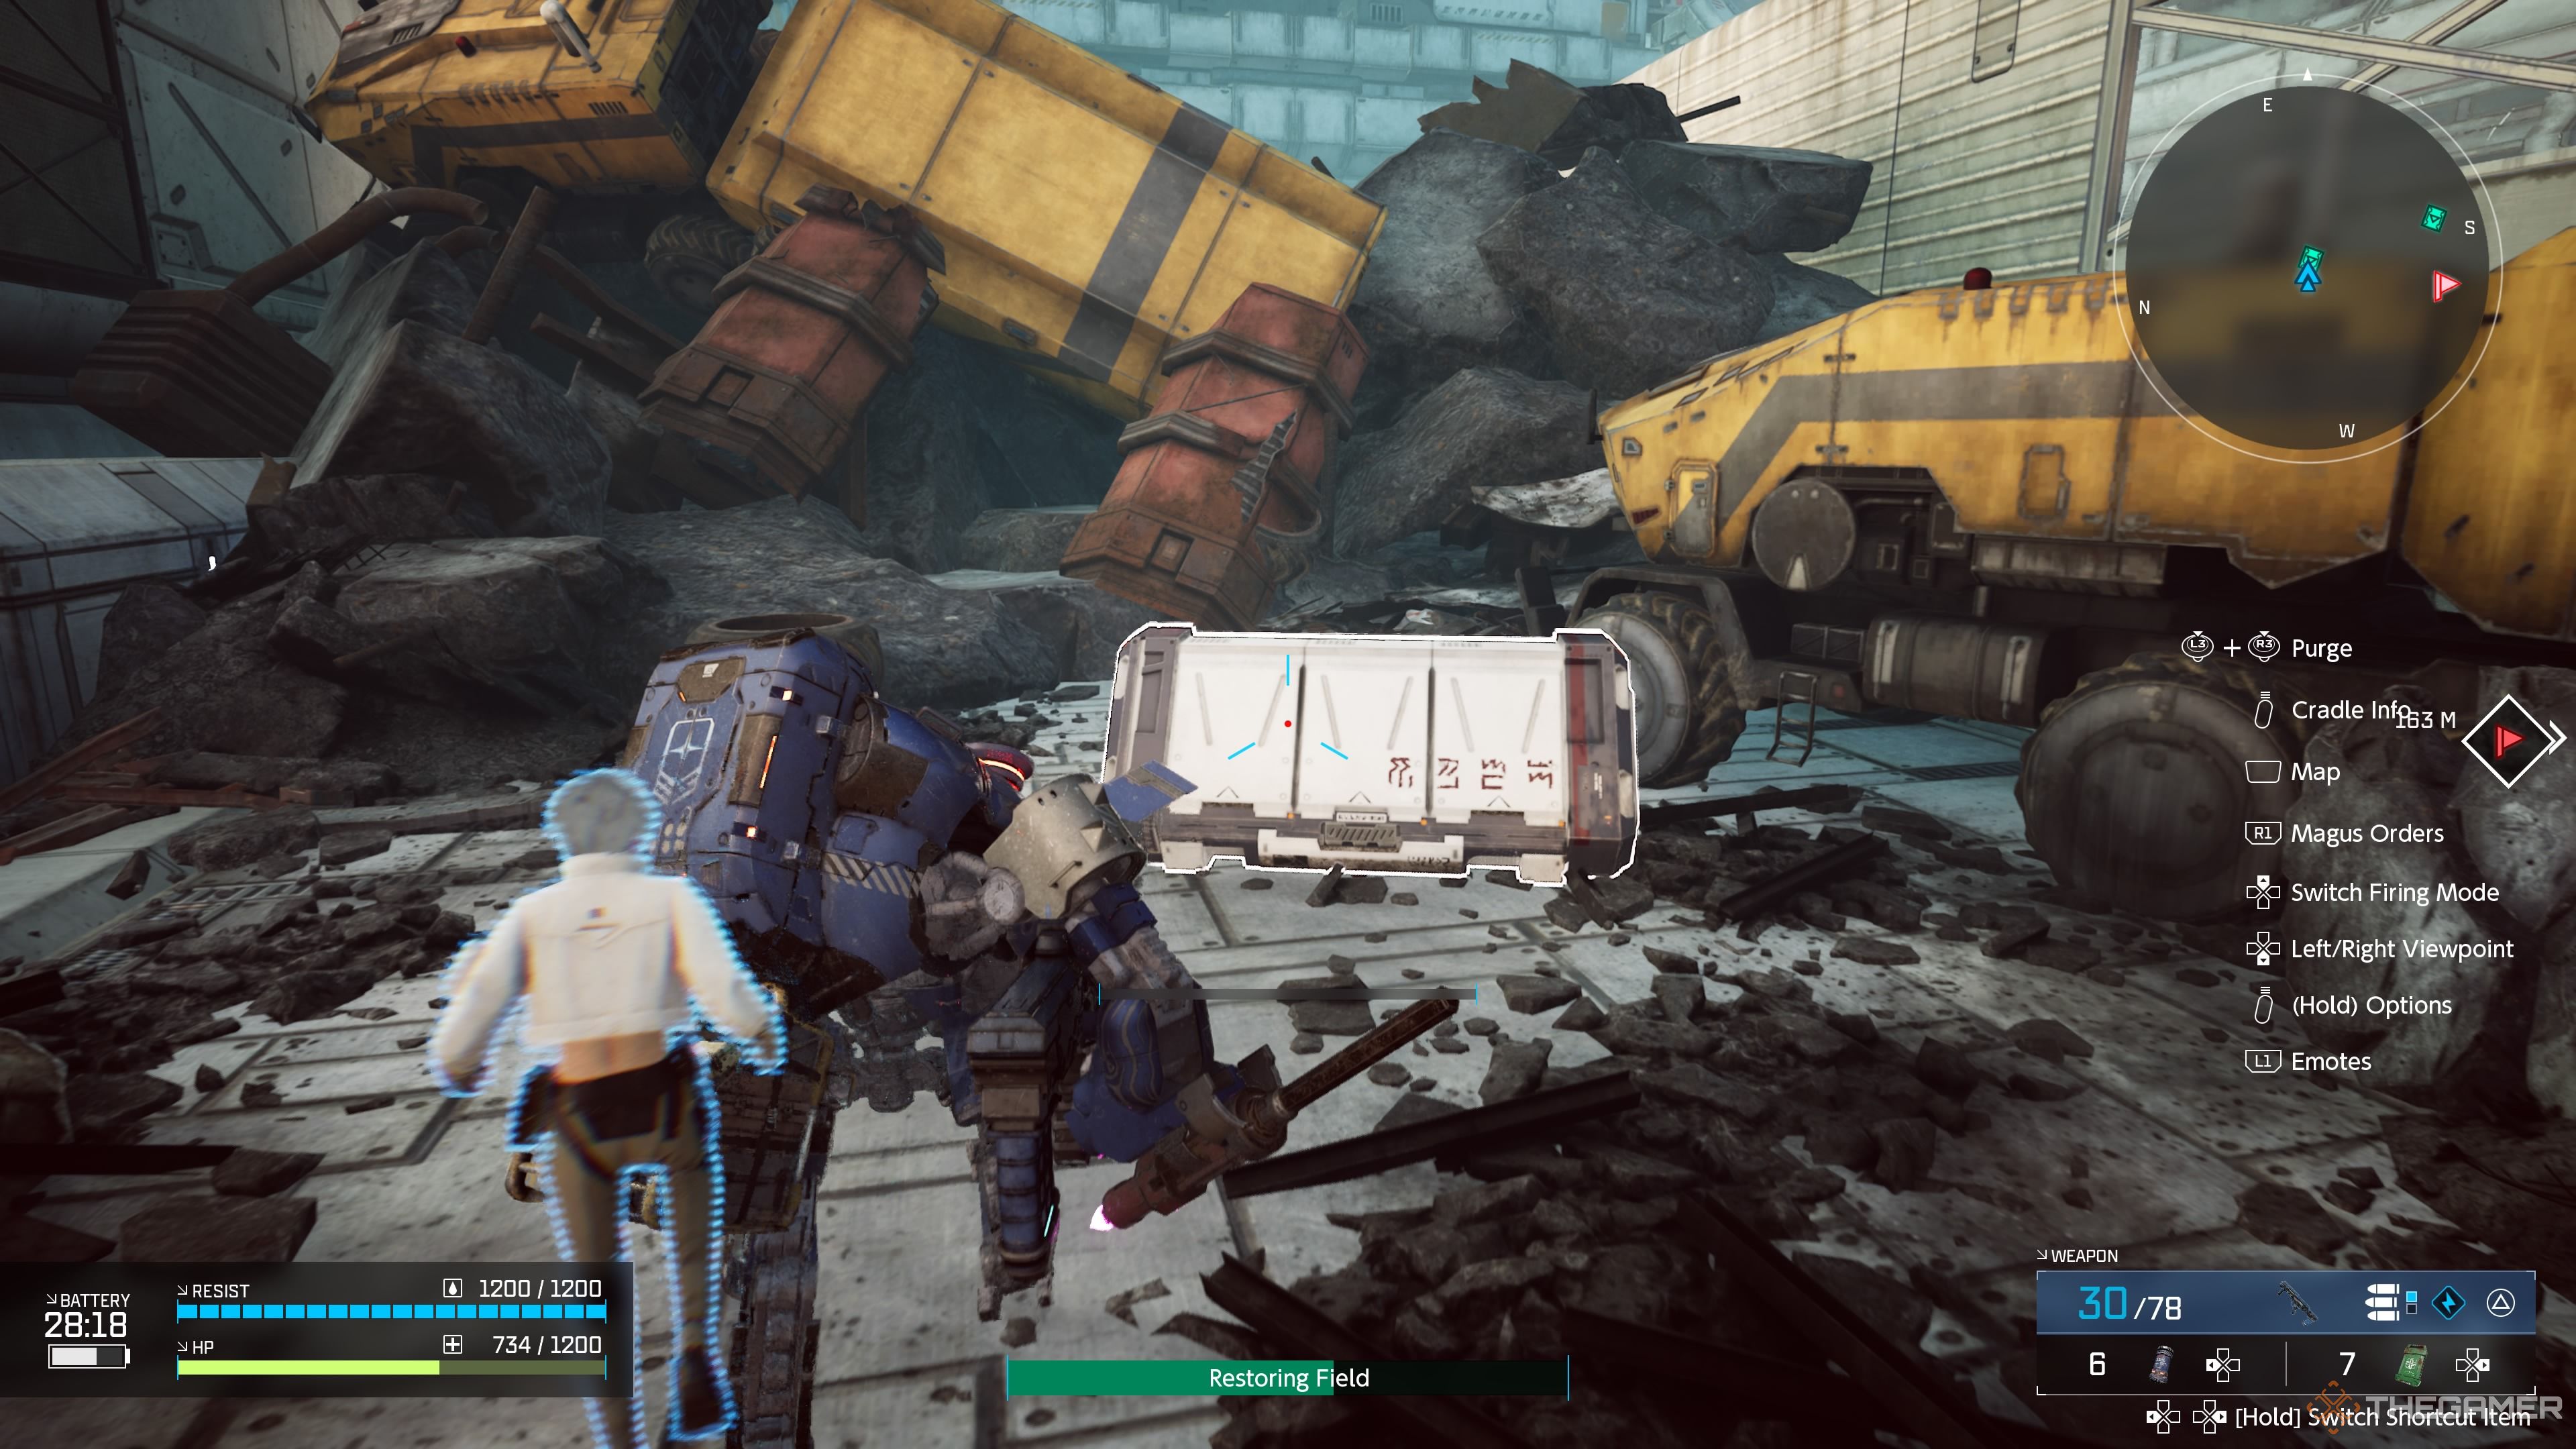
As you continue, you will need to move to the right side. First, take the earlier left path into a smaller area filled with containers. The log is in the container closest to the edge. Be ready as the Giant Gazer will attack here.
Behind the large storage container, there’s a grenade launcher. Make sure to grab it.
Surveillance Log #4
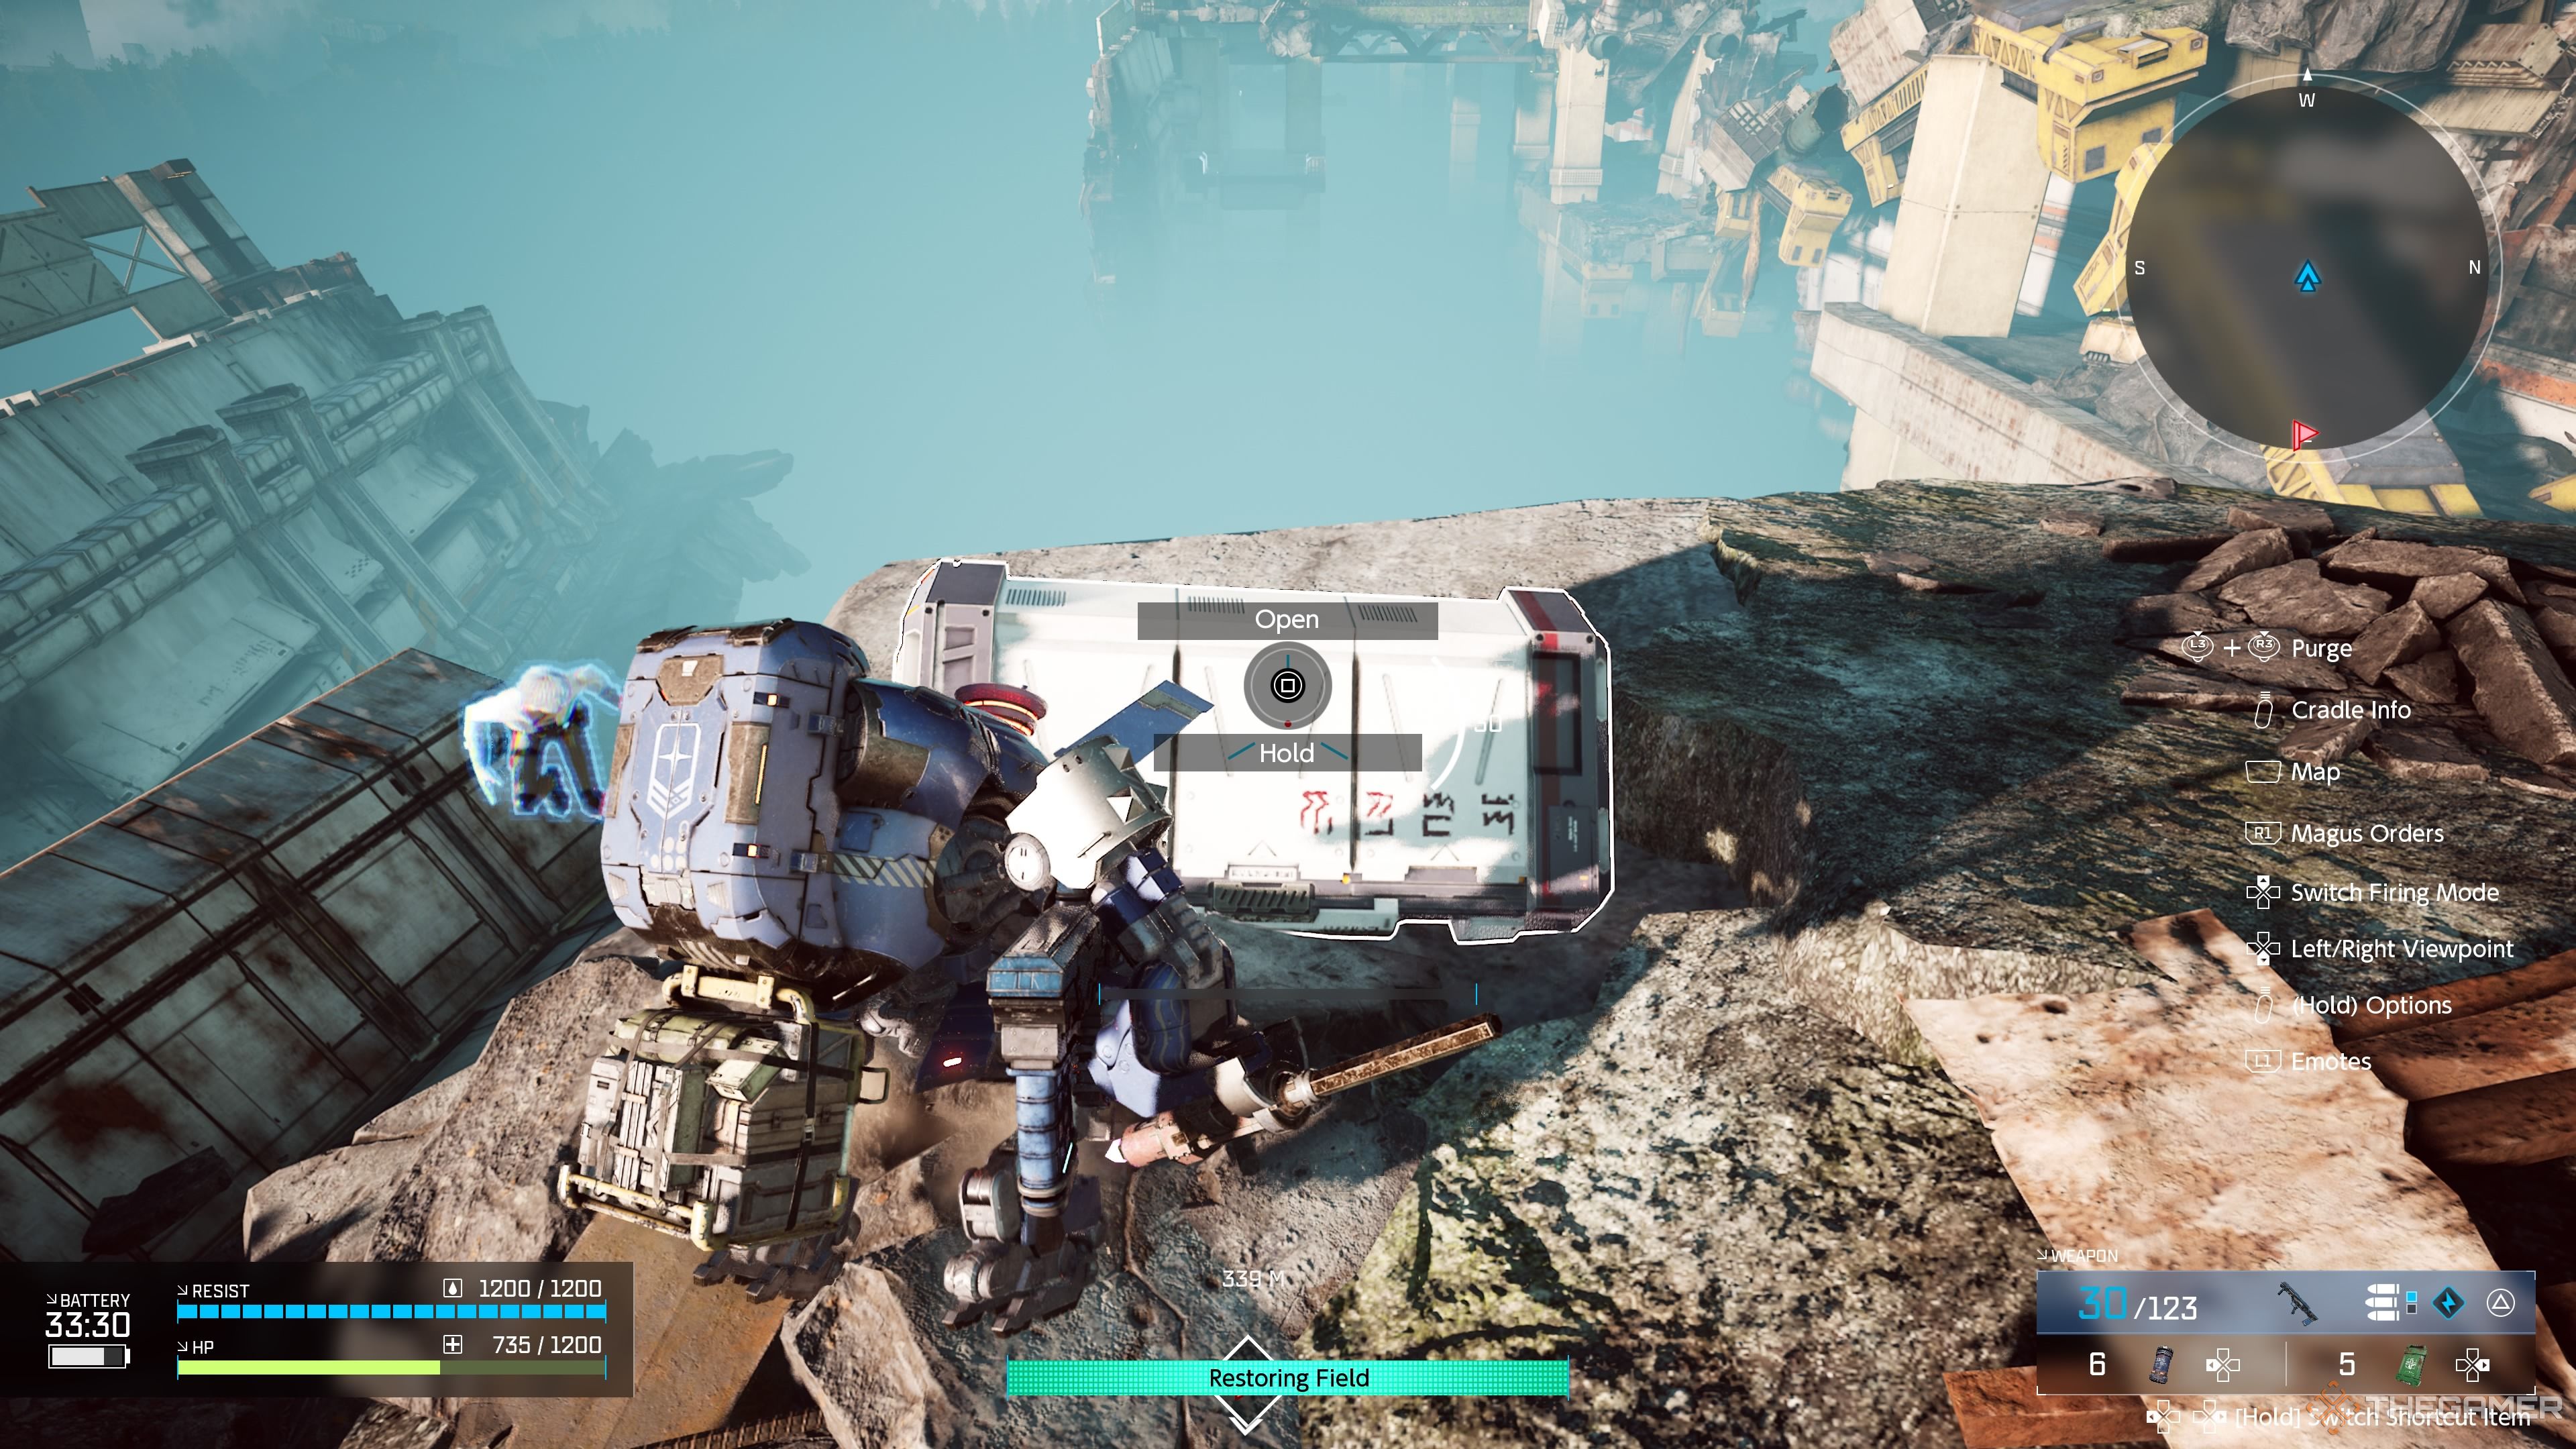
After taking down the Giant Gazer, the bridge will connect and offer you paths to the left and right. Choose the left path to find this log.
Surveillance Log #5
Once you pick up the fourth log, head back to the boss area and take the right path this time. This log is the fifth and final log, which is also mandatory. It will include a lost Magus. Make sure to collect both to finish the mission.
Critical Path Through The Mission
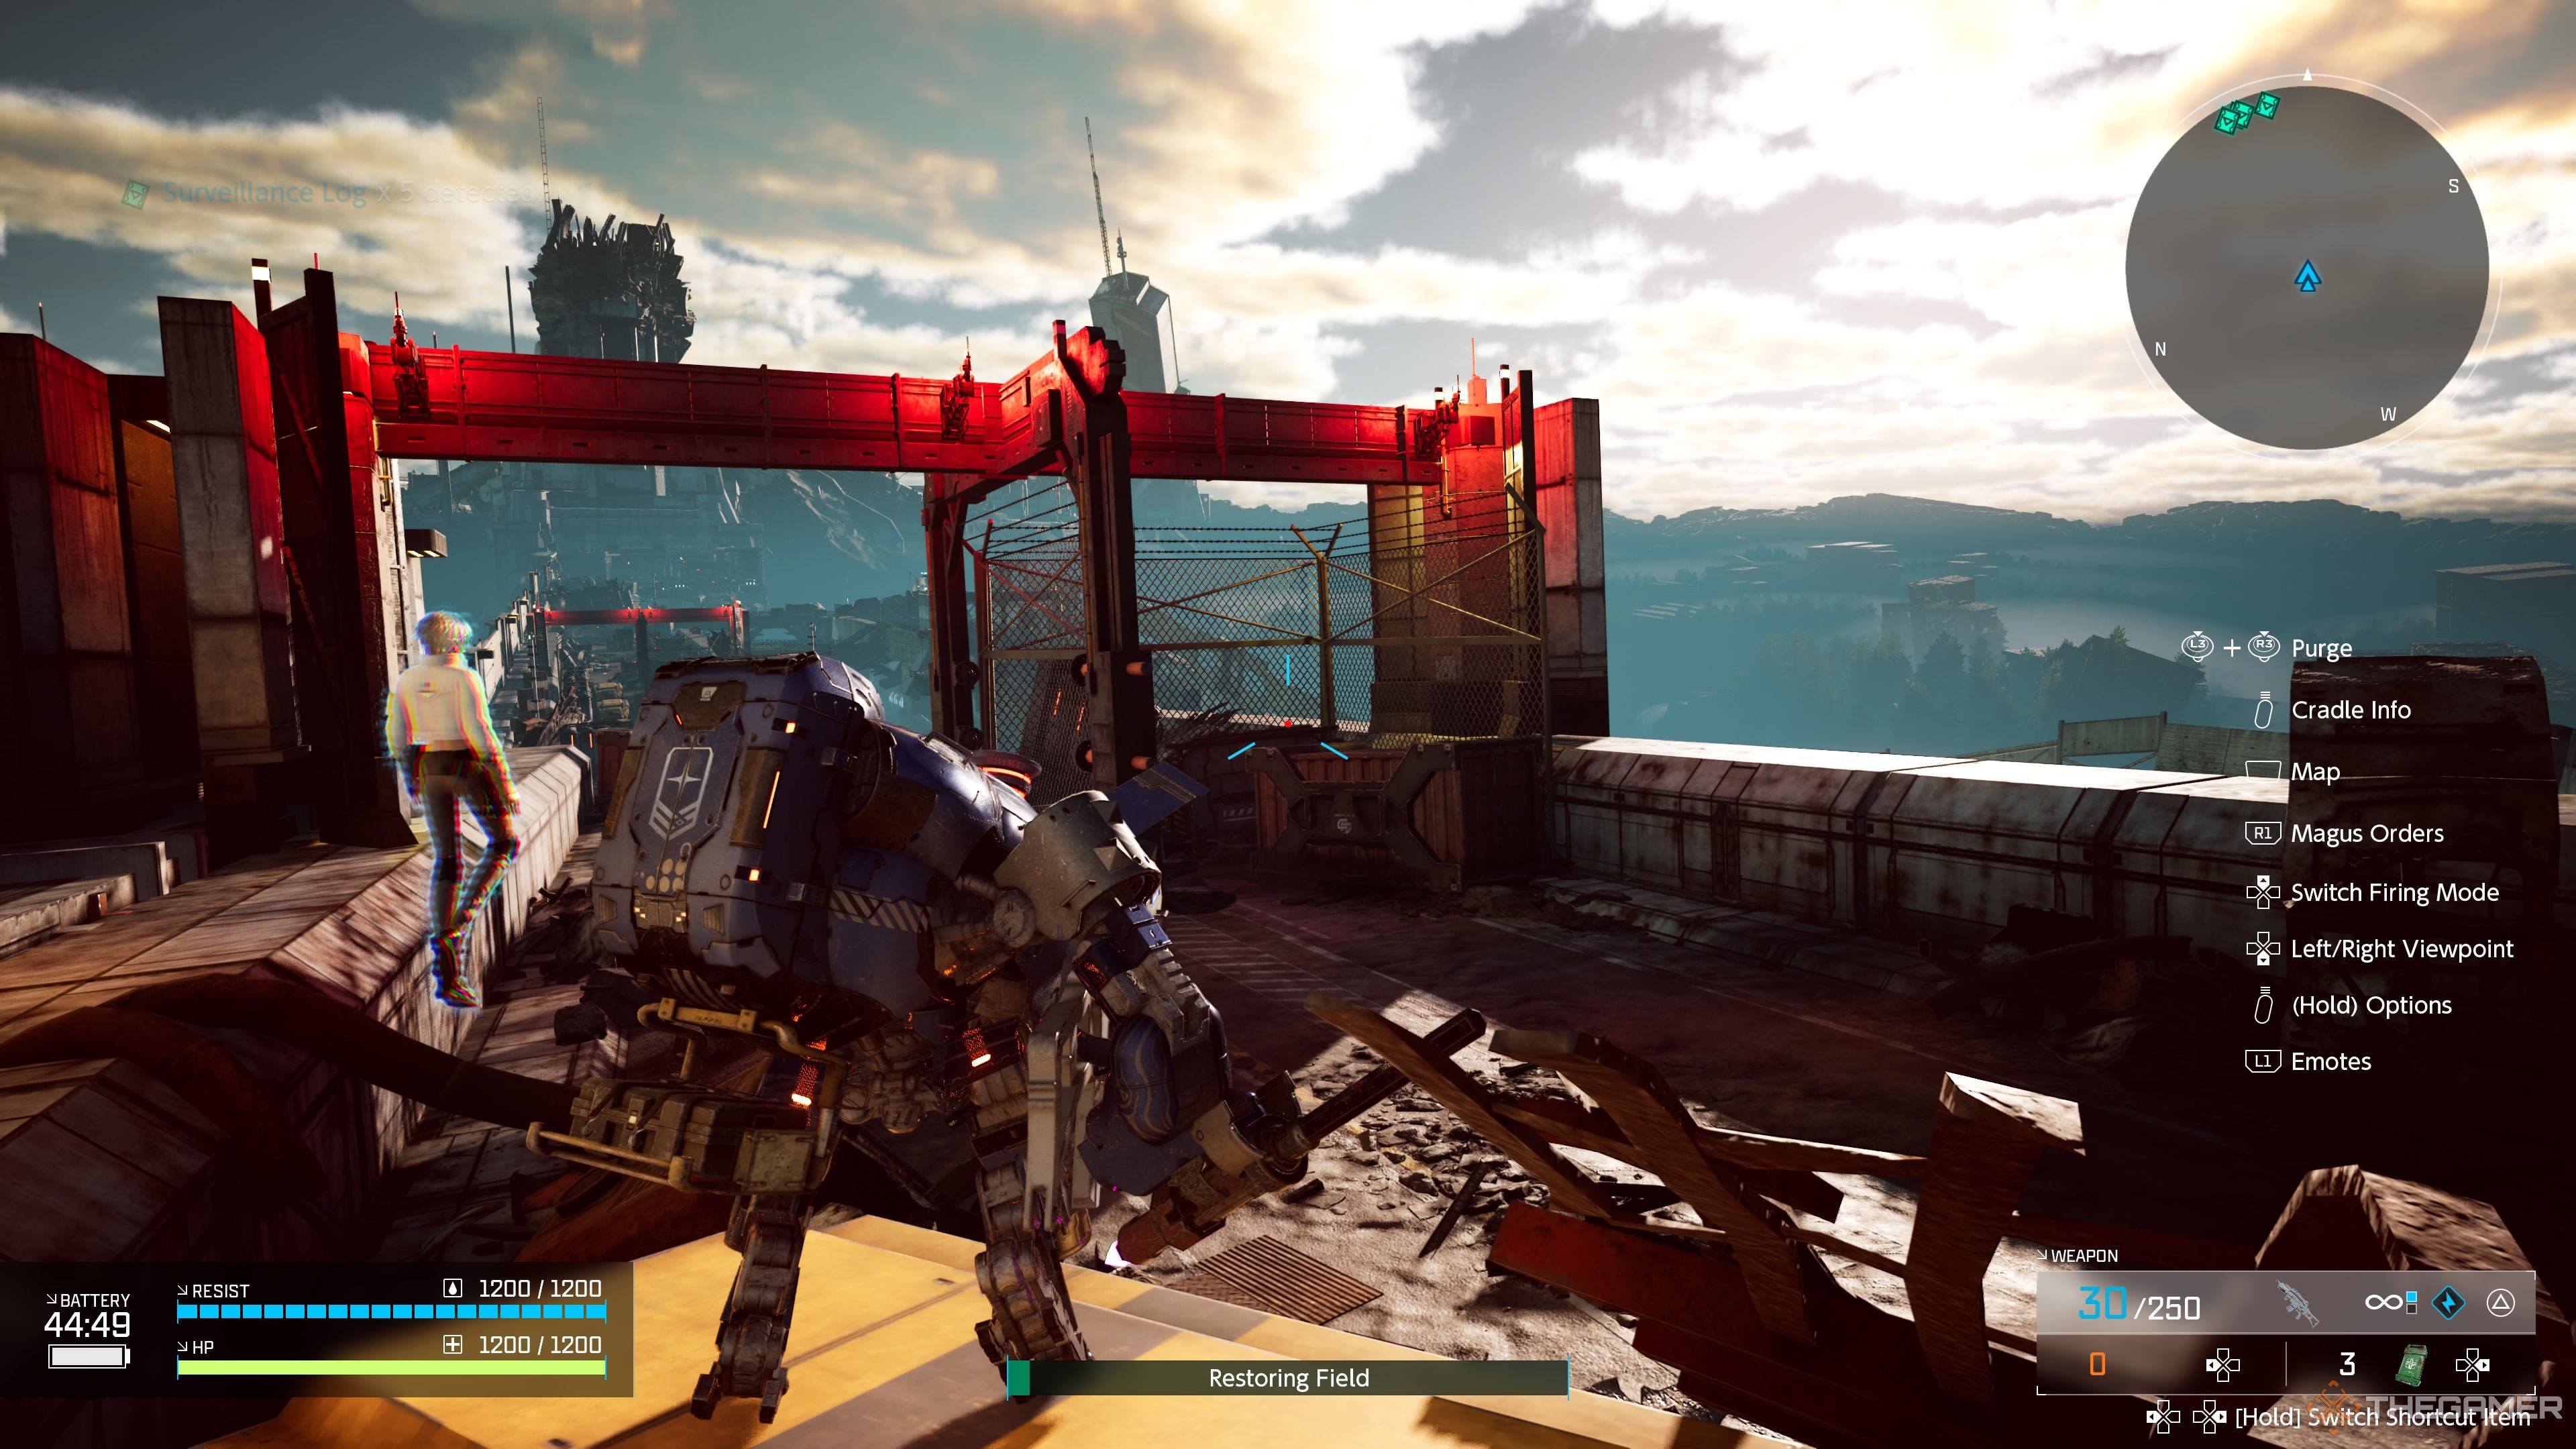
Reaching The End
The Old Amasia Grand Bridge is a largely linear mission, with a heavy presence of Enders and no bandits to encounter. This makes it easier and the level itself is relatively short.
As you advance, you’ll face several Chasers followed by the Giant Gazer appearing multiple times. You need to inflict enough damage for them to allow you to proceed. Target their eye for maximum damage.
The mission requires you to jump between the left and right sections of the bridge frequently, which can easily lead to falls. Stay vigilant about the ground beneath you to avoid accidental drops and keep your health up.
There’s not much out of the ordinary in this mission. Be sure to gather all the strong ranged weapons along the way, as they’ll be crucial for the final boss fight. The Grenade Launcher found by the third surveillance log is particularly useful. Avoid mines or thrown grenades as they are challenging to hit the Giant Gazer.
Once you defeat the boss, you can quickly cross the right bridge to grab the mandatory log and Magus to finish the mission.
Battling The Giant Gazer
After climbing on the last set of containers by the mission’s end, you’ll enter what is unmistakably a boss arena. The Giant Gazer will appear again for its final confrontation. The fight will be similar to past encounters, though it has some new techniques. Here’s a quick rundown of its moves:
- Rapid Fire Orbs – The Giant Gazer will shoot a barrage of powerful orbs. The best way to dodge them is by dashing away while keeping your trajectory low for longer dashes.
- Homing Orbs – It will launch three yellow orbs that will slowly home in on you. Shoot them down with a single bullet while also targeting the boss.
- Laser Beam – The Gazer will come closer to the arena floor and unleash a sweeping laser beam. Just jump over it.
After every attack, the Giant Gazer will rest for a few seconds to recharge. Use this moment to attack back. The Grenade Launcher deals significant damage here—even any weapon will suffice.
Utilize the containers for cover when possible. While they only withstand a few hits, they drop ammo and Repair Kits when destroyed, which can be incredibly helpful. Remember, you won’t retain anything from these missions, so use everything you have.
Once the Giant Gazer is defeated, the bridge will connect, allowing you to complete the mission.