Select Language:
After discovering a pair of statues and pondering their significance, you’ll find yourself heading to the Abandoned Mine in Ys Memoire: The Oath in Felghana. Nestled behind a locked entrance in Tigray Quarry, this mine is filled with formidable foes and contains the statue you’re looking for.
Before diving into the mine, a little preparation is necessary, but the rewards awaiting you make it all worthwhile. It’s here that you’ll uncover the mystery behind these statues, so let’s get started.
Exploring The Abandoned Mine
Finding The Mission Tablet
Your primary objective in the Abandoned Mine is to locate the Missions Tablet left by Genos. Begin your journey by dropping to the bottom of the main shaft in Tigray Quarry. From there, move to the left or warp to the right to the Storehouse save point using the Wing Talisman. Enter through the door that was previously locked to continue your adventure through the Abandoned Mine.
Assist Aida by first finding Bob’s Pendant within Tigray Quarry. This will earn you the Nightfire Gem, which enhances visibility in the Abandoned Mine.
The tunnel ahead is pretty straightforward, so keep moving left until you come to a fork. You can either go down or continue left into another room. Opt for the left path and watch a lengthy cutscene that reveals the Mission Tablet, giving you motivation to take down Galbalan.
Along with this, you will gain two new abilities: Double Jump and Double Boost. The Double Jump allows you to leap a second time to reach greater heights, while the Double Boost enables your Boost Gauge to fill up a second time, helping to restore your health, extend your combos, and unleash a powerful blast upon activation.
Now equipped with these new skills, we can proceed deeper into the mine.
Moving Towards The Boss
After securing the Mission Tablet, return to the previous area and drop all the way down. Once at the bottom, head left into the next area. You’ll need to use your double jump to get over the ledge here.
The passage is still fairly linear, so follow it to the next section. Be careful of the Minotaur enemies here, called Duradel, as they can be quite strong. Descend the stairs to reach the next area.
The Double Boost is particularly effective against them if you want to give it a try.
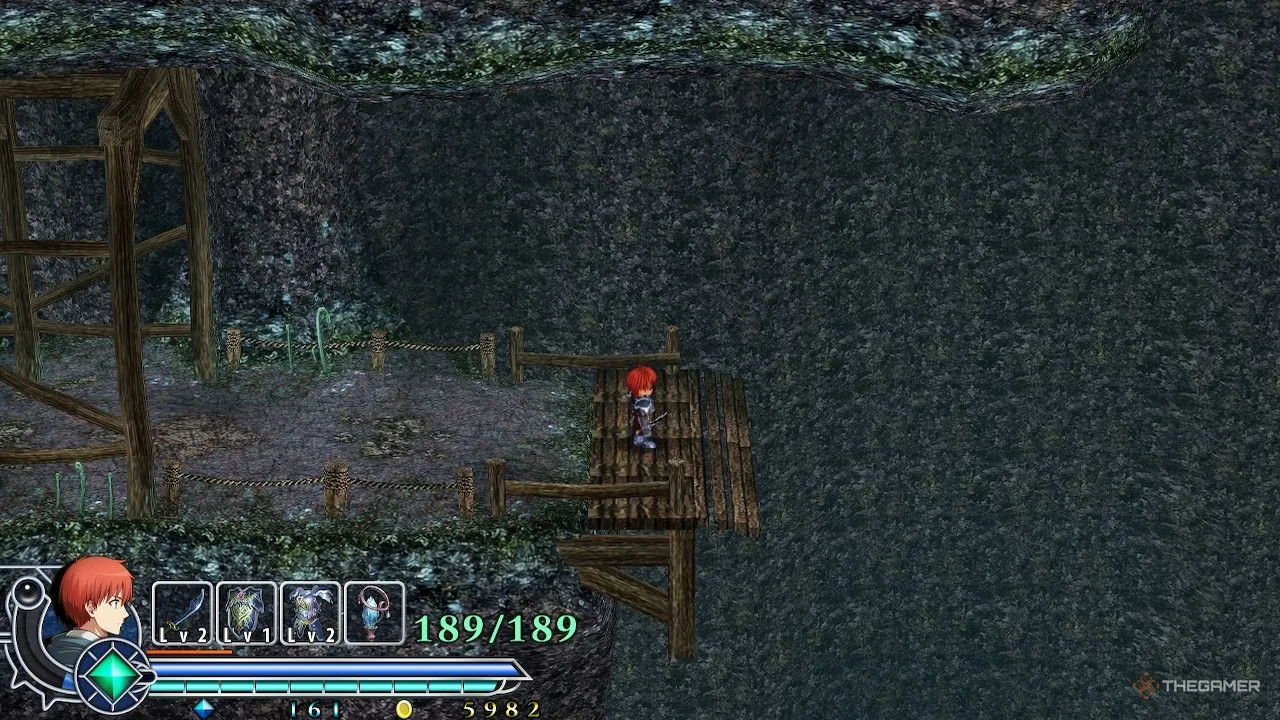
Navigate around the small lake and take the stairs down again on the left. Here, you’ll find a fork: one path leads down stairs while the other crosses a broken bridge. Choose the stairs to go down. If you drop onto the broken bridge, you’ll land right in the middle of a group of Duradels.
There’s nothing worth seeing on this level, so head down the central stairs again. You’ll arrive at another large mineshaft, but this time we won’t drop to the very bottom. Go down about four flights of stairs until you come across a section of the platform without railings. Fully charge the Ventus Bracelet and perform a double jump to carry you across the gap. Keep moving forward.
You’re almost there! This section features a side-scrolling format focusing on platforming. Utilize your double jump to stay on elevated areas as powerful enemies lurk below. There’s not much to distract you here, so remain high until you find the stairs leading downward.
Remember, you can alter your jump direction using the double jump, which helps you reach platforms directly above you.
At the bottom of these stairs, you’ll encounter a save point followed by the boss room. Take a moment to heal up before proceeding further.
All Optional Items
The Abandoned Mine is home to a variety of treasures waiting for you, so here’s a summary of what you can find:
|
Item |
Location |
|---|---|
| Raval Ore x50 | A chest in a left-hand room on the first mineshaft. |
| Raval Ore x25 | Located at the southern edge of the area with the small lake. |
| Raval Ore x40 | Found in the second mineshaft beneath the stairs at the very bottom. |
| Katol Elixir | In the second mineshaft, drop down from the area leading deeper into the mine to find this platform. |
| Raval Ore x65 | In the side-scrolling platforming area, jump higher to a wider platform where a Duradel is located. |
| Emerald | In the area with the broken bridge, you need to use a fully charged Ventus Bracelet and a Double Jump to access this chest. |
| Raval Ore x200 | Located just before heading down the stairs to the boss arena; you’ll need the Terra Bracelet to access it. |
The Raval Ore will be particularly useful as the game’s challenge increases, allowing you to keep your weapons and armor in excellent condition, so don’t overlook the boosted power of the Ventus Bracelet.
Conquering Istersiva

Istersiva serves as the final boss of the Abandoned Mine and presents quite the challenge. The first stage involves them transforming from a giant worm to a more butterfly-like form, rapidly moving into their chrysalis state. The initial phase is relatively straightforward, as Istersiva is quite slow.
Attack them a few times and then retreat to avoid their sweeping strikes. The real danger in this stage comes from the smaller enemies they summon. A laser beam will shoot from the crystal at the back of the room, which can chain between all enemies, making navigation tricky. Make sure to eliminate these smaller foes as soon as they appear.
Once Istersiva’s health drops to half, they will retreat to the crystal and initiate the second phase. This phase ramps up the difficulty with bomb drops and a barrage of projectiles that can quickly clutter the screen. When a large shield expands around them, rush in and attack to inflict damage. Be patient, and you’ll persevere.
While moving, they also create a smaller shield that inflicts massive damage, so steer clear of it.
Defeating Istersiva will reward you with the Darkness Statue, allowing you to return to Redmont and continue your quest.