Select Language:
The Beastmaster needs your help to put armor on and train her tame Deathclaw in Fallout 76. When you complete this event, you’ll earn Caps, experience points (XP), plans, and other rewards. There are seven plans you can unlock, each with about a 14% chance to drop.
To get all the possible rewards, you’ll need to complete this event multiple times. However, it’s challenging, especially for lower-level players. Here is what you need to know about finishing the Gearin’ Up event in Fallout 76.
The Gearin’ Up event was introduced with the Burning Springs update and is now part of the public event rotation. It appears randomly on your HUD, usually on the hour. When it shows up, go to your map, open the World Activity section, and select Join Event.
This event offers several crafting plans, each with an equal chance to drop. Plus, you’ll receive free items like Stimpaks and ammo. Rewards include:
- Deathclaw Tamer Hat Plan
- Deathclaw Tamer Outfit Plan
- Egg Carrier Backpack Skin Plan
- Jackson Junkyard Sign Plan
- Mounted Armored Deathclaw Head Plan
- Trash Cube Plan
- Super Stimpike Weapon
- 1,000 Caps
- 1,000 XP
- 2 Repair Kits
- 2 Treasury Notes
- Stimpaks or Super Stimpaks
- 2 Legendary Mods
- Rad-X or Rad-X Diluted
- Ammo
The event is of medium difficulty. It’s not suitable to do alone, especially if you’re a low level. It’s best for teams of four to six players who have powerful damage builds and enough healing to deal with tough enemies.
Speak To The Beastmaster
When you arrive at the scrapyard, talk to The Beastmaster to start the quest. She has more to say, but once you begin, a timer starts, so you need to move quickly to your next objective.
You can keep returning to her for hints and to retry the event for more rewards.
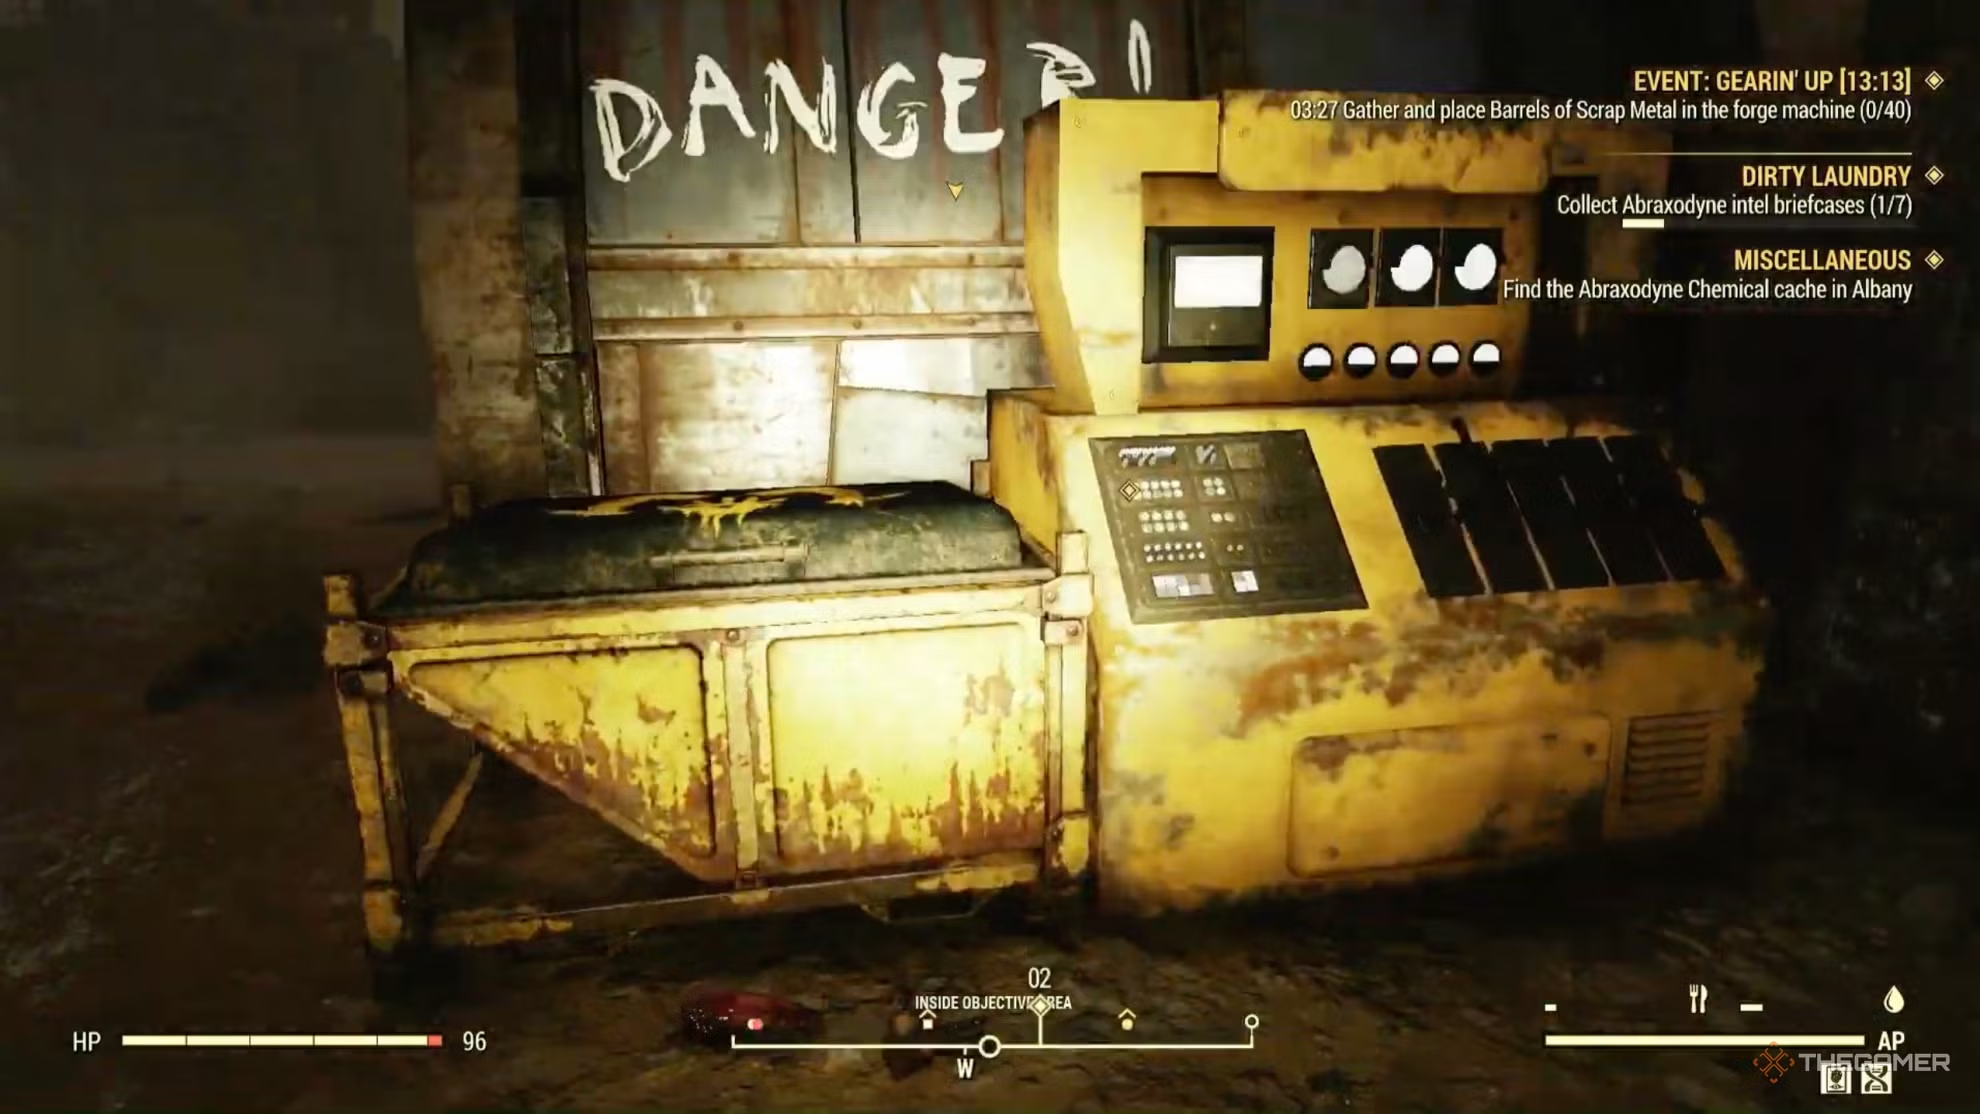
Collect Scrap and Place Them in the Forge
Scrap barrels are scattered around the scrapyard. Your team needs to gather 40 barrels and deposit them into the forge within 4 minutes. Once collected, these barrels are in fixed positions, so after a few tries, you’ll get faster at finding them.
While gathering, feral ghouls will attack, so it’s wise to have some players focus on combat and others handle the scrap collection.
To avoid confusion, start collecting scrap from the left side of the scrapyard entrance and move around the edges to the right, ensuring you gather every barrel available.
Wait and Emote for the Deathclaw
As the Deathclaw is being armored, you can perform emotes to encourage it—a fun optional task. You need to do this 20 times, so get your team involved while waiting for the next combat phase. Performing these emotes can also earn you bonus XP.
Escort and Protect the Tamed Deathclaw
Once fully armored and cheered on, the Deathclaw will emerge from its container. Your job is to escort it safely while fighting off the Rust Raiders and defending the beast. The attacks will become more intense with each wave, so be prepared and keep healing.

After repelling the Raiders, a new threat appears: a pack of Snallygasters. These enemies attack for two minutes before the next wave. After defeating them, you’ll have 30 seconds to heal up and prepare for the final stand against the Legendary Deathclaw Matriarch. This last fight is tough but manageable with a team. Stay near the tame Deathclaw and protect it from the matriarch’s attacks. Positioning up high, like on scrap towers, is a good strategy. Once the matriarch falls, the tame Deathclaw returns to the scrapyard for some rest.