Select Language:
The Outer Worlds 2 begins and ends in the same place—literally. The first mission takes place at Horizon Point Station, and despite its destruction, this same location is the final objective. The Rift affects Horizon unpredictably, pulling it in and out, and it serves as the core of the expanding Rift in Arcadia. The player, as the Consul, aims to take control of its power.
Since this is the concluding chapter, it’s important to come prepared. Horizon isn’t quite what you remembered; it’s been thrown around by the Rift, making it feel chaotic. Ensure your character is at the right level and equipped with everything you need before starting. There’s only one shot to get this right—no reloads, no second chances.
How To Start The Sins Of The Past On The Precipice Of The Future Quest
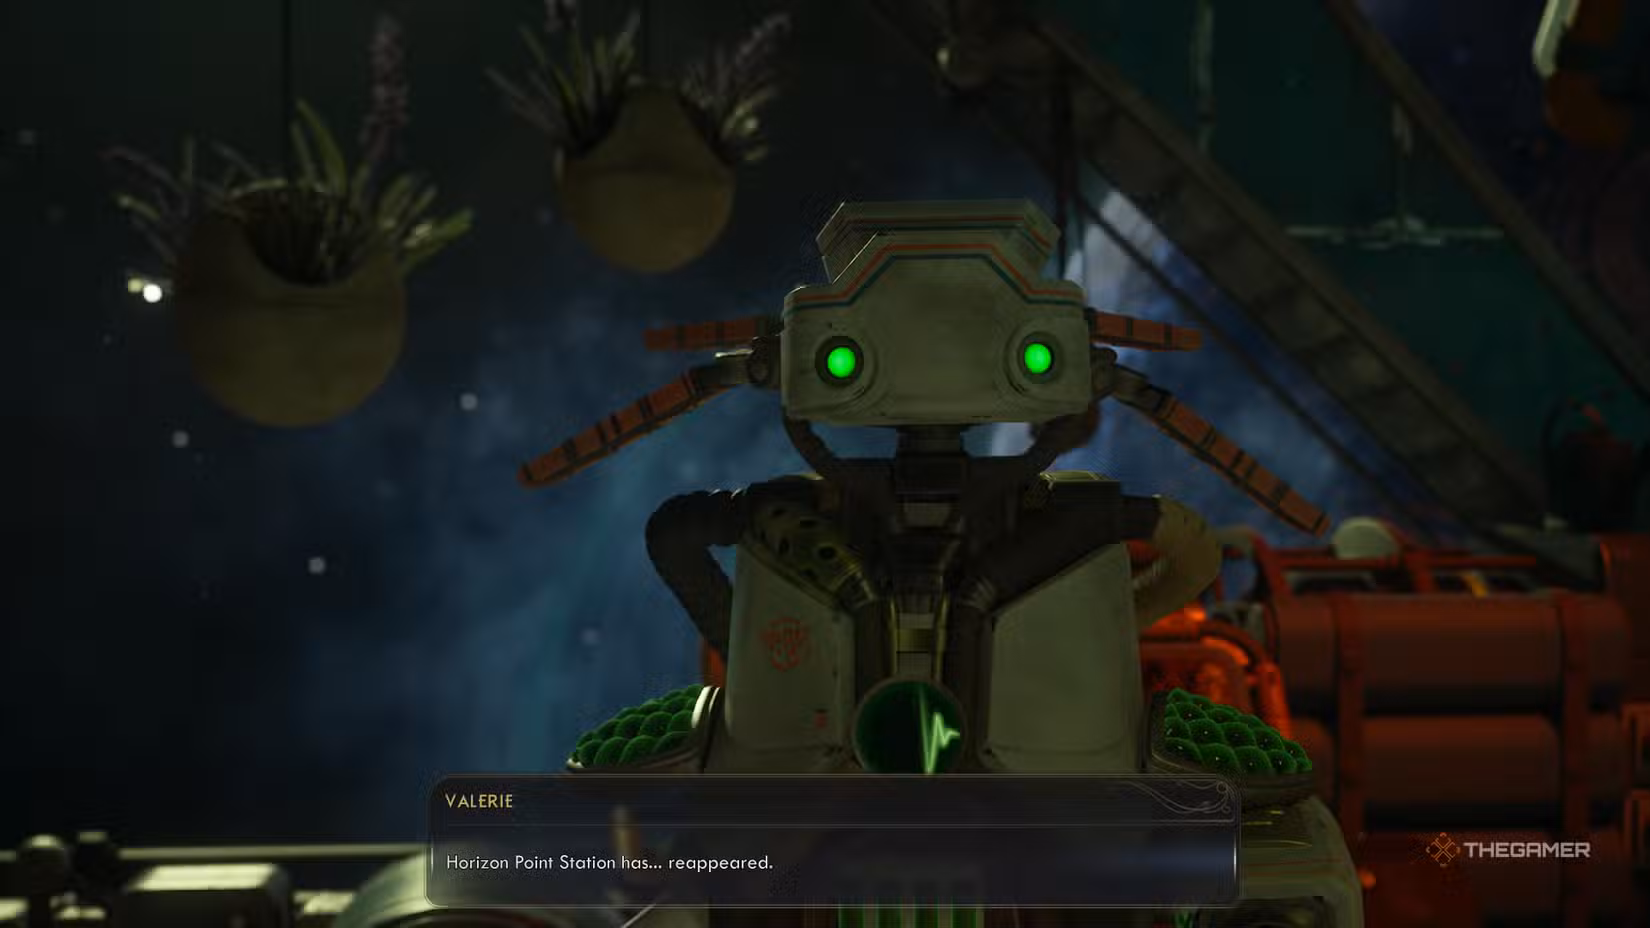
To kick off this final storyline, follow the clues from Valerie and the game prompts. The game will mark the beginning of this mission, and images of Horizon Point Station, now reappearing amid chaos, confirm the starting point. The station is now a critical location within the overarching crisis.
Final Preparations
This is the point of no return. Once you head for Horizon Point Station, you won’t be able to leave or save again. Make sure to complete any remaining quests, use any remaining Decryption Keys, and craft any supplies you might need, because your choices now lock in the ending. If you want a backup, the game offers a dedicated Save for the point of no return. All your previous choices—alliances, betrayals, and decisions—are now locked in, shaping how things unfold.
Who To Bring With You
When preparing for the last mission, choose your companions carefully. You can bring anyone, but it’s best to select those with a stake in the final outcome. It’s recommended to bring both Tristan and Niles, as Tristan specifically requests to come along. They each offer unique dialogue and insights, adding depth to the final moments. Aza, with her obsession with Rifts, can also add interesting scenarios. Keep in mind, Tristan’s presence might complicate your chances of achieving a peaceful ending, as he tends to push for a more confrontational approach.
Heading To Horizon Point Station
As you travel to Horizon Point, you’ll recognize its broad shape but notice it’s been rebuilt in a haphazard, upside-down manner, with dangerous gaps that can send you falling into space. A double jump ability is essential here. Exploration is mostly linear; since the fight here is the game’s climax, gathering loot isn’t a priority. Focus on interacting with consoles and levers that can make your path smoother. Expect high difficulty skill checks early on—many above 18 points—including hacking and combat actions like dislodging power cores, overwriting targeting systems, disabling turrets, inserting targeting modules, and overloading signals to turn enemies against each other.
There are few puzzles at this stage, so progress quickly until you reach the Skip Labs, the same area where Augustine betrayed you. You’ll see soldier patrols from Auntie’s and the Order and can find rest areas offering free healing and supplies, useful for conserving your resources for the final confrontation.
Meeting Helen
You’ll encounter familiar faces from your past—Eric Sandoval, Wade Jepson, and Helen Pascal—those who once served on your original crew. Helen has been reconstituted but is visibly on edge, and her state could lead her to attack if you’re not careful with your words. Niles can provide advice on how to approach her. Greet her politely as her commander, reassure her you need her assistance, and avoid making her feel uneasy. There’s no direct benefit to this interaction, but it’s respectful to give her a moment of peace before the end.
Removing The Rift Hazard
Once you reach the Skip Labs, progress is blocked by a Rift disrupting your path to the Sovereign’s Ship. To deactivate it, you need to solve a mathematical equation. If your Science skill is 18 or higher, or if you have the Professor background or Lucky trait, you can find a blackboard upstairs to work out the equation. Otherwise, you’ll need to locate the Sovereign’s private room nearby to find a sign with the solution. Solving the equation allows you to disable the Rift using the terminal and proceed through the now-clear passage. Outside, a smaller ship awaits to take you directly to the Sovereign’s Ship.
Boarding The Sovereign’s Ship
Upon boarding, you’ll immediately face a massive firefight. Ruth and Auntie Cleo (if you allied with them) will assist you—they’re also nearly impossible to kill, making them reliable allies in the chaos. Thoroughly search the ship’s rooms for useful intel, including a Quartermaster Requisition Slip that grants free supplies. Remember to save before entering each room; the Order’s drone often shadows you and can block your exit, and it can’t be destroyed to get rid of it quickly.
After clearing the rooms, take the elevator to the second level—both paths lead to the same destination—and access the science deck. Although technically off-limits without credentials, guards are absent unless you interact with them. Steal credentials by pickpocketing or stealth-killing scientists if necessary. To gain further access, gather a tissue sample from a reconstituted corpse and process it in a nearby centrifuge for valuable data. You can also find a hidden hatch with the Observation Skill, revealing the chief scientist’s private log, further aiding your dialogue options.
Speak to Clarence with the sample to obtain his keycard and a data device that exposes the folly of pursuing Rifts. This evidence is crucial for convincing the final decision-maker—the Consul—to stand down from their destructive plans.
Dealing With The Consul
Once you ascend, you’ll meet with the Consul. Your allies will give advice on how to handle him—generally, avoid provoking or attacking him. Tristan might share insights if you brought him along. It’s best to approach calmly and factually, respecting his professionalism. Explore his personal quarters beforehand for additional information and make a save in case things go wrong. When the conversation begins, use facts you’ve uncovered—especially about the true history of Skip Drives—to support your case.
You’ll need to pass a Speech check (13) if Tristan accompanies you; failing this might lead to combat. During the dialogue, keep referencing the evidence you’ve collected. If you can’t persuade him peacefully, combat becomes inevitable; note that the Consul is a tough adversary.
Finishing The Game
After dealing with the Consul, the final step involves closing the Rift by physically bringing the ship and its Rift Modulator together. Someone must stay behind to pilot the ship, and you have multiple options:
- Sacrifice yourself: The default choice, but be cautious not to accidentally choose it too early.
- Sacrifice a companion: Persuade a selected ally to sacrifice themselves, which can strain relationships but is part of the story.
- Sacrifice everyone: Take everyone with you for a more humorous, “doomsday” ending.
- Volunteer the Concil or Augustine: If you convinced them to stand down earlier, they might choose to sacrifice themselves to end the crisis.
Once you make your decision, the credits roll, displaying an epilogue that reflects the consequences of your actions.