Select Language:
Crowcaller appears at the end of act five, after you have climbed the Spire of Soaring and activated the Skybridge. The boss fight takes place in the Abyss and consists of three increasingly difficult stages, each with more complicated mechanics. Defeating Crowcaller is essential to progressing the main story in Crimson Desert, but at first, the fight may feel challenging due to Crowcaller’s quick movements and evasive dodges.
This guide focuses on how to prepare for the battle—particularly emphasizing the importance of bringing along food—and provides a detailed breakdown of the battle mechanics along with helpful strategies.
Crowcaller Preparation
By this point in Crimson Desert, I expected a boss fight at the end of a main quest, so I came well prepared.
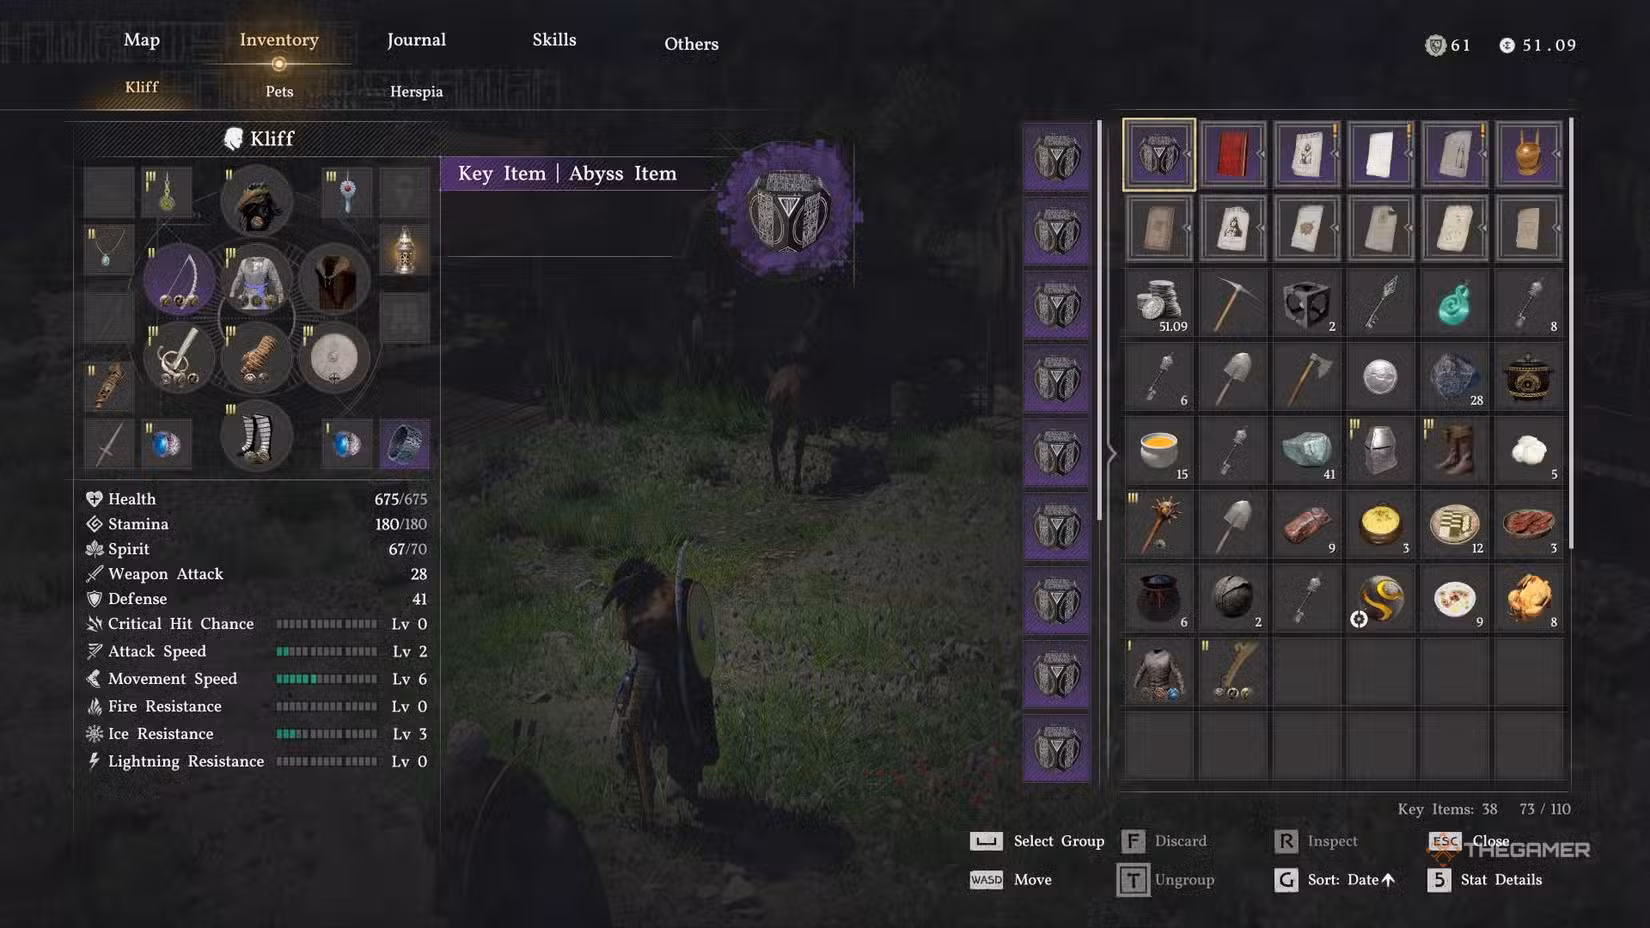
Here’s the gear I used:
- Tier four Canta Plate Helm
- Tier four Canta Plate Armor
- Hernandian Banquet Cloak (not really useful, but I like the look)
- Grey Wolf Bow
- Tier four Sword of the Lord (obtained from the Hornsplitter fight)
- Tier four Sunset Reed Cloth Gloves (from the Reed Devil fight)
- Tier four Sydmon Round Shield
- Tier three Odeck’s Protector Plate Boots (found in a treasure chest beneath the Sanctum of Temperance)
- Tier three rings, earrings, and necklace
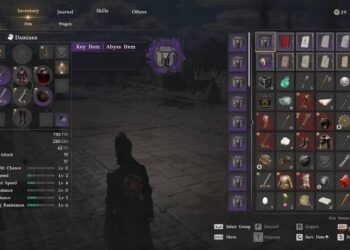
I also embedded multiple Abyss cores into my gear, which I got from the Witch in The Witchwoods. You can find more cores by searching for Sealed Abyss Artifacts and completing related challenges. My armor had cores that boosted health regeneration, Spirit regeneration, and damage reduction.
Regarding skills, I invested heavily in Kliff’s health and stamina, focusing on his sword skills.
Food Preparation
Even with top gear and good mechanics knowledge, insufficient food can lead to defeat. Crowcaller deals heavy and rapid attacks, so healing items are crucial. I brought along 22 Hearty Grilled Meat for the fight, using about ten during the battle. I also regularly stocked up at Ronnie in Greymane Camp, where he sells Chewy Rice Cakes and porridge that reset daily. These foods help increase Spirit regeneration, which is very helpful because I often ran out of Spirit trying to deal damage.
If you’ve studied Alchemy, brewing concoctions that boost Spirit regen can be very useful, especially since Spirit management is key in this fight.
Phase One
During the initial phase, Crowcaller’s attack patterns are relatively simple. He primarily uses three mechanics:
- His dodge
- A flurry of attacks
- Divebombs
Counter Strategies:
The dodge is the most tricky part for many players. After Crowcaller finishes his attack flurry, he will always dodge your next attack, making it impossible to hit him immediately. To counter this:
- Use your Blinding Flash (by pressing Left Bumper and Right Bumper together) to stun Crowcaller temporarily after his flurry. This creates a brief window to attack.
- Alternatively, use Force Palm to stagger him. Combining both tactics while dodging and blocking/ parrying when necessary usually gets you through the first stage.
Important note: In this phase, Crowcaller only dives once. He leaps into the air, moves left, then right, before diving at you. Time your dodge correctly to avoid his attack.
Phase Two
In the second phase, the fight is similar, but Crowcaller will dive twice in quick succession, and his attacks become more intense. Patience with parries, blocks, and dodges is vital to withstand his relentless attack flurries.
Repeat the same tactics:
- Use Blinding Flash and Force Palm to stagger and attack when possible.
- Watch for openings after his divebombs to land hits.
Phase Three
The final stage is the most chaotic. Crowcaller’s speed increases further, and his attacks become more vicious. He might even grab you and hold you in place temporarily. Additionally, he enters an invulnerable state before performing three quick divebombs in a row.
Fight Tips:
- Take your time and wait for opportunities to use Force Palm or Palm Force to stun him.
- Be patient and wait for the right moment to strike, especially after his divebombs or when he’s briefly vulnerable.
- Consistently use the same defensive tactics: dodge, parry, and stagger when you see an opening, and strike when he’s staggered or stunned.
The mechanics in this phase remain largely the same, but the speed and aggression require careful timing and patience to survive.