Select Language:
Just when you think it’s time to head out and take down the Timekeeper in Borderlands 4, the game surprises you with a big twist. All the different storylines come together on the broken planetoid Elpis, which is reached by a makeshift rocket-powered space elevator.
Like many of Borderlands 4’s mini-dungeons, Elpis mainly involves a series of fights. However, it also includes searches and puzzles that can trip you up, and it features a boss fight set against one of the most impressive backgrounds in the series.
How To Get The Oxygen Masks
When you arrive on Elpis after the Rising Action mission, you learn there’s only one oxygen mask on the space elevator — yours. You’ll need it to find more supplies so Zane and Amara can join you.
To leave the elevator, break the lock on the door to the southwest with a melee attack. Interestingly, you can also go back to Kairos’ surface via a portal at the back of the elevator and teleport back from the launch site if you want to wait. Once the door is open, Amara and Zane will move to an air bubble to the south and wait for you to bring oxygen kits.
- The first oxygen kit is on debris floating off the edge of the map to the west of the bubble.
- The second kit is at the top of the hill just southeast of the bubble.
Both are close by, and you’ll mostly encounter just some Skydrift Threshers along the way. Incendiary ammo makes quick work of these enemies—though any ammo works, incendiaries are especially effective.
After collecting both masks, give them to Amara and Zane, then follow the path heading southeast.
Note: Elpis’ gravity here is weaker than Kairos’, so you can jump higher and fall slower. If you’re in a rush to get down, try doing a ground slam for a quick landing.
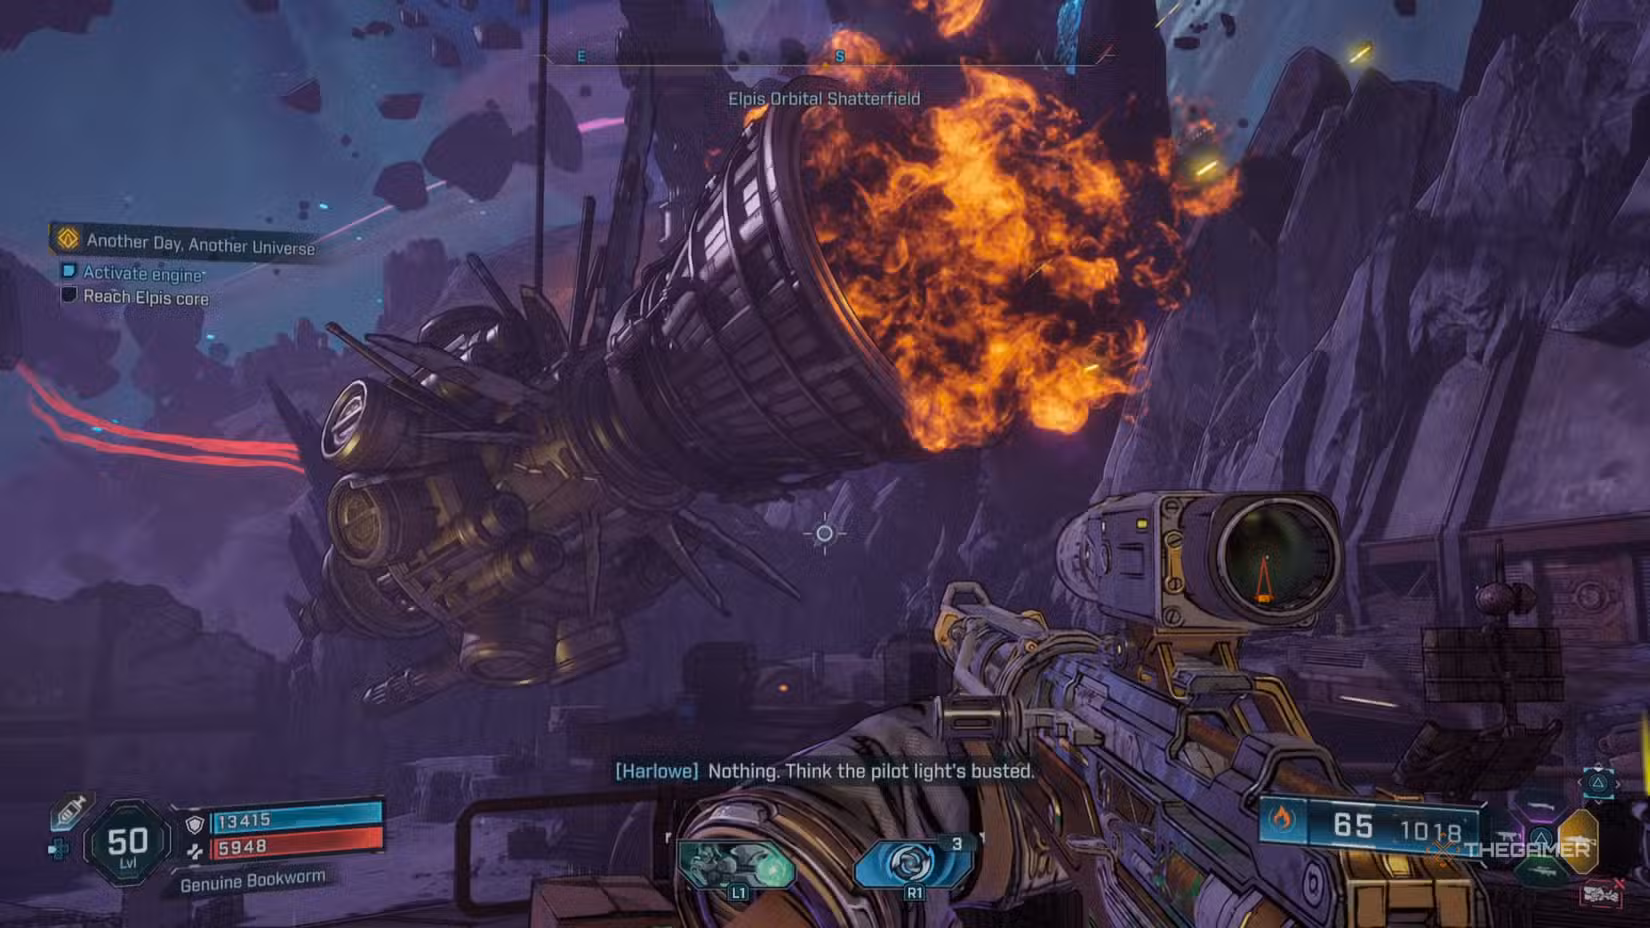
How To Ignite The Engine
The next main area features a battle between Rippers and Order troops. Clear out all enemies on both sides, then listen to Amara, who will tell you to activate the ship’s engine by using the console on the northwest ledge.
To fully ignite the engine, throw three blasting charges into the exhaust pipe. Order enemies will keep attacking, so you’ll need to balance fighting with powering the engine. The charges come from a device along the northern wall, east of the console.
The best spot to throw the charges is from the high ground directly across the exhaust pipe. Since the pipe is quite large, a good long arc should land the charges easily. If you miss, just try again.
Once all three charges are successfully tossed into the pipe, use the console again. The engine will break through the wall blocking your path. Finish off any remaining enemies and then proceed. Use gliding and sliding across debris to reach the next stable area.
How To Reach The Elpis Core
When you arrive at a container, drop into it and loot what’s inside. Then jump back out and head over the rocks in a large plain infested with Threshers. Look for a teal boost pad on the east side that launches you to floating debris and a shipwreck interior. Grapple up to the upper level past the respawn point, then make your way south along the hull.
Be prepared for a tough fight; a lot of Rippers will be along the path here.
At the south end of the wreck, use another boost pad to reach the abandoned Dahl mines. Clear out Rippers outside and inside, then crawl under some partially-collapsed tunnels to reach the lower chamber. Activate the elevator and follow the eastern tunnel to the power station, where you’ll use a console and listen to Claptrap’s instructions.
How To Power The Elevator
There are three turbines near the lava river, all reachable with a quick glide from the console. Use the Grapple Grabber to open each turbine’s casing, then grapple onto the inside part. Wait for the handle to turn around, then grapple it again to spin it to full speed. When each turbine has been spun twice in a row, it’s powered.
After all three turbines are activated, turn the console on and go back to the elevator. You can use it to reach the surface once Rippers are cleared out.
Tip: If the elevator gets stuck, just climb the rest of the way.
At the top, follow the path to the observation deck and wait for the door on the left to open. Cross the plain to meet Zane and Amara again. Defeat the Rippers attacking you, then take Amara to the core and go through the tear she creates. Keep advancing until you encounter Lilith. Talk to her, then prepare for the fight against Callis again.
How To Defeat Moon-Maddened Callis
Callis fights similarly to her first boss fight, and her Tabnak drone is still floating above her—watch for her to deploy it when she leans into a high stance. She’ll be spawning fewer minions this time, so it might be dangerous to fight solo if she goes into a “Fight For Your Life” mode.
Reserve your glide pack’s fuel for dodging her charge attacks. Focus on tearing through her armor using Corrosion damage. After that, she’ll go invulnerable — crawling on a laser web overhead and attacking with her scorpion tail, while Rippers swarm around.
Keep an eye on her tail so you can avoid it, and focus on thinning out the Rippers until she resumes normal fighting.
Warning: Watch out for laser webs on the ground—they’ll slow you down and make you vulnerable. Callis can also knock you off the platform if you’re not careful, ending the fight instantly.
When her invulnerability ends, hit her hard with Incendiary damage or your biggest attacks. Finish her quickly before she has more chances to strike back. She hits very hard, so there’s little room for error—try to end the fight by killing the Ripper Queen as fast as possible.
Most of her attacks target the front, so staying back and to the sides gives you more time to react and avoid damage.
Note: She doesn’t drop much loot, but there is a generous chest near your allies that you can open before returning to Kairos and completing the mission.