Select Language:
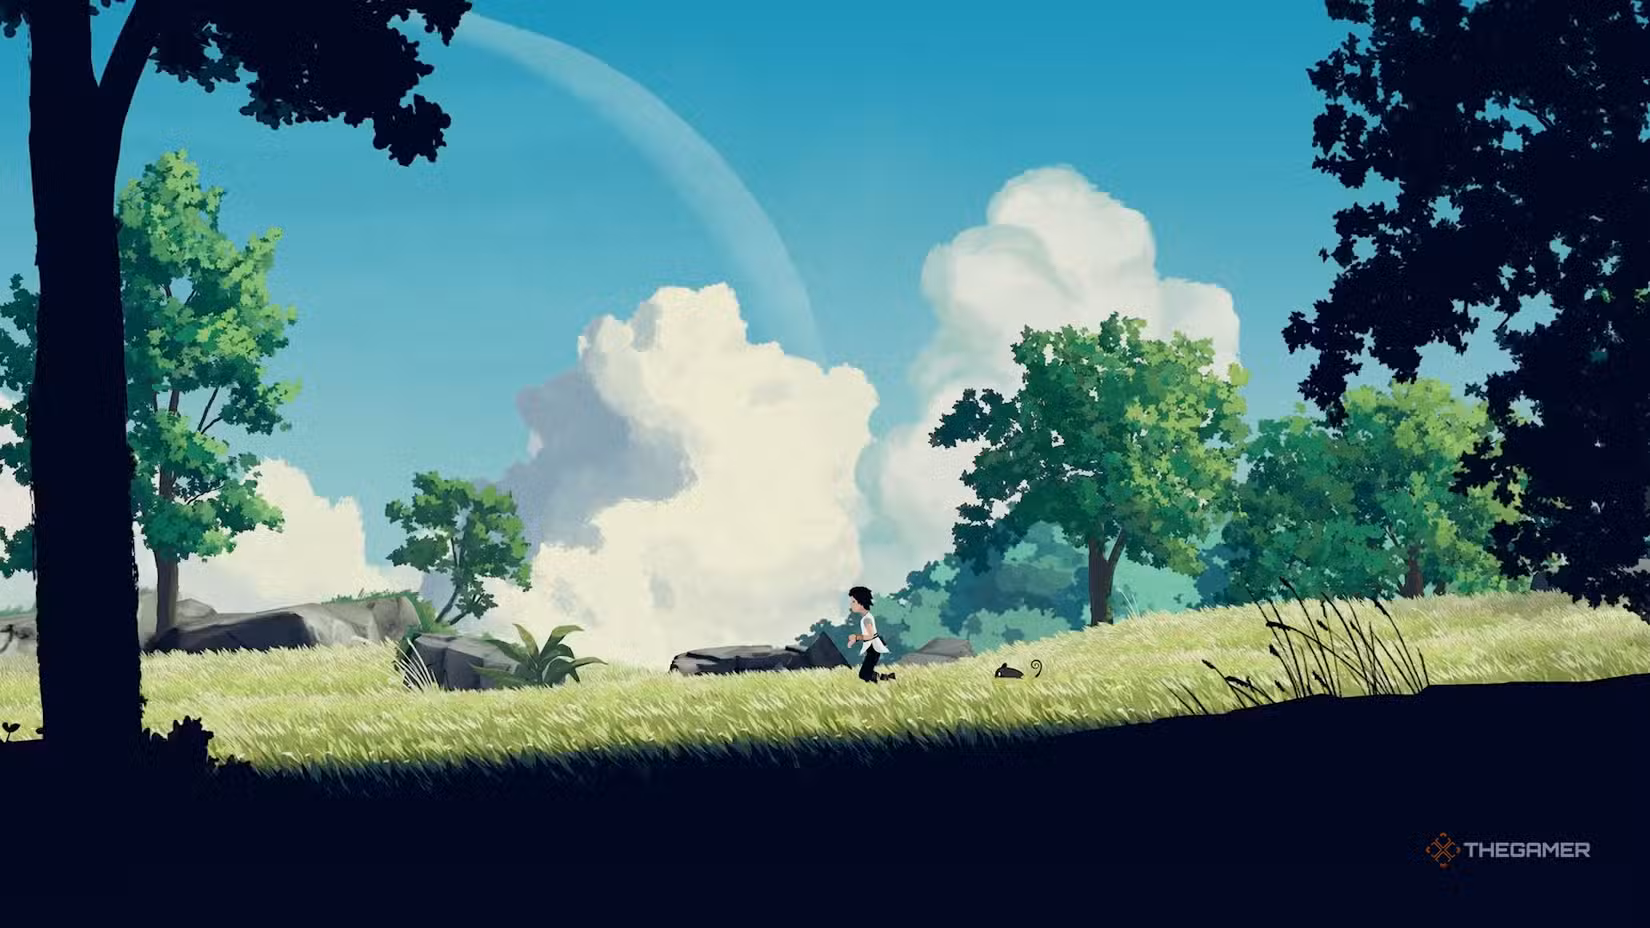
In the second chapter of Planet of Lana 2, Lana and her friends are heading back home to see their people. This chapter shows more signs of civilization compared to the first one. It focuses more on the story, so there aren’t as many puzzles. However, there are still a few, including one that can be quite tricky. Here’s a complete guide to help you through the chapter and its puzzles.
How to Complete the Flying Robot and Box Puzzle
At the start, walk left until you come across a flying robot. Have Mui jump onto the robot and use their special ability, which will make the robot drop to the ground. Then, go up to the fallen machine and press the button on the screen to take control of it, allowing you to fly around the area.
While flying, you can hover over glowing boxes and hold down the on-screen button to pick them up. There are three boxes with different symbols on them that need to be placed on matching platforms.
- The box with a backward “L” and a dot can be found on the left, near the elevator, on top of a rock.
- The box with two dots and a line between them is located to the right, beyond some wooden structures. It’s turned over, so pick it up from the side to flip it back.
- The third box, with three dots, is to the right, past some rocks. Pick it up as well.
Place each box on its corresponding platform: the “L” box on the platform in front of the starting point, the two-dots-and-line box on the bottom platform near the elevator, and the three-dot box to the right, on the platform with the dots and lines.
Once all boxes are in place, leave the robot behind and use the elevator to go down with Mui by your side.
How to Complete the Movable Platform and Rope Puzzle
In the next part, you’ll encounter a puzzle involving a movable platform and a rope. Use the lever to shift the platform under the hanging rope. Then, go to the right, climb up, and jump onto the platform. Have Mui also jump onto it.
Grab the rope and swing yourself to the yellow sections on the wall to your left. Afterward, jump on the nearby rock and climb up to leave this area.
Next, take control of Lana again, swim underneath the boat you’re standing on to find a wooden block. Remove this block to create a new pathway. Swim through the opening and then through the ink trail left behind to stay hidden from enemies.
Keep swimming until you reach the air pocket; surface to breathe. Underwater, you can pull out a block to open a path, then swim back to the start area, leaving Mui where it is.
Find a collection of logs with yellow tape nearby, and pull them right to open a makeshift cage in the water. Wait until the cage opens fully, then activate Mui’s teleportation ability and switch back to the fish form. Swim through the passage, using Mui’s special power to control the fish and sprint past enemies. Lead the enemy into the opened cage and swim into it to trap it, then quickly switch back to Lana and seal the door with logs to keep the creature trapped.
Finally, swim down to the Healing Seaweed—a glowing plant—by following the underwater route. When you reach it, collect the seaweed, which completes this part of your quest. Return with the healing plant to the people who requested it.
How to Get the Healing Seaweed
After some scenes, continue swimming across water bodies, heading right at first, and then back left. Head towards the boat where Mui can use their special ability to control a fish. Use Mui’s power to sprint underwater, swim through the tunnel, and reach the underwater air pocket to breathe.
Swim down further to find the designated area below Lana. Lead an enemy into the cage you previously opened by attracting its attention and swimming in quickly with sprint. Trap the enemy, then switch to Lana to close the door with logs, keeping the enemy locked inside.
Once the enemy is secured, head to the location of the Healing Seaweed, a glowing aquatic plant. Retrieve it to complete your collection, then head back to your group to continue your journey.
Chapter Ending
After returning with the seaweed, a cutscene occurs. Follow the game’s prompts to find your parents by heading left for a while. In this section, you’ll move some logs closer to a cliff to climb up. The rest of this chapter mainly involves walking and watching cutscenes.
