Select Language:
Mastering Tusk in A Universal Time: A Comprehensive Guide
In Steel Ball Run, Johnny’s progression with his Stand, Tusk, reaches staggering heights, boasting power that few Stands can rival in the series. You can experience this formidable power in A Universal Time on Roblox, where it matches the excitement found in the original story.
The journey to mastering Tusk is challenging and requires patience. This guide will walk you through each step needed to evolve your Stand from Act 1 to Act 4. If you’re ready to embark on this adventure, let’s start with acquiring Act 1.
Getting Tusk Act 1
To kick off, you need to obtain the original Tusk Stand, which has the capability to shoot nails. Securing this Stand is relatively easy, involving a simple quest given by Gyro Zeppeli.
Note that there are multiple versions of Gyro located throughout the game, and you may encounter them in different areas. Don’t worry if you see Gyro somewhere else during your quest—these characters all relate to the questline.
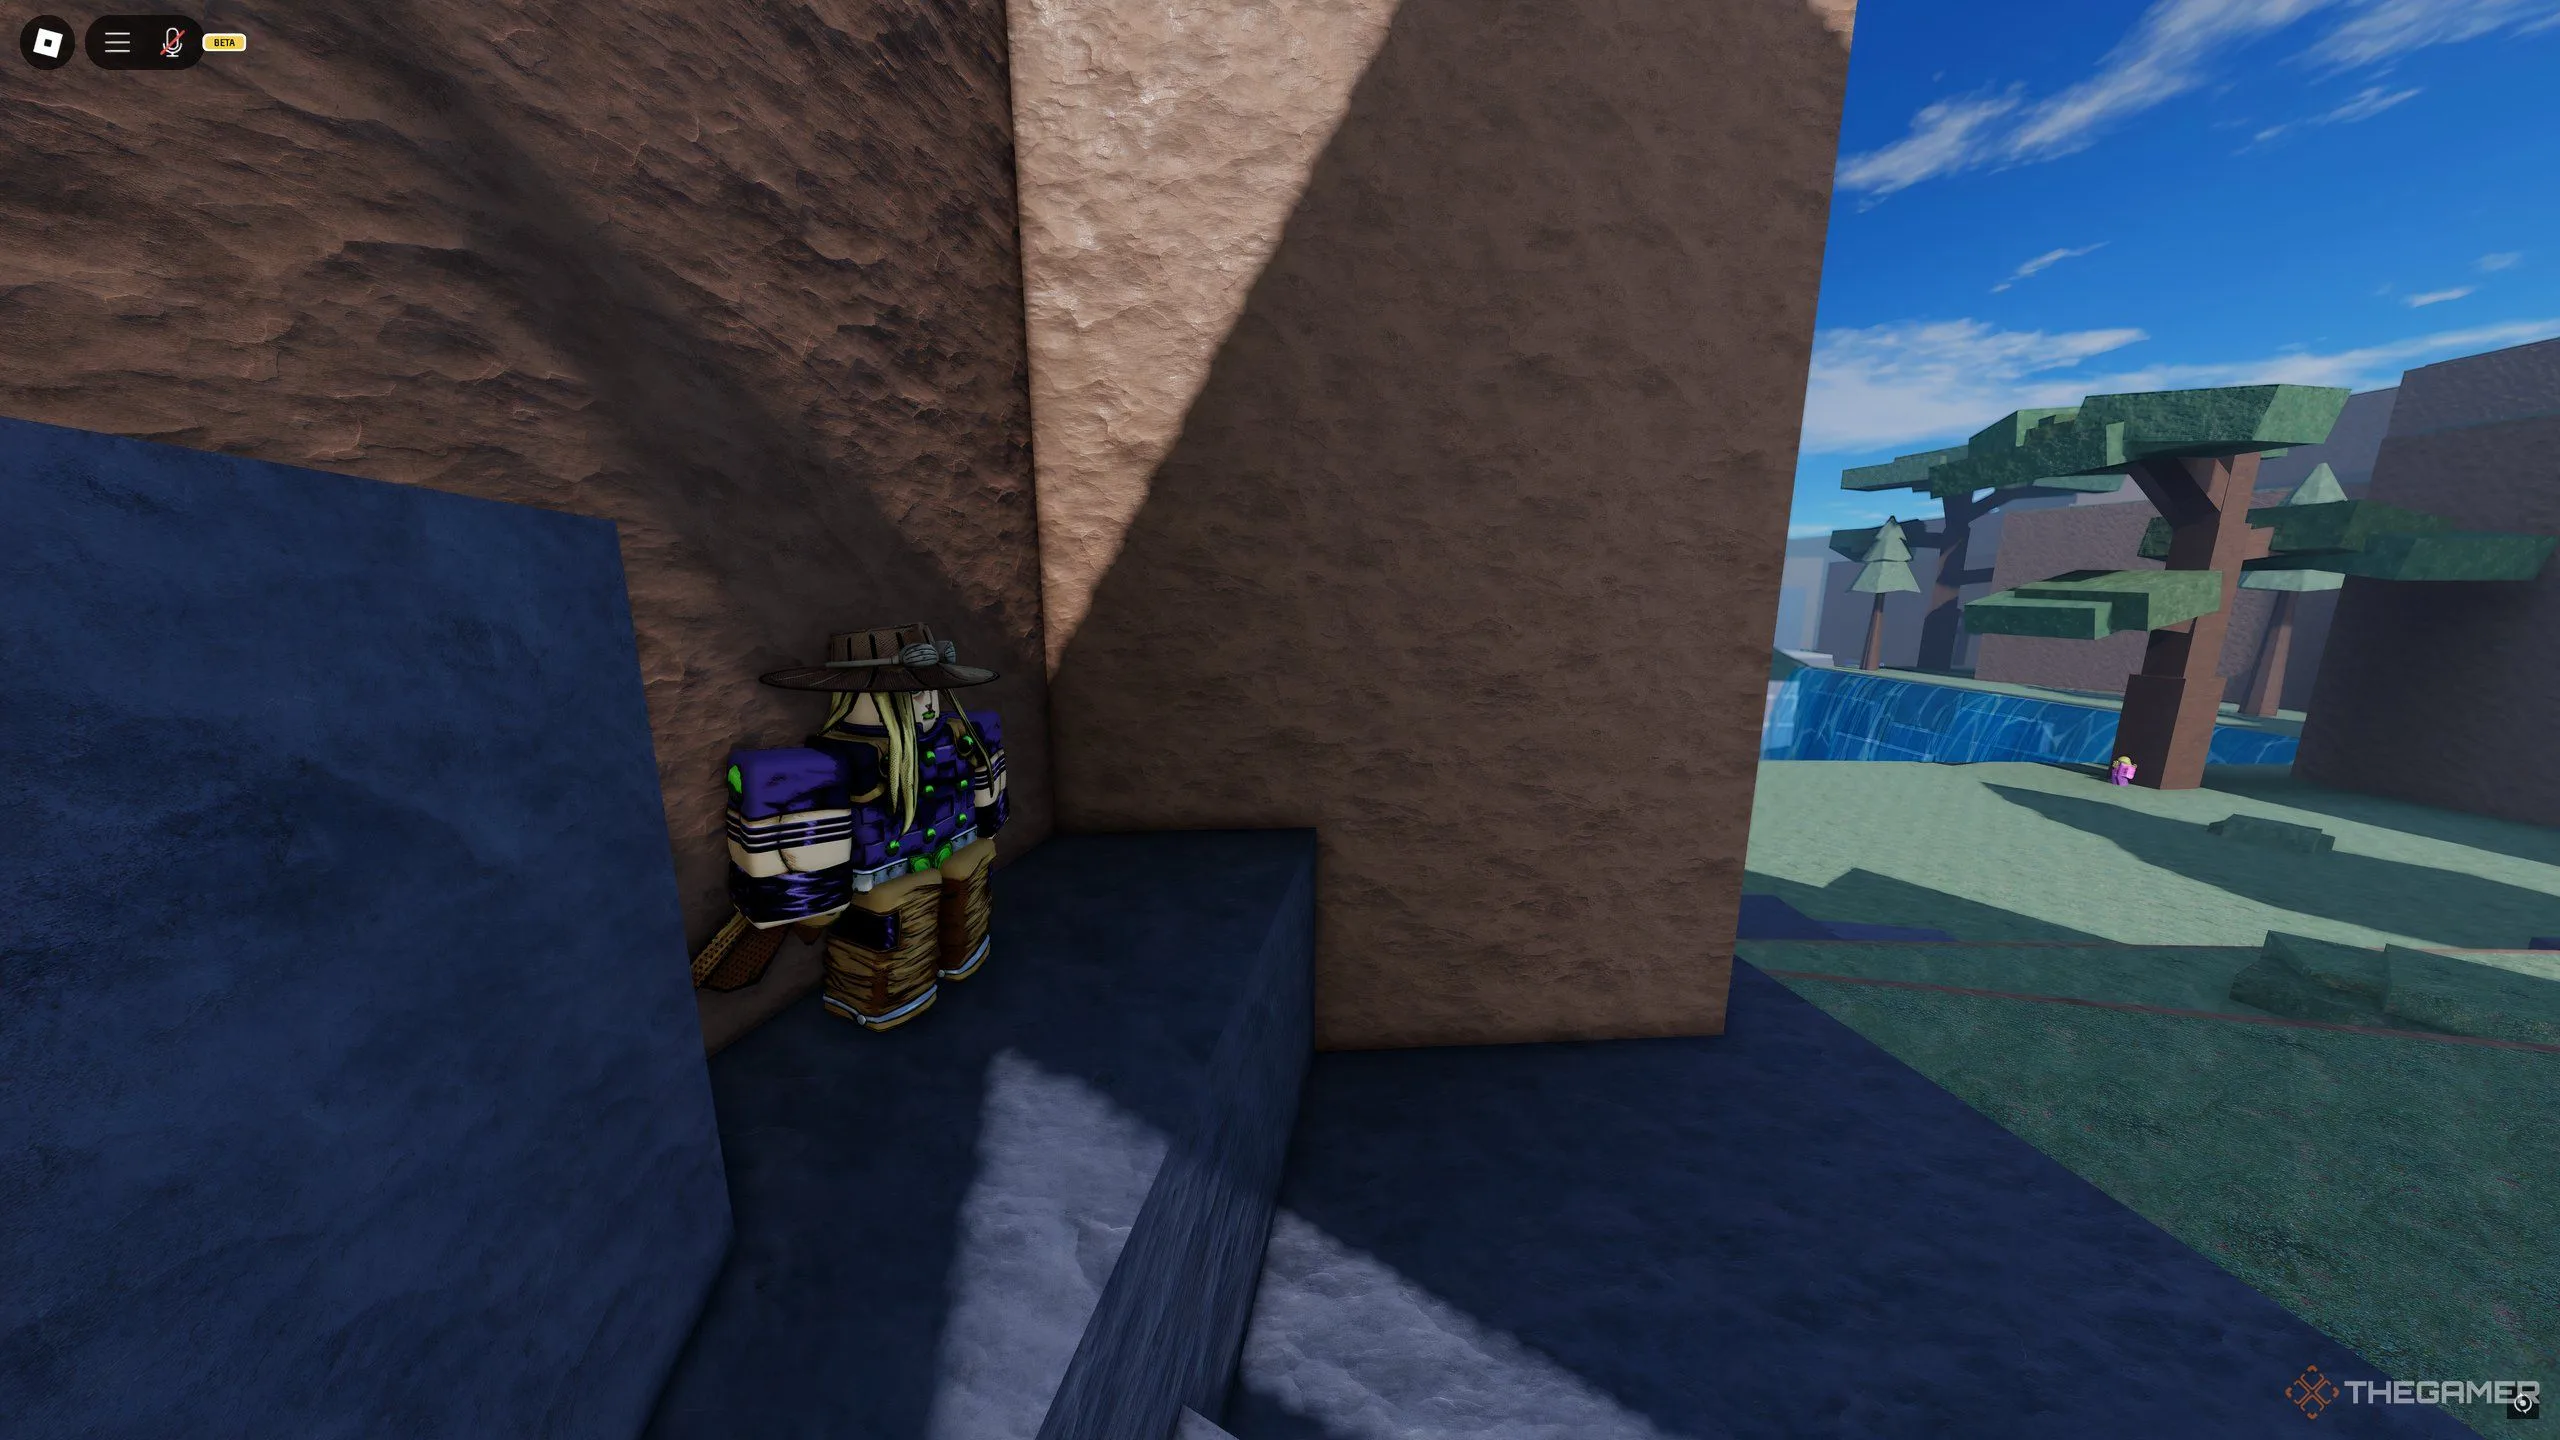
The first task begins by speaking with Gyro at the waterfall entrance to the Desert.
Tusk Act 1 Quest
For this quest, you must defeat 15 Thugs, the weakest adversaries in the game, who can be found near the spawn area. After dispatching 15 Thugs, return to Gyro to receive a special temporary buff called Temporary Spin Energy.
This buff means you are now eligible for Tusk Act 1, but you will need a rare item to actually obtain the Stand.
How to Acquire a Saint’s Ribcage
Next, you will need the Saint’s Ribcage, a crucial item for evolving your Stand. There are two methods to obtain it:
-
Digging in the Devil’s Palm: This area in the Desert becomes available after curses appear. Here, you slowly take damage, but it’s also where you can find Sand Debris scattered around, with a 5% chance to dig up the Saint’s Ribcage each time.
ADVERTISEMENT - Chests from curses: If you already have a powerful Ability, you can face Curses, which are some of the strongest enemies in the game. After defeating a group, they might drop an Epic or Legendary Chest, where you could also find the Saint’s Ribcage.
No matter your strategy, once you have this item, use it on a Standless character just like you would with an Arrow. This will award you Tusk Act 1!
Tusk Act 1 Moveset
All Tusk versions share similar moves, except for Act 4. As you upgrade, some moves will be replaced with new ones. The Tusk Act 1 moveset is as follows:
| Move | Description |
|---|---|
| Lesson 3 | Grab and immobilize your enemy, inflicting heavy damage. |
| Spin Charge | Charge your ability. |
| Nail Barrage | Standard barrage ending in a ragdoll effect. |
| Tusk | Long-range attack, sending three nails at your enemy. |
| Lesson 2 | Long-range, delivering two nails. Bonus damage if the target is hit previously. |
| Herbal Tea | Quick healing move, with longer hold for increased recovery. |
| Bloodshed | Long-range attack firing one powerful nail. |
| Dark Determination | Grants a significant attack buff for a long duration. |
| Nail Glide | Mobility move allowing you to glide across the ground. |
Most of Tusk’s abilities emphasize long-range combat, making Nail Glide a key move for positioning your attacks effectively.
It’s also wise to use Dark Determination at your earliest convenience—it can turn the tide in battles!
Advancing to Tusk Act 2
Once you have Tusk Act 1, level it up to Level 200. This will take some time; head to the Desert and battle Curses starting at Level 50 to expedite your progress. Once you max it out, go to the dummies near the Port entrance, where you will meet Gyro for another quest, but only if your Tusk Act 1 is Level 200.
Tusk Act 2 Quest
The next quest is more challenging and begins with completing the following tasks:
- Use the Nail Glide ability to travel 1,000 meters.
- Defeat 15 Thugs.
- Defeat 15 Hooligans, which spawn around the skate park.
After this, you will receive a more difficult quest:
- Accumulate 250k Bounty with Tusk Act 1.
- Claim 250k Bounty with Tusk Act 1.
You’ll need to engage other players for this part of the quest.
How to Accumulate and Claim Bounty
After defeating two players without dying, you’ll start gaining Bounty at a rate of 50,000 per kill. You must defeat five different players to reach a total of 250,000 Bounty.
If you’re skilled at combat, this shouldn’t be too hard, but after earning your Bounty, you need to find a player who also has their own bounty of 250,000.
For ease, you might want to collaborate with friends or negotiate with other players, as competition can be fierce.
After you’ve completed these tasks, return to Gyro to claim the Saint’s Arms. Using this item will evolve your Tusk Act 1 into Tusk Act 2.
Tusk Act 2 Moveset
While Tusk Act 2 shares a similar moveset to its predecessor, it has one new ability:
| Old Move | Replacement Move | Description |
|---|---|---|
| Tusk | Lesson 4 | Charge a Steel Ball and shoot it forward for decent damage. |
Getting Tusk Act 3
The transition to Tusk Act 3 is unique, as there is no quest attached. You’ll need to:
- Achieve Ascension 2.
- Use the Dark Determination move.
How to Achieve Ascension 2
To ascend, your Stand must reach Level 200, then you can ascend back down to Level 1 while keeping unlocked moves. Each Ascension costs 1,000,000 UCoins, so be prepared to earn some currency by selling items you’ve collected.
During your Ascension, you can utilize Dark Determination right when you hit Ascension 2. There’s a 40% chance this move will trigger the evolution to Tusk Act 3.
Tusk Act 3 Moveset
Act 3 enhances your abilities further with two new powerful moves:
| Old Move | Replacement Move | Description |
|---|---|---|
| Lesson 4 | Wormhole Trap | Trap an enemy in sight and inflict heavy damage. |
| Bloodshed | Point of Infinity | Fires five nails at the enemy quickly. |
Evolving to Tusk Act 4
To obtain Tusk Act 4, you need to return to Gyro one last time after levelling Tusk Act 3 to Level 200.
Tusk Act 4 Quest
Start by defeating 35 Hooligans. Tusk Act 3 will easily handle them. Afterward, return to Gyro, who will guide you to collect evidence of a crime related to Funny Valentine in Alabasta Town. You have seven and a half minutes to collect clues, including Blood Stains and Other items.
Final Battle with Funny Valentine
Funny Valentine is the last boss and can be found in the Devil’s Palm, appearing at the start of each real-world hour. He boasts 30,000 HP and drops nothing, serving solely as the final challenge.
To defeat him using Tusk Act 3, avoid his Stand’s clones that explode on contact and try to deal as much damage as possible. If you die, you can return without resetting his health, so chip away at his life until you succeed.
Once you vanquish Funny Valentine, Tusk Act 3 evolves into Tusk Act 4, concluding your questline.
Tusk Act 4 Moveset
In this final evolution, only Lesson 3, Herbal Tea, and Dark Determination carry over from previous Acts. Tusk Act 4 brings an entirely new moveset, featuring:
- Cataclysmic Assault: A powerful combo attack ending in a ragdoll effect.
- Wormhole Retrieval: A teleportation attack that sends an enemy in front of you.
With new abilities and revamped mechanics, Tusk Act 4 emerges as the ultimate Stand, combining incredible mobility and a diverse range of attacks. Its versatility and power embody the spirit of the original story, making it a force to be reckoned with in any conflict.