Select Language:
The Putrescent Knight is an optional boss in Elden Ring, introduced in the Shadow of the Erdtree DLC, and it carries significant lore weight. A repulsive mass of flesh that animated through St. Trina’s nectar, it is now sworn to defend her at any cost.
While Elden Ring is known for its intense boss encounters, none can rival the excitement brought by the Putrescent Knight. Though it’s optional, this encounter stands out as one of the most thrilling and heart-pounding boss fights available.
This guide will help you find the Putrescent Knight deep within the earth and offer strategies for defeating it with ease. We will also provide several builds tailored for this boss fight.
Where to Find the Putrescent Knight in Elden Ring
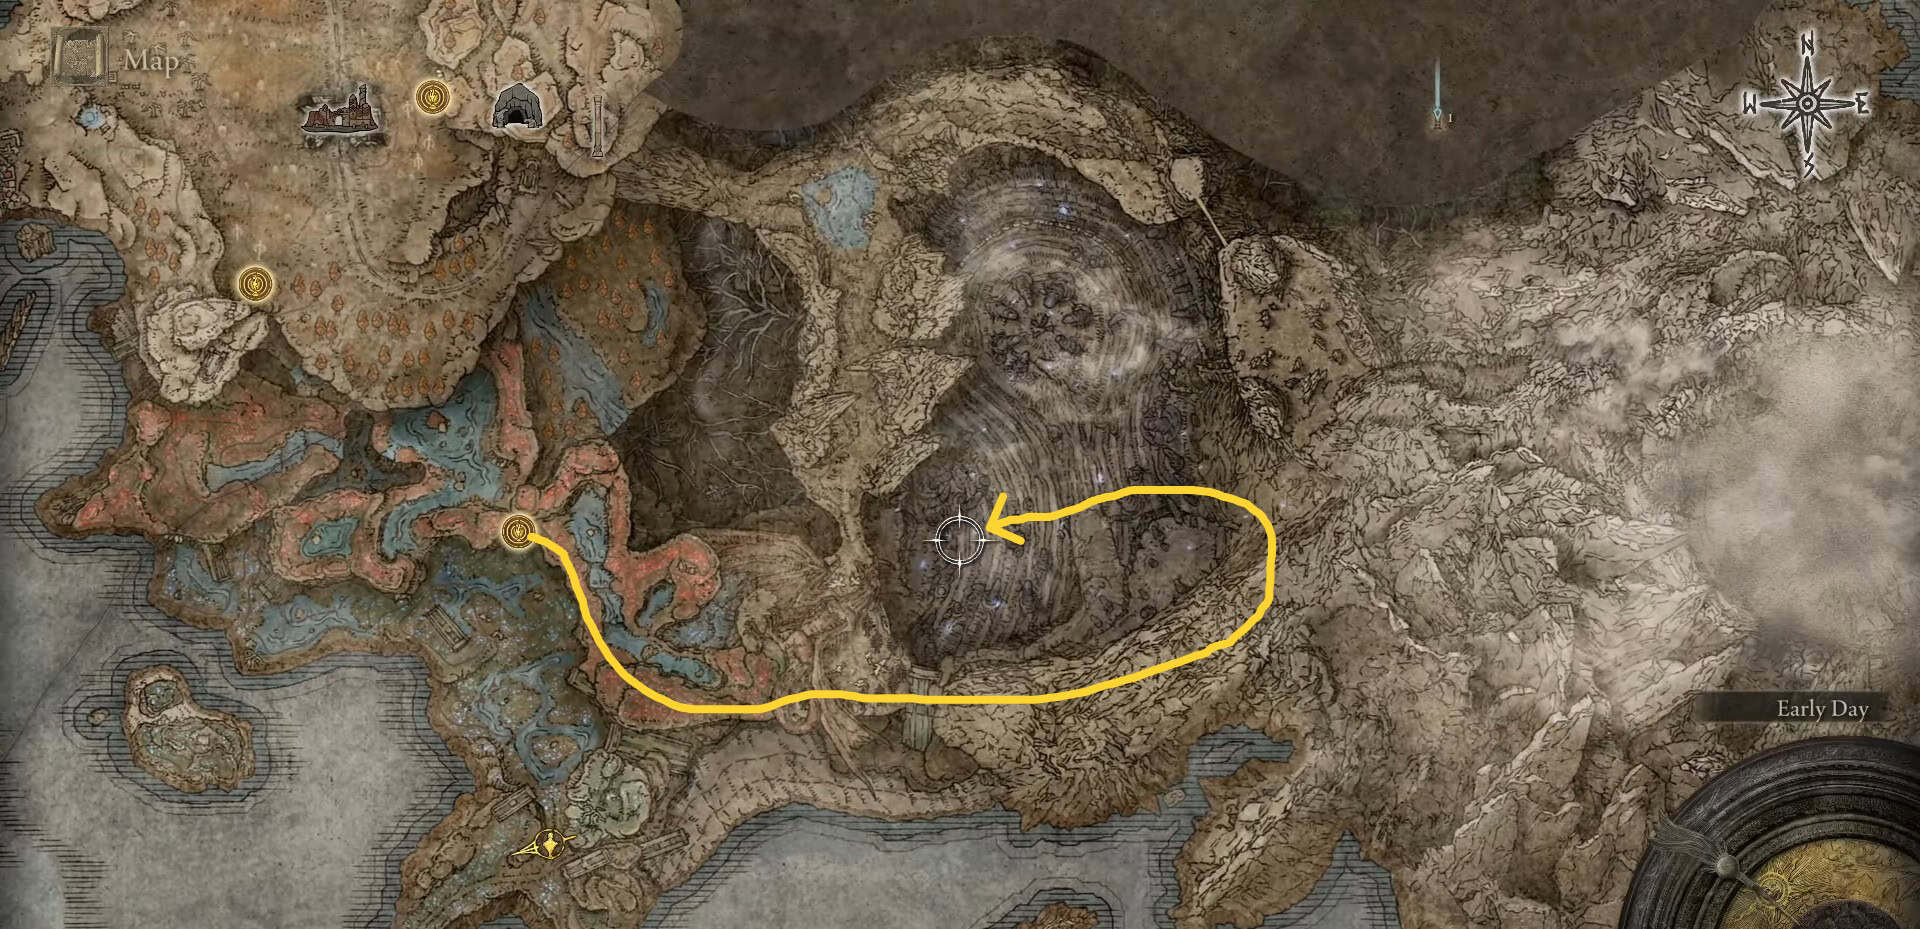
To locate the Putrescent Knight, head to the Stone Coffin Fissure area, which lies on the northeast side of the map, near St. Trina.
Begin your journey at the Cerulean Coast site of grace. Move south until you find a map fragment. This will reveal a grey area to the east of the Cerulean Coast.

Travel east until you reach the grey area, which marks the Fissure, identifiable by a large crack in the ground. Veer to the right side and use Torrent to descend.

Pass through a narrow tunnel to enter the Stone Coffin Fissure area. Continue descending without fear of falls until you find the Stone Coffin Fissure Cross. From there, go further down to reach the Fissure Depths site.
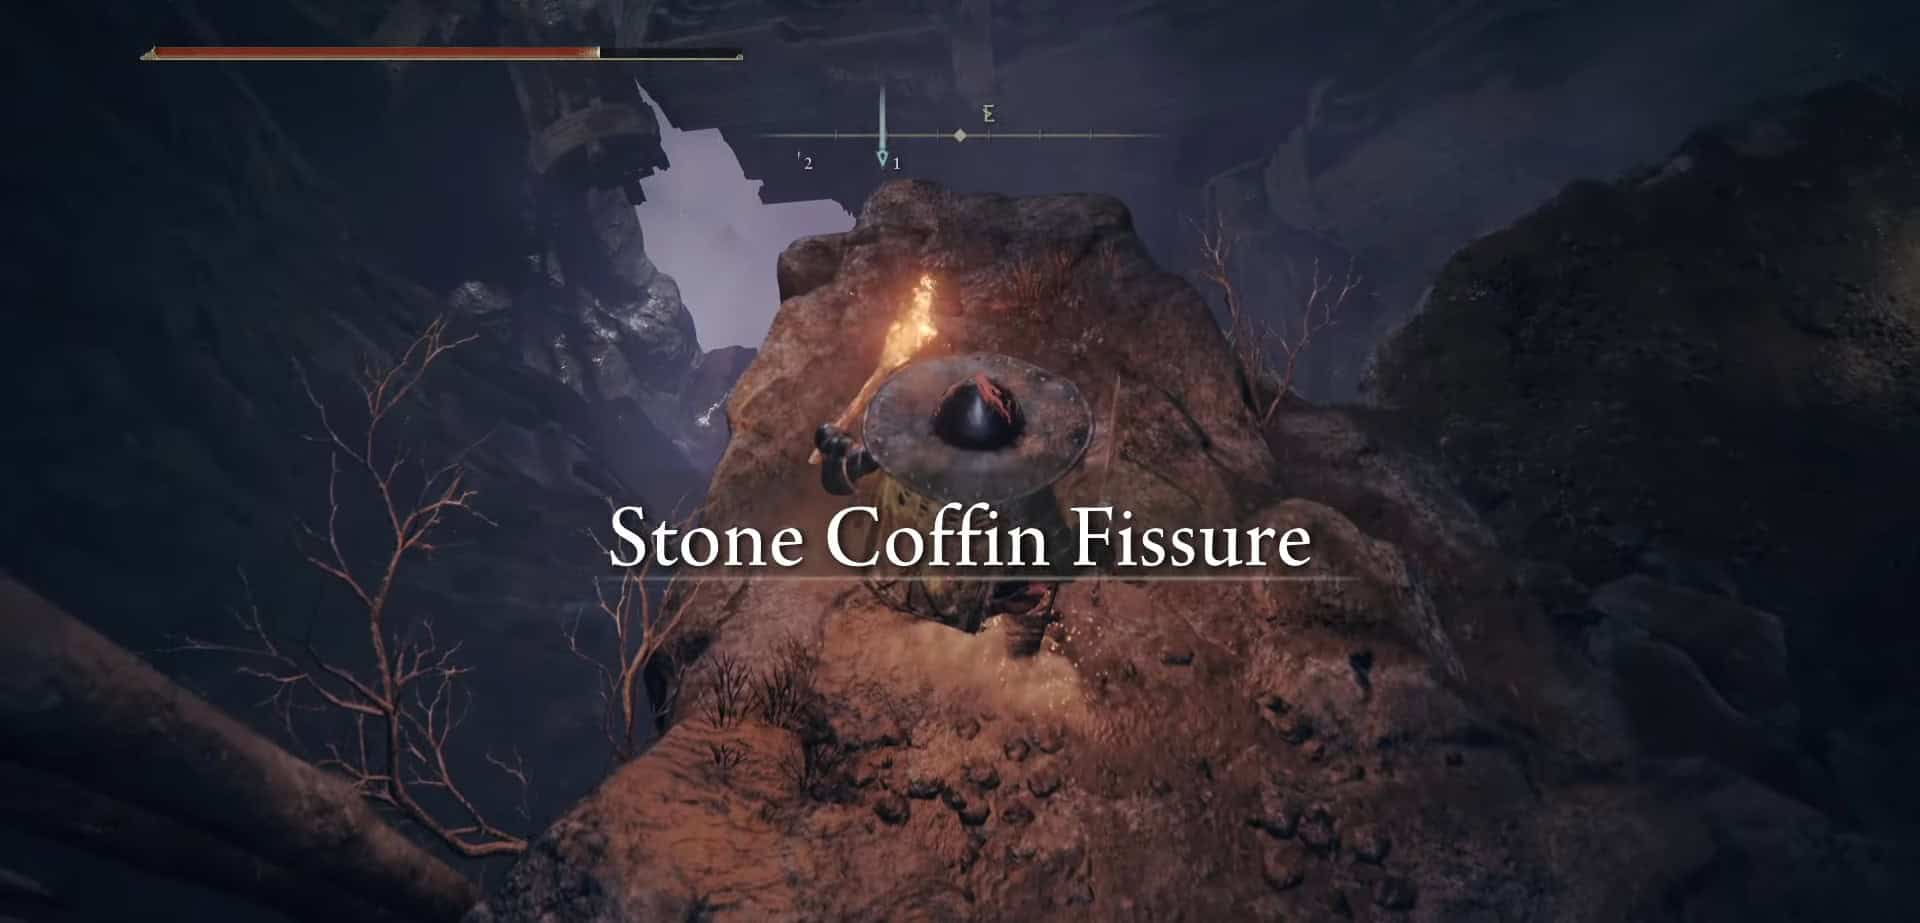
Prepare for a considerable drop in front of the grace site. Don’t hesitate—jump down to the putrid pool below. Almost immediately, the Putrescent Knight will emerge, ready to impede your approach to St. Trina.

Putrescent Knight’s Stats and Weaknesses
The Putrescent Knight boasts 20,612 HP, with a defense of 123 and a stance of 120. Its attacks are not parryable, but you can stagger it to deliver a Critical Hit.
This boss is vulnerable to Holy, Strike, Fire, and Scarlet Rot damage but resistant to Slash and Pierce attacks, making it a tough fight for melee-oriented builds.
It is also immune to Poison, Hemorrhage, Sleep, Madness, and Frostbite. You can utilize spirit ash summons in this encounter, along with NPC summons, which will be detailed in the next section.
Optimal Stats and Build for the Putrescent Knight
For this challenging encounter, it’s advisable to have a character at least at level 200, with a minimum of 60 points allocated to Vigor. Ensure you have a fully upgraded Mimic Tear summon ready.
Summon Thiollier during the fight, as this won’t increase the boss’s power or defense. However, you must complete Thiollier’s questline up to the point of reaching the Stone Coffin.
Melee builds may struggle due to the boss’s rapid movements. Using Malekith’s Black Blade can be effective, as its weapon art may stop the Putrescent Knight in its tracks.
Alternatively, a fully upgraded Backhand Blade with a Keen affinity can inflict significant damage, especially when combined with Holy and Fire grease.
If you’re using a sorcery build, lean towards Faith-based incantations, which deliver more Holy damage than typical spells.
For maximum effectiveness, equip the following talismans:
- Two-Handed Sword Talisman: Boosts attack power of two-handed swords.
- Rotten Winged Sword Insignia: Enhances attack power of successive hits.
- Shard of Alexander: Increases skill damage.
- Sacred or Fire Scorpion Charm: Boosts damage from Holy or Fire attacks.
Wearing armor with sturdy poise, like Blaidd’s armor, is advisable for this fight. The Great Jar’s Arsenal Talisman can also help reduce your equip load.
Mix the following Crystal Tears in the Flask of the Wondrous Physick:
- Holy Shrouding Cracked Tear: Increases damage of Holy attacks.
- Opaline Hardtear: Boosts defense against all damage types.
This setup is one of the most effective against the Putrescent Knight. If you continue to face challenges, you can visit Renalla at the Academy of Raya Lucaria to undergo a rebirth using Larval Tears, allowing you to experiment with various builds. However, be mindful of your limited Larval Tears, as they are scarce in Elden Ring.
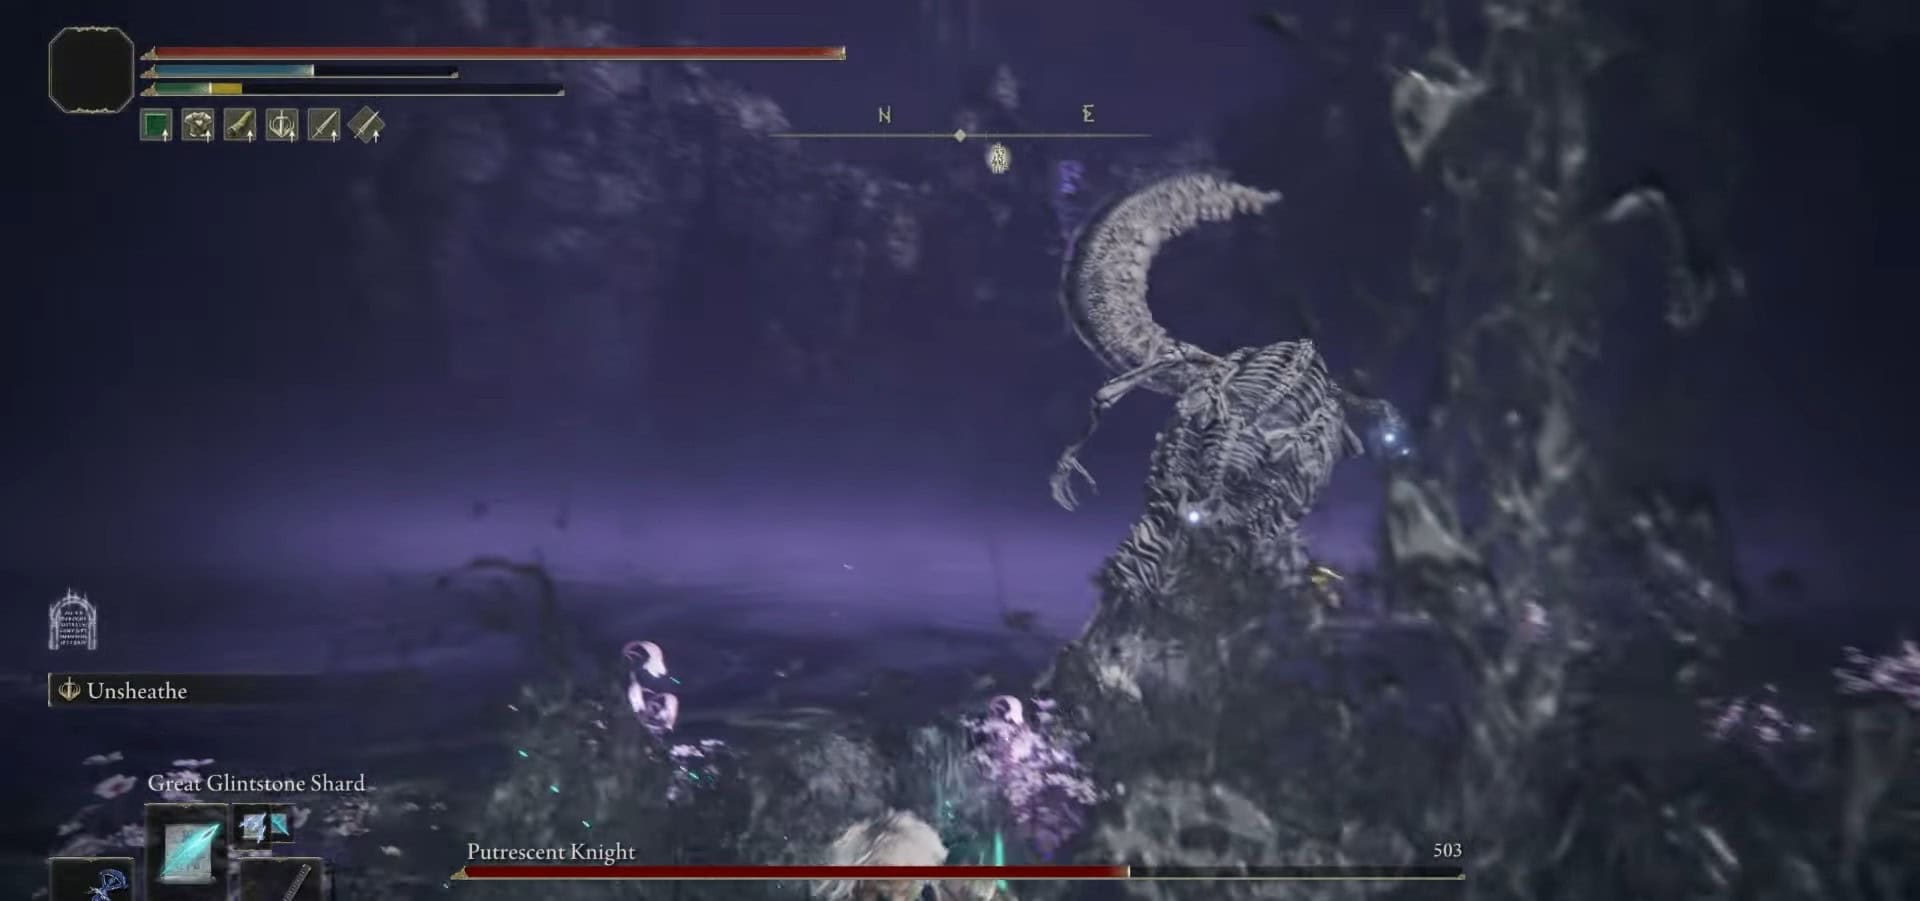
Phase 1 – Facing the Putrid Knight

During the first phase, the Putrescent Knight wields a massive cleaver and utilizes its horse as a weapon. The fight commences with the Knight leaping from its mount and crashing down towards the player’s position.
To avoid this attack, roll forward, but hold off on striking. The Knight will follow up with a sweeping combo attack, and its horse will also charge you. Dodge this charge and be prepared for another attack from the Knight itself.

The horse will charge again, and the Knight will perform another charge attack. This series of attacks requires multiple dodges, leaving little opportunity to deal damage.
The Putrescent Knight can also throw its cleaver like a boomerang. Be wary, as this attack has two stages: prepare for the cleaver’s return while seizing the chance to hit the boss.

The Knight will execute a sweeping attack while on horseback, which is also delayed and provides an opportunity to strike after evading it.
The boss will also perform a slam attack, lifting the cleaver with both hands and following with two more slams. Hold off on attacking until after the third slam.
The horse adds additional complexity to the encounter, with its own set of attacks. One notable attack is a stomp that causes minor damage. The roar attack is more serious, as it can push the player back and even knock them over.
Both attacks can be dodged quite easily, thanks to a generous timing window. Most of the Putrescent Knight’s attacks in this phase can be avoided, providing openings for substantial counterattacks. Unfortunately, this phase concludes once the Knight’s health drops to 65%, leading into the more intense second phase.
Phase 2 – A Knight with a Vengeance
The second phase kicks off with a powerful attack. After summoning its horse, the Knight will levitate while releasing putrid material from its body.
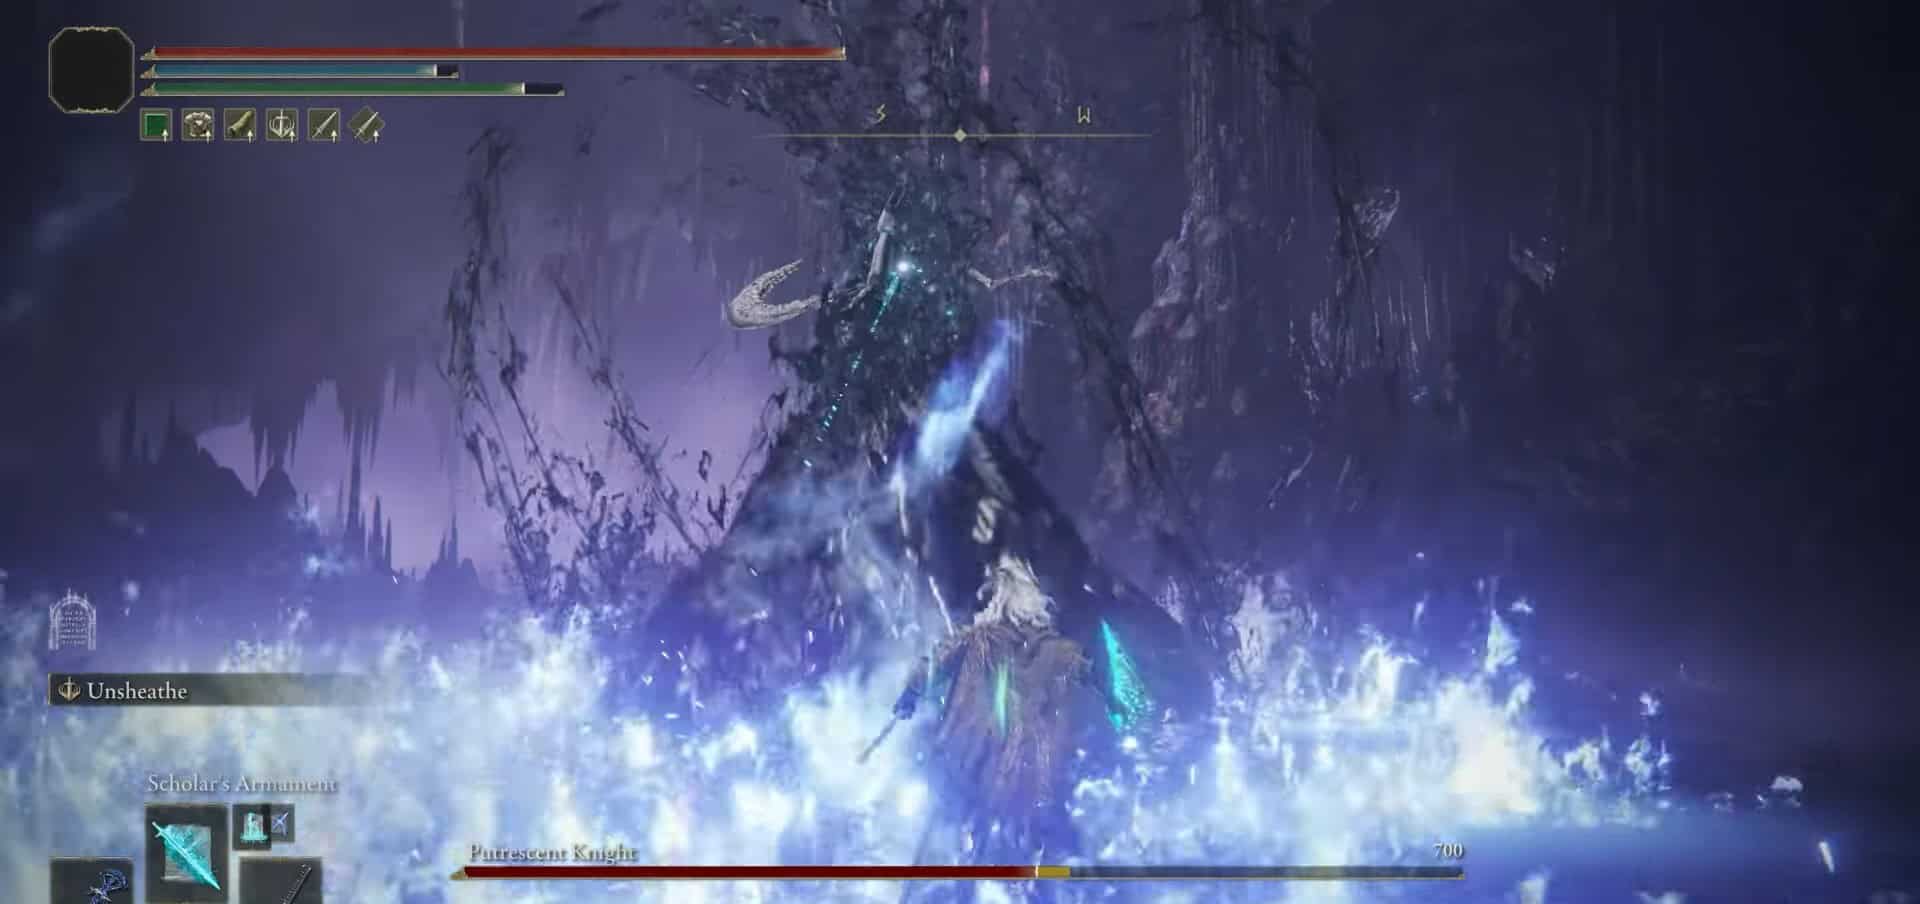
Upon impact, this liquid generates enormous blue flames that radiate outward. You can evade this attack by jumping forward. Expect multiple iterations of this move before the Knight settles down.
The boss will also advance while summoning a vertical line of blue fire that is quick and intense. Instead of attempting to jump over it, it’s better to dodge left or right.

During this phase, the Putrescent Knight’s attacks become more chaotic and aggressive, combining slam attacks with swings to create a six-hit combo. The delayed nature of these swing attacks makes timing dodges a daunting task.
To land damage, stay close to the boss immediately after an attack. The Knight will also increase the frequency of charge attacks at this point.
As the Knight’s health approaches 25%, it will once again summon the putrid vortex and execute the blue fire attack. Expect a tumbling series of attacks, leaving little to no opportunity to counterattack. Prepare yourself and go all in—now is the perfect time to summon Mimic Tear ashes if you haven’t already.
If you’re employing spells, utilize them instead of engaging directly. This phase can be overwhelming, but by mastering the boss’s patterns with our guidance, you’ll triumph soon.
The Putrescent Knight is renowned in the Souls community for its difficulty. If you find yourself repeatedly defeated, don’t despair. Focus on deciphering its moves, grit through a few more attempts, and you will eventually succeed.
Drops and Rewards from the Putrescent Knight

Upon defeat, the Putrescent Knight drops 220,000 Runes and grants the Remembrance of the Putrescence. You can exchange this remembrance with Enia at the Roundtable Hold for either the Putrescence Cleaver weapon or the Vortex of Putrescence spell.