Select Language:
A Study In Fear: Mission Overview for Indiana Jones and the Great Circle
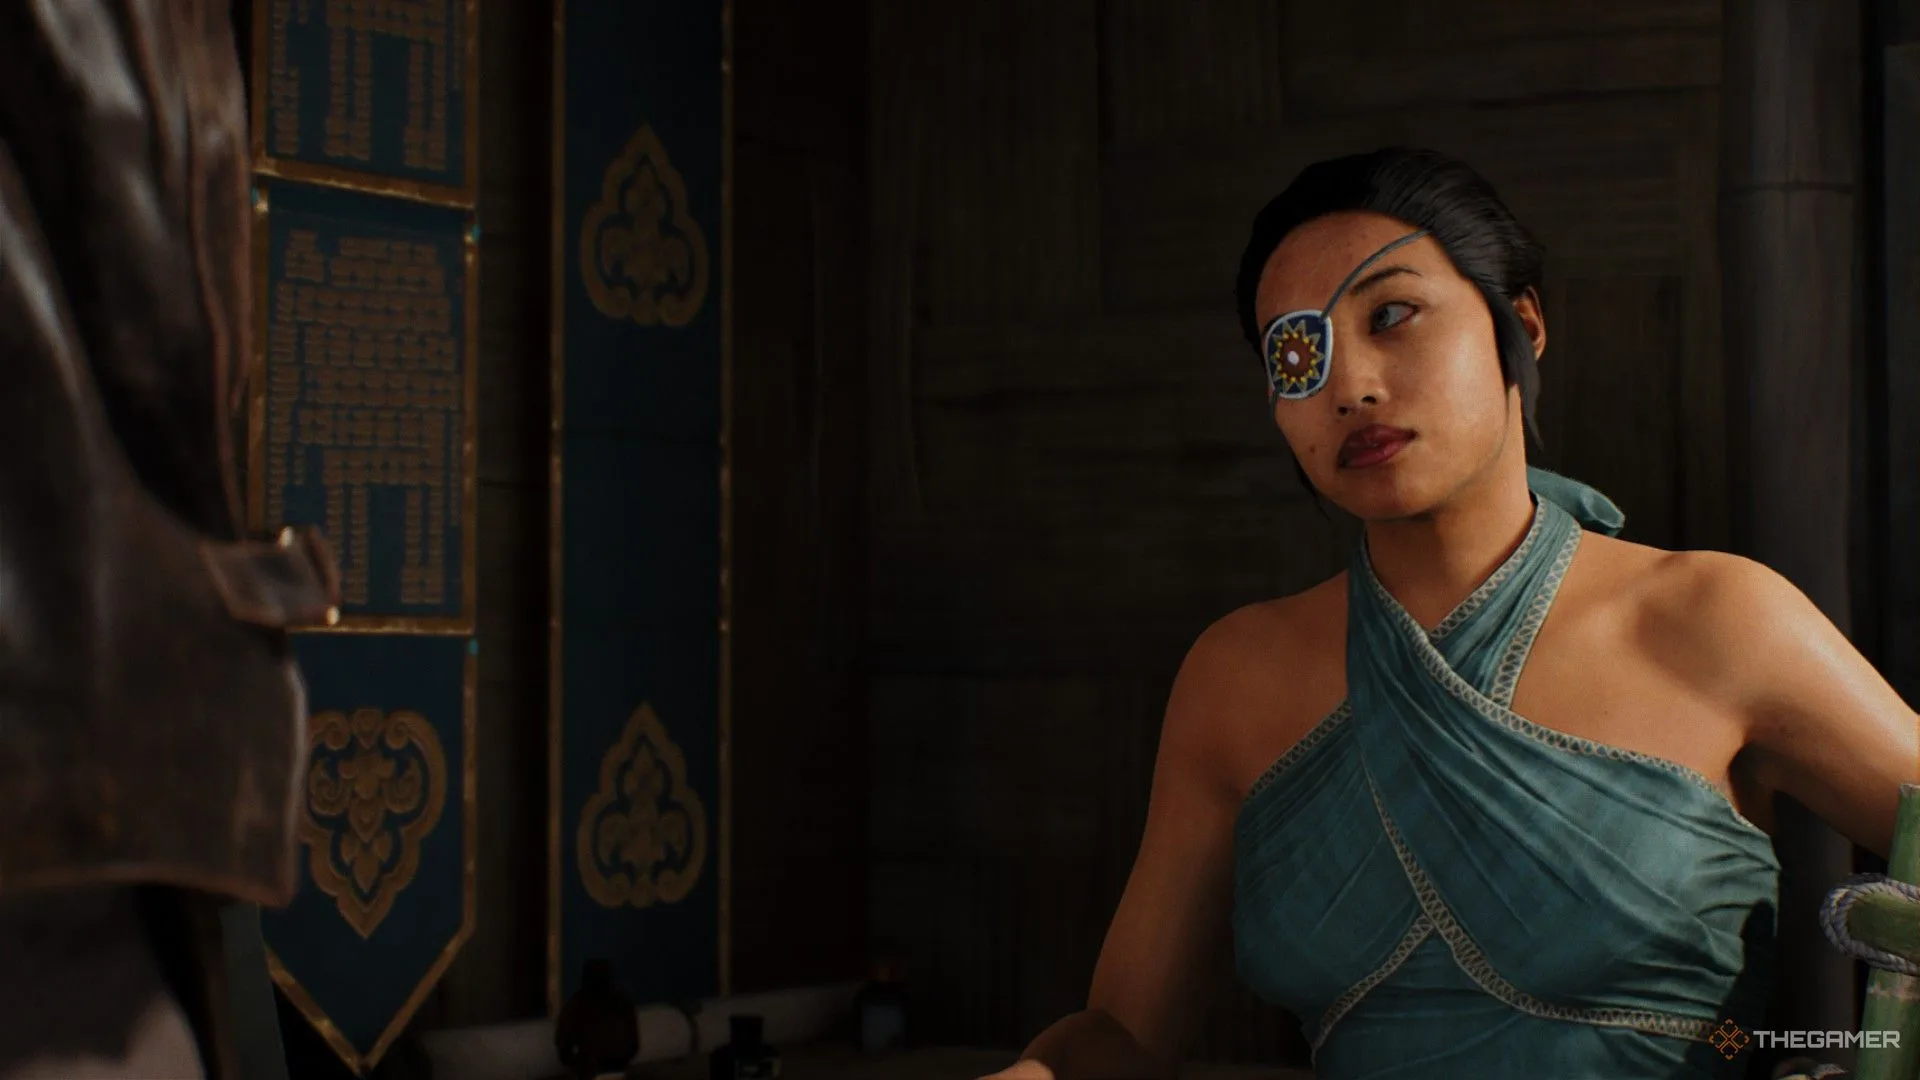
"A Study In Fear" is a mission you can access late in Indiana Jones and the Great Circle. If you’re eager to navigate a ruin teeming with dangerous traps, this quest is just what you need. It introduces a temporary ally, Annika Lund, who you’ll need to team up with instead of Gina for a better chance of survival.
This mission features a few adversaries, but its primary focus is on solving puzzles. Since it becomes available just before the game’s climax, it serves as a great low-combat adventure to ease into or a delightful challenge after completing the main storyline.
How to Begin A Study In Fear
To start this mission, you must first finish the Hidden Pyramid in Sukhothai. Your next goal is to speak with Sunan, who will guide you to the location of the final Great Circle site. However, Gina will hint that Pailin is also in need of assistance. Be sure to talk to her at any time before heading to Wat Mahathat to search for the Stone to kick off this quest.
Tip: Pailin’s house is located directly across the bridge from the Village dock and Fast Travel point, on the second floor.
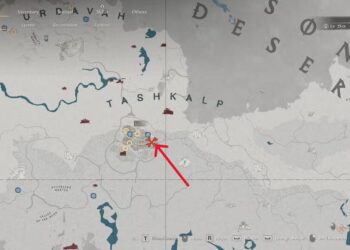
Pailin will ask you to examine a dig site to the south where Voss’ men are using explosives for rapid excavation. Once you’re prepared, take a boat heading south past Aran’s treehouse, sticking to the western edge of the map until you spot a dock with a radio but no Fast Travel indicator.
Head straight into the ruins and take a picture of the Exploded Opening in the ground at the back. There are no enemies in this area, so you can move quickly and freely. Jump down into the hole and travel through the hallway into the Khmer Vault. At the far end of the room, turn the handle located next to the demon carving to access a hidden area below the ruins.
Tip: At the bottom of the chute, squeeze through the hole in the wall on your left next to the spiked wall to trigger a cutscene where you’ll meet Annika.
How to Open the First Door with Annika
After the cutscene, Annika reveals that she is searching for the legendary tomb of a demon believed to be hidden in these ruins. Turn around and use your lighter to ignite the straw bundle on the wall, revealing another handle. Turn this handle to activate the hydraulic system that operates the door mechanism.
At this point, Annika will show you a key she discovered. Take the key from her and place it in the pedestal to the left of the door.
How Do the Khmer Vault Keys Work?
You will encounter several pedestals throughout the ruins, so it’s crucial to learn how to use them. When a pedestal receives power from its room’s hydraulic system, the concentric wheels on top will begin to rotate in sync. All wheels will turn simultaneously unless a key is inserted.
Inserting a key locks the wheels into place with symbols that match the key. The other wheels will keep rotating. By controlling the timing of the wheels, you must align all the symbols on the pedestal in a single line before taking the key out to unlock it.
Tip: The first key Annika gives you, the Circle Key, only stops one wheel; the other two keys found in the ruins can stop two wheels at the same time.
The first pedestal requires you to insert the Circle Key until the Diamond and Cross wheels line up with the Circle wheel. Once they are aligned, remove the key to unlock the door.
How to Reach the Demon’s Tomb
After unlocking the door, follow the corridor to your right through a narrow passage leading to a gear chamber. Proceed straight ahead and climb the wall at the far end. Since the large gears will block your path, turn around and use the elevation to jump across the ledges on your left.
Wait for a large gear to create an opening, then run through and leap to the platform on the other side. When you land, turn the valve to your left, then jump across the horizontal gear just above Annika’s head to collect an Ancient Relic.
Turning the valve halts the gears that were obstructing your way, so head back to the wall you climbed and follow Annika into the next room. Collect the Cross and Circle Key from the skeleton on the floor to your left, then use your whip to open the water pipe in the back of the room, activating the pedestal.
Use the Circle Key to align the Circle and Cross wheels, then replace it with the Circle and Cross Key to stop both at once. With only the Diamond wheel in motion, it will eventually align with the others. When aligned, remove the key to unlock the door next to Annika.
Warning: Let Annika go through the hole first. In one playthrough, taking the lead caused both characters to get stuck, leading to a checkpoint reload.
The next room contains a trap, but it’s designed to startle you; the mechanism is faulty, so after a few moments, the walls will stop closing, and Annika will open the door to let you crawl through and escape.
Once you’re through, continue down the corridor towards the Demon’s Tomb.
How to Escape the Demon’s Tomb
Approach the sarcophagus and attempt to open it; the statues on either side are holding the lid shut. You can rotate them by turning the handles on either side of the circular platform that the sarcophagus rests upon. You can see these handles when you climb down into the pool of water.
Once both valves are turned, return to the sarcophagus and open it. This will trigger a trap in the room; wait for a spike from the ceiling to drop on the other side of the sarcophagus, then pick it up and use it to break through the brick wall on your right. As a result, the room will begin to fill with water: equip the Breathing Device immediately.
Once the water rises enough for you to reach the ceiling, head to the upper left section of the room. You’ll find a beam you can move, which will break a wall. The current will carry you and Annika away. Indy will automatically grab a rock in a grotto filled with air, allowing you to refill the breathing device. Once it’s full, dive back down and follow the current.
Squeeze through the narrow passage at the end of the tunnel, then grab Annika’s hand on your right to be pulled to safety.
How to Find the Idol of Yaksha
Follow the overgrown path to its end, then climb the wall on your left. Walk across the moss-covered stones to reach the other side of the room. Check the chamber to your left for an Ancient Relic, then use your whip to swing across the gaps to the door above where you entered the water.
Tip: From the door, jump to the left platform to take a photo of the water wheel for some Adventure Points and find two durians that can restore any Stamina lost while swimming.
Use your whip to help Annika climb the wall in front of the door, then work together to turn the handles and open it.
How to Solve the Burial Chamber Puzzle
After entering, you’ll be in the Burial Chamber where the true demon’s sarcophagus is hidden. To access it, you must activate all three pedestals to remove the statues in the room’s center. Start by approaching the demon head at the back of the chamber and use your whip to open the water pipe to its right.
Tip: For an optional route, check the left side of the room; while you’ll spot the exit door, ignore it for now and use your whip to scale the wall to the right. Swing across the space to reach the platform on the opposite side, where you’ll find another Ancient Relic.
To get the third and final key, move to the right side of the room and use your whip to climb the wall. Traverse to the right, swing to the ledge across the gap, then from the top, swing to the rock with bird droppings and climb around to the other side to find a ledge with a bird’s nest containing the Cross and Diamond Key.
Use all three keys to activate the pedestals in the center of the room, starting from the right and moving clockwise. Each pedestal you activate will not only remove a blocking statue but also allow water to flow to the next pedestal, powering it up.
Warning: None of the keys will stop the Line wheel on the pedestals, so utilize them to control the Cross, Diamond, and Circle wheels instead.
After unlocking all three pedestals, place the keys in their correct slots on the central altar according to the symbols:
- The Circle Key on the left.
- The Cross and Circle Key in the middle.
- The Cross and Diamond Key on the right.
Once all keys are placed, pull the lever revealed by the demon’s head statue to unveil the sarcophagus, where Annika can claim her first archaeological find. Talk with her, and after the cutscene, join her at the exit door to the left and turn the handle.
How to Leave the Khmer Secret Vault
Once you land in the water, equip the Breathing Device and swim through the tunnel directly ahead and to the left. The chamber beyond may seem like a dead end initially; keep swimming underwater until you reach the far end, where you can climb out using your whip.
This hallway has a side door that leads back to the Burial Chamber, but you won’t need to go there unless you need the Ancient Relic mentioned earlier. Instead, head up the stairs and take a left. Collect the Idol of Yaksha and the journal page from the ground, then turn the handle to open the way back to the entrance.
Be cautious as guards will be present in the entry chamber; you can choose to fight them and exit through the main entrance, or use your whip to swing along the ledges and reach the crawlspace near the ceiling. The latter will reward you with supplies, including a rifle, beneficial for navigating the now-guarded dig site.
Return to the dock and call Gina using the radio, as she left after the guards returned. Head back to Pailin’s house to present her with the Idol of Yaksha to complete your mission.