Select Language:
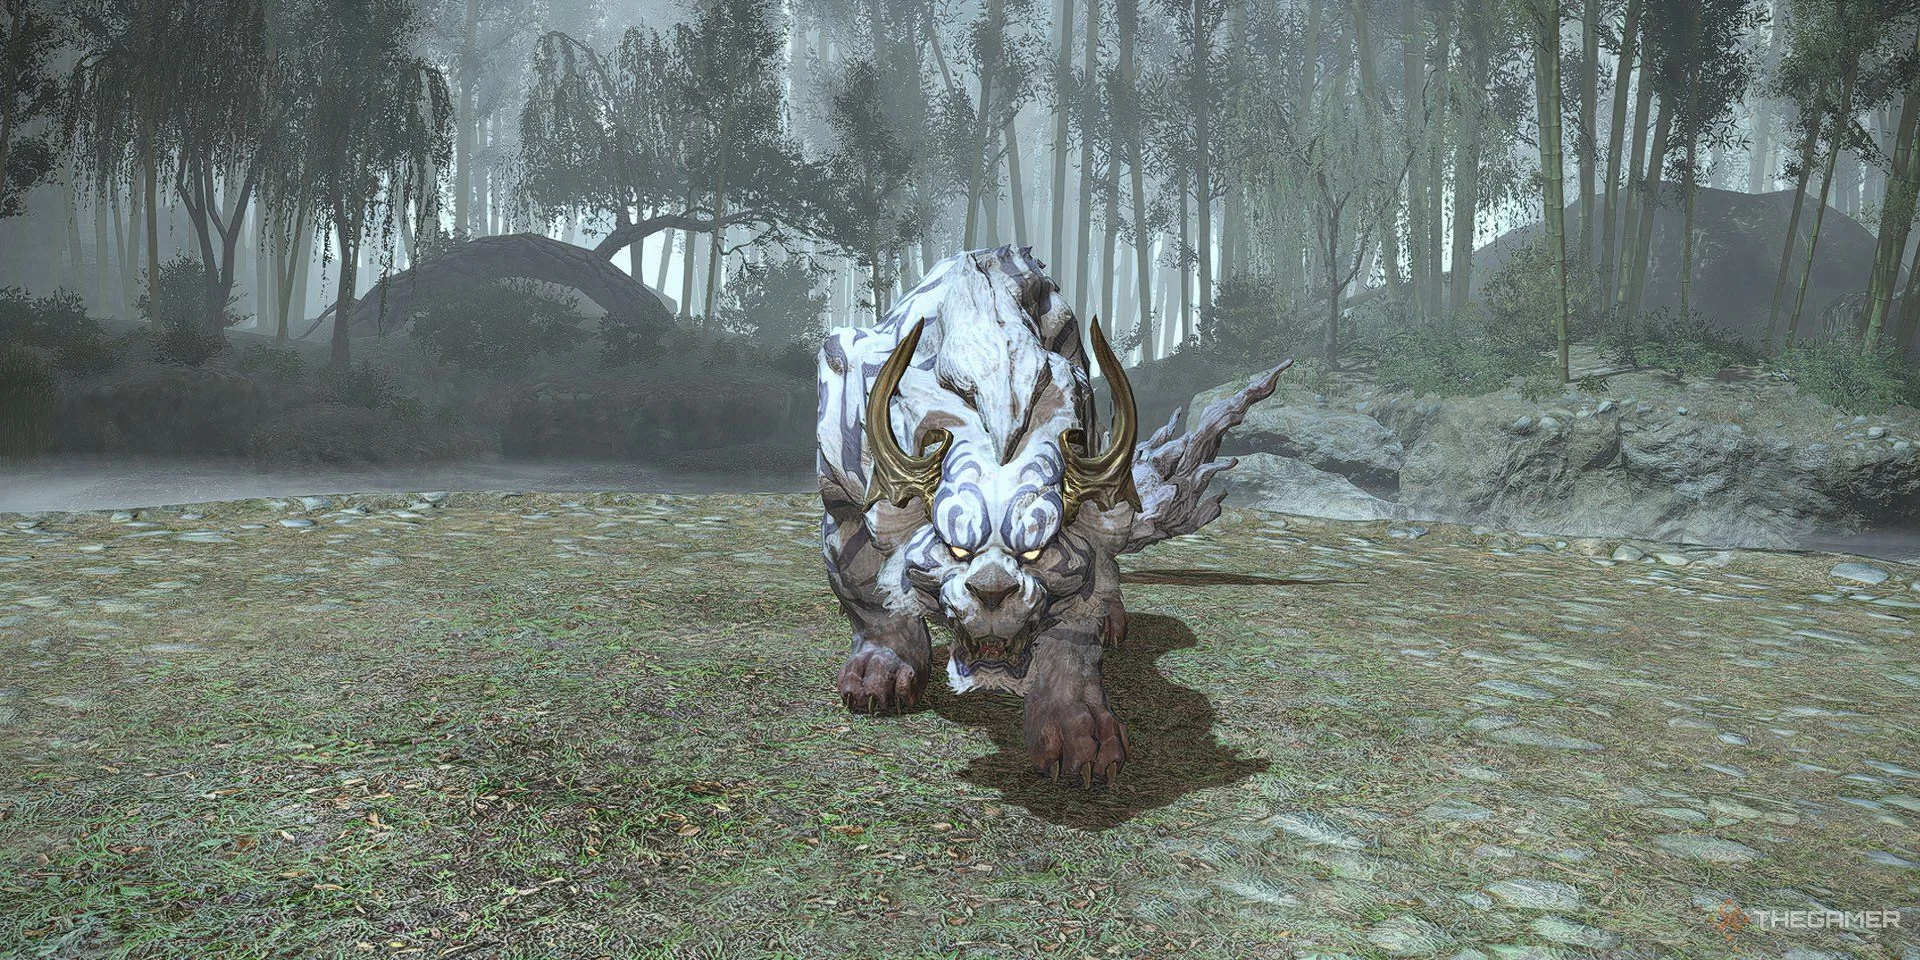
In the 4.2 update of Final Fantasy 14, the Jade Stoa (Extreme) was introduced, presenting a more challenging version of the battle between the Warrior of Light and Byakko. One of the Four Lords you meet during various side quests in Stormblood, this encounter is designed for players seeking a tougher test of their skills.
Byakko, driven by undying primal fury, faces off against the player in a desperate bid to quell his emotions before they fully consume him. In this elevated confrontation, Byakko showcases some new skills that can catch players off guard—stay alert to avoid being swept away by the storm.
How to Access the Jade Stoa (Extreme)
To unlock the Extreme version of this trial, visit the Wandering Minstrel in Kugane (X:11.6, Y:12.6). First, players need to complete the story version of the trial, which can be accessed through the An Auspicious Encounter quest located in The Ruby Sea (X:5.7, Y:15.7), where you will meet Soroban.
This trial is aimed at Level 70 characters and requires a minimum item level of 340. Players also have the option to enter with the Unrestricted Party option in the Duty Finder, which allows higher-level players to participate without syncing down.
If you’re looking to access the Unreal version of this trial, you must unlock it through the Fantastic Mr. Faux quest in Idyllshire (X:7.0, Y:5.9), available after completing the Shadowbringers main story quest. The Unreal fight is similar, but it scales to the current level cap.
Guide to the Jade Stoa (Extreme)
While this encounter is easier than other Trials from the Stormblood era, it can still pose challenges if players are not cautious. Once inside, organize your team into Light Parties (two groups of four players) and position three markers in a triangle formation at different corners of the battlefield to avoid overlap.
Taking unavoidable damage results in a Vulnerability Up debuff that lasts for two minutes, increasing the damage taken from each hit, so players should remain vigilant.
Byakko has two phases, separated by a special intermission. Below is a breakdown of his attacks during each phase.
First Phase
This phase includes several attacks that you need to be aware of:
-
Storm Pulse: Raidwide AoE damage that hits twice.
ADVERTISEMENT -
Heavenly Strike: Severe single-target damage directed at the tank.
-
State of Shock/Highest Stakes: This attack targets the main player and hurls them toward a stack AoE. Other players need to group up to mitigate damage. Tanks should keep their stances active to absorb the hits.
-
Unrelenting Anguish: Byakko jumps to the center of the arena, unleashing rotating energy orbs. Players must avoid these while marking three others for an attack that will knock them into the air if they are close together.
-
Fire & Lightning: A line AoE attack that targets a corner of the battlefield. Players must avoid the affected area.
-
Summon Hakutei: Byakko summons the tiger Hakutei, requiring the main tank to keep Byakko in place while another tank manages Hakutei, which deals heavy damage.
-
Aramata: Two players are marked to drop puddles, which should be positioned away from each other and from the bosses.
-
Flare: After the puddles are placed, Hakutei will unleash an attack on its main target.
-
Distant Clap: Arena-wide AoE attack that requires players to run to safety.
- Roar of Thunder: A powerful charge from Hakutei that needs to be countered with defensive measures.
If successful against Roar of Thunder, players will experience a brief free fall, transitioning into the next stage of the fight.
Intermission
During this short phase, cooldowns recharge, and players cannot be healed. Be sure to manage your positioning:
-
Orbs: Players need to dodge floating orbs in the air.
-
Byakko – Circle: An arena-wide AoE; move close to Byakko to avoid damage.
- Hakutei – Line: Similar to the previous Fire & Lightning attack, dodge accordingly.
After about a minute and a half, players return to the ground to prepare for the final showdown.
Final Phase
In this phase, Byakko employs familiar moves, although at a quicker pace or with additional complications. Pay attention to the following:
-
Heavenly Strike: Like before but requires extra attention due to increased intensity.
-
Hundredfold Havoc: A new continuous AoE attack that covers the field with arrow patterns, necessitating quick movement.
-
State of Shock/Highest Stakes: Reiterates the need for positioning while also introducing new complexities.
-
Sweep the Leg: An arena-wide hit that requires immediate repositioning.
-
Unrelenting Anguish: This round involves different player roles to place puddles, emphasizing awareness and timing.
-
Fire & Lightning: This attack now alternates twice and requires immediate dodging.
- Summon Hakutei, Distant Clap/Fire & Lightning, and Roar of Thunder: These moves from earlier phases return, challenging players’ memory and coordination, especially as the clock ticks toward a hard enrage that culminates in a Storm Pulse.
Rewards from the Jade Stoa (Extreme)
Upon defeating Byakko, players receive a Byakko Totem that can be traded with Eschina in Rhalgr’s Reach (X:13.8, Y:11.8) for multiple rewards, including a Byakko Weapon Coffer. Here’s what can be earned:
- Byakko Weapon Coffer: Always drops.
- Random Byakko Weapon: Always drops.
- Byakko’s Mane: Not guaranteed.
- Auspicious Kamuy Fife: Not guaranteed.
- Faded Copy of the Jade Stoa: Not guaranteed.
The coffer contains a weapon suited to the job currently in use, while Byakko’s Mane is used for crafting Byakko-themed items.
Note: If encountering the Unreal variant of this fight, the available rewards will differ significantly from those listed above.