Select Language:
The Abyssal Forest is a rather straightforward stage in Doom: The Dark Ages, but it has its unique features. About two-thirds of the way through, you’ll stumble into a large arena that sets the stage for an epic battle. Once you defeat all the demons, you’ll notice that most of the level’s secrets are hidden right in this area.
We’ll outline where to find these secrets and guide you through solving the puzzles. With our help, you won’t have to wander around a fiery room searching for a way to activate a large cage. We’ve done the hard work for you!
|
Secrets |
9 ADVERTISEMENT |
|---|---|
|
Gold |
183 |
|
Rubies |
2 |
|
Demonic Essence – Armor |
1 ADVERTISEMENT |
|
Codex |
1 |
|
Toy |
1 |
The Life Sigil Above the Yellow Key
Follow the main path and take the first right when it appears. Continue up the trail, jump across the gap, take out a Shield Soldier, and watch out for a few Stone Imps. You’ll find the first Life Sigil at the end of this route.
Getting the Yellow Key
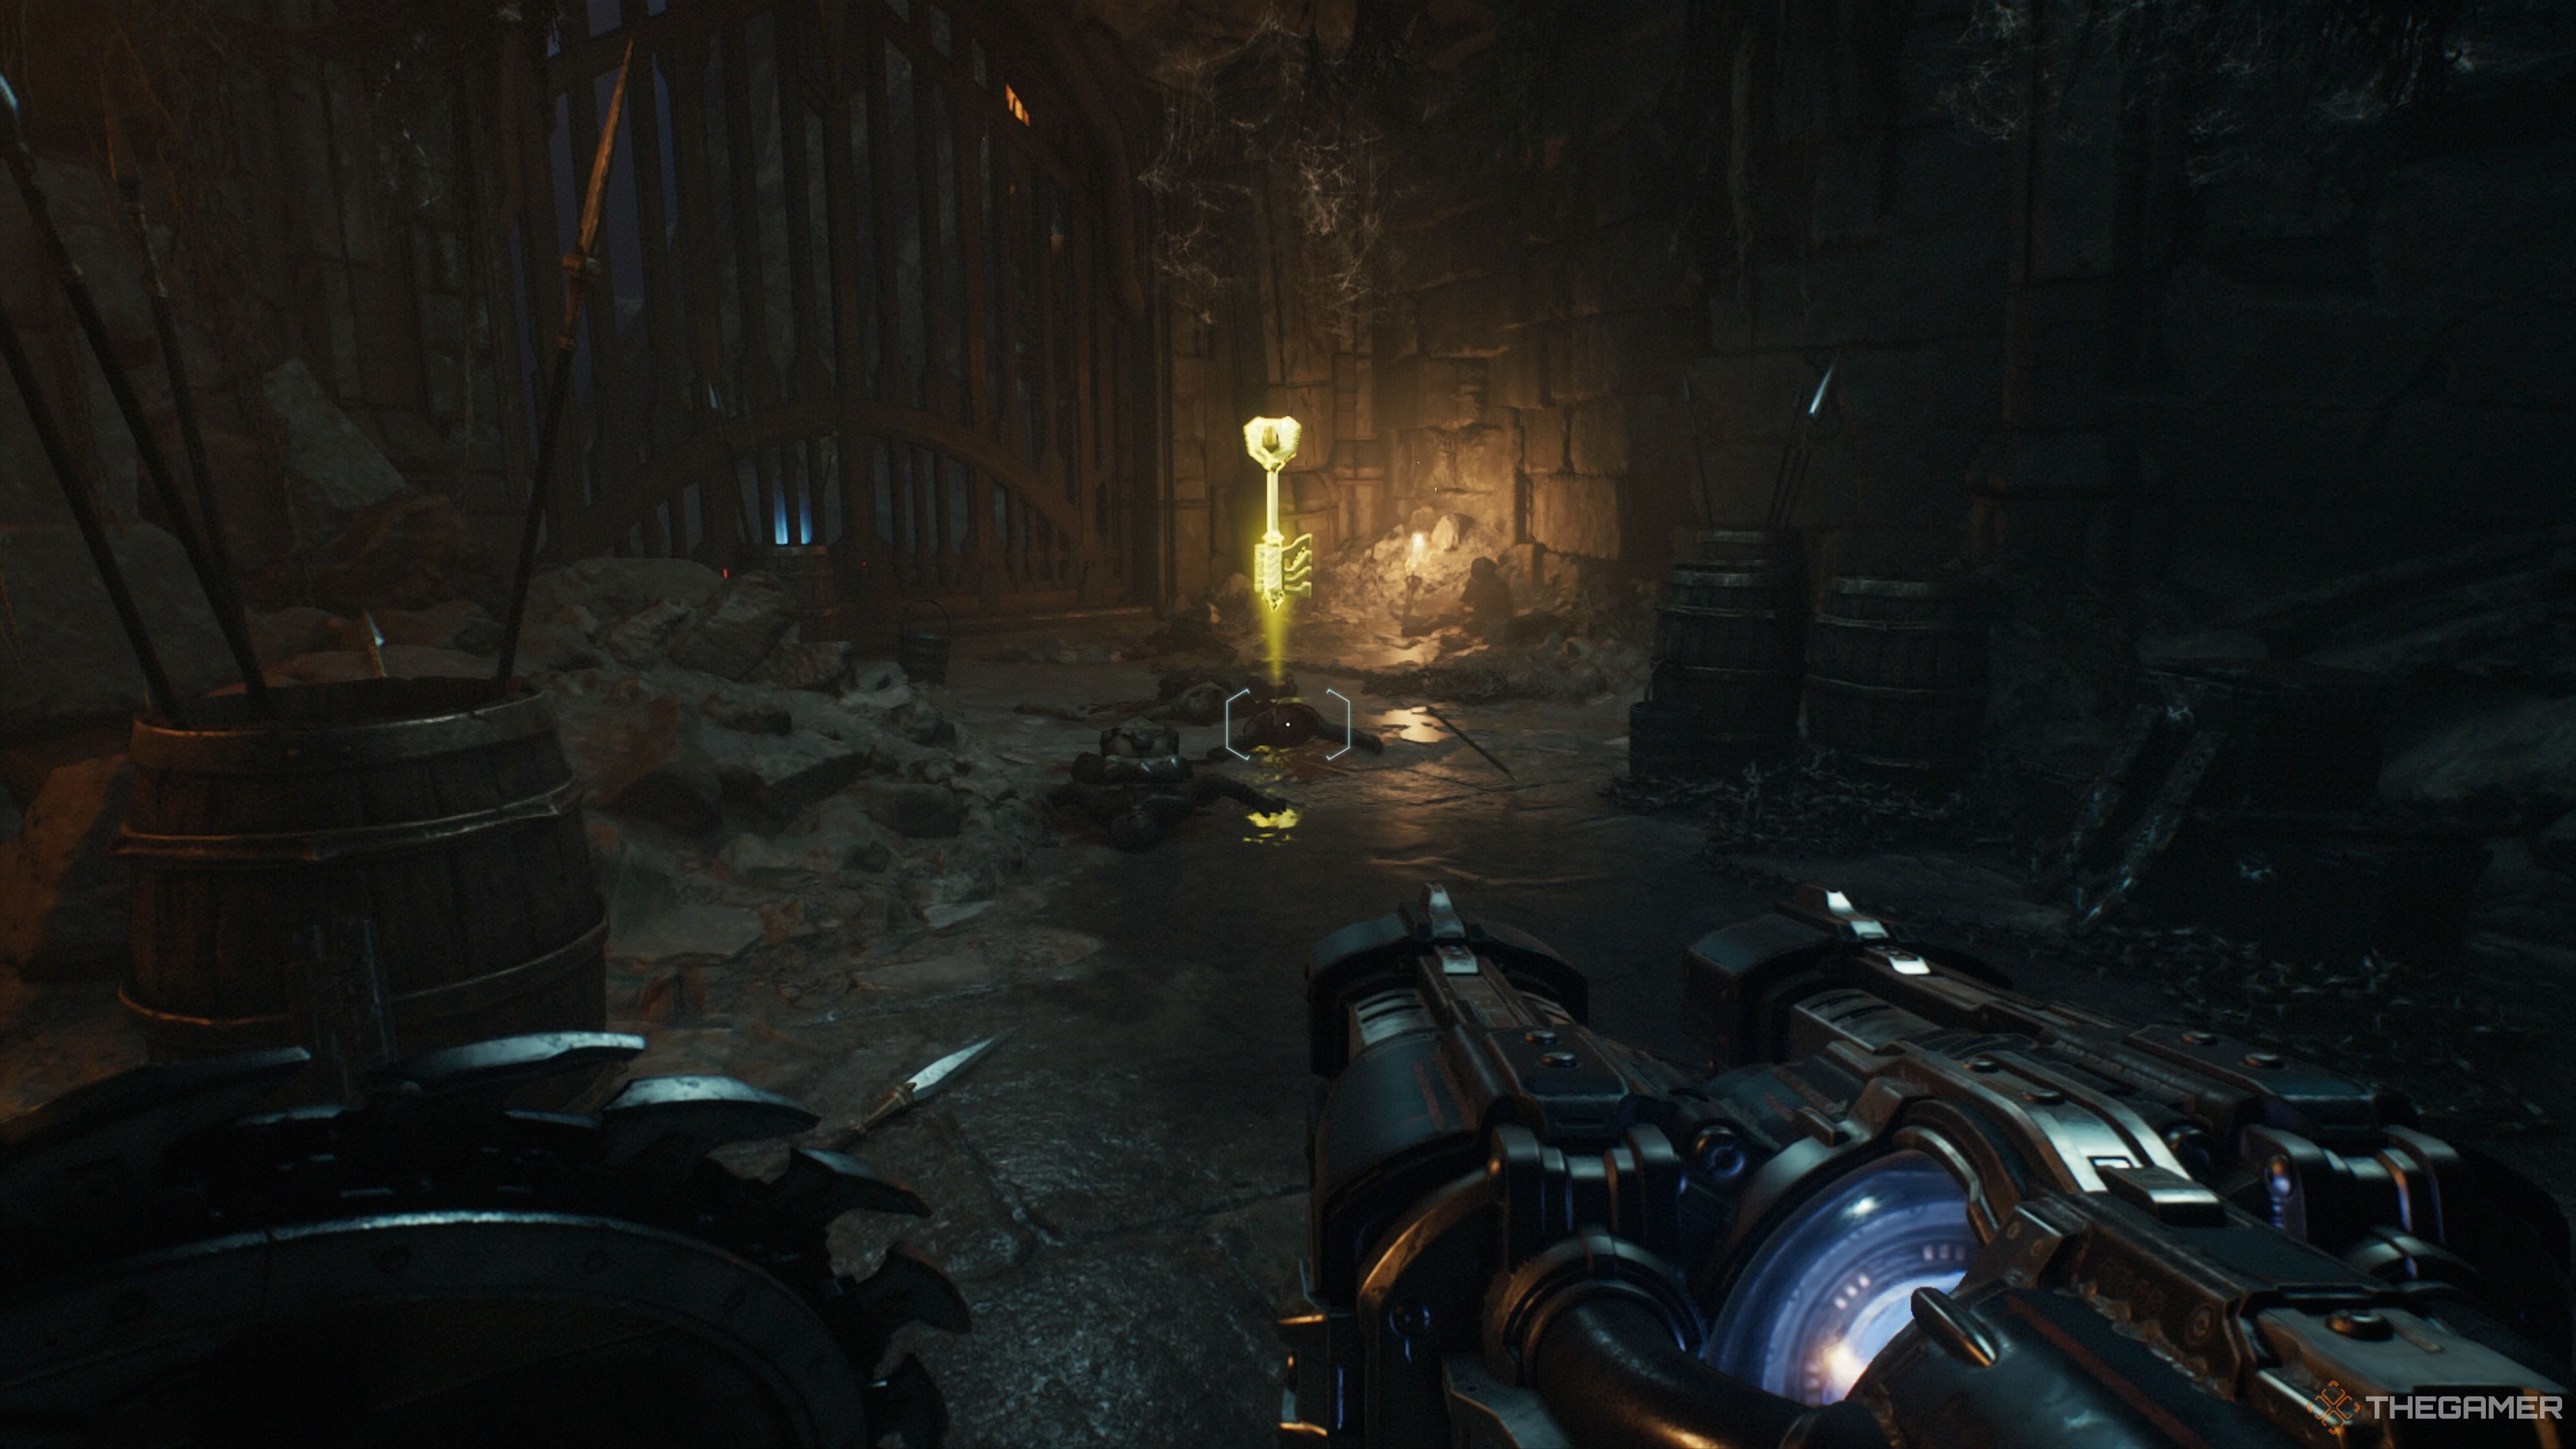
After your first encounter with the Whiplash demon, check the left side of the arena for a spot where you can drop down. Follow the path through a stone corridor where you’ll find two Shield Soldiers and an Arachnotron. Climb up the wall, and you’ll reach the room containing the Yellow Key.
As soon as you grab the Yellow Key, chaos will erupt. You’ll face Whiplash Demons, Nightmare Imp Stalkers, Mancubuses, Shield Soldiers, Arachnotrons, Stone Imps, and Revenants. So make sure you’re well prepared before picking it up!
The First Ruby

Open the yellow gate, clear out the Cyberdemon and Imps, then, while facing the entrance of this area, look to your right for a path that runs beneath this space. Follow it forward until you find some water.
Jump up to a platform with a launch pad, but before using it, leap across the water to the climbable wall, where you can collect a stash of gold. After taking the launch pad up, defeat a Hell Knight, and grab the Ruby. Break through the gate and you’ll find yourself back in the area where you fought the Cyberdemon.
The First Codex

Proceed down the path until you encounter a group of Shield Soldiers. Take them out, then look to your right for a root-covered wall that you can break through. You’ll find yourself in a room containing the Codex.
Treasure Chest

After executing a shield jump over a large gap, look to your right. There’s another breakable wall that leads to a treasure chest. Use your Shield Charge to break through.
Demonic Essence Health Increase
After passing the Sentinel Shrine, you’ll find yourself in a large arena where another swarm of demons awaits. This battle includes nearly every demon you’ve encountered so far, culminating in a fight with a Pinky Rider Champion. Defeating them grants you a permanent health boost.
Second Treasure Chest

After defeating the arena enemies, return to the entrance, take a right up the slope, and break the chain holding the large bell. This will cause a hole to form. Jump down into the hole and deal with the Imp Stalkers. Climb the wall to access the Treasure Chest.
From the treasure room, turn right and circle around the corner. You’ll notice a heated chain with a barrier rotating in front of it. Wait for the gap, then strike the chain with your shield throw. After breaking it, head back to the cliffside. Jump down, and you’ll face a massive gate. Look up and left to find another chain to break, which will raise the gate. Collect the gold inside, but be ready for a fight with a Whiplash demon.
Continue straight and climb two walls. At the top, search for gold piles on the scaffolding. Head to the tower’s corner, where you’ll spot a trail of gold. Jump from platform to platform to collect the gold. Once you turn the corner, you’ll spot the second Ruby.
Witch Toy
Move to the corner of the arena, where you’ll find a path that loops around. Follow it, collecting gold along the way. Prepare to battle a Hell Demon and two Imp Stalkers. Be cautious of fire jets as well. In the central room, you’ll find the toy in a cage.
Position yourself between the two fire jets aimed at the center, look up through the window, and you’ll see a chain you can cut. After severing it, throw your shield into the glowing gears in the adjacent window. This will lift the cage, allowing you to claim your toy.
The Second Life Sigil

Near the spot where you obtained the Witch Toy, look for a block and a climbable wall. Once you’ve located them, platform your way up to reach the Life Sigil above.
The Gold Under The Cliff
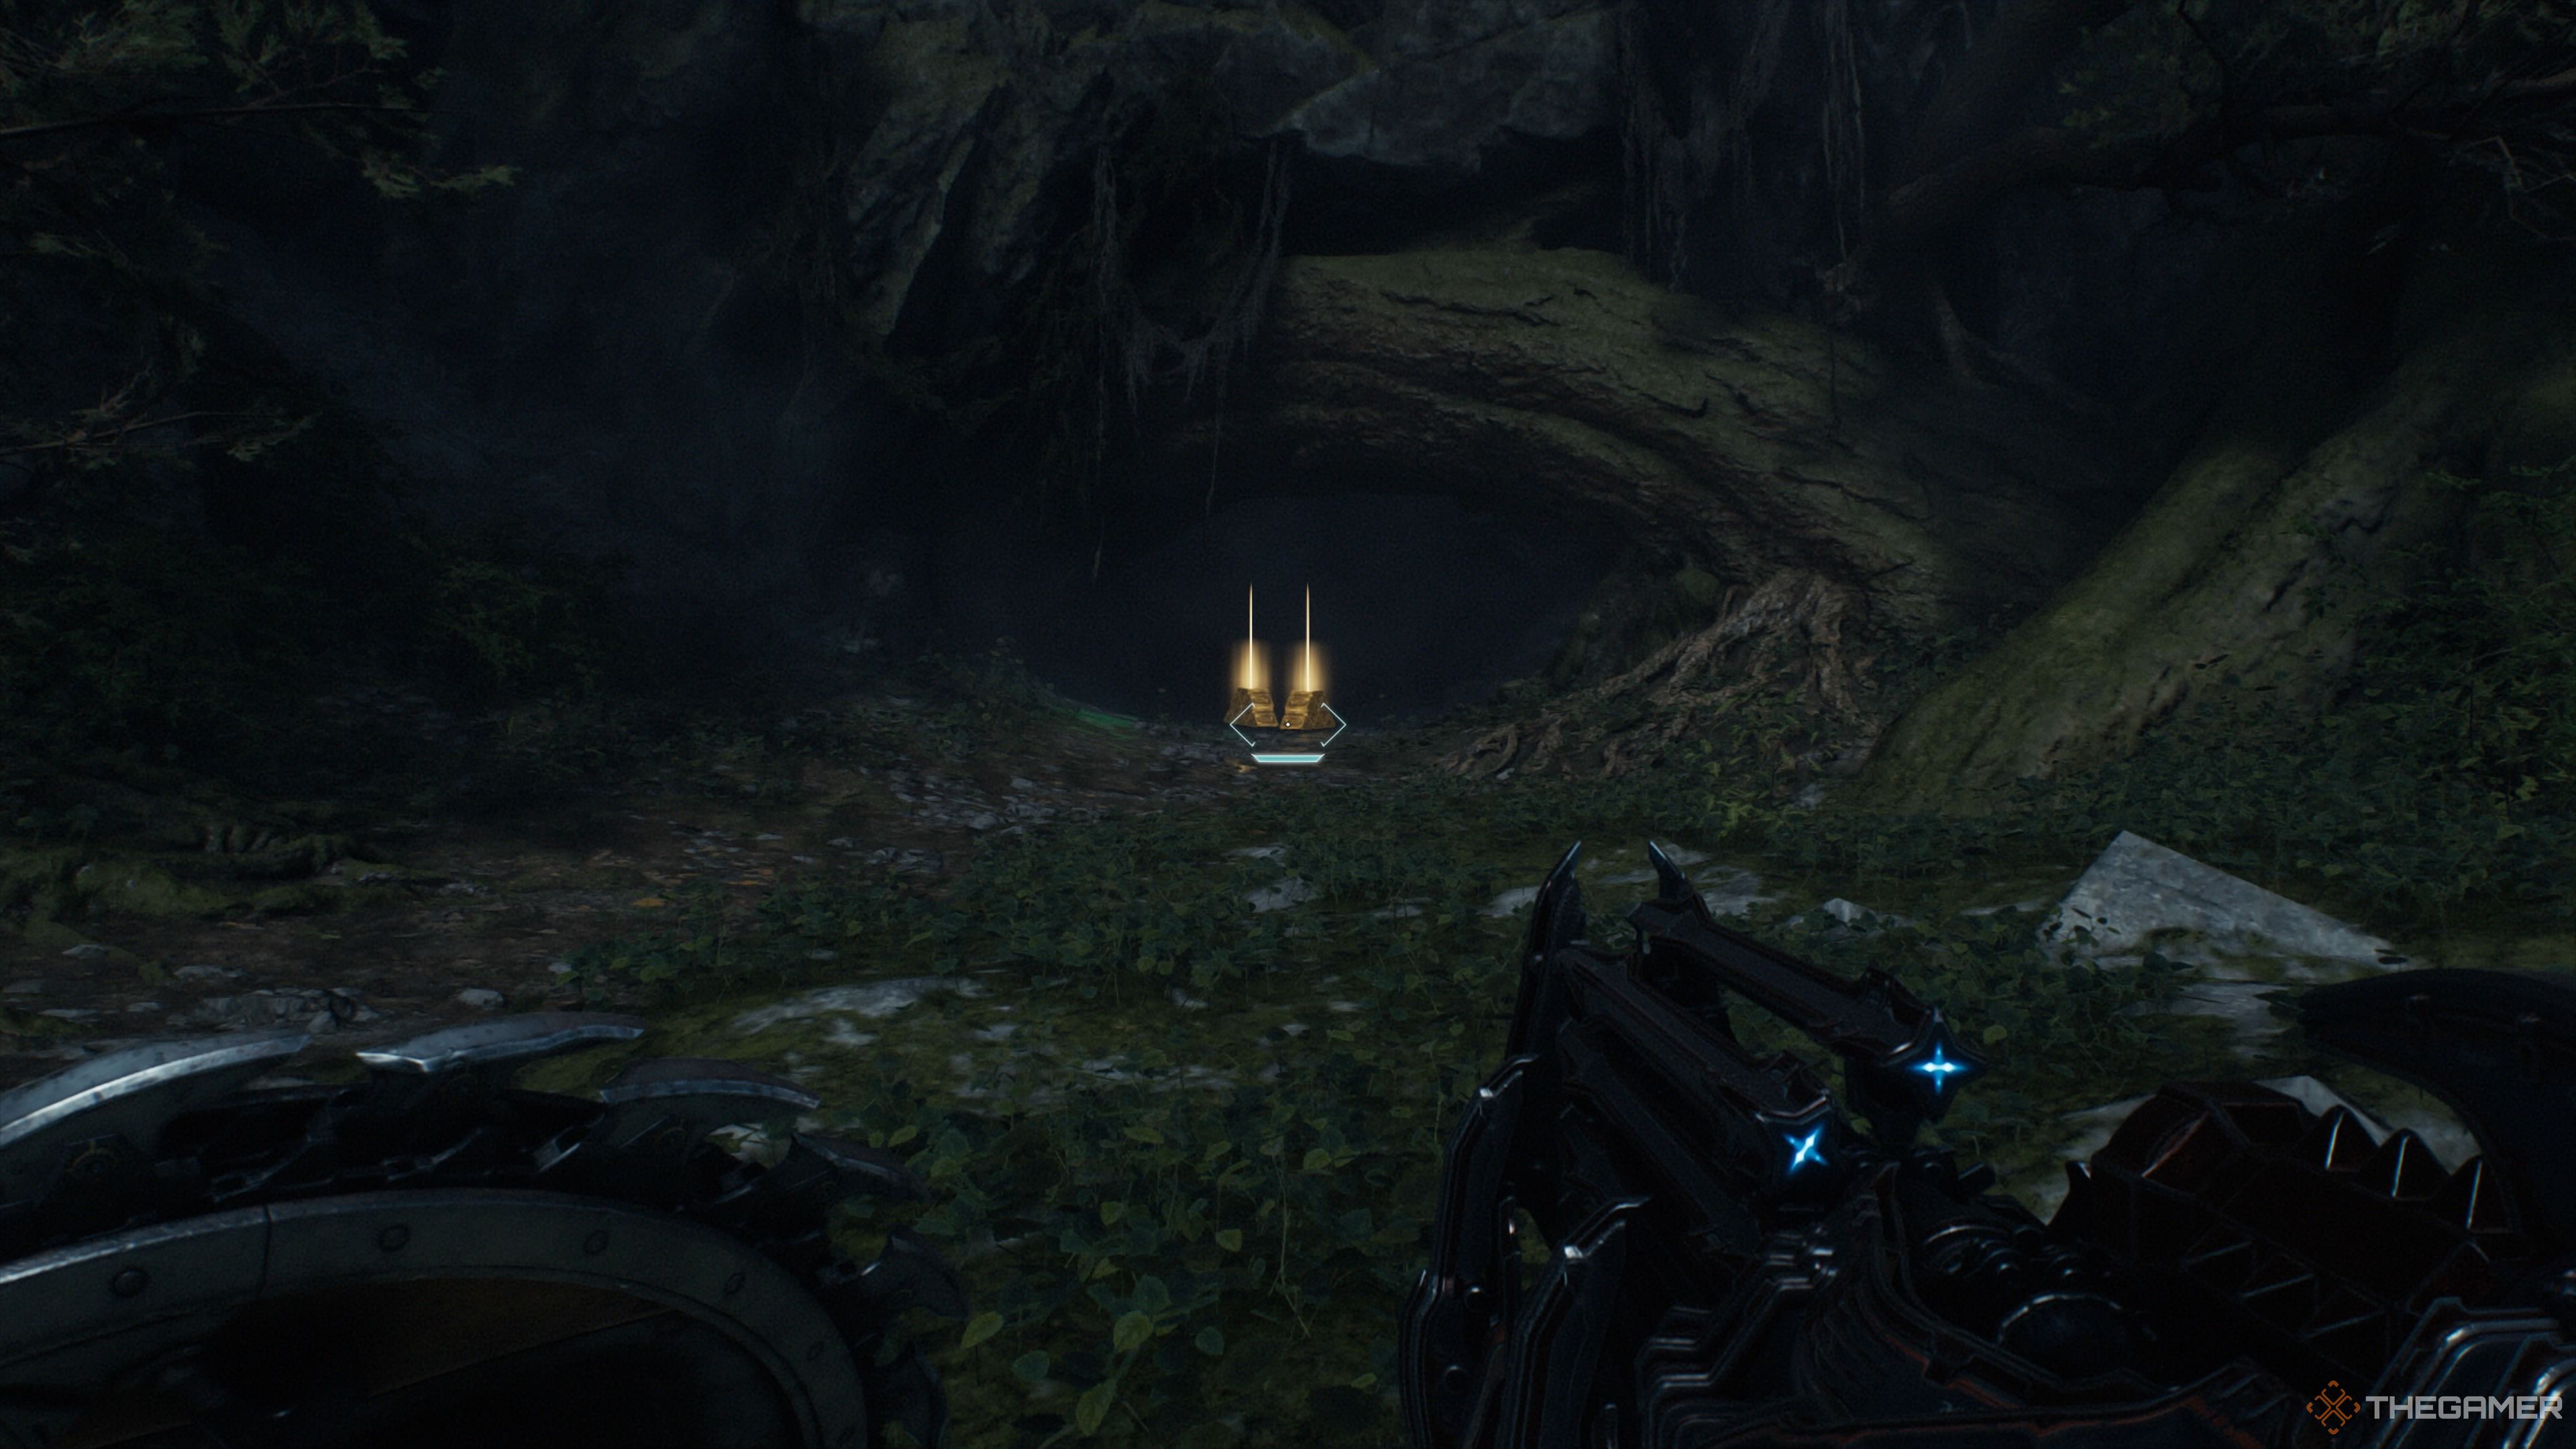
When you’re ready, head through the gate you blew open with the turret and jump off the cliff. After dealing with any demons nearby, turn around to discover two piles of gold beneath the platform you just jumped from. Follow the path to the end, defeat the Arachnonoid there, and take the elevator down.
Treasure Chest

In the area where you obtain the Grenade Launcher, you’ll notice a treasure chest behind a gate. For now, continue forward. A bit down this tunnel, you’ll find a corpse that allows you to perform a shield jump. Use this to leap upward and follow the tunnel. Jump over the first gap and down the second to reach the cell with the Treasure Chest.
The Final Life Sigil

When you reach the section where you drop down onto an old rail line, turn around to find a Life Sigil in a shaft. Your only task left is to move forward and face the large melee that wraps up the Abyssal Forest chapter.