Select Language:
In the Zelator Underground Facility, the game Lies Of P: Overture dives deeper into a more disturbing underworld, leaving behind the eerie carnival. Here, you can begin uncovering the grim experiments that contributed to the downfall of the Krat Zoo.
Your journey in the Underground Facility will not only focus on unraveling these mysteries; you’ll also gather valuable items along the way. This guide will provide insights into the various treasures scattered throughout the facility, including alerts about traps and tips on where to find hidden secrets.
Discoverable Documents, Items, and Equipment in the Zelator Underground Facility
This section lists every discoverable item within the Zelator Underground Facility. With a vast array of collectibles, everything is organized based on the order you are likely to come across them, making it an excellent reference or checklist.
|
Discoverable Items ADVERTISEMENT |
|
|---|---|
|
Documents |
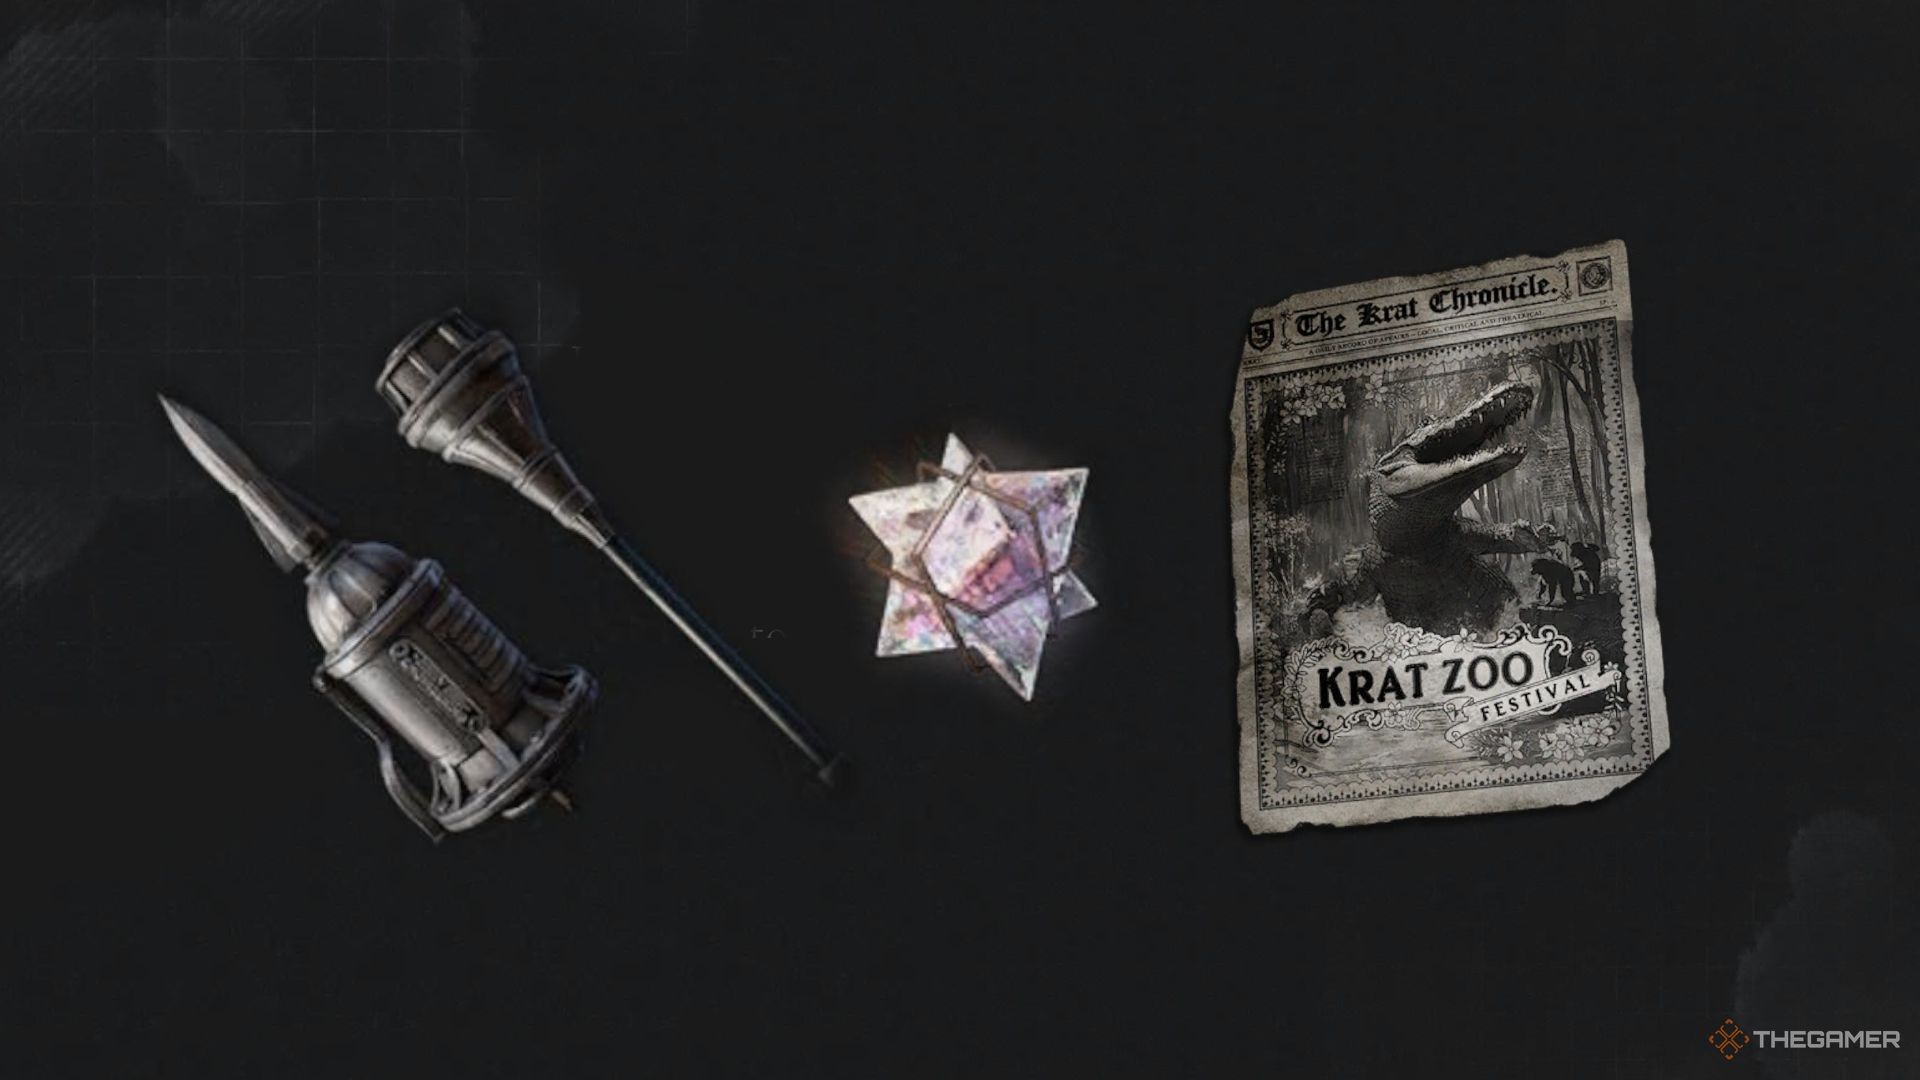
Crumpled Interrogation Log, Frost-Covered Instructions, News Clipping |
|
Items |
Attribute Resistance Ampoule, Monad Family’s Master Key, Star Fragment, Shot Put, Fire Abrasive, Legion Magazine, Half Moonstone, Anti-Freeze Ampoule, Fable Catalyst, Vivid Ergo Chunk, Technique Crank, Hidden Moonstone, Thermite Anti-Freeze Ampoule, Attribute Purification Ampoule, Star Fragment, Dark Moon Moonstone of the Covenant, Acid Canister, Resplendent Ergo Fragment, Radiant Ergo Chunk, Sawtoothed Wheel, Full Moonstone of the Covenant, Advance Crank Throwing Cell, Fire Canister, Gemini’s Enhanced Detection, Half Moonstone, Ancient Disk, Cat Dust, Dark Moon Moonstone of the Covenant, Black Rabbit Hole Key, Anti-Freeze Ampoule, Gemini’s Emergency Protection, Legion Caliber ADVERTISEMENT |
|
Equipment |
Tenacious Amulet, Legion Amulet, Puppet of the Future’s Welder Blade, Puppet of the Future’s Welder Handle, Workshop Union Finished Cartridge, Eldest’s Gas Mask, Black Death Protective Apparel, La Vendetta Head, La Vendetta Body |
The Zelator Underground Facility Stargazer
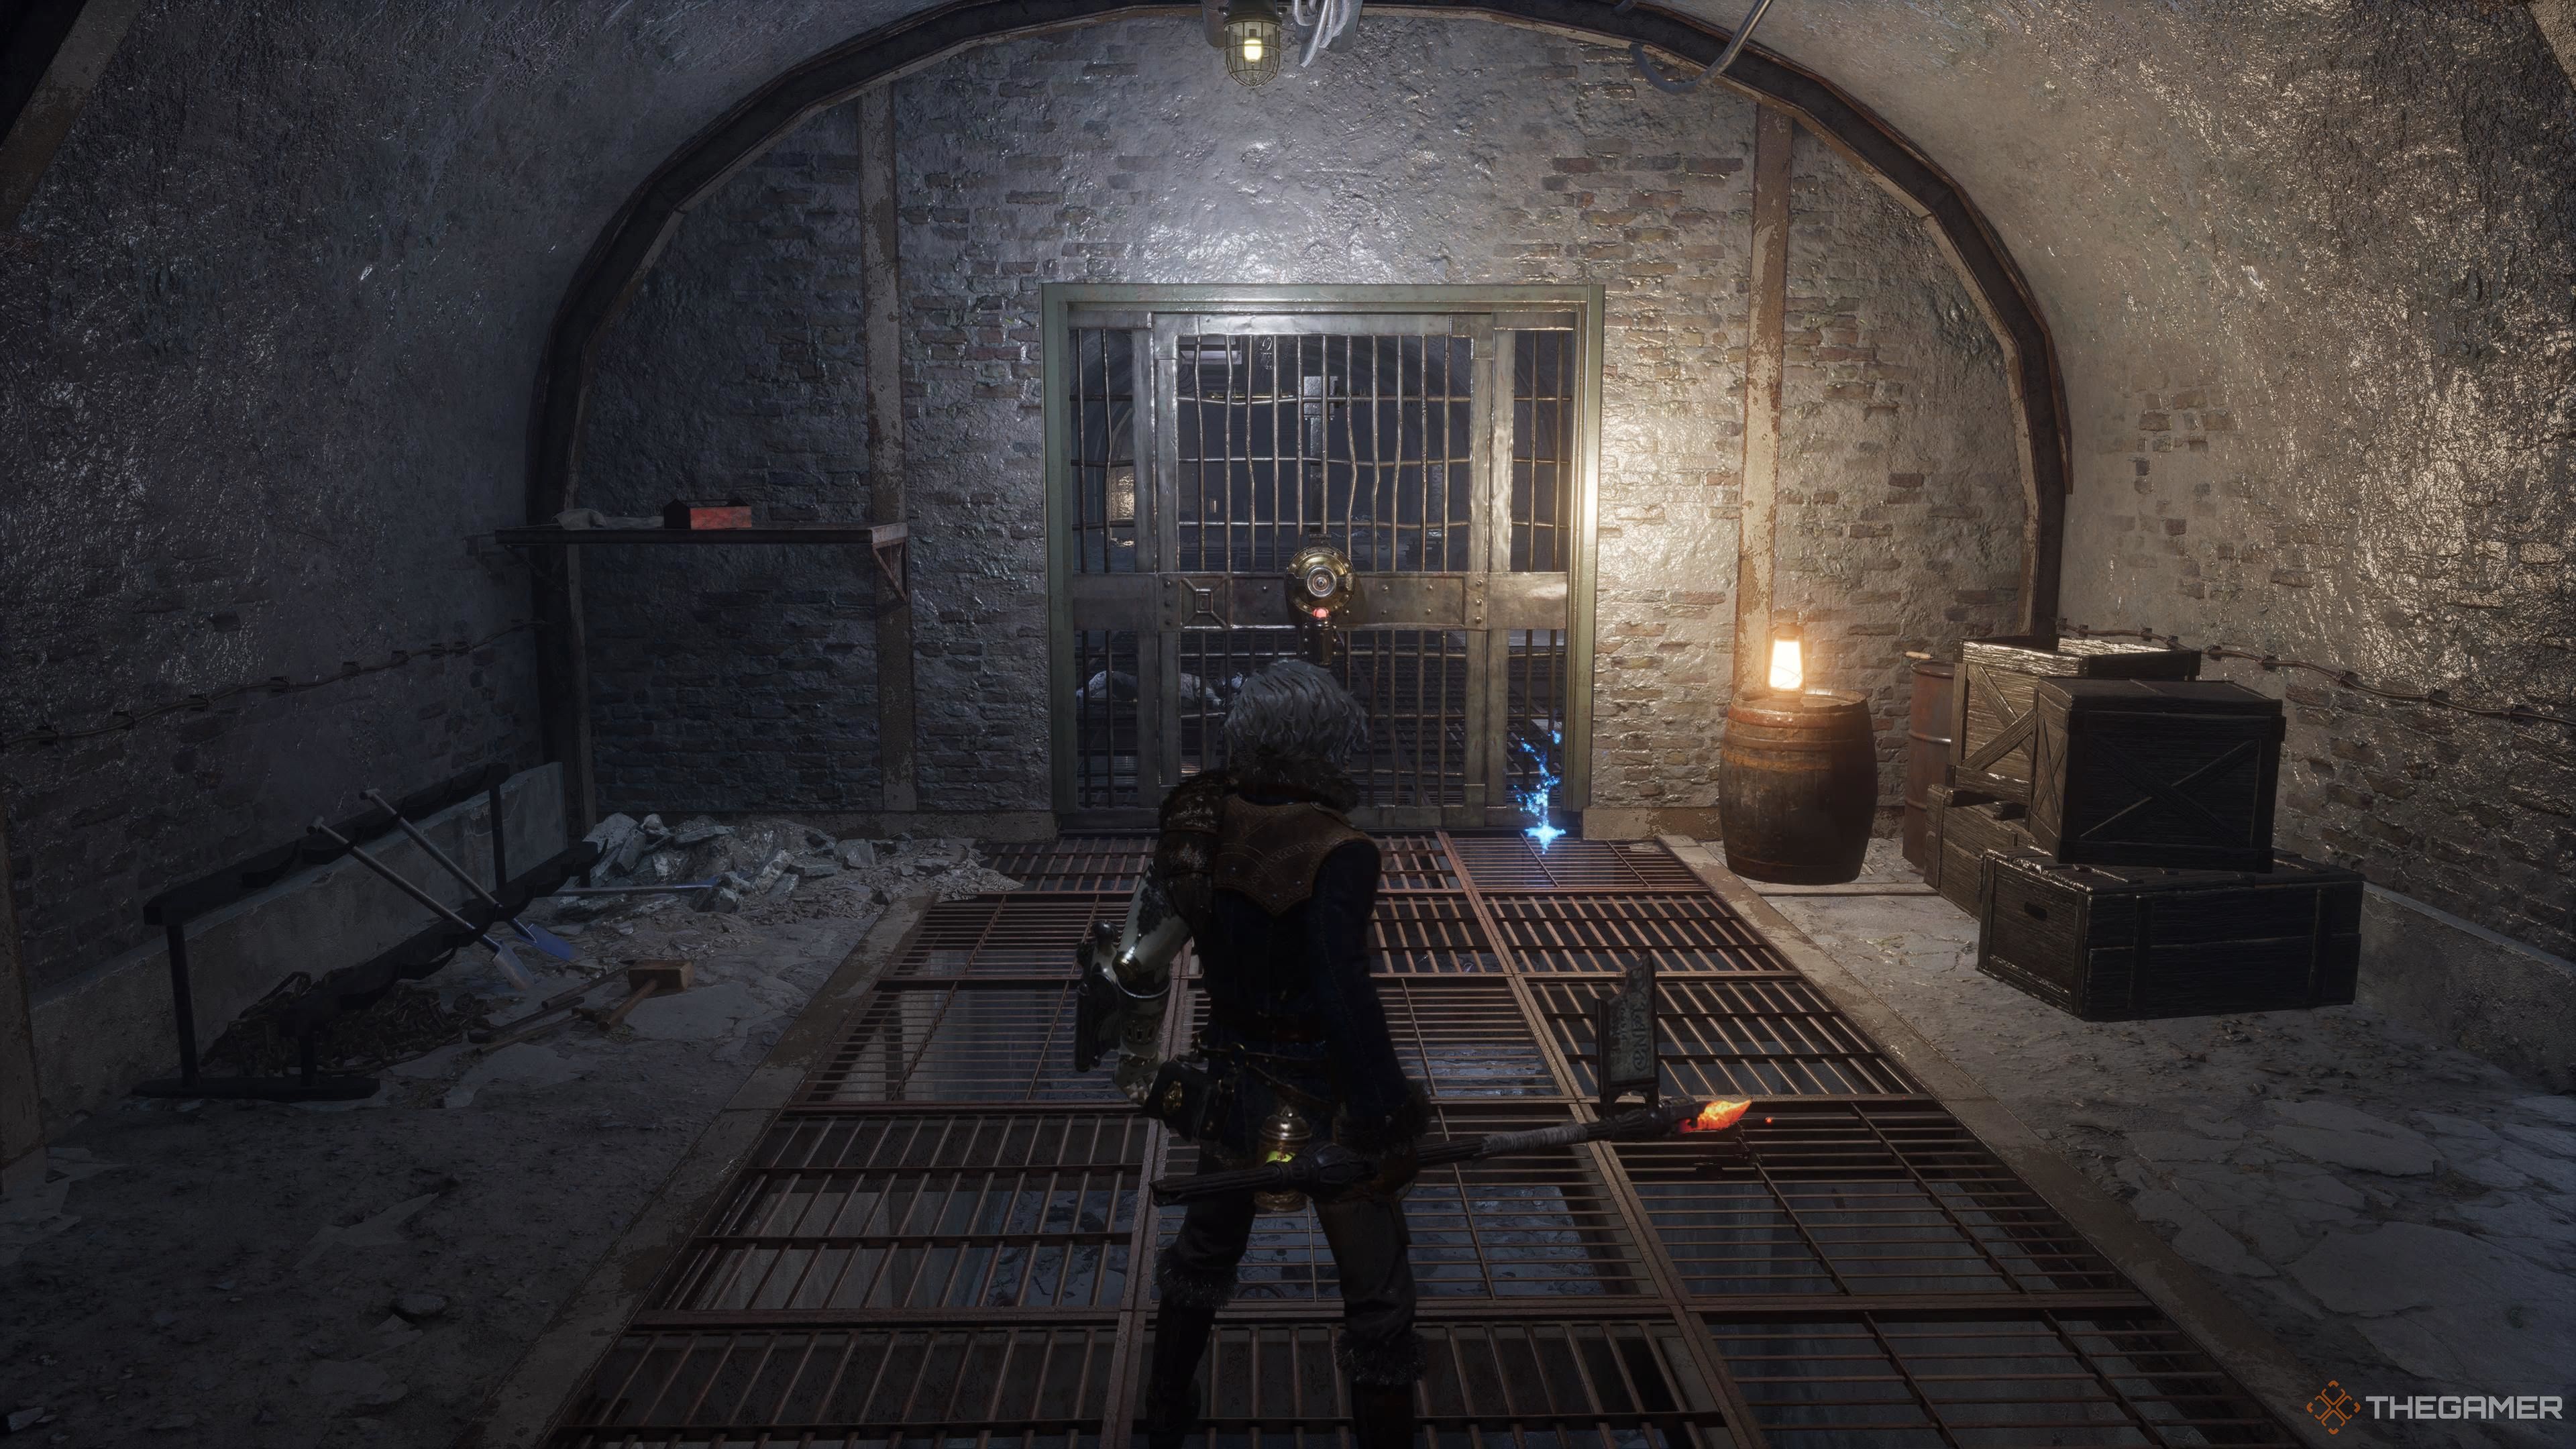
Next to the Alchemist’s corpse, you’ll find an Attribute Resistance Ampoule. Then, grab the Monad Family’s Master Key from the door by the bar. Below in the icy fog, you can find a Star Fragment and a Shot Put. Feel free to jump down for them, but you can collect these later when you return.
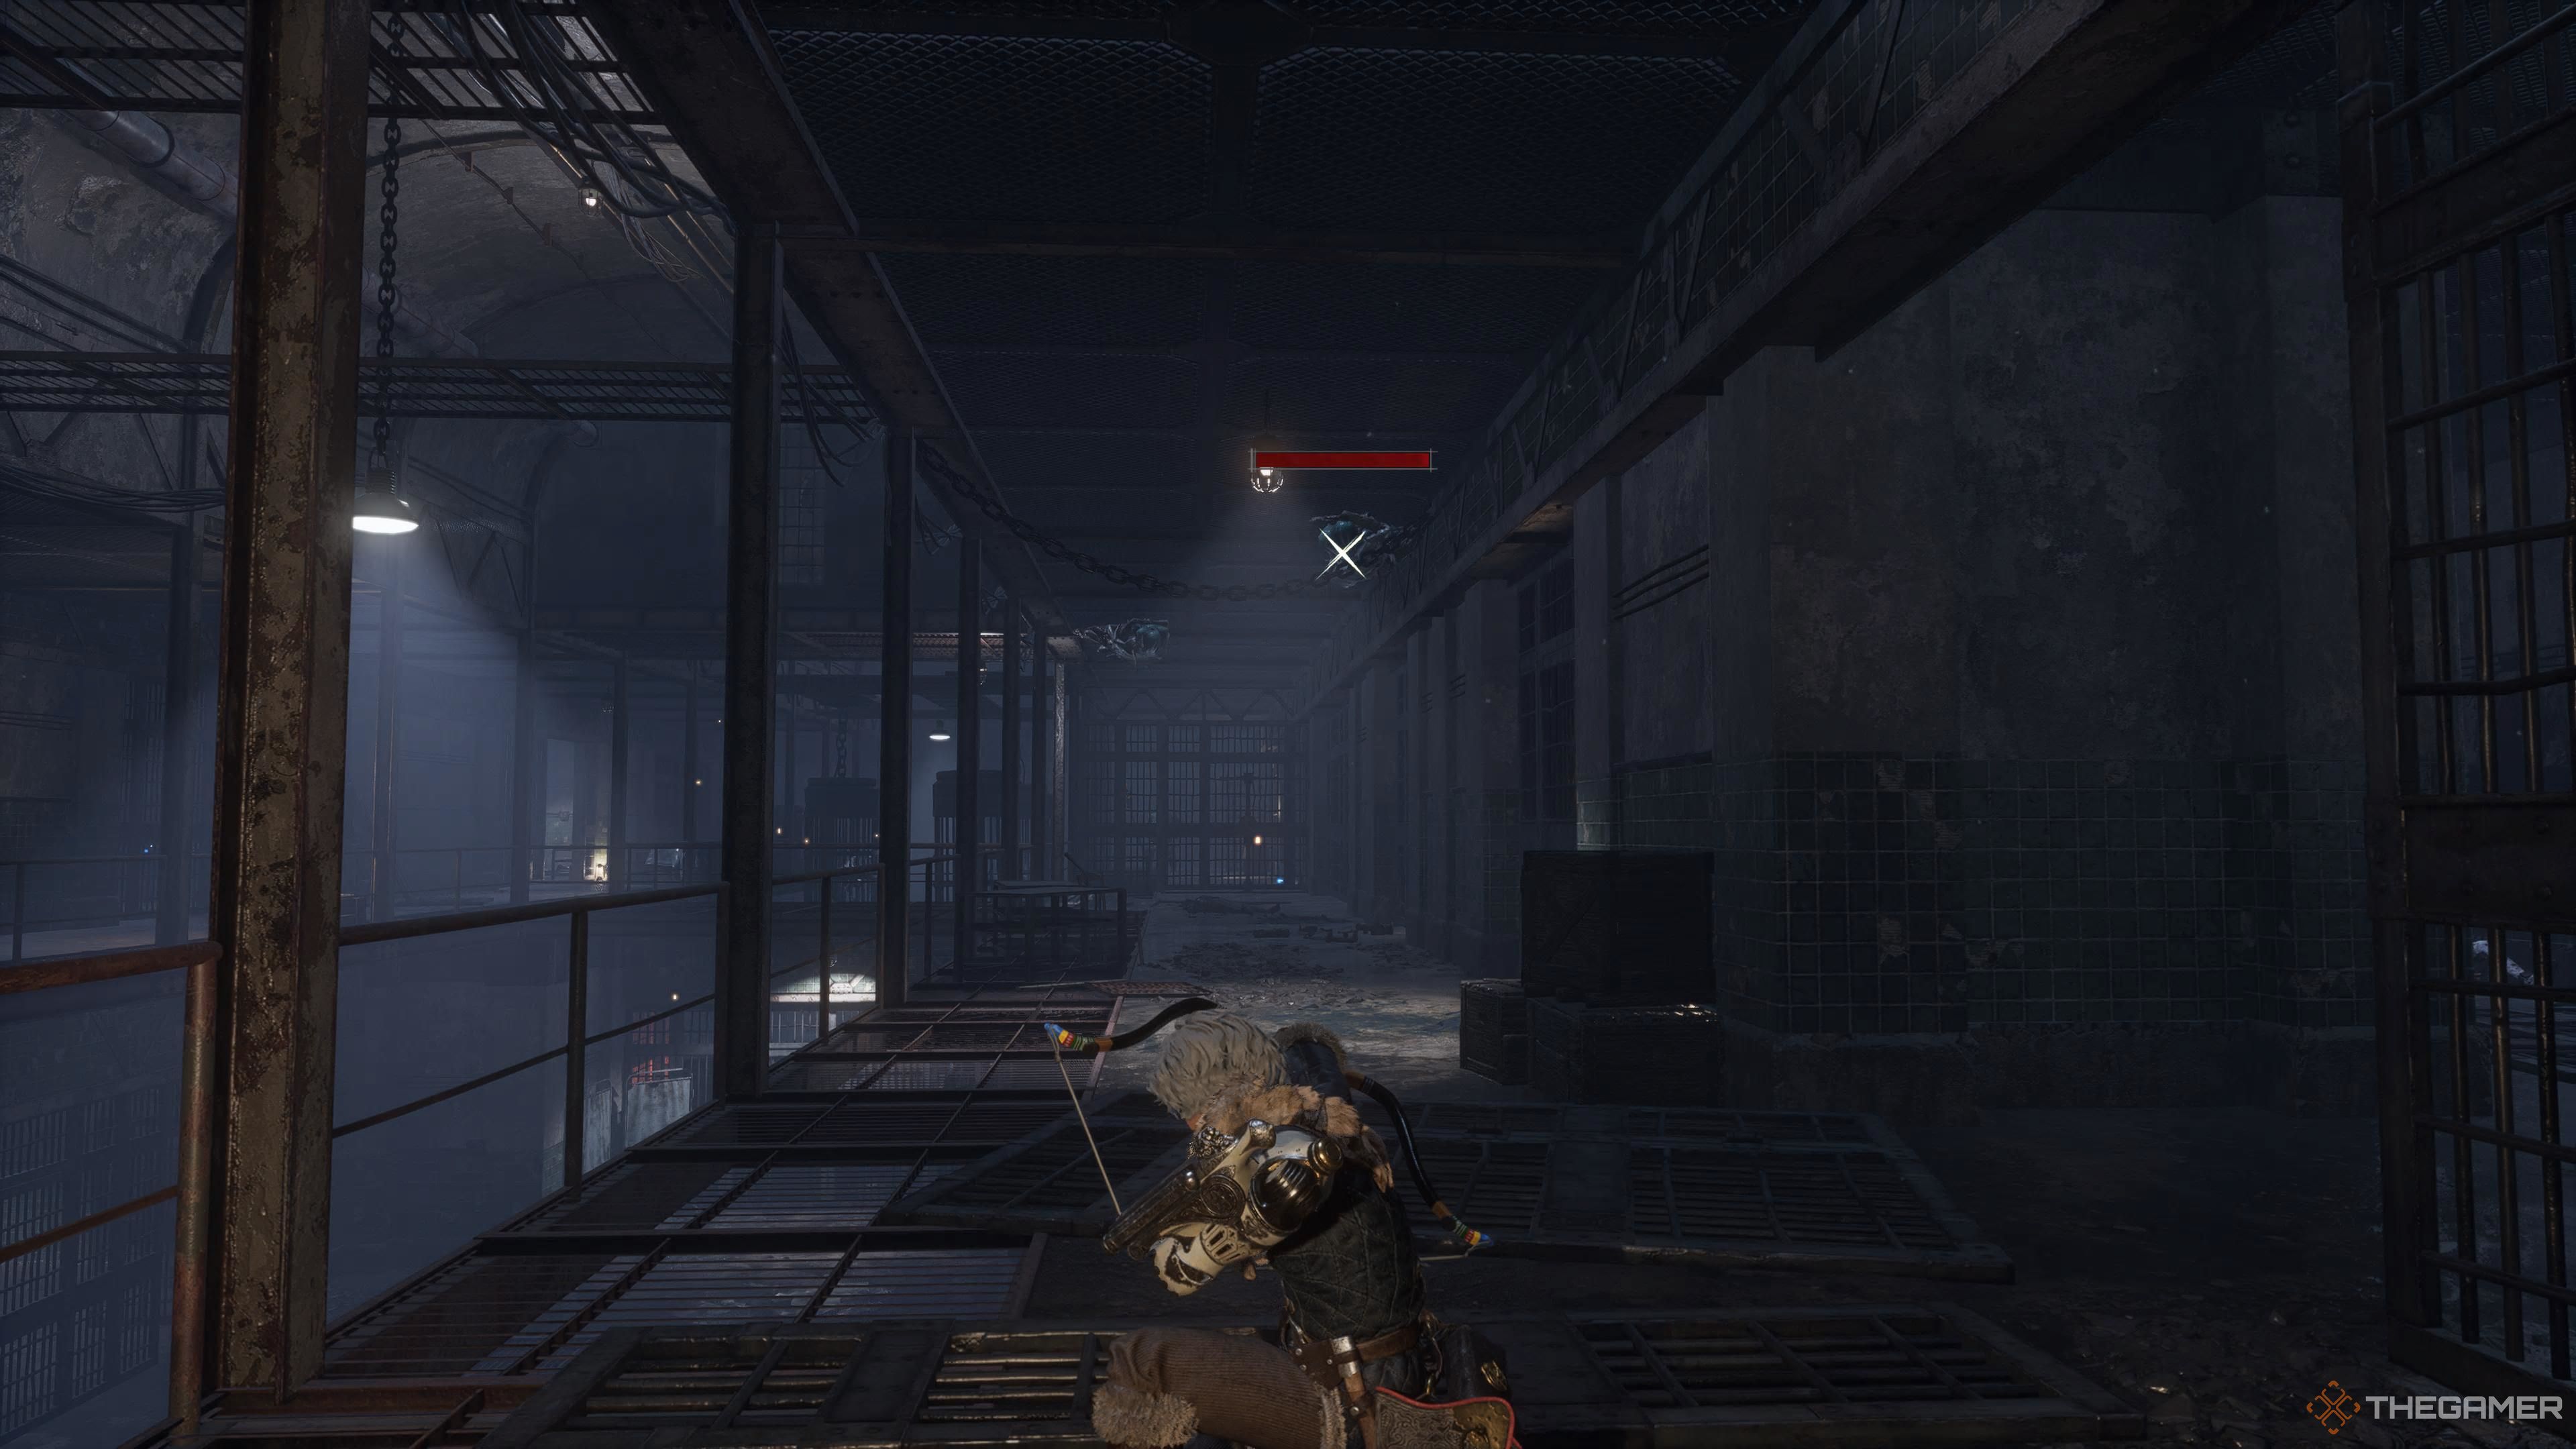
Head up the stairs, pass by the Black Rabbit Key door, and reach the end of the upper level where you’ll find a Special Purification Ampoule. Drop down and take the tunnel next to the Stargazer, where two mutants await—one hiding behind some boxes. After eliminating them, collect the Fire Abrasive located next to the crates. You’ll soon face another spear-wielding opponent, and taking a left will lead you into a hallway with two more mutants and yet another spear-wielder.
These spear enemies use several thrusting moves that can catch you off guard. They can be backstabbed, making their predictable attacks easy to dodge. Circle around them and make use of backstabs.
Unlocking the First Shortcut Back to the Stargazer
Keep pressing ahead into a large pipe, where there’s a Legion Magazine to the left. Continue down this narrow path until you reach an intersection. A mutant will attack you from the left, so be ready to dodge and counter swiftly. There are two more enemies in the vicinity. Climb the ramp to pick up a Half Moonstone, then head back, turn right, and go straight. You will encounter another ramp, make a 180-degree turn to grab the Anti-Freeze Ampoule, and unlock the shortcut back to the Stargazer.
From here, continue down the hallway, and descend a series of ramps. You’ll reach a room where a mutant is facing a wall, but watch out—a second mutant will attempt to ambush you from the left. After dealing with them, collect the Fable Catalyst in the room. Keep going down the hallway, and you’ll face two more enemies—one regular mutant and a new enemy type dressed in a straitjacket.
The straitjacket enemies are relatively easy if you attack them quickly. However, if you give them time to prepare, they will attack with long-reaching tendrils from their head.
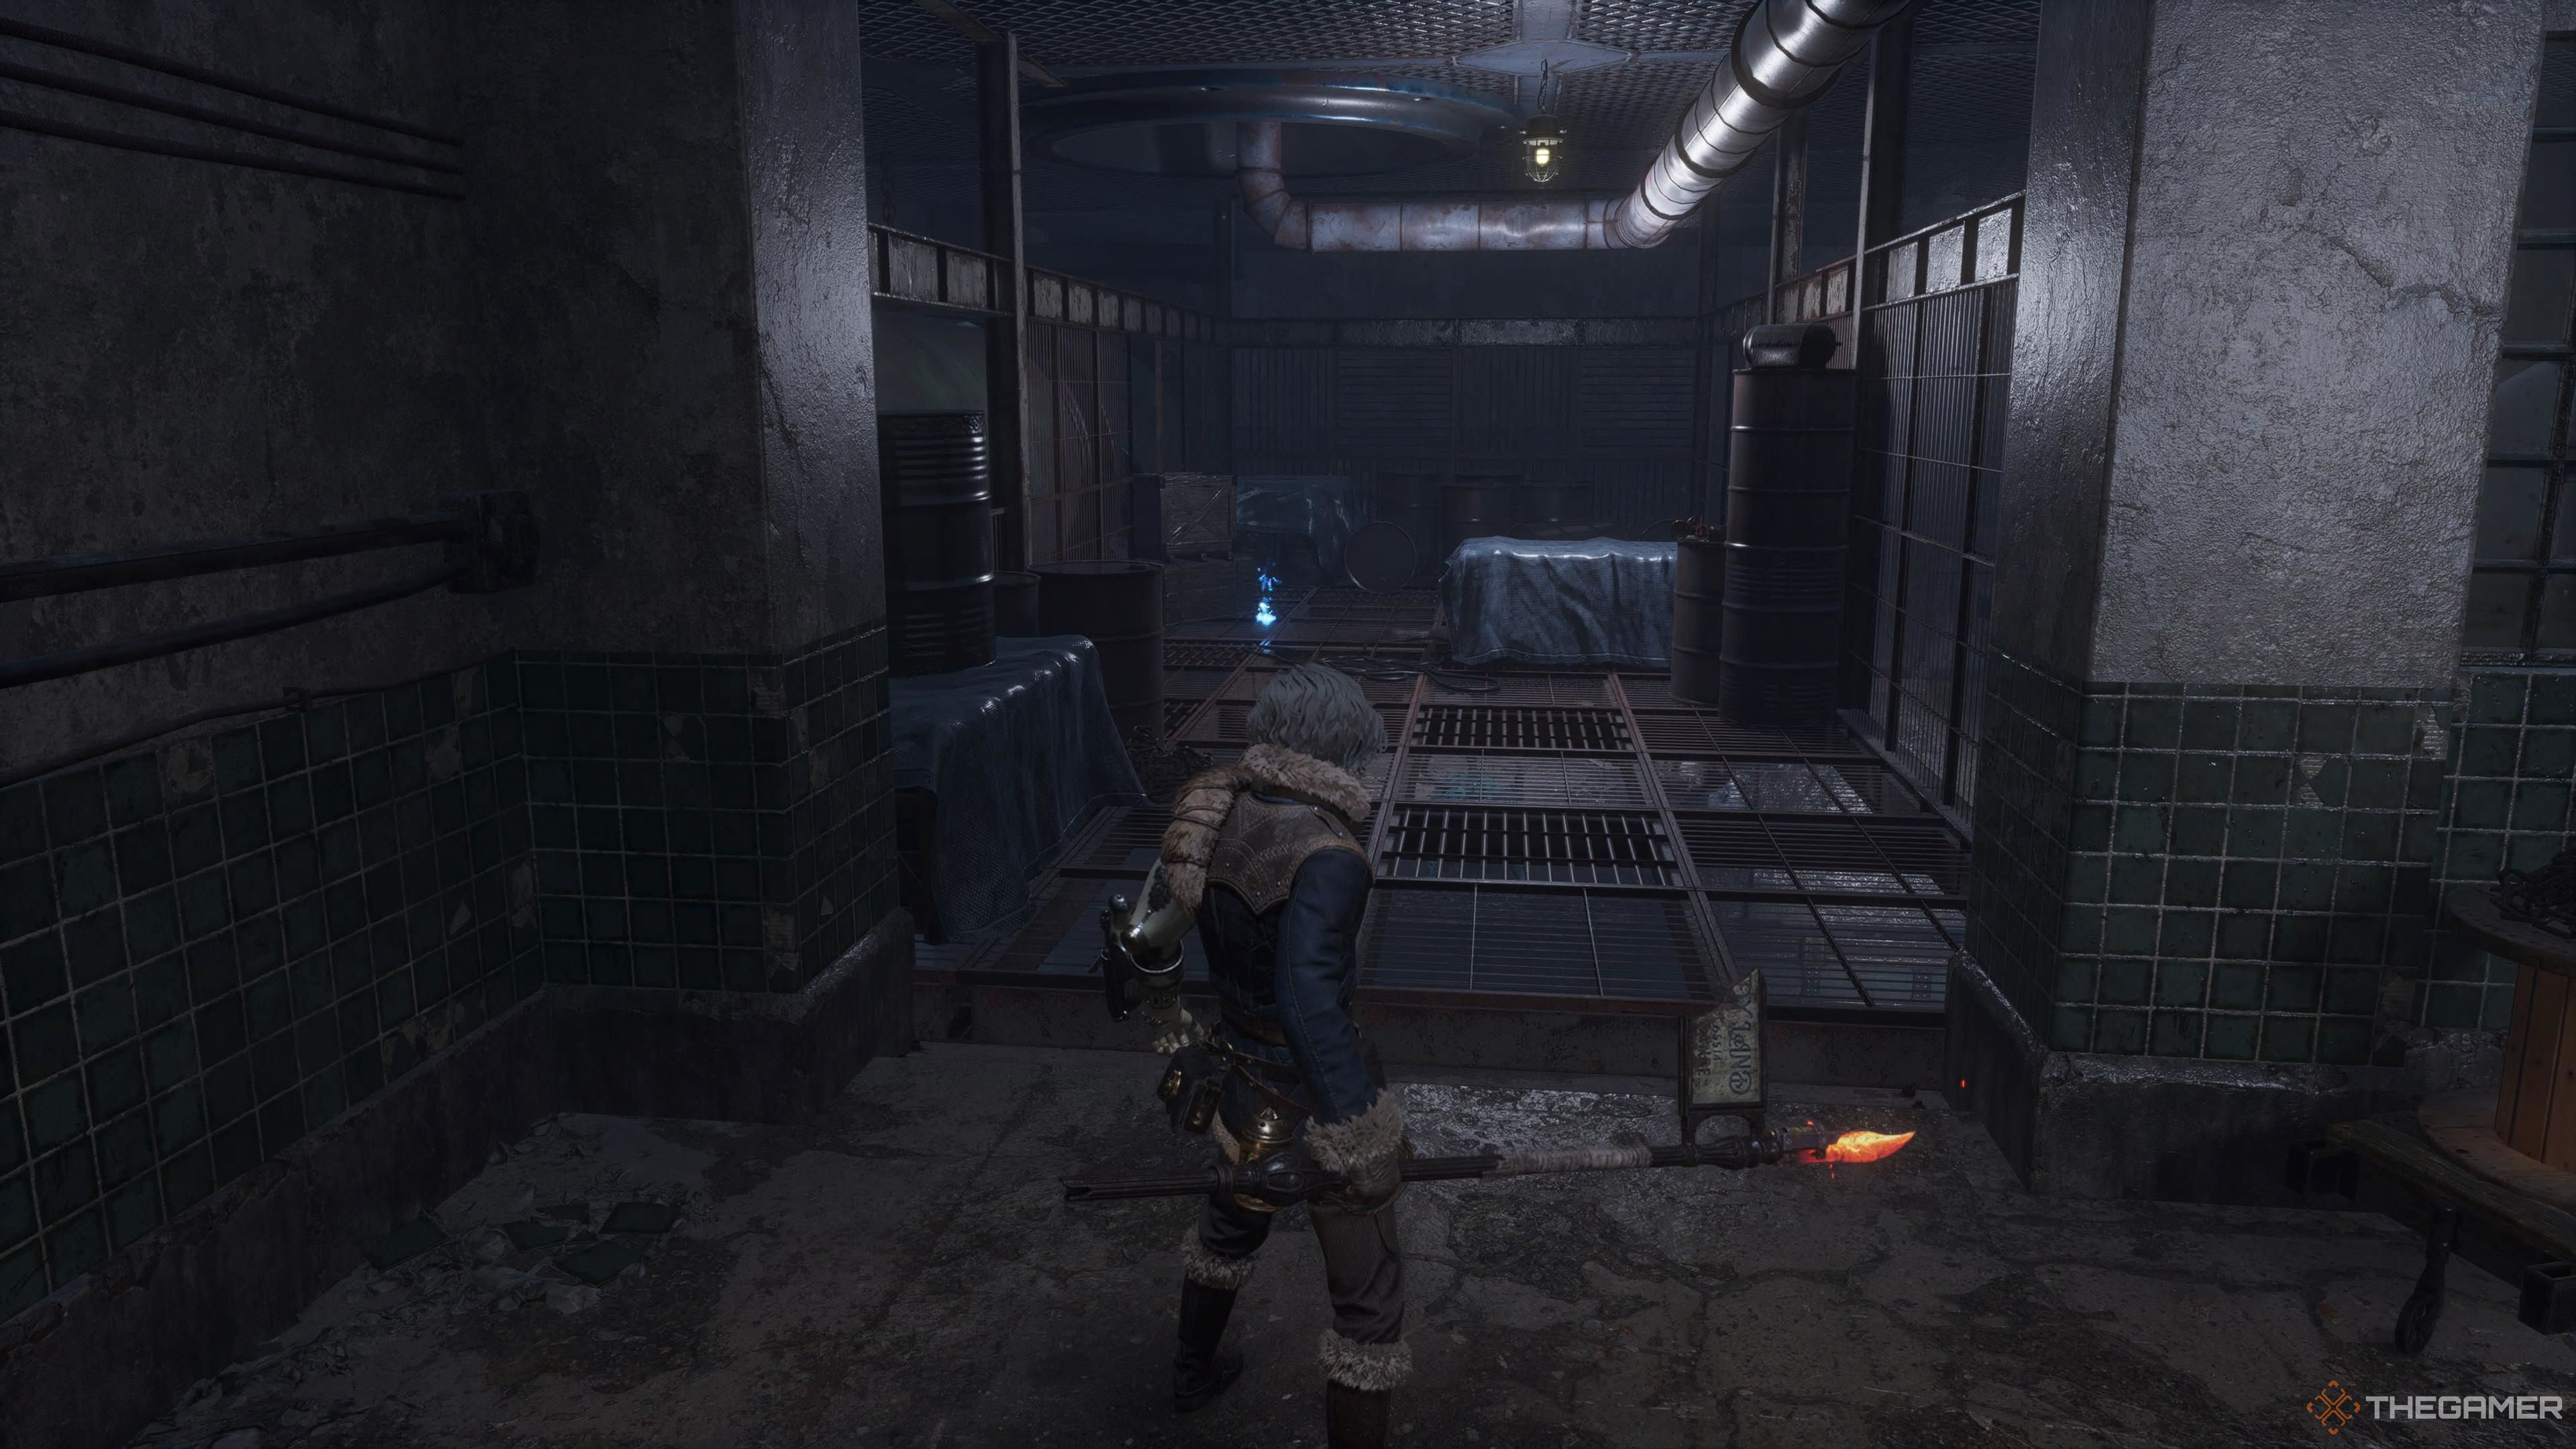
In the following room, a Fable Catalyst lies to your left, with a Vivid Ergo Chunk straight ahead. Be cautious, as an enemy will drop down as you go for the Chunk. You may take them out with your bow or a Legion Arm. Climb down the nearby ladder and crawl through the pipe behind it to find a Technique Crank. Then, proceed through the other pipe where another straitjacket enemy awaits. However, don’t enter the next area yet, as it’s a trap.
Upon exiting the pipe, a mutant will attack you from above on the right, utilizing a projectile attack. To avoid being hit, sprint forward out of the pipe and reach the opposite side of the room for safety.
There’s an Attribute Resistance Ampoule nearby on a pile of corpses. You can quickly run in, grab it, and retreat immediately.
After reaching the far side, follow the tunnel leading upwards. Enter the cell in the corner to confront the mutant with the gatling-like projectiles. They are less challenging up close, so dispatch them quickly. Next, climb the ladder and eliminate the scorpion-like mutant. Exiting this cell, you will encounter a spear-wielding Alchemist. After taking him down, collect the Hidden Moonstone. You’ll also find Thermite near another mutant in the corner.
The next area is patrolled by yet another spear-wielding foe. Be alert, as mutants cling to the ceiling, ready to drop down on you. Clear them out before advancing into the next stretch. Upon arrival, enter the cell to your right, where two projectile-throwing mutants and one regular mutant await. Drop down into a hole and defeat the two other mutants to secure the Tenacious Amulet from a chest.
Unlocking the Elevator Shortcut Back to the Stargazer
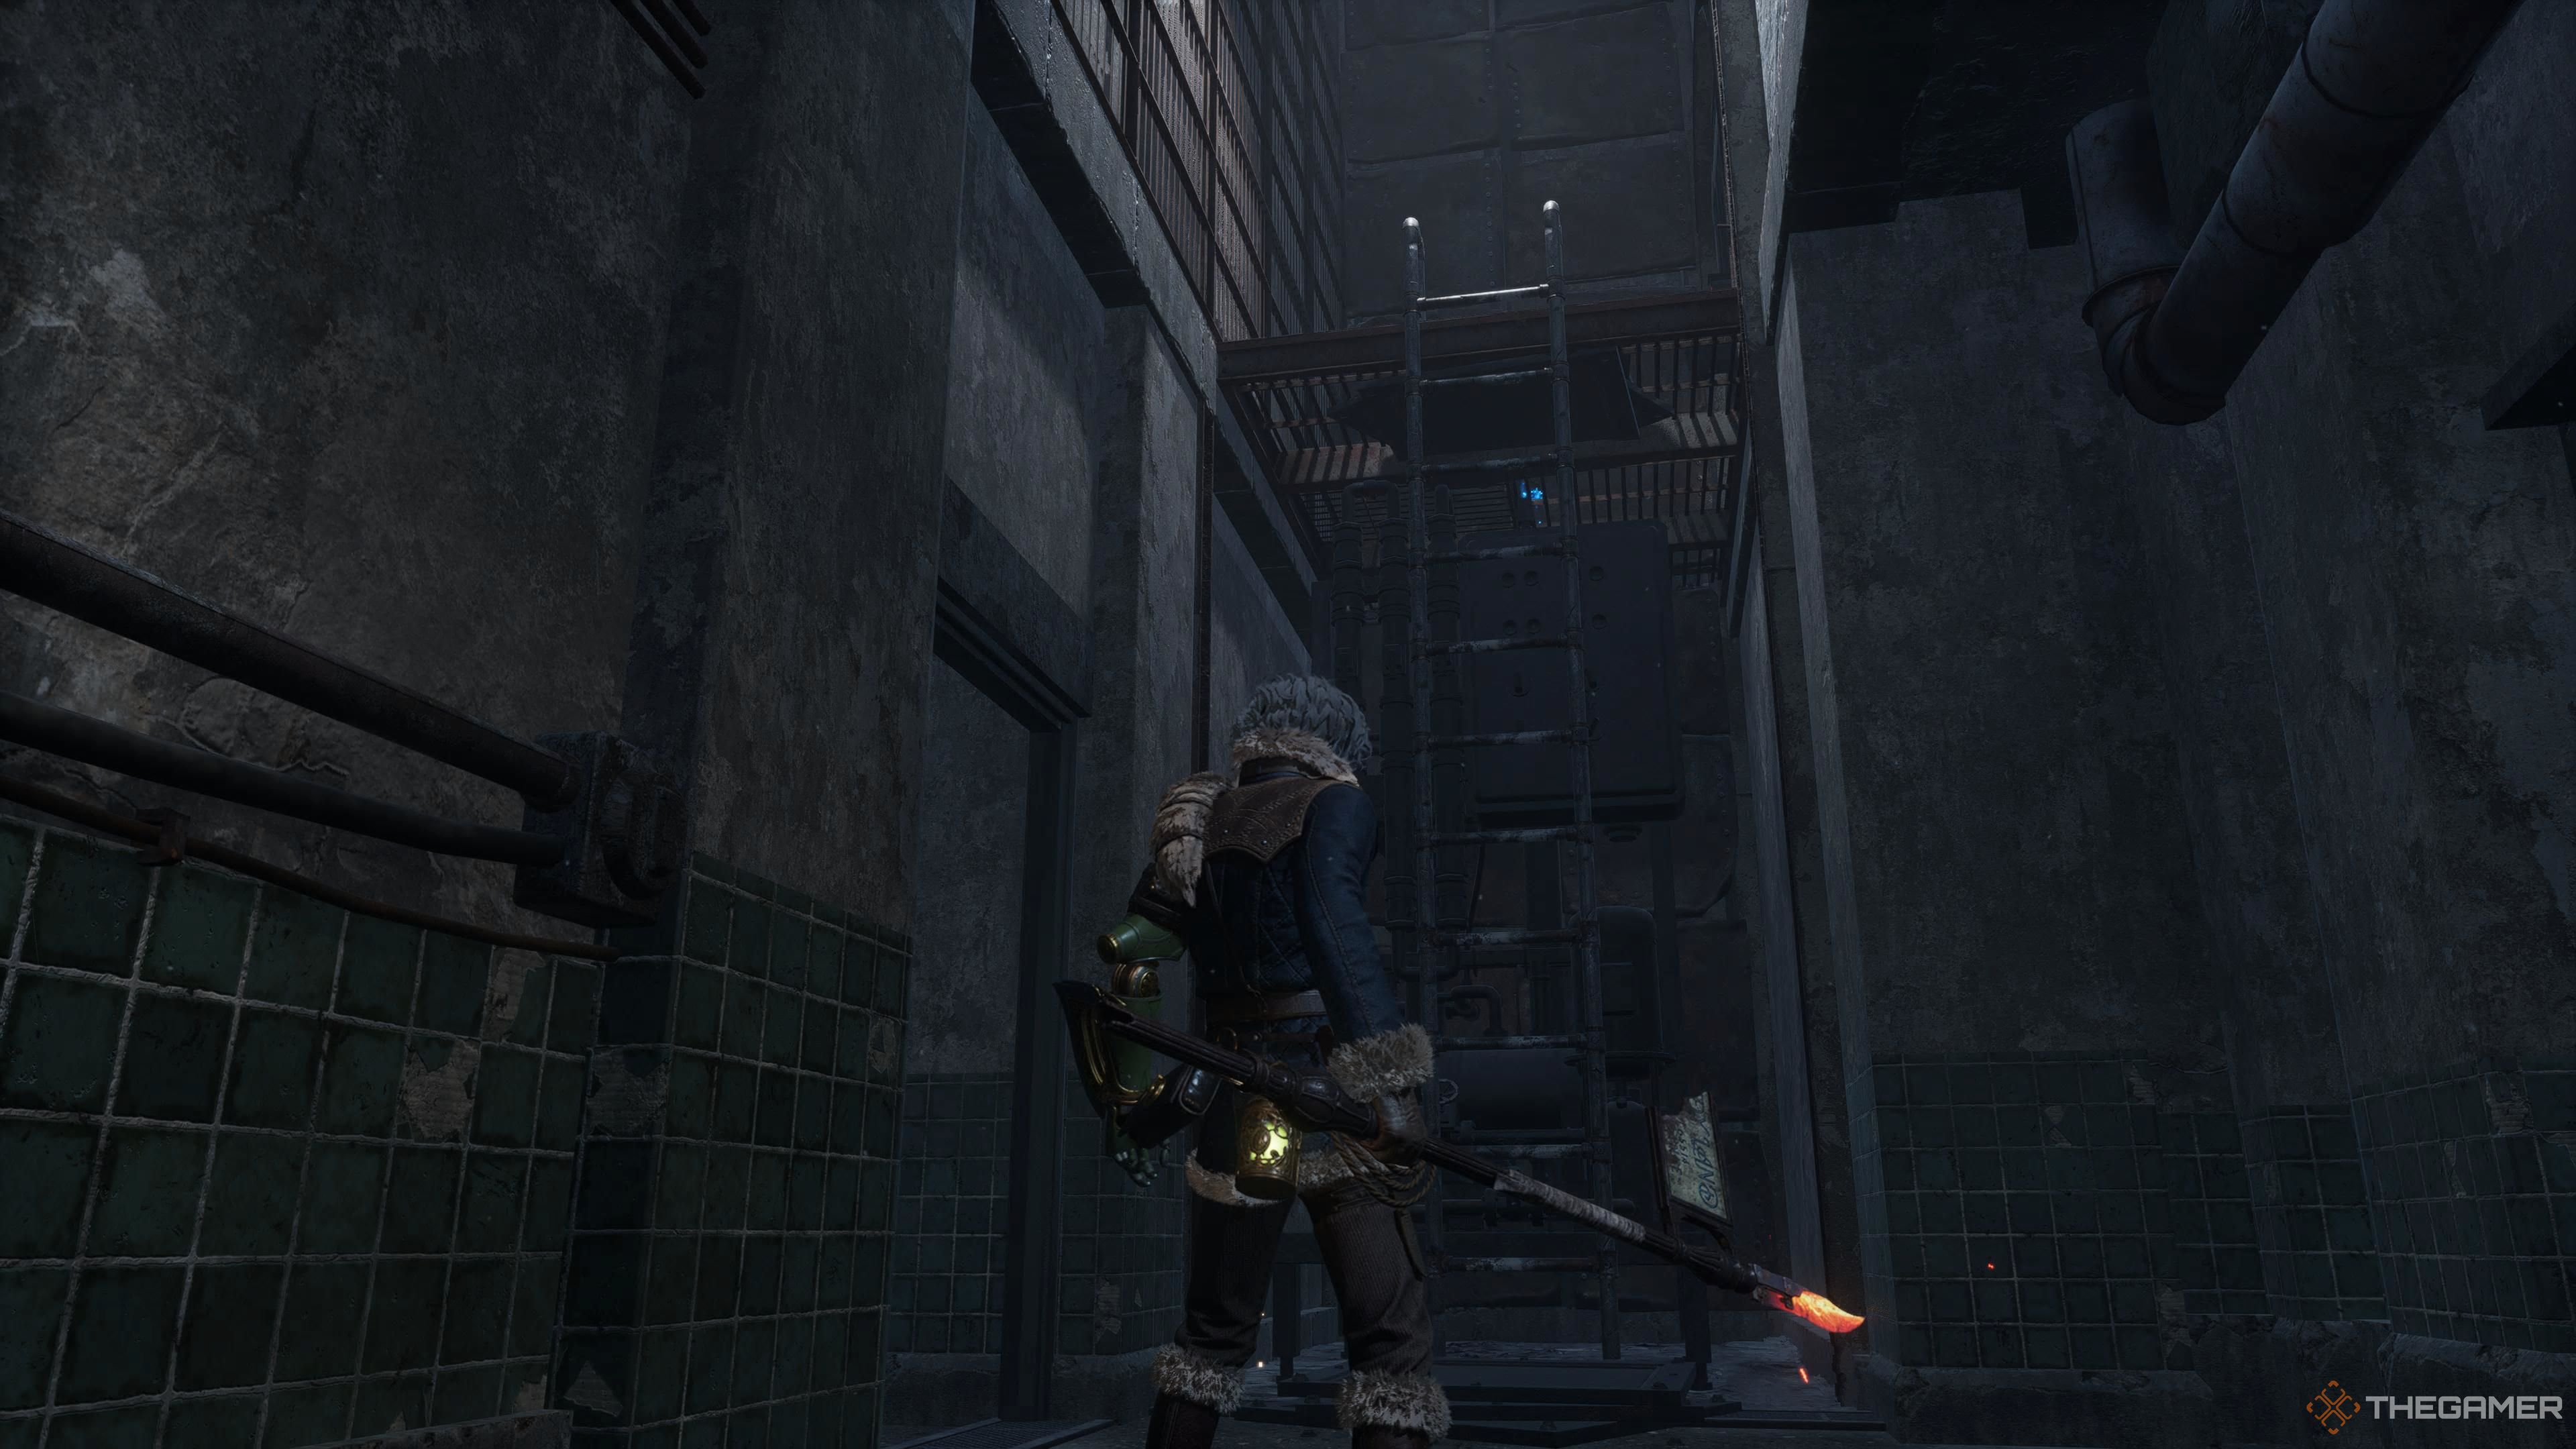
Inside a cell, you’ll find a Crumpled Interrogation Log. Cross over the bridge, take a left, and you’ll stumble upon a cell with an elevator. Break through the false wall to reveal a deceased Alchemist. Descend with the elevator to reach a room where a Sweeper Survivor waits. Speak with them, then collect the Frost-Covered Instructions from a nearby table and the Legion Amulet from a chest. Finally, open the doors to unlock a shortcut back to the Zelator Underground Facility Stargazer. Make sure to return down the elevator.
Adjacent to the elevator cell, another cell contains more mutants, an Anti-Freeze Ampoule on a bed, and a hole to jump down. Dive into that hole, where you’ll find a mutant and an Attribute Purification Ampoule, along with another hole. But first, break through the rubble blocking the cell door.
Once through, you’ll find another projectile-firing mutant. Rush them without hesitation. Afterward, if a trio of mutants drops down, retreat back to the cell you just came from. They will follow, allowing you to clear them out without worrying about the projectile fire. Finish off the remaining spitting enemy for a Star Fragment as a reward.
Climb the ladder and take out the spear-wielder, then pick up the Dark Moon Moonstone of the Covenant on the ground nearby. Enter the cell ahead, drop down the hole, and a mutant will smash through the wall. By taking it down, you’ll acquire an Acid Canister and a Resplendent Ergo Fragment. Check the chest in the cell where that creature came from and collect the Puppet of the Future’s Welder Blade and the Puppet of the Future’s Welder Handle.
While I can’t give you very precise tips on how to defeat this foe, I found success by repeatedly stabbing them. They never landed a hit. As they do not respawn, I can’t relay details on their behavior. In my case, a fast weapon worked wonders.
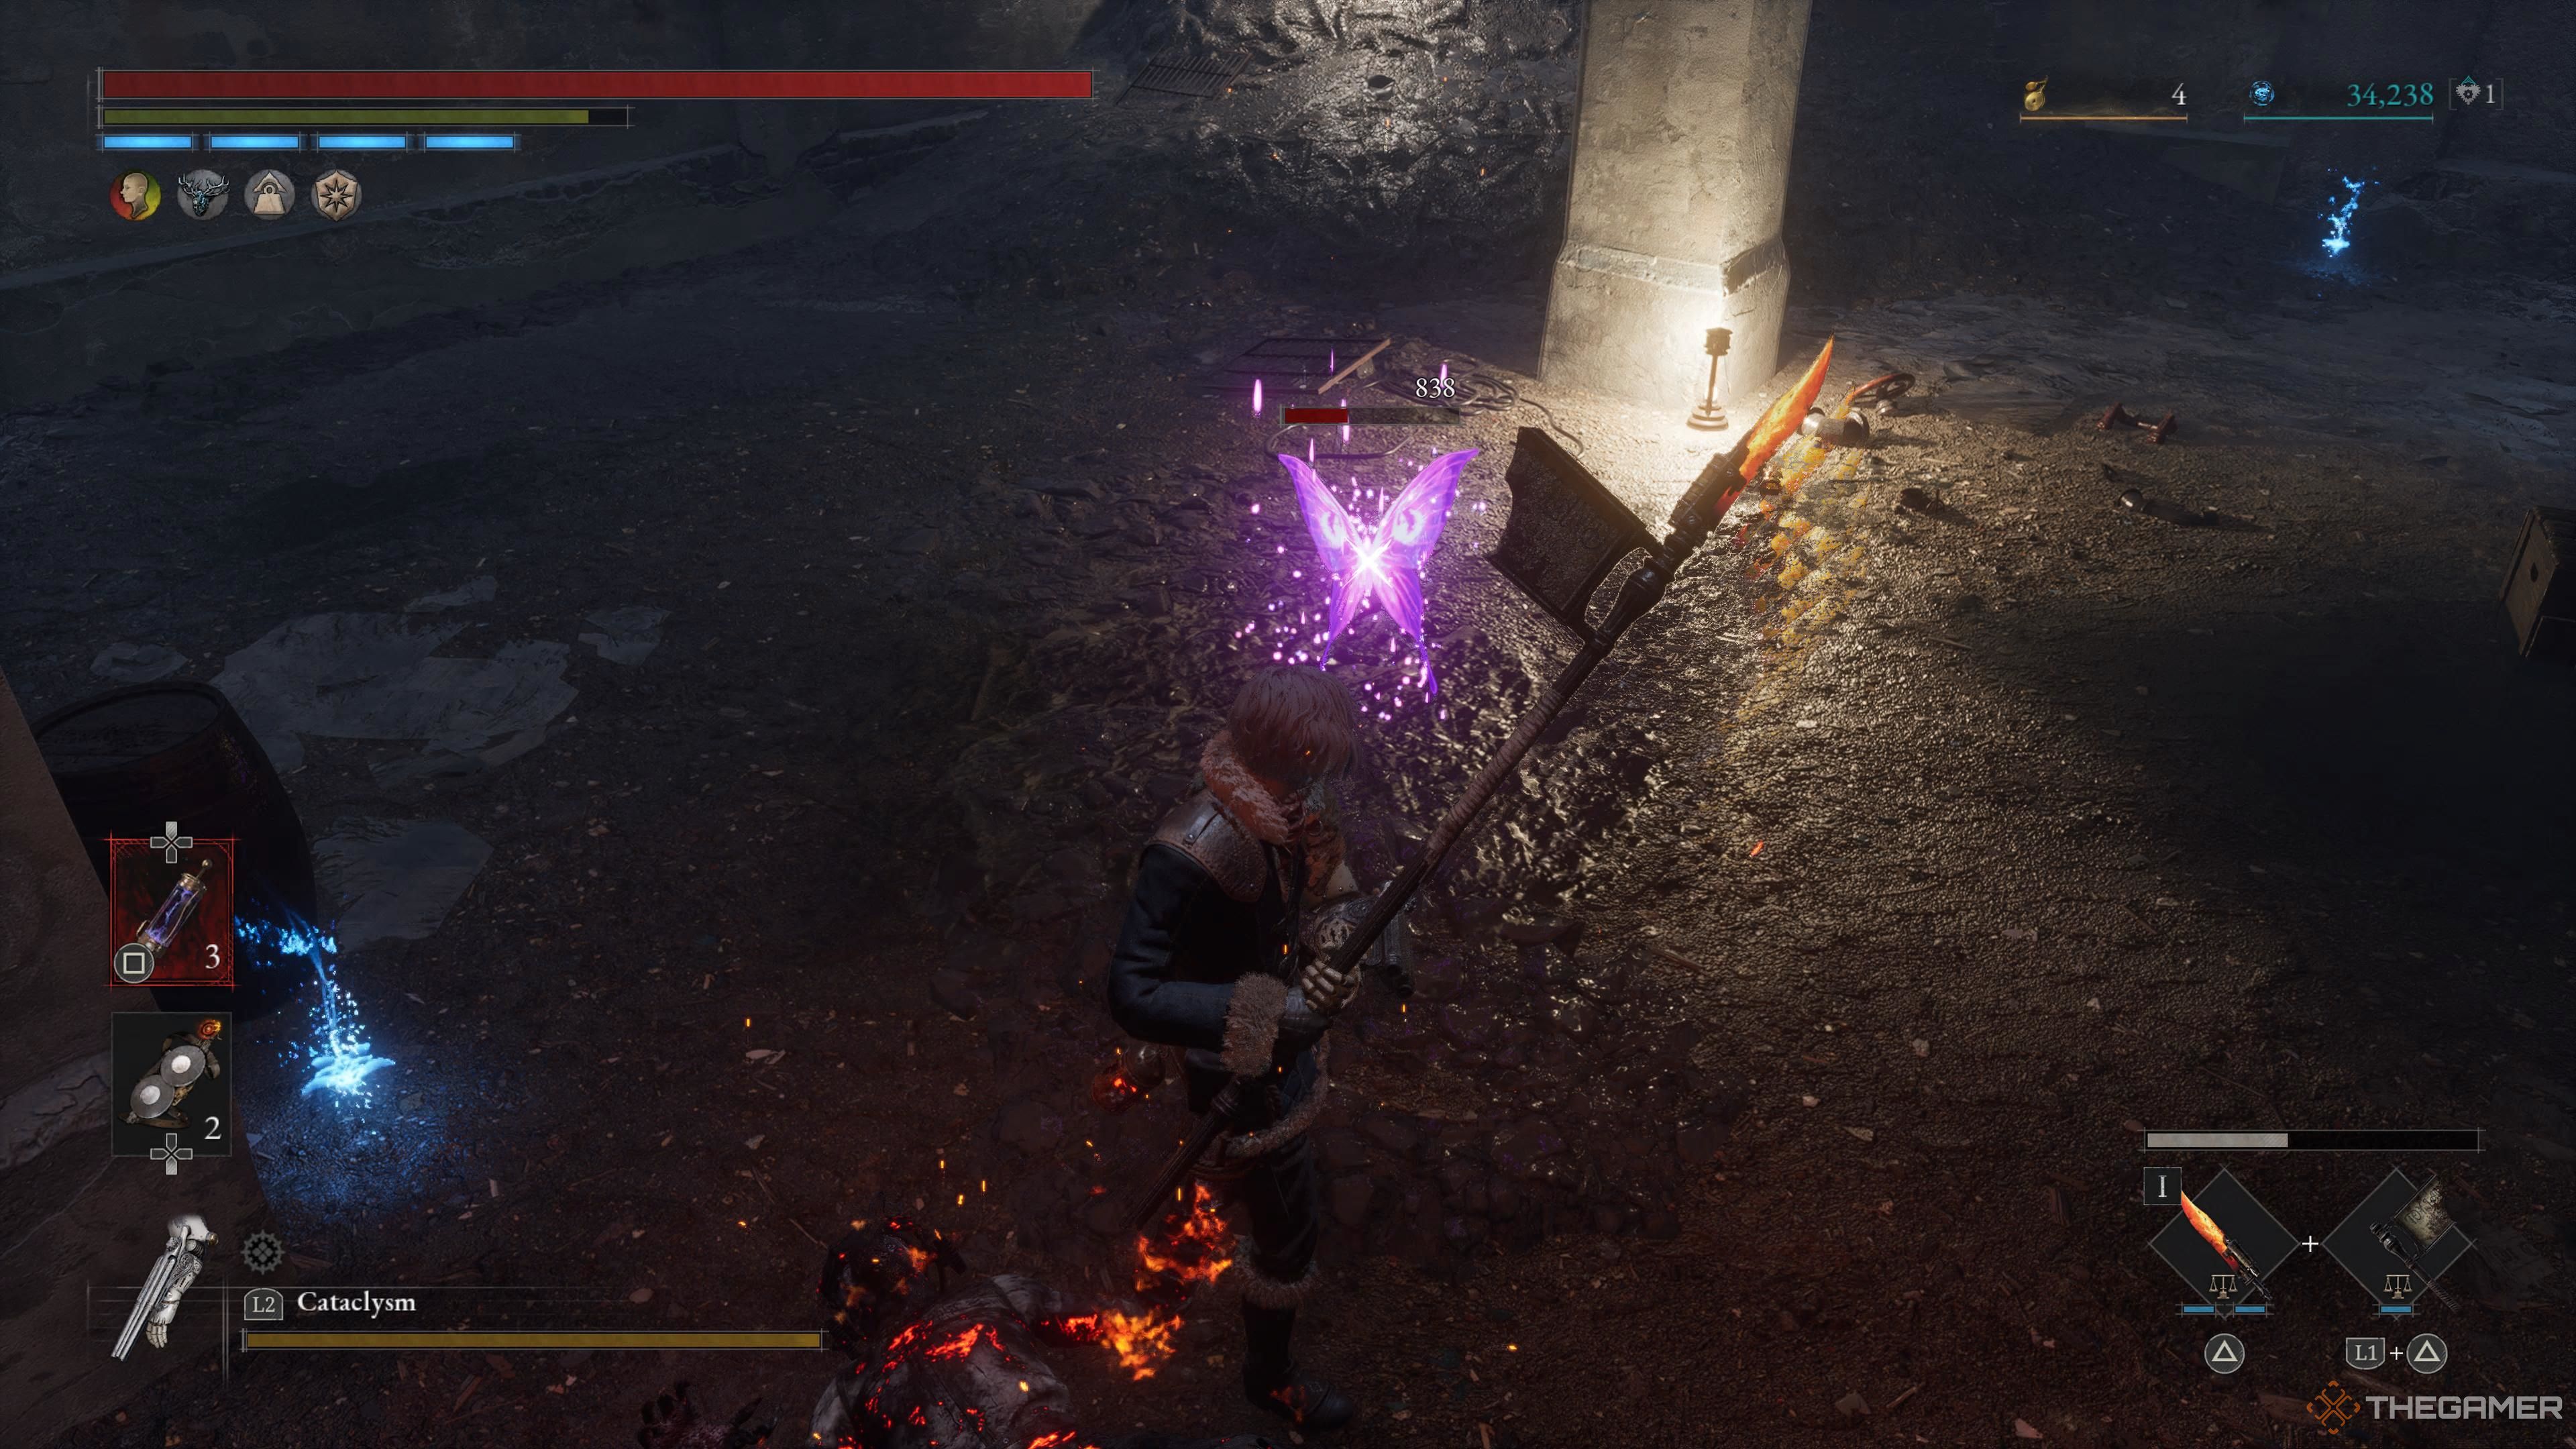
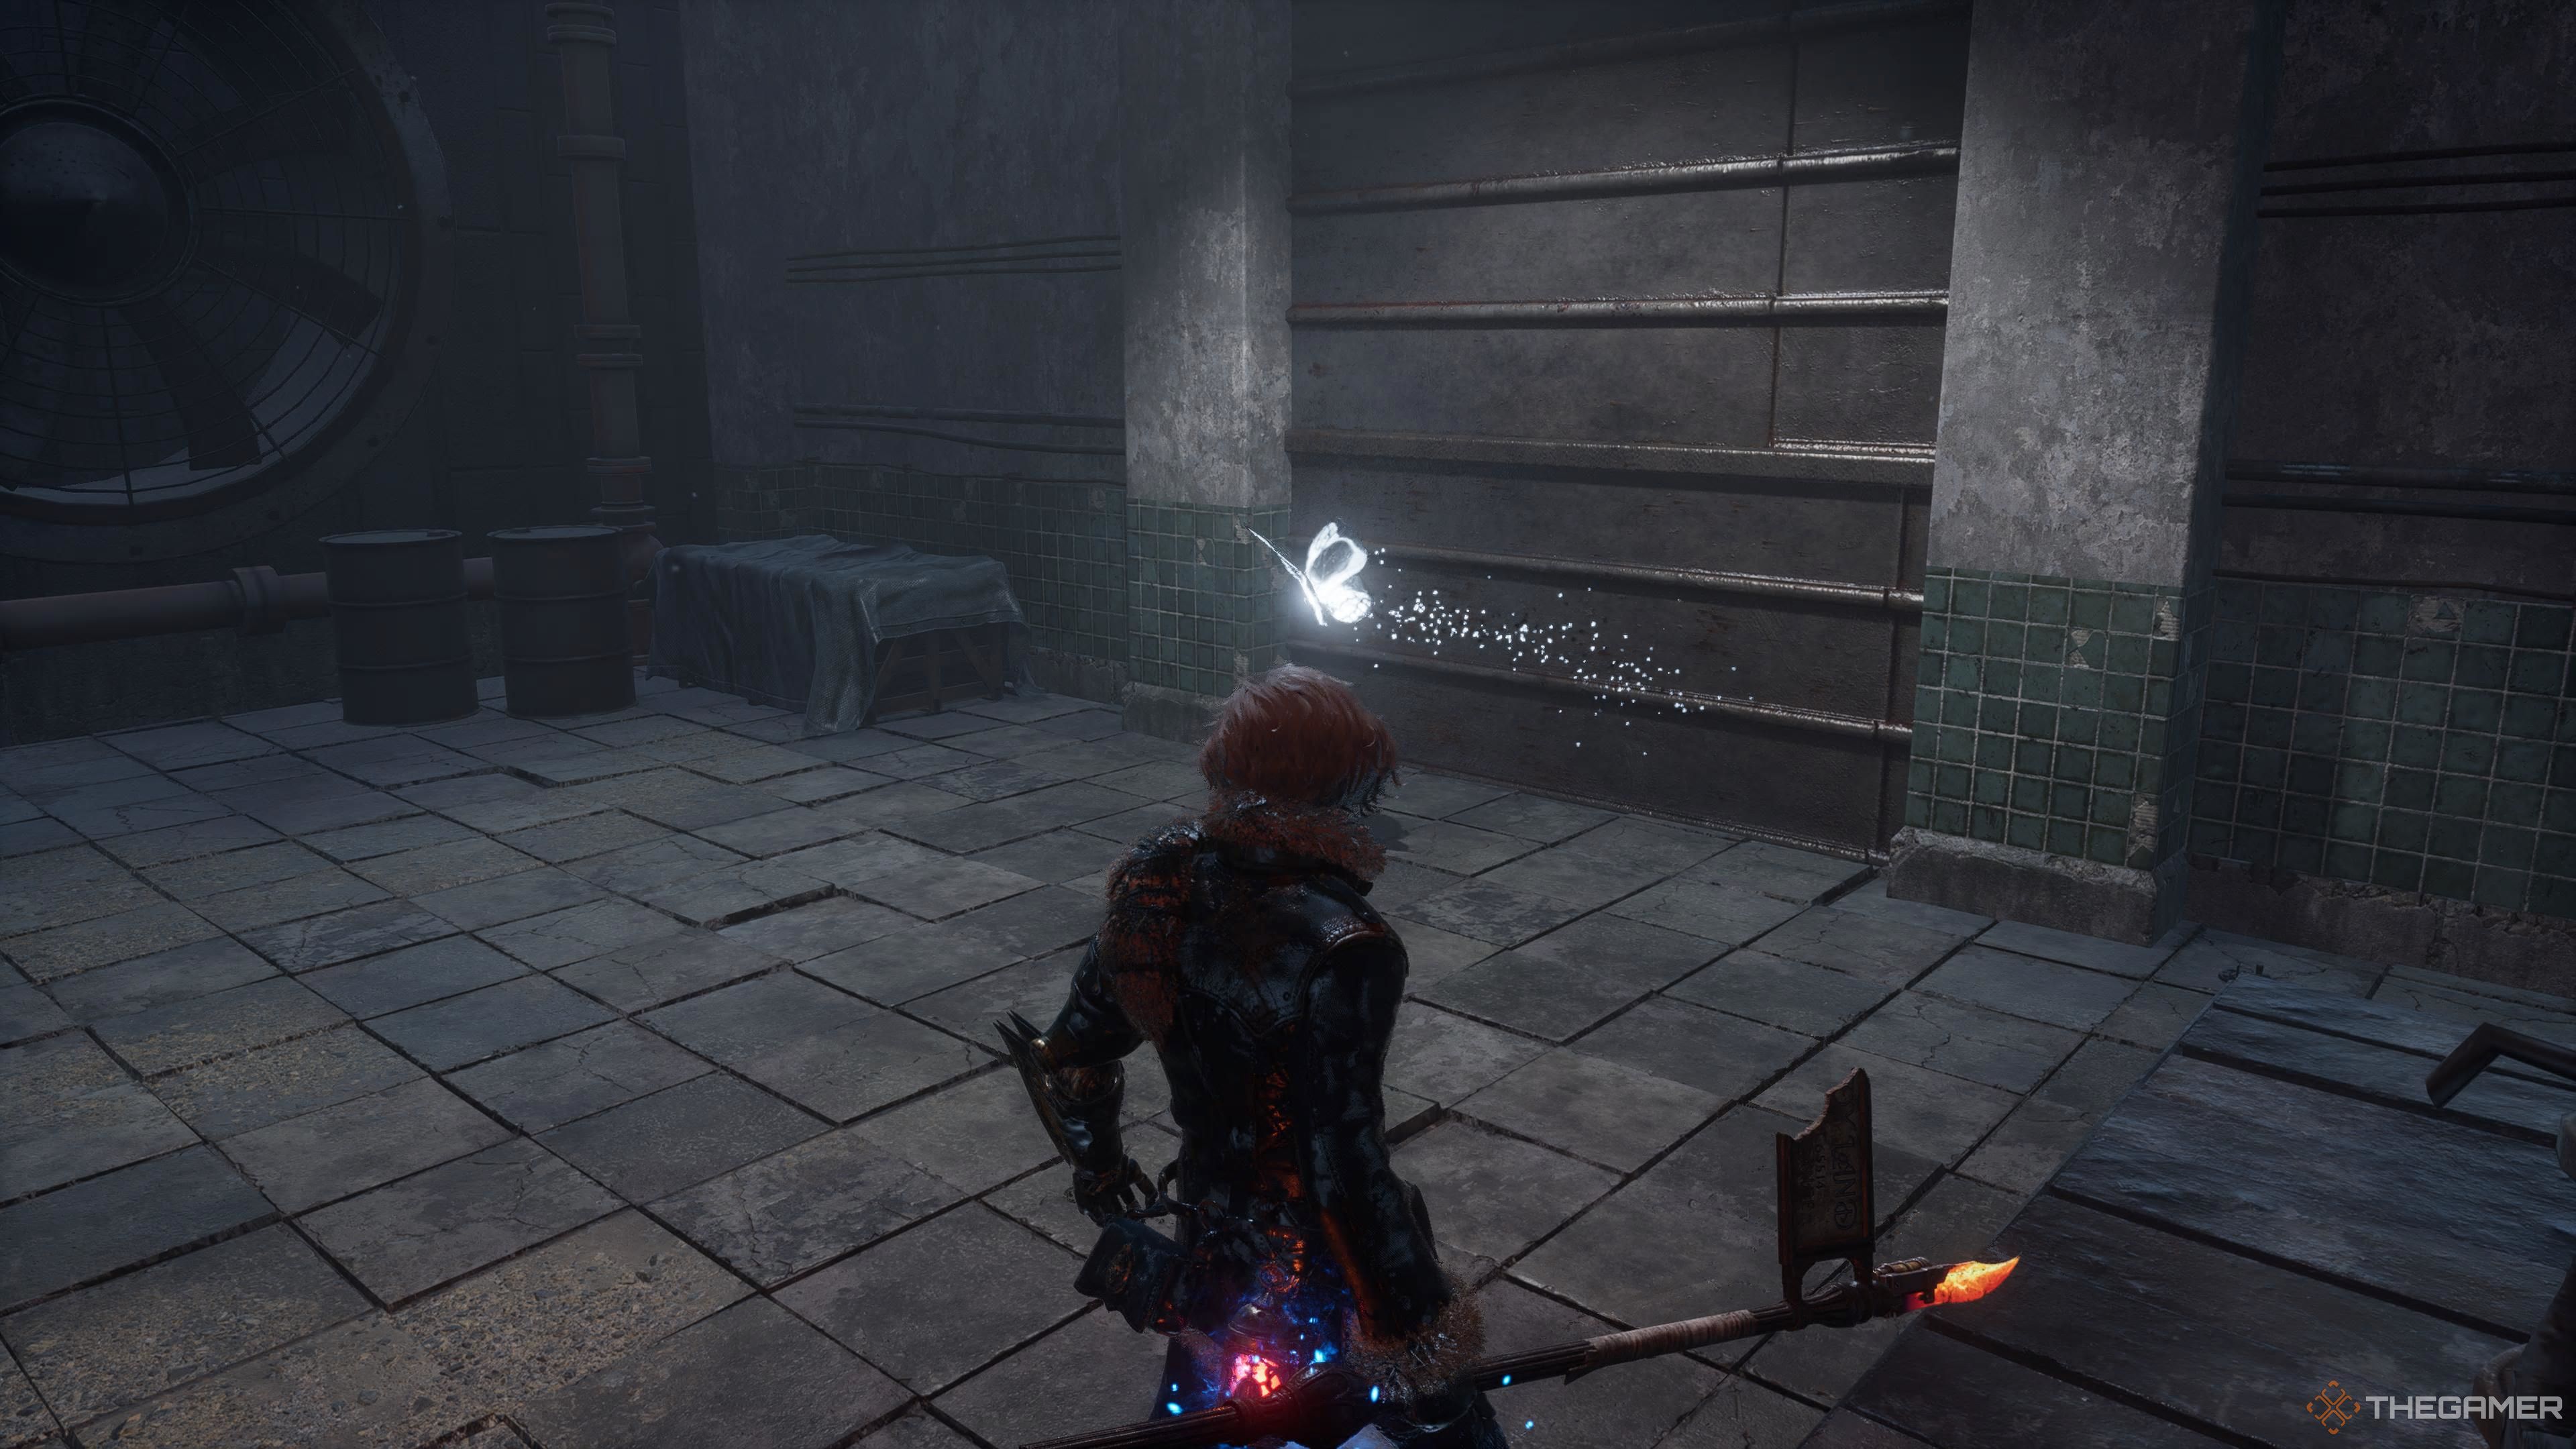
Return to that cell and drop into the hole. You’ll be in a room with a standard mutant to your left and a projectile-firing mutant to your right, hiding behind some pillars. Take them out and grab the Radiant Ergo Chunk and Sawtoothed Wheel. A pink butterfly will materialize near where the standard mutant was; eliminate it for a Full Moonstone of the Covenant.
Ascend the earthen ramp in the corner, and you’ll find a Half Moonstone beneath a corpse pinned to the wall. Depart this cell and prepare to face an Ironball-Wielding Miniboss.
Defeating the Ironball-Wielding Miniboss
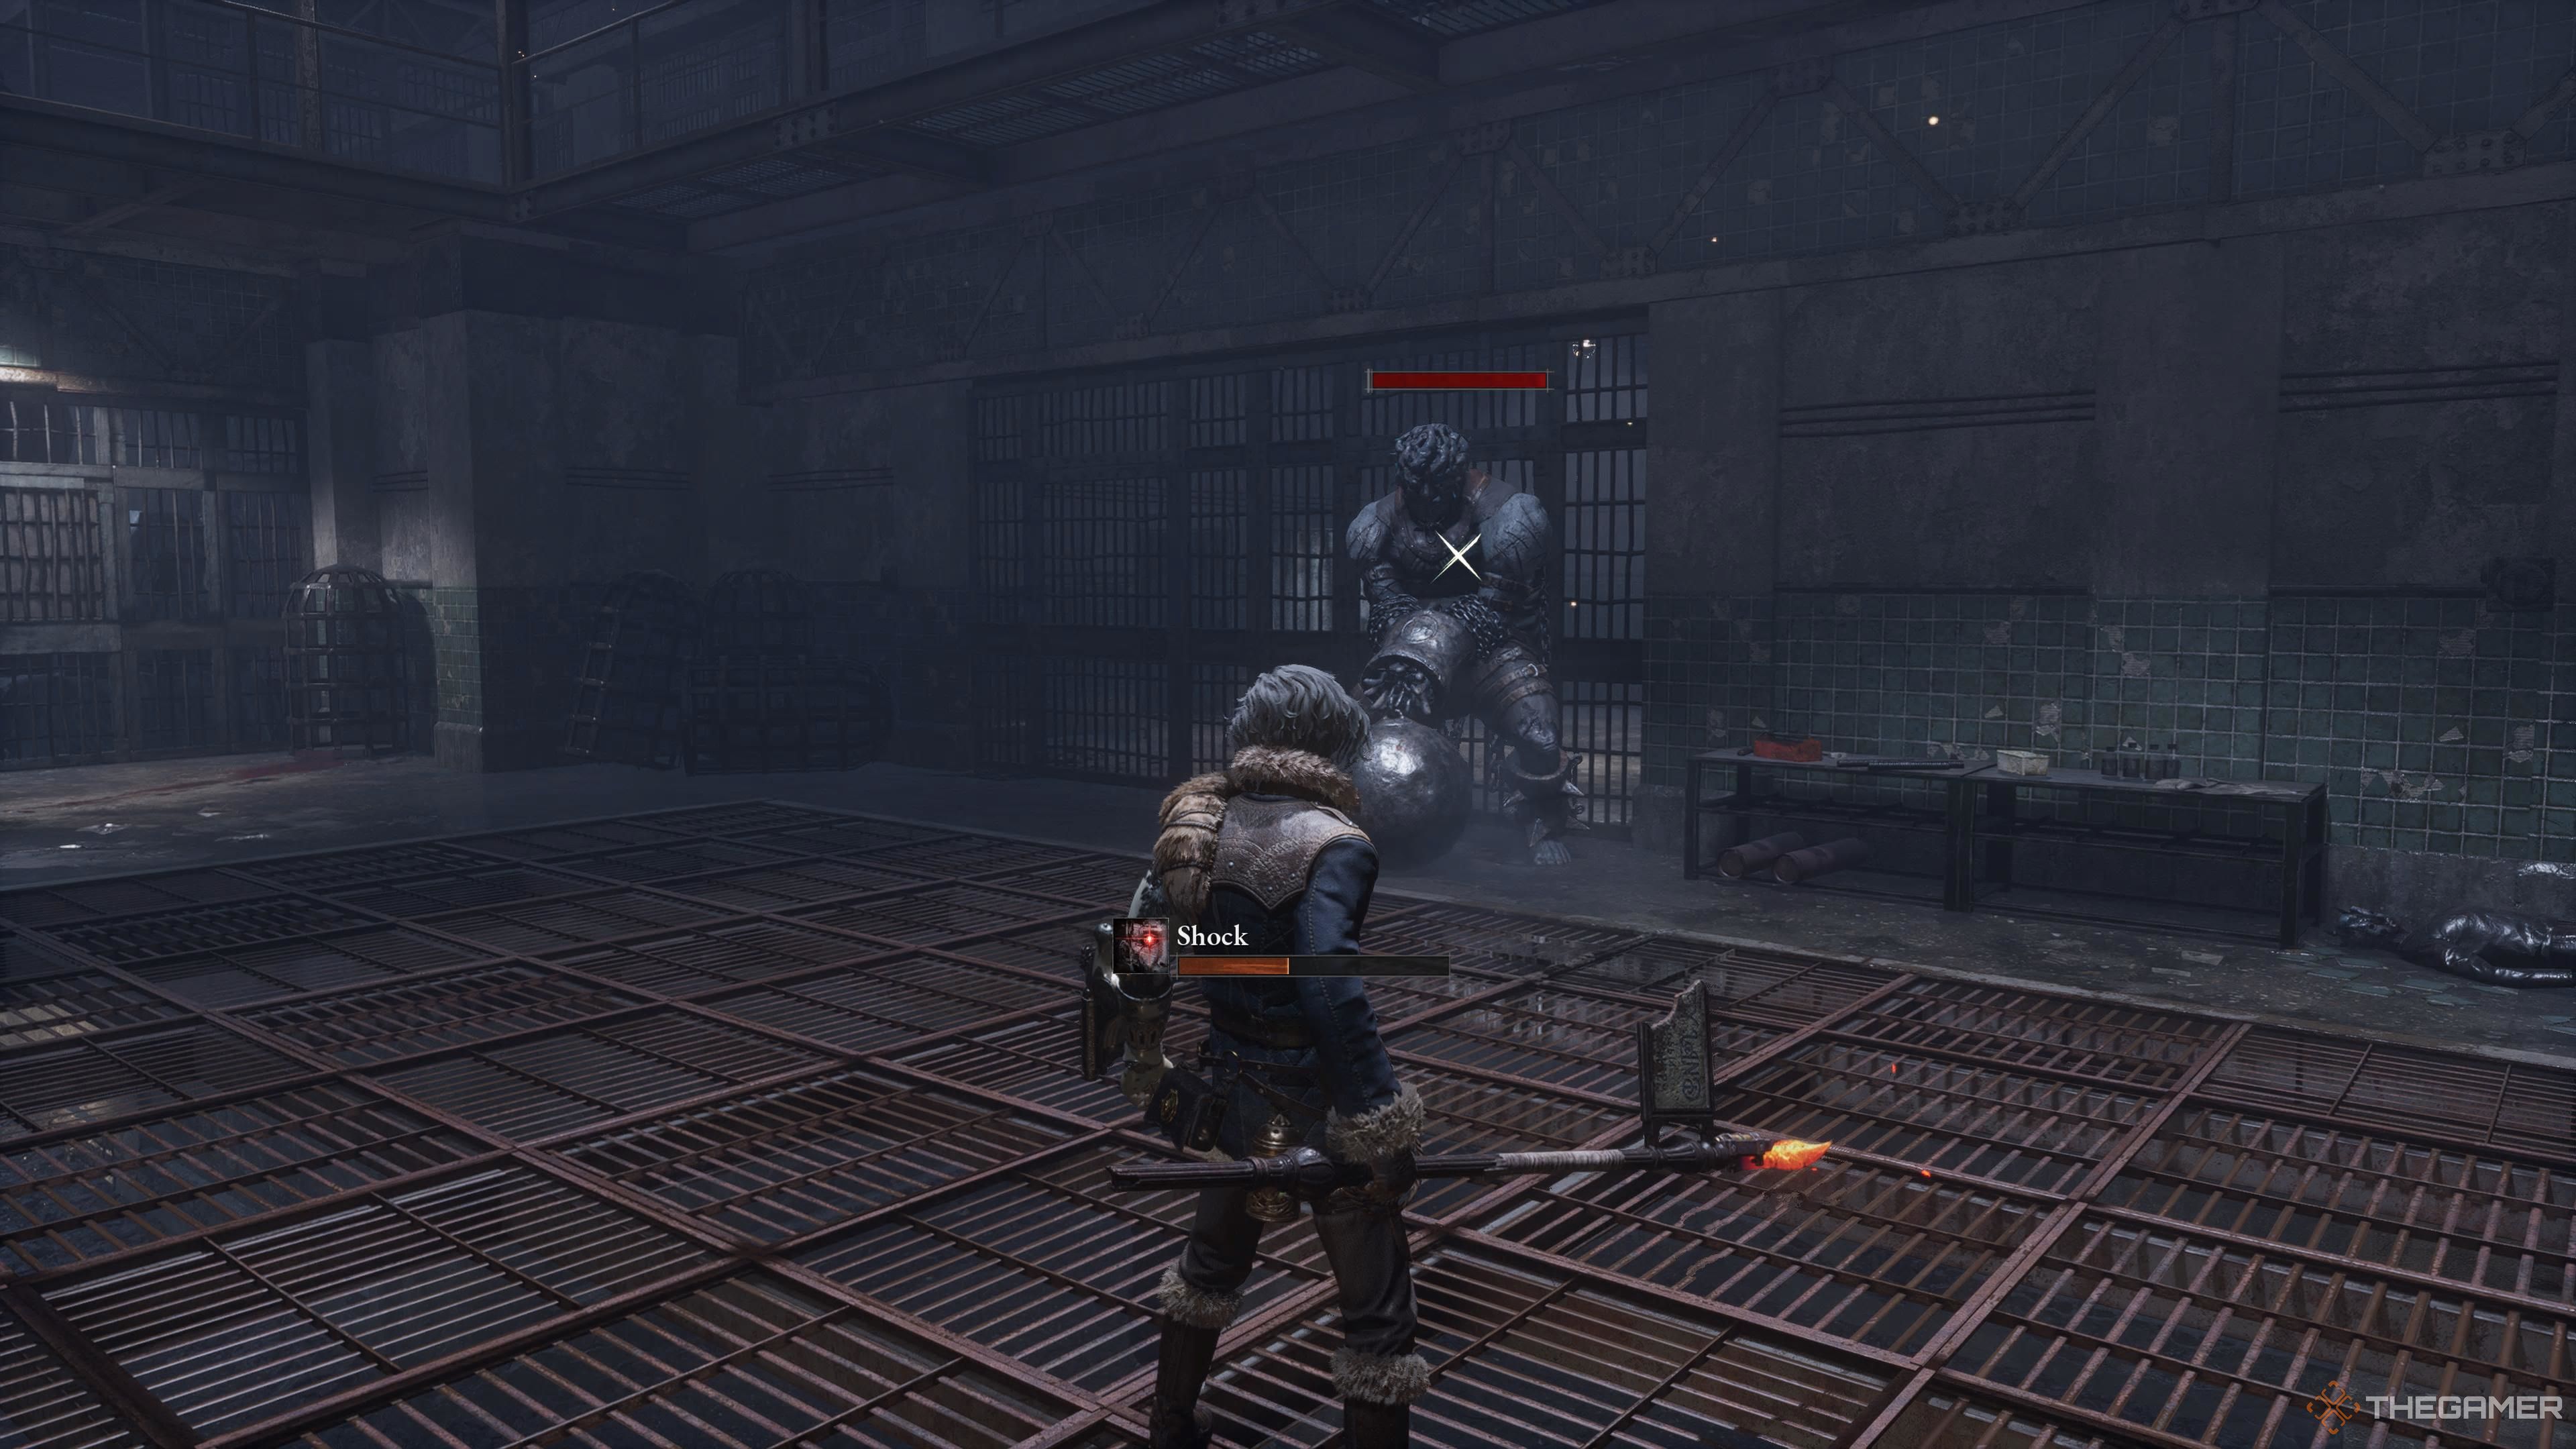
This boss deals significant damage while being surprisingly swift. Watch for two main attack patterns:
- The mutant lunges forward, slamming its massive ironball into the ground three times, followed by a powerful final strike.
- The mutant winds up, then rolls the ball towards you from a distance, follows up with a horizontal swing, and then finishes with a downward slam.
The four-hit combo, which ends with the powerful attack, is the mutant’s favorite sequence. Parrying the last hit will cause it to stumble, giving you a chance to deal damage. While mastering the timing is straightforward, remember that each hit can deal substantial damage, so be sure to heal whenever needed.
Upon defeating this miniboss, you will earn the Workshop Union Finished Cartridge. Hit the switch to open the gate, and proceed to the next area. Continue straight to get an Advance Crank. Keep going, and you will unlock the Security Area Stargazer, leading to one of those well-known Souls-like platforming sections. Save your progress, spend your Ergo, and prepare to fall strategically.
Security Area Stargazer
In this area, periodically freezing mist will erupt from the pipes as you descend. However, once you’ve defeated the area boss, this will cease. If the mist proves frustrating while collecting items, feel free to skip them for now and return later.
Advance from the Stargazer and jump down to the lower level where a straitjacket mutant awaits. Defeat them to obtain a Throwing Cell. Cross a beam to collect a Fire Canister, then drop down onto the next beam. Time your moves to avoid the frost bursts and grab Gemini’s Enhanced Detection. Then, drop down onto the wooden platform to your right, which has a Half Moonstone.
Be cautious—another projectile-throwing mutant is lurking in the pipe. Continue through that pipe, where you’ll find two mutants at the intersection (one on the right and one on the left). After eliminating them, collect the Cat Dust. Proceed through the pipe, and you’ll find an Ancient Disk to your left. At the end of the pipe, jump down to re-enter the grated area where you originally approached the pipe.
Head down and cross the next beam. To your right, you’ll find a Dark Moon Moonstone of the Covenant among some boxes. Look for a ladder; drop down, defeat the mutant below, and obtain the Black Rabbit Hole Key. Now, return up the ladder, re-ascend the beam, and jump back into the pipe at the far end.
Inside the pipe, grab the Anti-Freeze Ampoule. Be ready to dodge an ice projectile from the mutant waiting at the end of this pipe. Another projectile-spitting mutant lurks around the corner too. Once dispatched, collect Gemini’s Emergency Protection. Follow the pipe downward to return to the falling puzzle area—you are almost at the bottom.
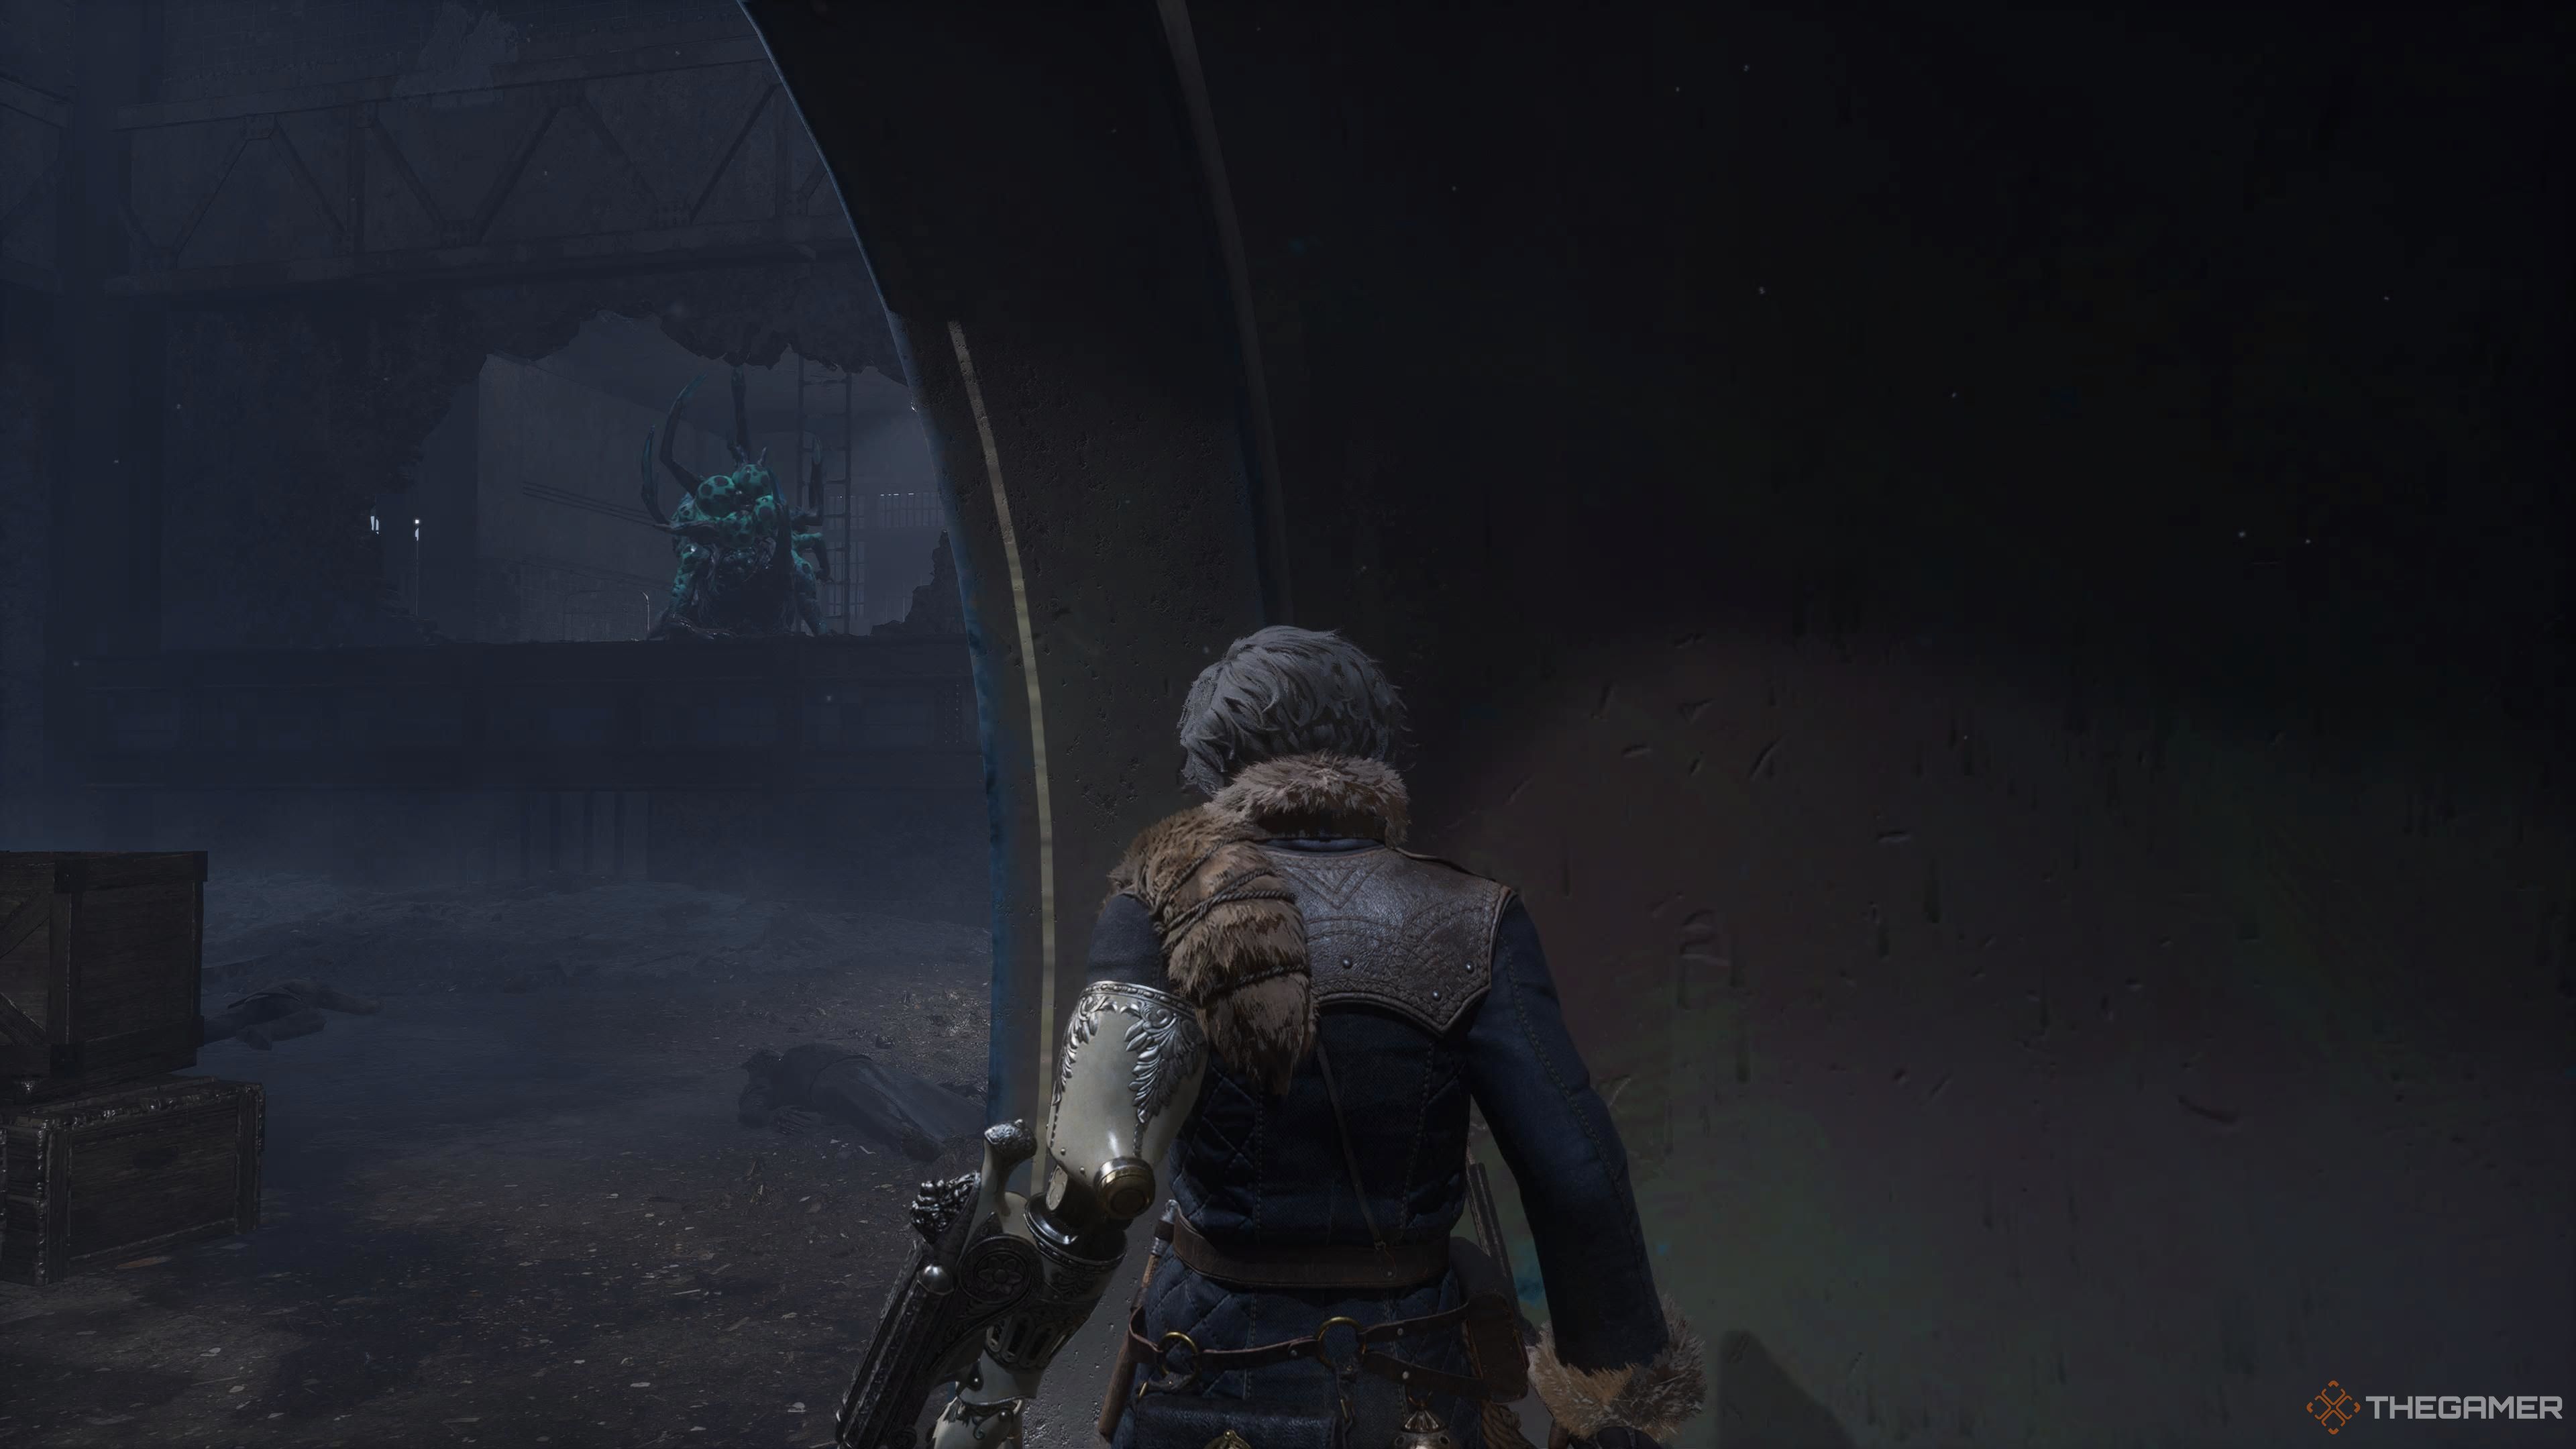
Jump down to the right of the pipe and land on the mutant below. Then, follow the adjacent pipe, which will lead you to the Coolant Control Room Stargazer. The next room is where you will confront the boss: Veronique.
Hidden Items After Defeating Veronique
With the freezing mist gone, return to the Zelator Underground Facility Stargazer. Open the locked doors above with your Black Rabbit Key. Inside the safe, you’ll find The Eldest’s Gas Mask and the Black Death Protective Apparel. Drop down into the area below and open the large doors.
Three mutants await you here, with the straitjacket variant hiding on the right. Inside the safe, you’ll discover a Legion Caliber, while a Resplendent Ergo Chunk rests on the bed. Now, return to the room previously covered in mist. Head through the empty pipe and eliminate the three ice-projectile mutants. Go into the next pipe and drop down.
You’ll find yourself in a room where you can go forward and ascend a set of stairs, or head to your right and descend a flight of stairs. Choose the right, defeat the two scorpion-tailed mutants, and then chase after the three butterflies that will appear in the center of the room. Collecting all three will reward you with an Ancient Disk. Now, backtrack and climb the stairs. You’ll encounter an Alchemist armed with a freeze gun and a spear-wielding mutant. You should have just enough time to take out the Alchemist before the spear-wielder arrives.
The upcoming room contains two mutants and another Alchemist with a freeze gun. It’s wise to take them out while backing into the prior room to avoid being ambushed from behind. You’ll face another Alchemist up the stairs; eliminate them before jumping down to dispose of the mutant in the cell for a Dim Ergo Chunk. In the next area, a ladder awaits on your left, with stairs to your right.
First, climb the ladder; you’ll find a Shot Put and uncover a shortcut back to the main area. Slide back down and head down the stairs to find a particularly large and formidable mutant.
Defeating the Dual-Wielding Mutant Miniboss
This hulking adversary has three main attacks…
- They can roll at you, especially when at a distance.
- They can slowly advance while slamming their clubs down into the ground, culminating in a powerful final strike.
- They execute two horizontal swipes with their clubs before slamming both down in front of themselves.
During the fight, keep an eye out for two additional mutants. Take them out swiftly to avoid being cornered. For the boss, if you can parry the rolling attack twice, they will take a knee. Additionally, they can be stunned by blocking their four-hit combo followed by the big attack. Beyond their rolling move, this enemy doesn’t possess abilities that allow them to chase effectively, so maintaining distance and attacking with a long-range weapon after their sequences is a sound strategy. Focus on parrying those rolls and you’ll be just fine.
Even if you miss the parry timing, the rolling attack isn’t overly punishing, so the risk is relatively low.

After defeating the miniboss, loot the room the boss was guarding to collect the La Vendetta Head and La Vendetta Body from the chest. There’s also a News Clipping found on a table close by. Return the way you came, ascend the ladder, and go through the shortcut. You’re very close to the Zelator Underground Facility Stargazer. Return there and teleport to the Coolant Control Room Stargazer to proceed to the next stage.