Select Language:
While exploring Arrakis in Dune: Awakening, you’ll encounter various advanced skill trainers, including a notable one named Jocasta, who specializes in the ways of the Bene Gesserit. If you’re eager to enhance your abilities with the Voice, you might be curious about how to begin.
This guide will provide you with all the information needed to locate, initiate, and complete the Advanced Bene Gesserit quest line in Dune: Awakening. Here’s how to get started.
Locating the Advanced Bene Gesserit Trainer
Before seeking out the Advanced Bene Gesserit Trainer, ensure that you’ve unlocked the primary skill tree.
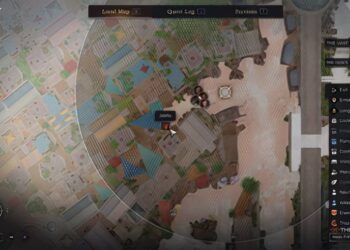
Once that’s accomplished, head to Harko Village, where you’ll find Sister Jocasta in a secluded alley near the Vehicle Merchant.
For this quest line, be prepared to travel frequently between Arrakis and Harko Village.
Make sure to stock up on Solaris!
Simply talk to Jocasta to begin your first quest.
Exploring the Depths of Mirzabah
Start by visiting Mirzabah, the large hammer-like structure located in the center of the Vermillius Gap.
Follow the map marker and enter the northern entrance of the cave, engaging any enemies you encounter inside.
Proceed to the main chamber, defeat the Kirab, and retrieve the Blue ID band found there.
These quests require significant travel, so ensure your vehicle is well-fueled.
Next, descend the stairs through the open blue door and scale the small wall on your right.
In this new room, look for a small urn tucked away in a corner. Collect it to complete this segment of the quest.
Finding the Path Up the Stone Sentinel
Your next task is to climb the Stone Sentinel. Follow the map to find a set of footlights and ropes.
Use these footlights and ropes to navigate your way up the Stone Sentinel.
It’s advisable to climb at night, as daytime climbing can lead to dehydration.
Continue following the trail of ropes and lights until you reach the top. Once there, search for another small urn to collect.
After gathering both urns, return to Jocasta.
Searching for the Panoplia Propheticus Fragment
Your next mission is to locate a fragment of a prophecy for Jocasta.
This segment features difficult enemies, so prepare accordingly.
Make sure you have a reliable shield, a suspensor belt, and a good sword and gun before you go.
Head to the designated point on your map and climb the structure to find the entrance to Stonestep Village about halfway up.
Before entering, set a Respawn Beacon outside to avoid backtracking if you happen to die.
You can either engage the enemies inside or try to sneak through to the marked point.
Make sure to bring your Resource Scanner to track the assailant.
Again, you’ll find a small urn next to some rubble on the second floor of Stonestep Village. However, this urn is broken. Utilize your Resource Scanner to follow the trail of the assailant.
The House of Ilm
After scanning the urn, a new point will appear on your map: the House of Ilm.
The item you seek is located in the first room, making it easy to go in and out of this base.
Proceed to the first chamber of the House of Ilm, eliminate the enemies inside, and retrieve the urn surrounded by candles at the altar.
Then, return to Jocasta in Harko Village.
Imperial Testing Station No. 71
Your next destination is Imperial Testing Station No. 71 to further investigate Kyne’s impact on the Bene Gesserit and the Fremen.
Go to the marked point and enter the testing station.
These stations are plentiful in resources, so exploring other rooms is worthwhile.
Descend the stairs to the central chamber, where you’ll encounter two locked purple doors.
First, enter the west chamber and defeat the enemies before heading southwest to the room lit by a red light. Collect the blue ID band from this area to proceed.
Next, go southeast, following the path up the stairs. Push through the newly opened blue door and defeat any enemies waiting inside.
Many foes in the Testing Station wield poisoned weapons, so have some medkits ready.
After clearing the area, search the small room to the east for a purple ID band among some ornamental candles. Retrieve the ID band before heading back to the main chamber.
Then, go through the north purple door, combat the enemies there, and pick up the book from the northeast alcove.
Finally, return to Jocasta in Harko Village.
Head to the Ambush Point
Upon returning to Harko Village, you’ll find Jocasta is missing.
Speak with the man nearby (indicated on your map) who will direct you to Hannivar’s.
Purchase a Mélange Spiced Beer from the bartender, then approach the mercenaries in the back corner to offer the drink in exchange for information.
Ensure you have at least 1,000 Solari on hand for the Melange Spiced Beer.
Continue through the dialogue until he reveals the location of Jocasta and their planned ambush.
Next, head to the ambush point indicated on your map. Be ready for an unexpected wave of enemies; a tough fight awaits you.
Afterward, you’ll find Jocasta about 200 meters away (also marked on your map). Speak with her and agree to meet back in Harko Village.
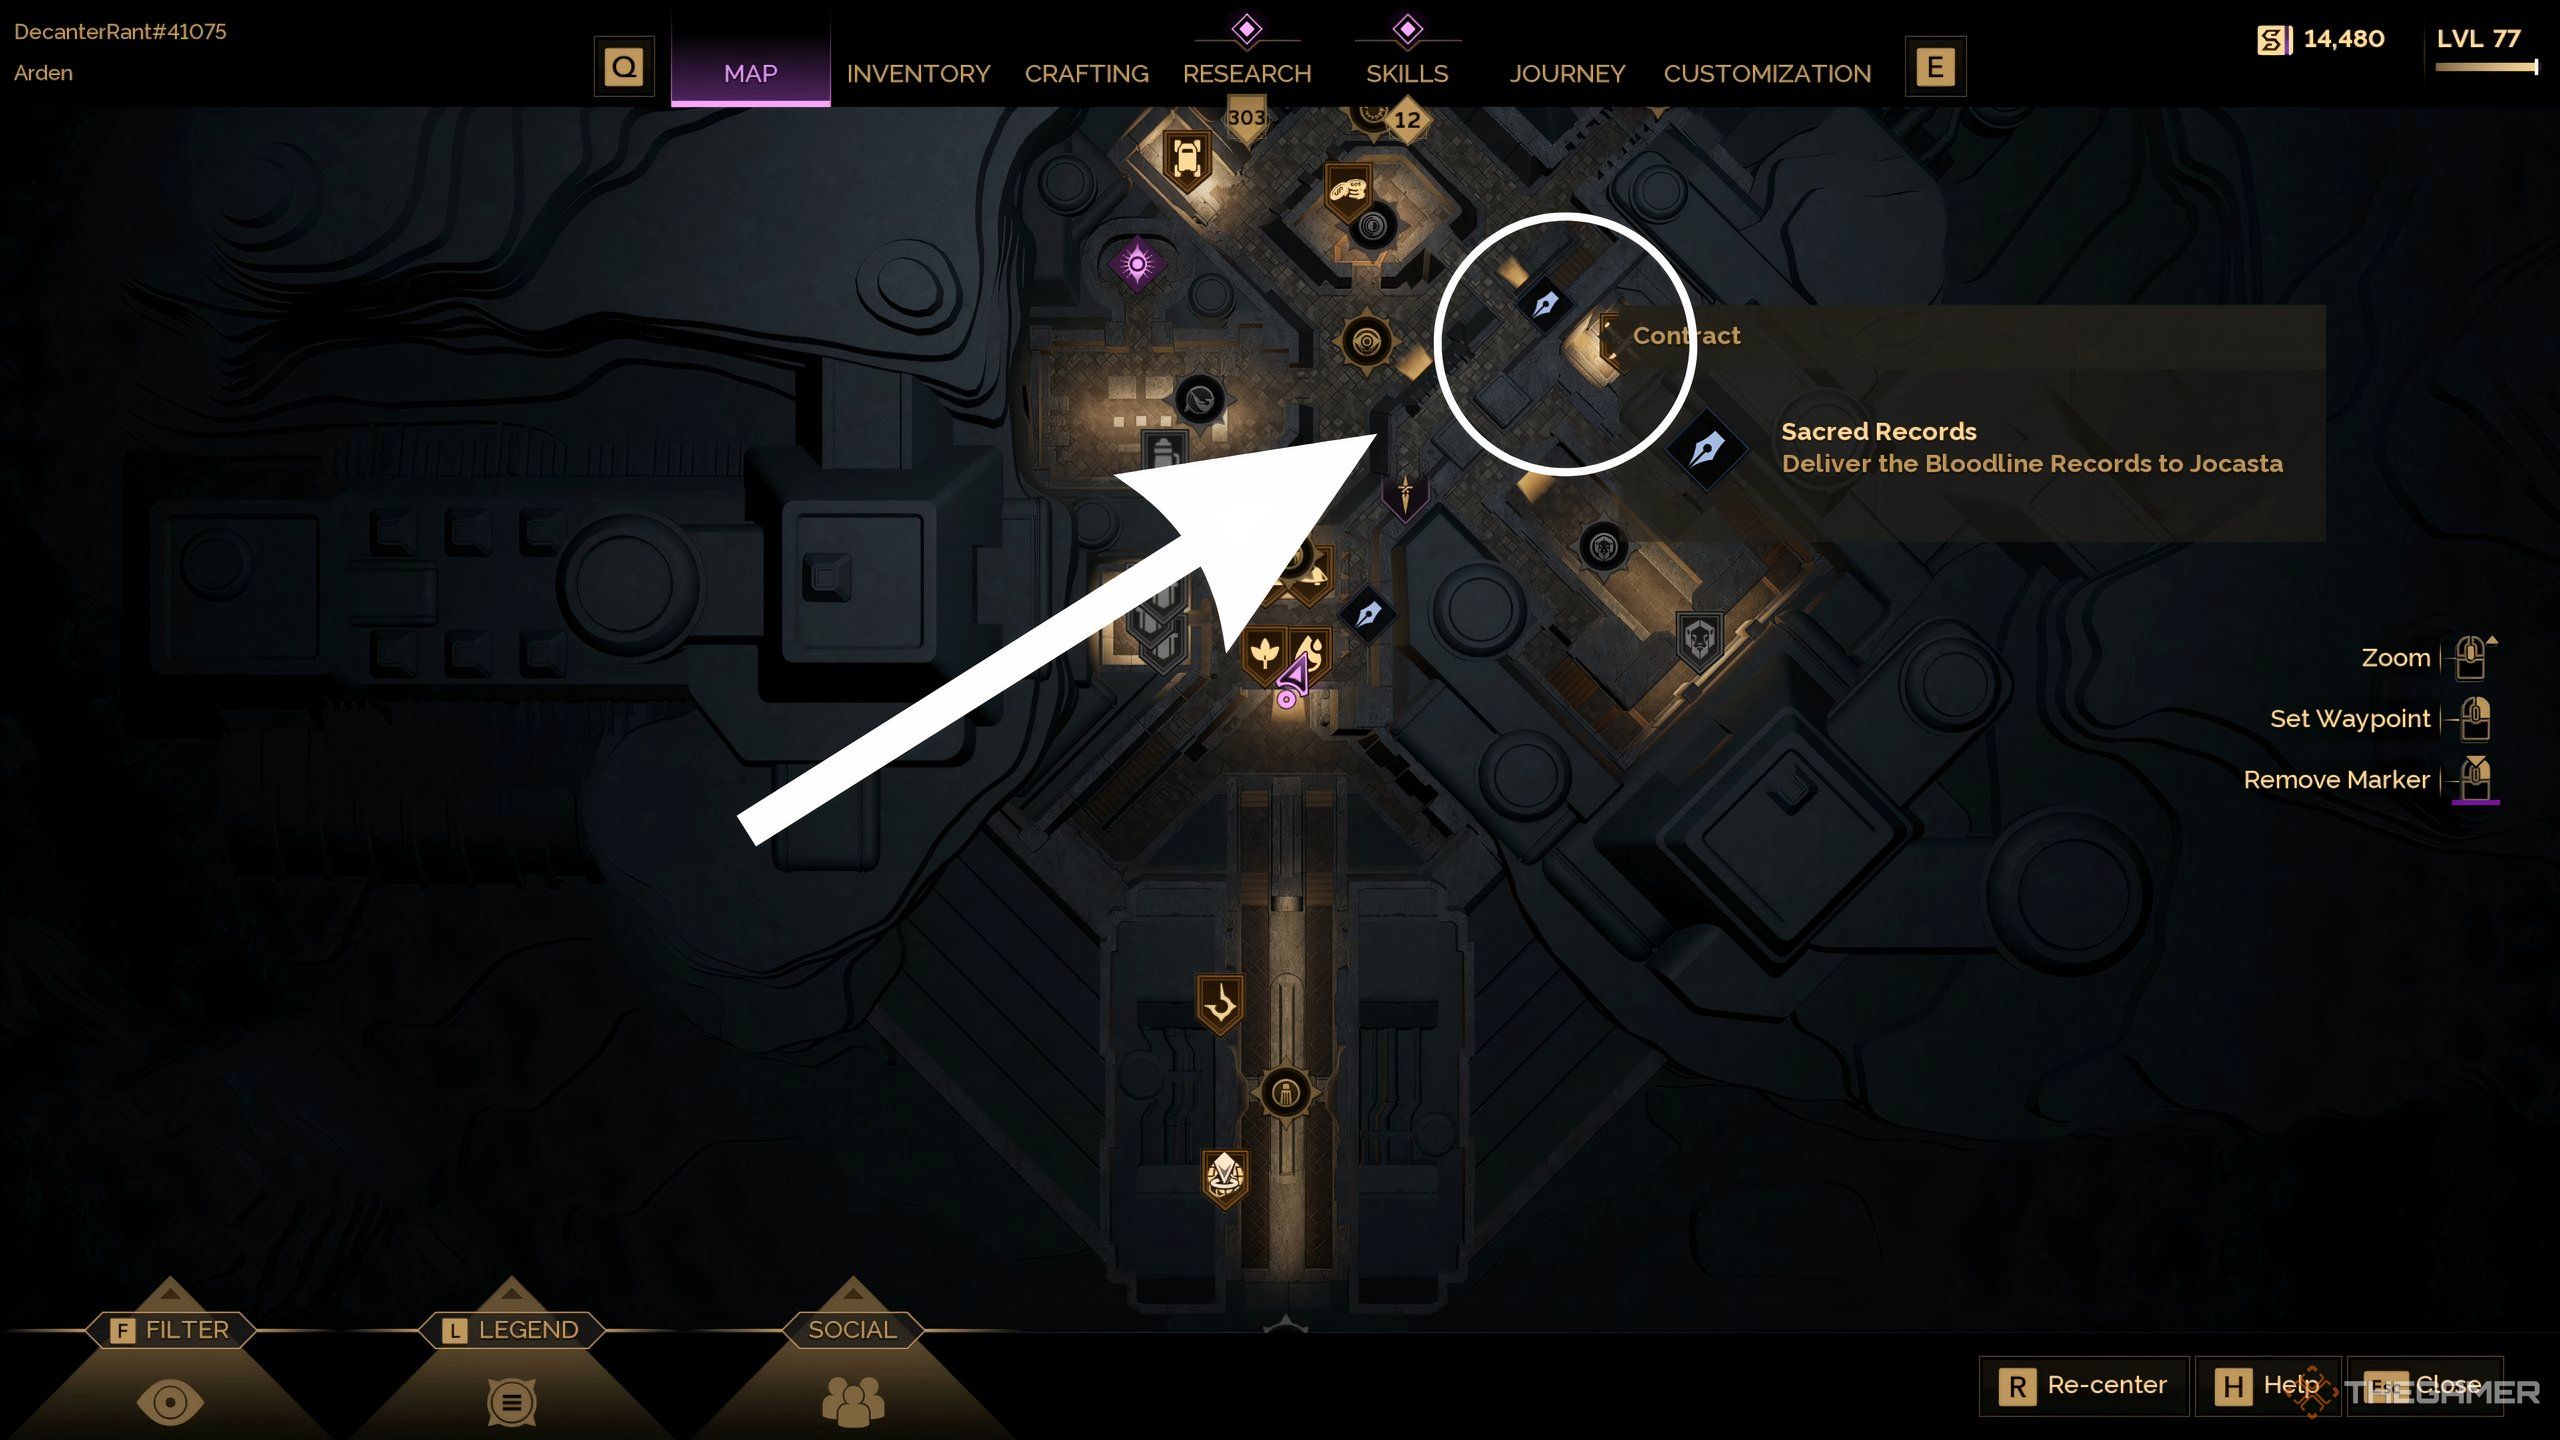
Finally, return to Harko and speak to Jocasta to finish your Advanced Bene Gesserit training.
You can further unlock Capstone Bene Gesserit skills by finishing more contracts for Jocasta.