Select Language:
As you dive into the worlds of Highland and Jowston in the HD Remaster of Suikoden II, you’ll come across various intriguing locations packed with fierce monsters. One of the spots that will likely capture players’ attention first is the Sindar Ruins, marking the game’s initial significant dungeon.
Navigating the Sindar Ruins can be tricky due to its intricate puzzles and the random assignment of your party members before you enter. This guide aims to help you get ready for your journey through the Sindar Ruins and offer tips for successfully making your way through.
Preparation
Since the Sindar Ruins are the first major dungeon, you won’t need to do too much to gear up. However, it’s wise to fit out your party members since you might not have your preferred team.
To the southwest of Muse City lies Coronet Town, where you can replenish your supplies and visit a blacksmith who can enhance your weapons to level five.
Keep in mind that the team you have might not be your long-term lineup. It’s advisable to focus your upgrades on your main character and Jowy first.
Achieving a balanced team level can be challenging since you’re not choosing your companions for this part of the journey. Still, maintaining an average level of about 10 ensures that your lower-level characters gain valuable experience while your stronger team members provide support.
Make sure your party is equipped with proper defense gear and is organized in a suitable formation before entering the Sindar Ruins for your first major dungeon experience.
The Sindar Ruins
To access the Sindar Ruins, navigate to the White Deer Inn area and take the northern path. When the story allows, Alex will open the ruins for you, granting access to the dungeon.
Inside the first room, simply interact with the small pedestal to the right of the door to proceed through the newly unlocked door.
This leads you to an outdoor passage that eventually splits. Follow the left path to uncover two chests: the left one containing three Mega Medicines, and the right one housing a Stone of Magic. After collecting those items, return to the fork and head down the alternate path. The southern route is a dead end, so continue heading north.
Go further north and cross the bridge on your right. Once across, head up to find a chest filled with Gauntlets. After securing that, descend and turn left toward the center river, moving north until you reach the next screen.
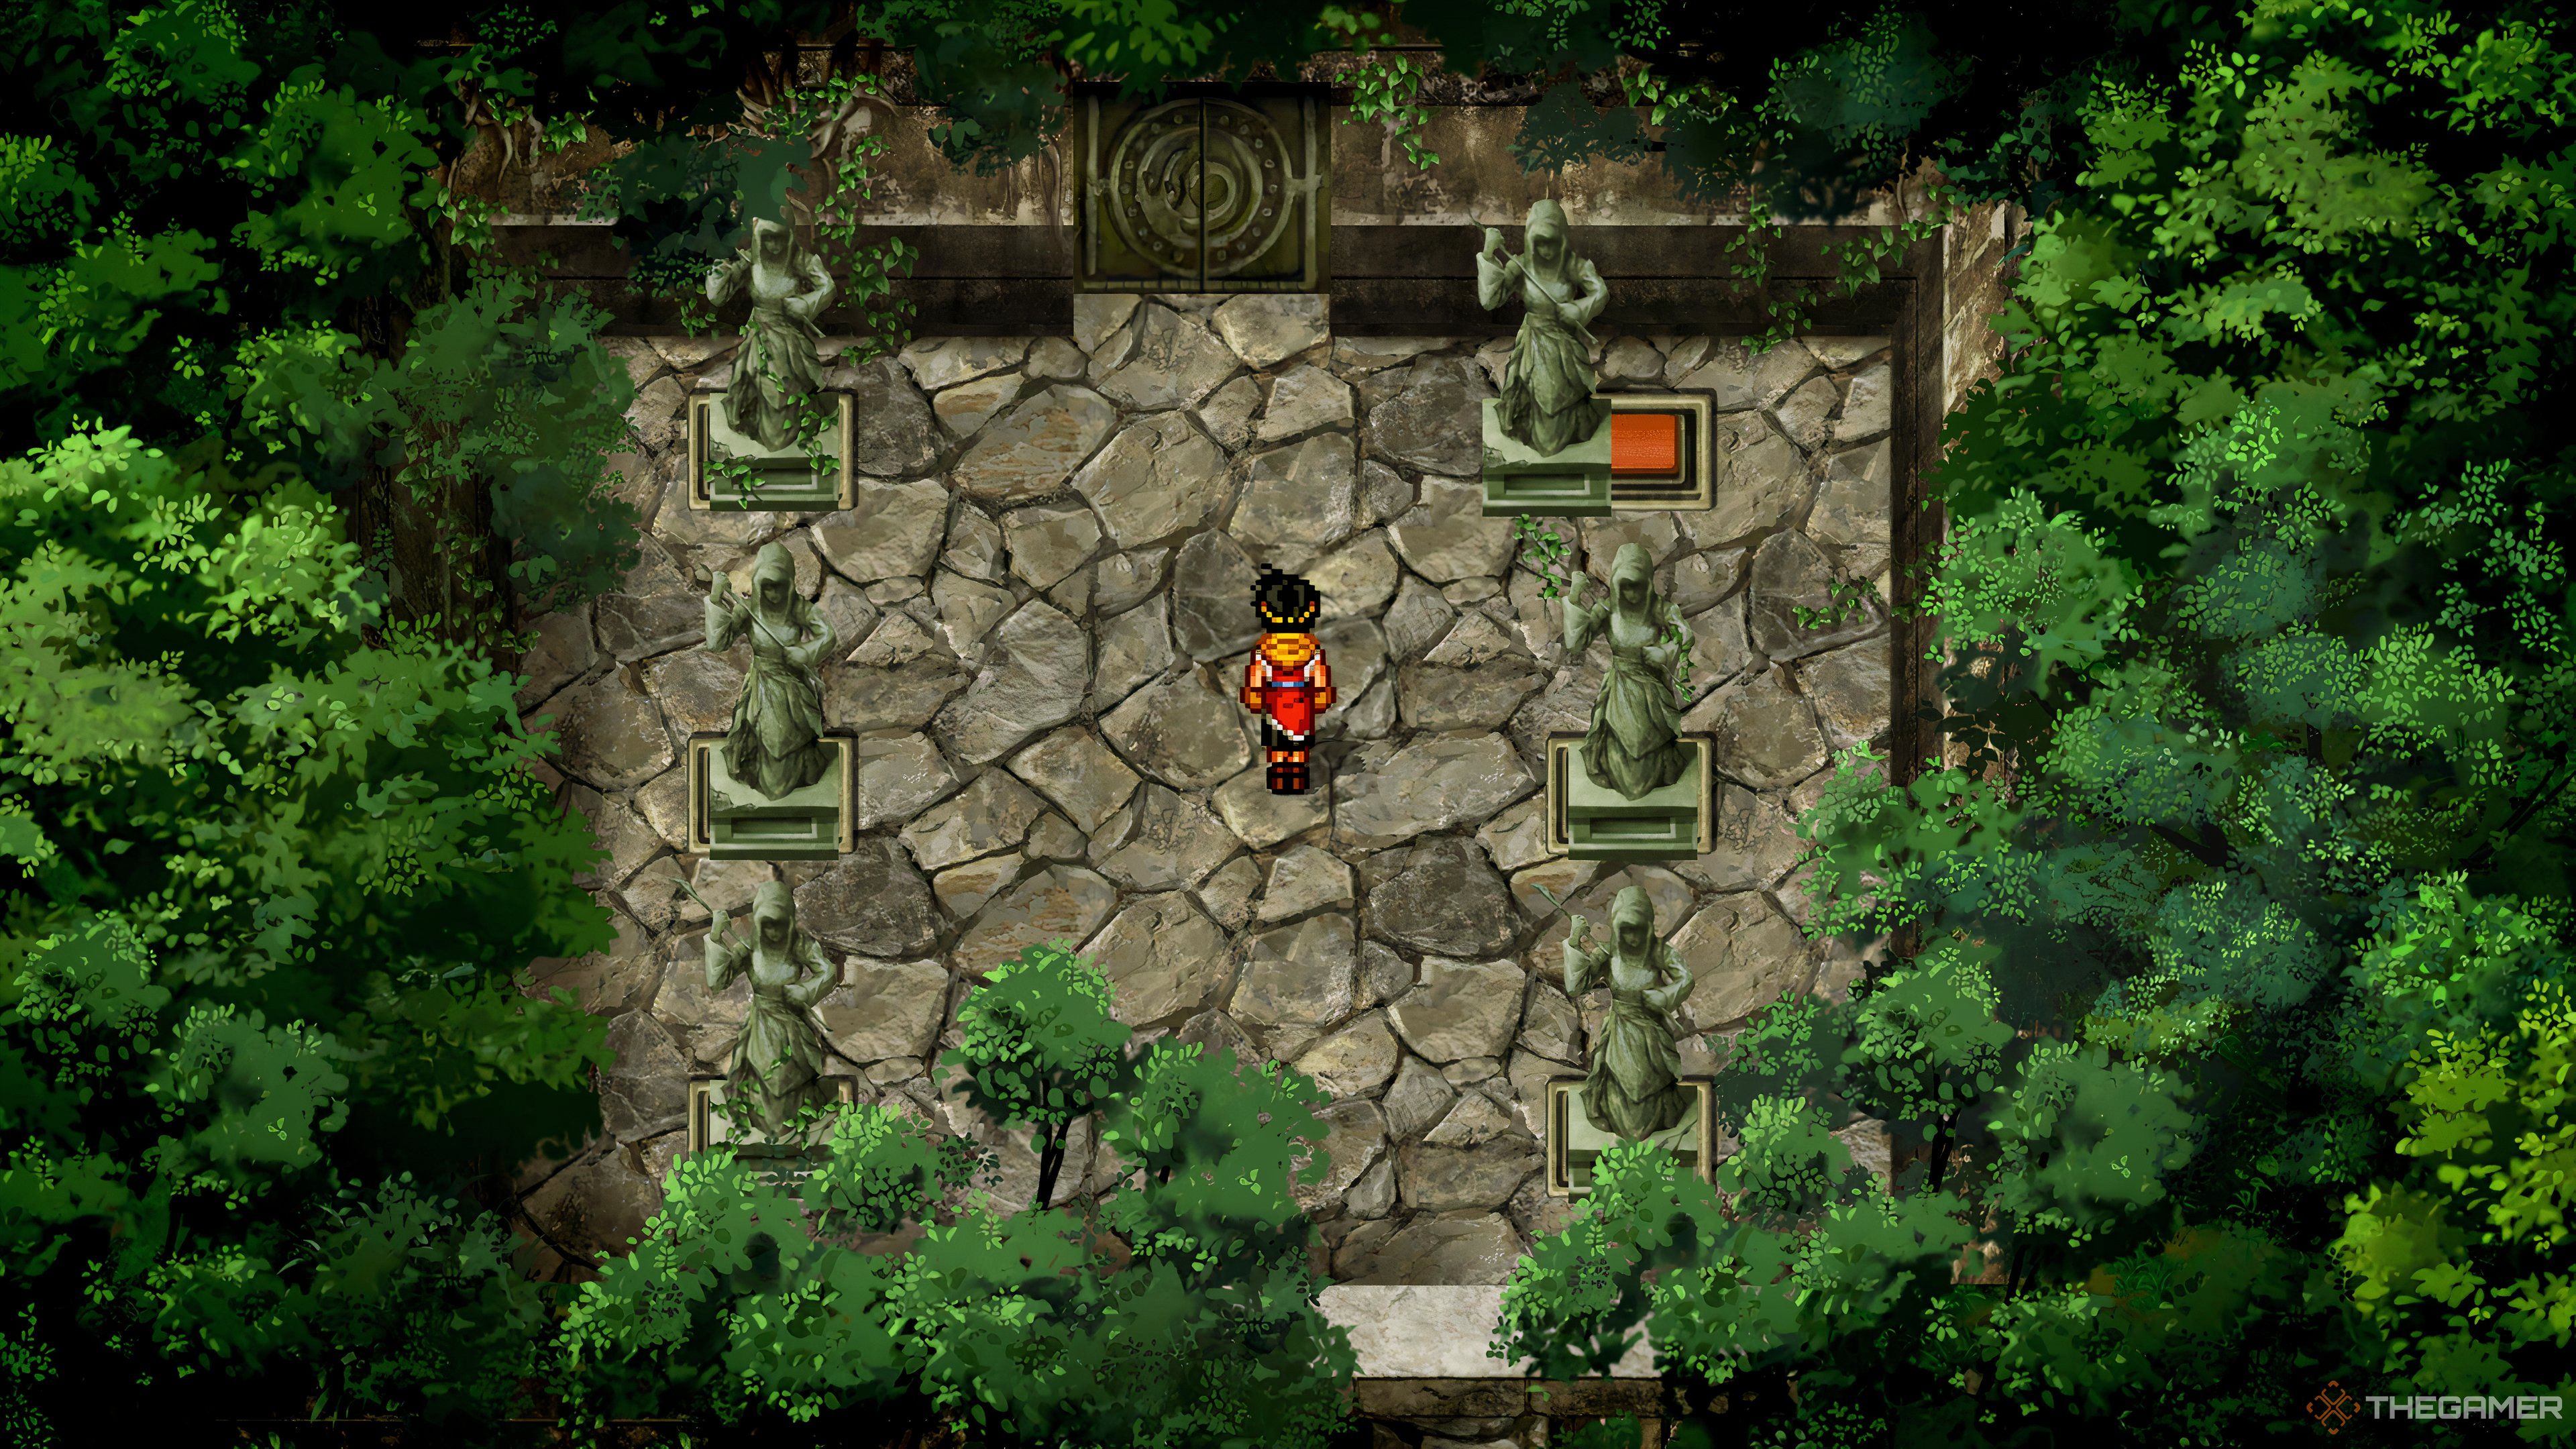
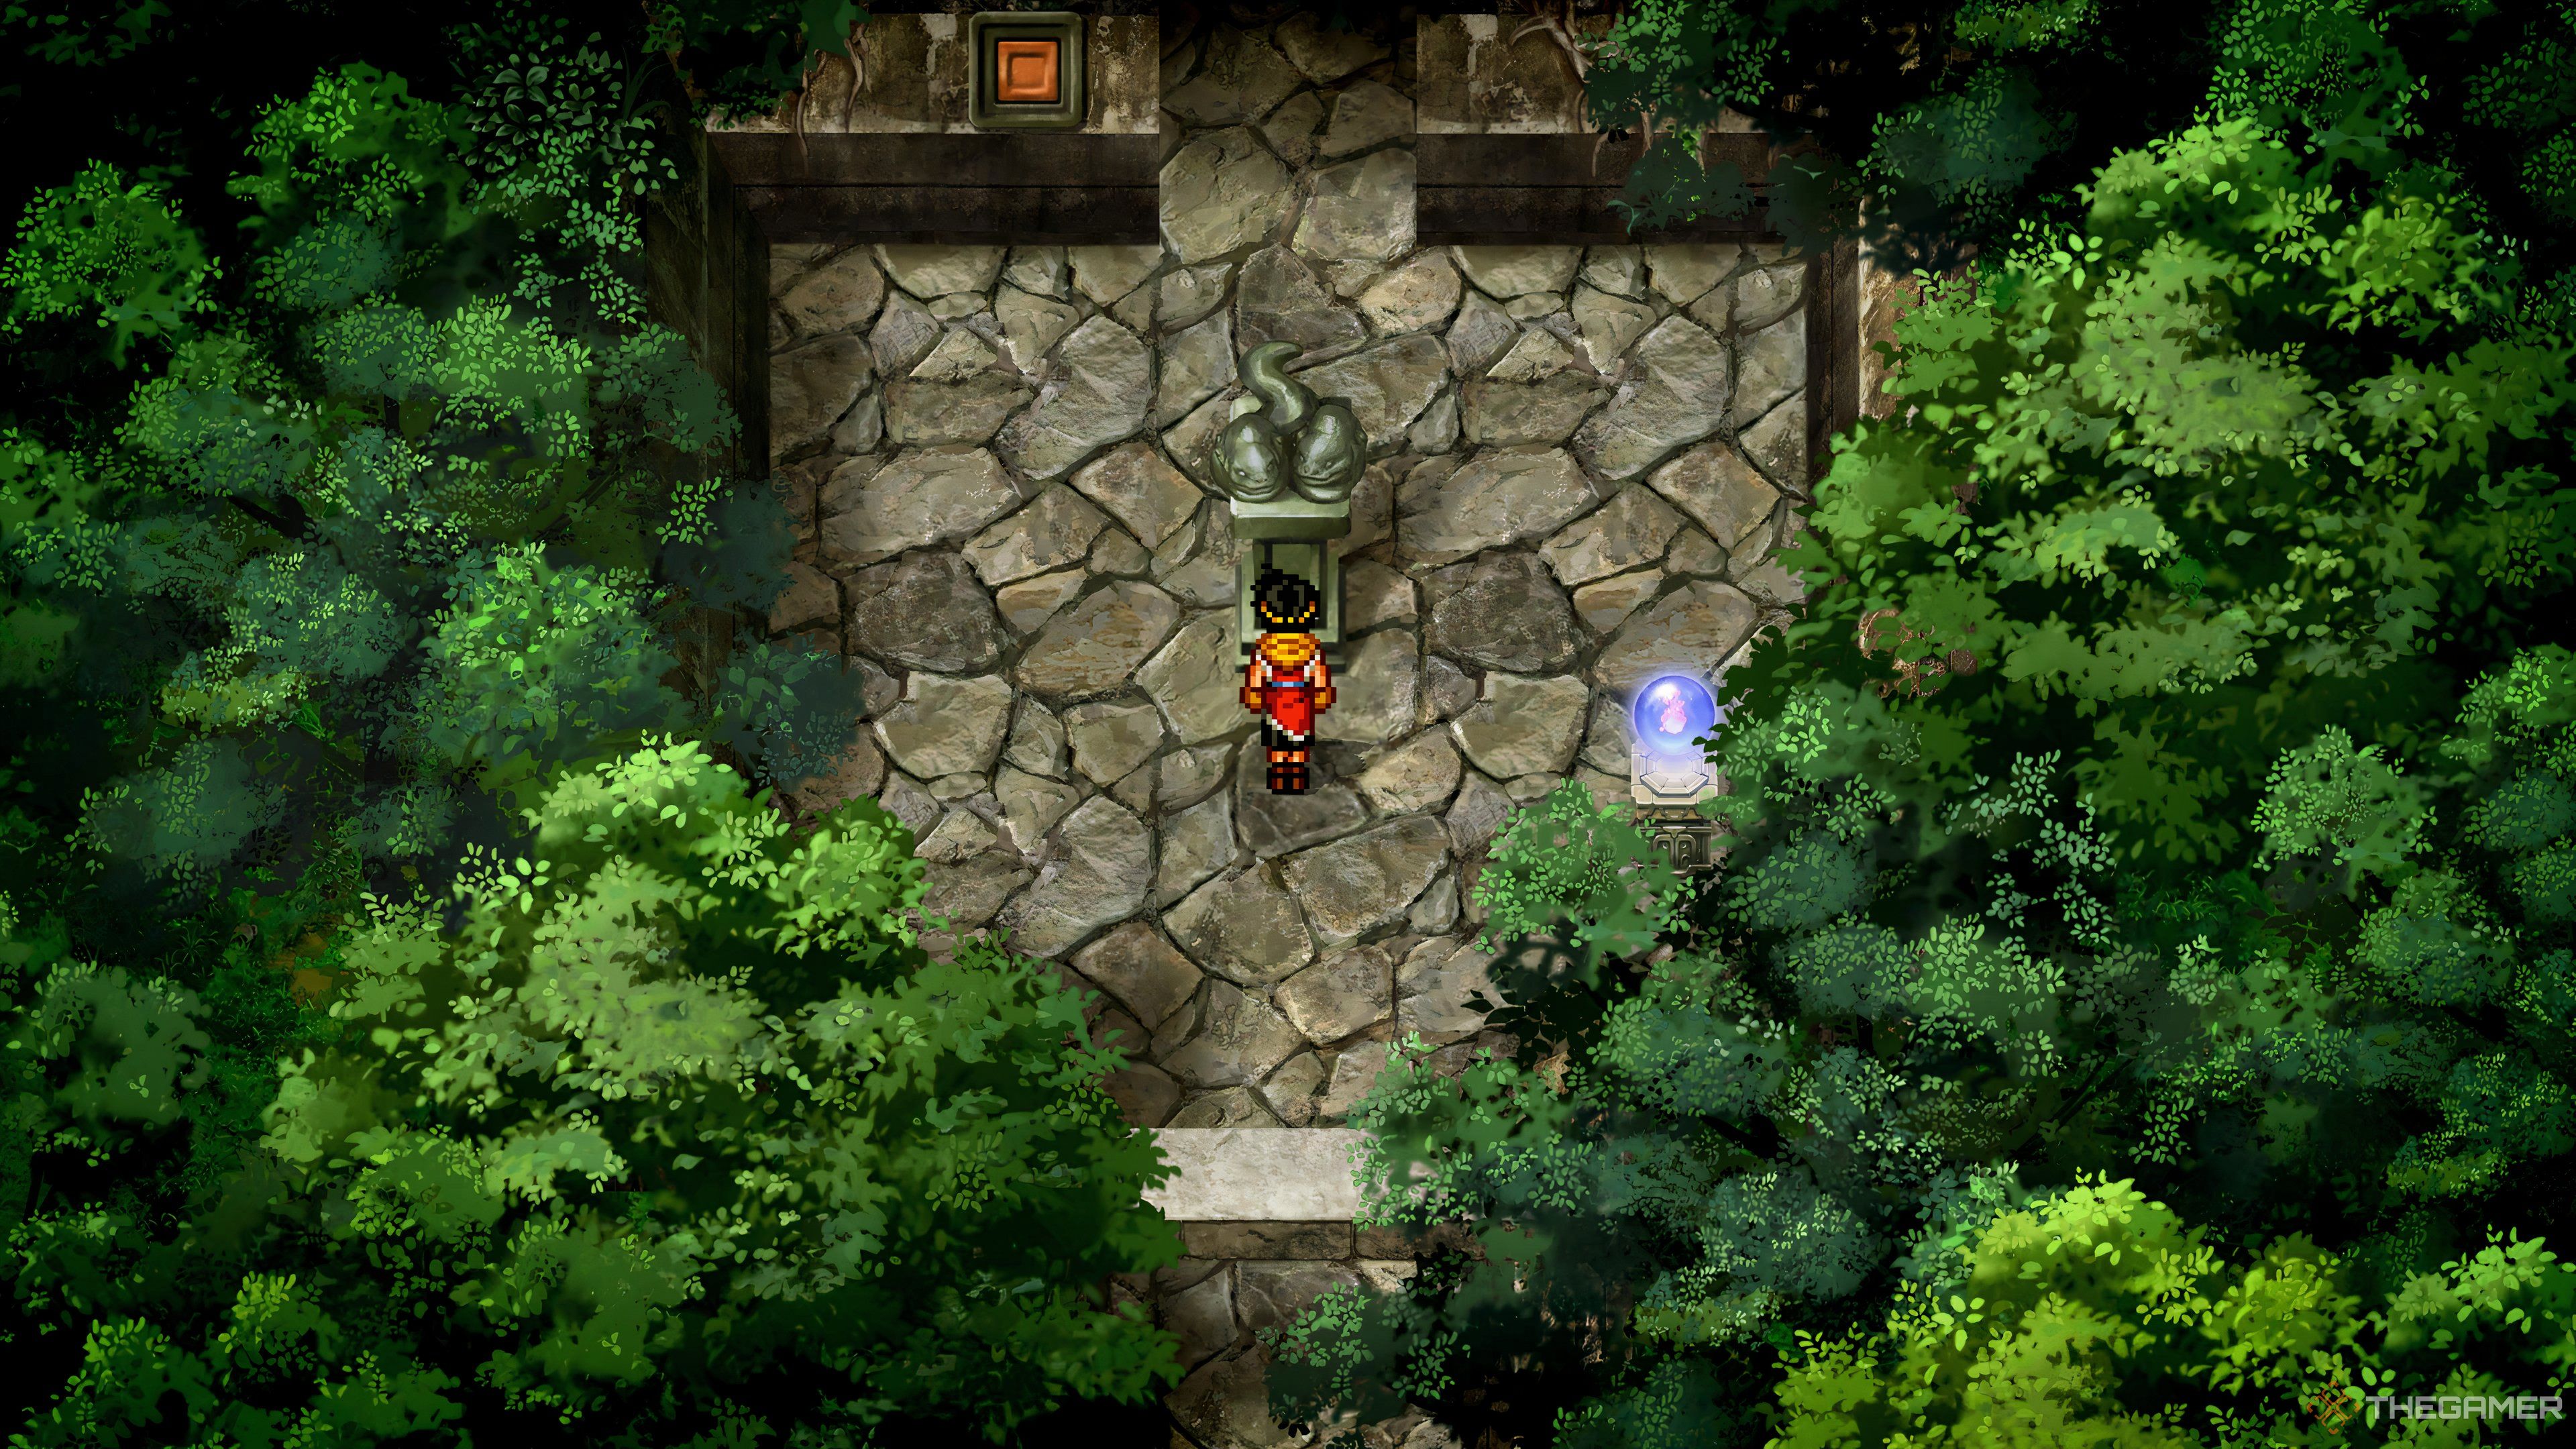
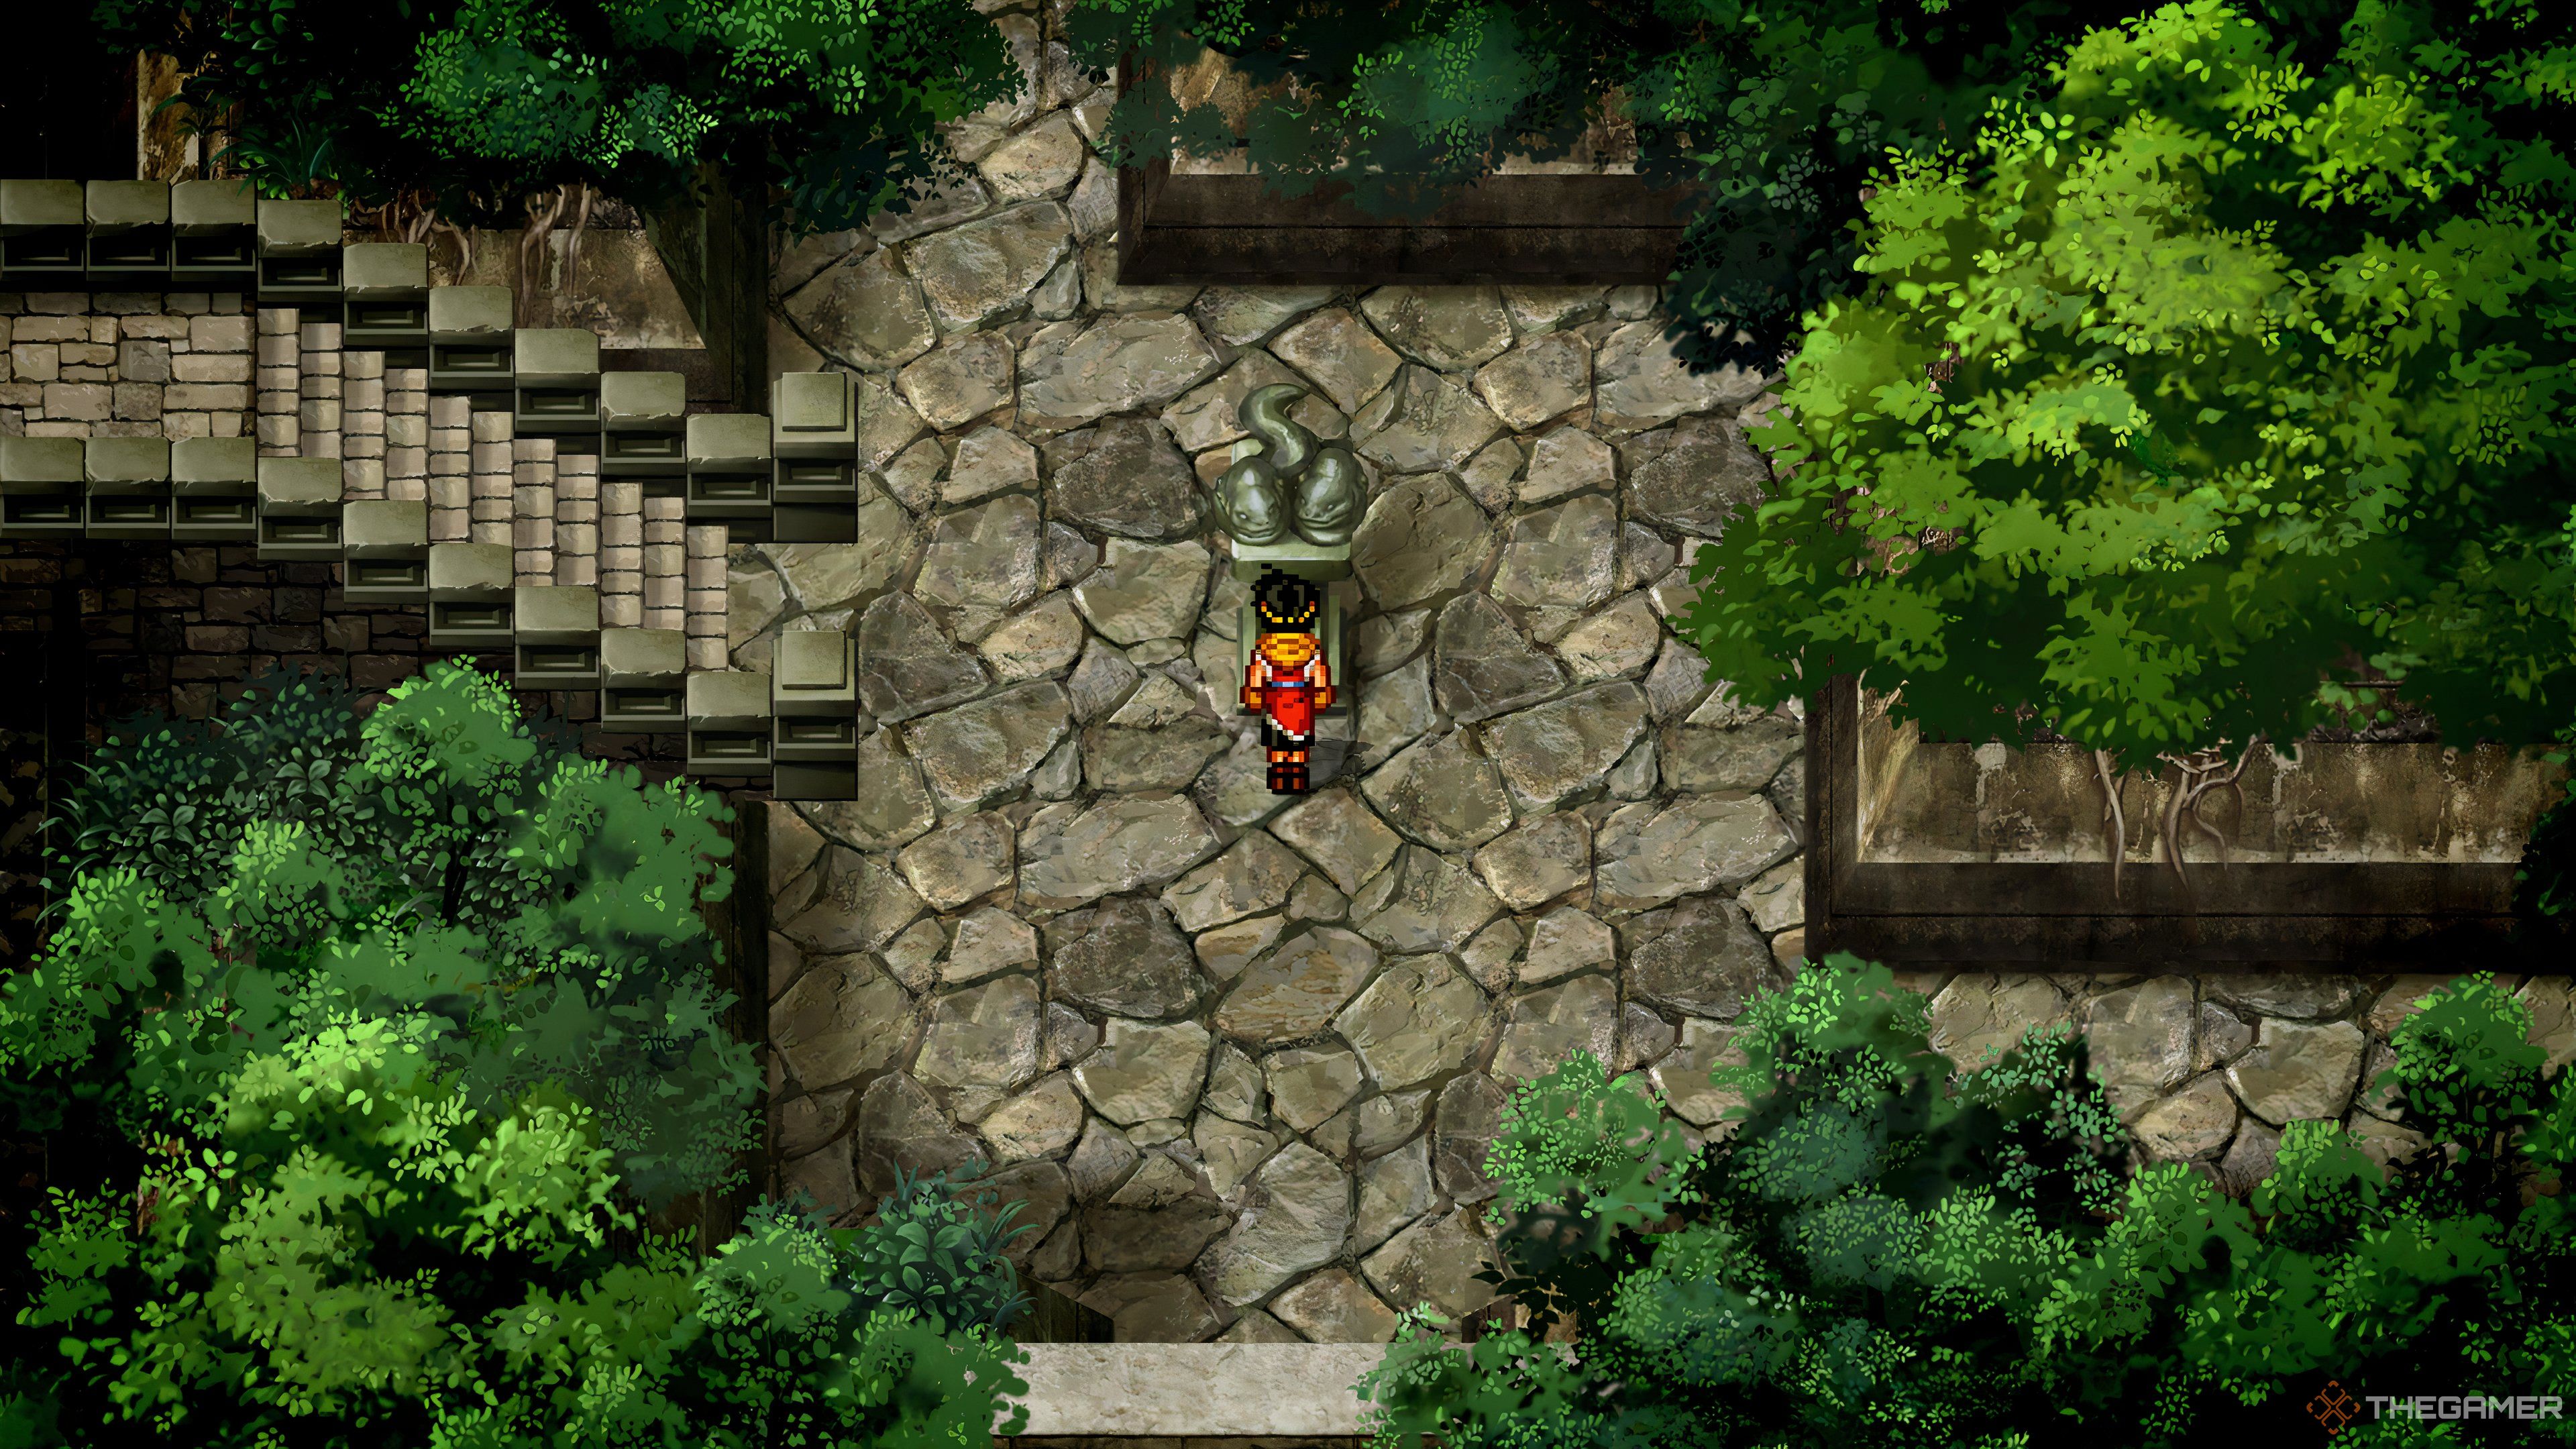
On the following screen, you’ll spot a closed door and a bridge. Cross the bridge and make your way to an area with six statues. One of the statues is next to a button, which you should push back onto it to open the nearby door.
Once inside the opened room, you’ll find two more statues and a treasure chest containing a pair of Shoulder Pads. Around the corner, there’s a Round Plate on a pedestal, which you can interact with to collect.

Having collected the Round Plate, retrace your steps back to the bridge near the sealed door. You should find a round indent where you can place the Round Plate to open the sealed door.
Once you pass through the newly opened door, you’ll encounter a four-way intersection. Start by going left across the bridge, then upward to obtain the Triangle Plate, which will help you lower the water in the area. Continue further left to discover a chest containing a Fire Lizard Orb.
With the Triangle Plate now in your possession, return to the fork and head north, taking the first right. Follow this path until you reach the top of a long staircase where you can insert the Triangle Plate to halt the water flow.

Now that the water has drained, further exploration becomes possible. Head back to the previous screen, then continue north to enter the area that was once underwater. Go further north to find a treasure chest containing Chain Mail, then head to the main river and go south to access a previously unreachable chest with a Water Orb inside.

From where you collected the Water Orb, move north and then take your first left to find the Square Plate. To use it, return to the original four-way fork and head right. Continue along this path until you reach a sealed door with a square indent suitable for inserting the Square Plate.
Opening this door reveals two chests: one holding a Magic Drain Orb, and the other containing an Old Book Vol. 2. These are the final significant finds in this dungeon before facing the boss.
Once you’ve gathered all the items in the dungeon, head back to the original fork, then proceed north and take your first left. Here, you’ll find a sealed door with a square indent, alongside a journeyman orb. Save with the orb, heal your party, then use the Square Plate to open the door leading to the boss of this area: Double Head.
Boss Fight: Double Head

Your prize for pushing through this dungeon is a colossal two-headed snake known as Double Head. This battle shouldn’t pose much of a challenge if you’ve been engaging in regular encounters within the dungeon to bolster your team’s strength.
As with many fights so far, your key players will likely be your main character and Jowy, especially since they’ve recently acquired their signature runes.
Your main character can provide healing for the entire party if needed, while Jowy’s rune delivers high damage at this stage of the game.
While your team may differ from the recommended setup, it’s worthwhile to use any unite attacks available (aside from the main character and Jowy’s Buddy Attack, which is less effective here). Specifically, the unite attack between your main character and Nanami, known as Family Attack, can inflict substantial damage against the boss.
If you happen to have Zamza in your party for this battle, his Fire Dragon Rune can inflict serious damage on Double Head, usable infinitely at the cost of dealing minor self-damage. Thankfully, this can be countered using healing items or your main character’s healing rune.
Double Head’s attacks are not overly damaging, so as long as you maintain a steady damage output and keep your team healed, you should prevail without much trouble. Once you defeat the boss, continue forward to claim your reward, and then exit the dungeon to carry on with your adventure.