Select Language:
Valestein Castle serves as one of the last dungeons in Ys Memoire: The Oath In Felghana, standing out as the largest dungeon in the game. This intricate locale challenges players by testing all their acquired skills and equipment.
In contrast to other dungeons, Valestein Castle is designed in a more non-linear fashion, allowing players to face its bosses and discover key items in any sequence they choose. While this freedom makes the gameplay more enjoyable, it can also lead to moments of confusion. To help navigate this complex dungeon and ultimately defeat Count McGuire and Chester, we’ve put together this comprehensive guide.
Exploring the East and West Wings
Upon entering Valestein Castle, take a moment to talk to the characters outside before moving inside. You’ll notice stairs leading to another door, but since that door is currently locked, proceed down the lower entrance for now.
As you move through the next couple of rooms, be cautious of spikes and prepare for some strong foes. You will soon reach a large area with a narrow pathway and swinging spiked balls, as well as two side passages. Since nothing significant lies down these side paths, stick to the main route.
This main path is icy, so make sure to equip the Stone Shoes that you’ve likely obtained in the Elderm Mountains. If you missed picking them up earlier, now is the time to backtrack. Charge ahead, deftly jumping to avoid the spiked balls; the Stone Shoes should make avoiding them a breeze.
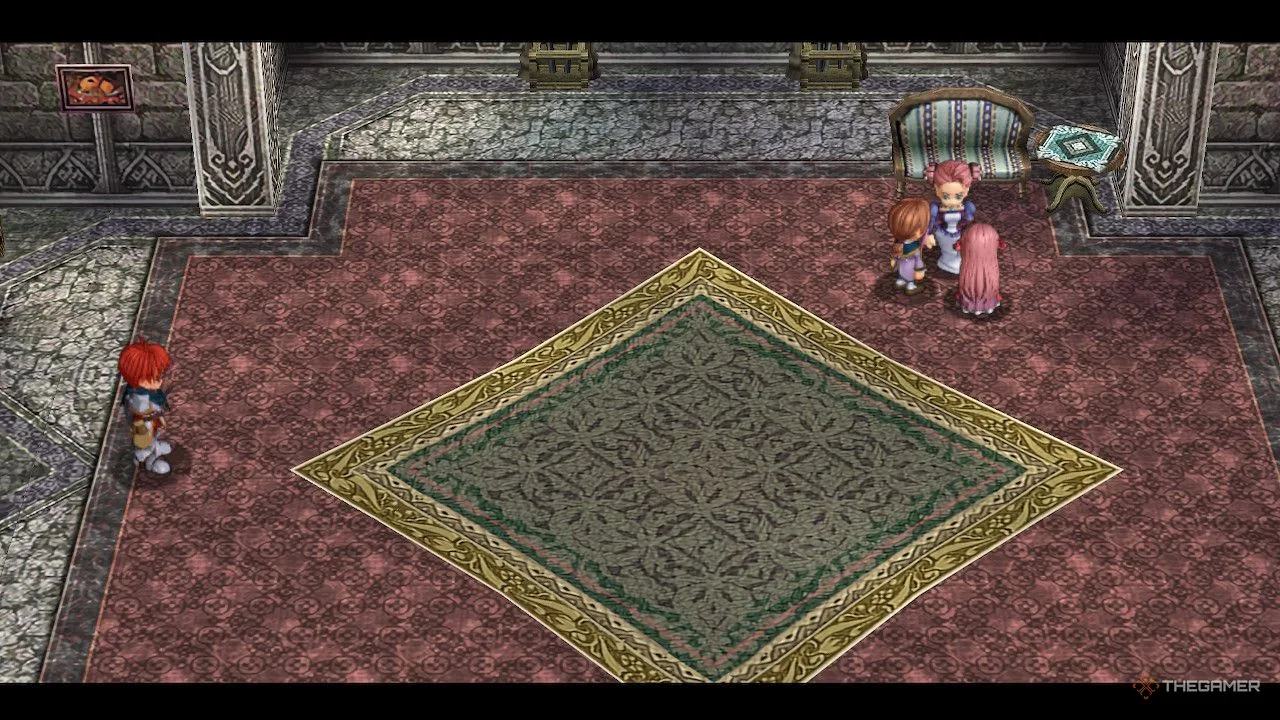
Following this path, you’ll find yourself in a room with a spiral staircase leading both up and down, along with left and right exits. For now, let’s ascend the staircase. Carefully navigate the gaps, then use Double Jump and the Ventus Bracelet to cross over to the upper level, where you’ll encounter Count McGuire’s wife and children. They will share vital information and provide you with the Ivory Key, an essential item for later in your journey.
Afterward, you can descend the stairs, but a quicker method is simply to jump down to the lowest level. From there, climb up the stairs to return to the middle of the spiral staircase area. At this point, you can choose to go left or right. Since the right path is somewhat limited, head through the left exit.
Note: The game’s save points mistakenly label the West Wing as the East Wing and vice versa. We’ll stick with actual directional terms for clarity.
Optional Items to Collect
While this section of the castle doesn’t offer too many optional treasures, the ones available are worth the effort. Here’s where to find them:
| Item | Location |
|---|---|
| Raval Ore x200 | In the room with the swinging spiked balls, drop down from a broken ledge into an alcove to find a chest. |
| Topaz | While climbing the spiral staircase, drop down through one of the gaps and use Double Jump along with the Ventus Bracelet to reach a chest on a separate platform. |
Given the strength of many foes in this dungeon, accumulating Raval Ore is highly beneficial. Hold onto it, as there are some fantastic armor upgrades approaching down the line.
Advancing to the East Wing
After taking the left path, you’ll arrive at an area filled with individual platforms occupied by enemies. Falling from any platform will send you back to the ground level, forcing you to restart the room, so tread carefully.
If you’re struggling with the platforming sections, you can use the “No Fall” option in the settings, which will allow you to respawn in your current area if you fall.
Jump onto the platforms and follow them north until you reach an impasse; then go left and continue south. When you encounter a fork, take the left path. The remainder of this section is straightforward, so follow it until you reach the exit.
You only need to use Double Jump to navigate these jumps, but it’s a good idea to have the Ventus Bracelet equipped for extra safety. After entering the next room, you will find the first new save point and face the first boss of this dungeon.
Optional Items in This Section
Similar to the previous area, you won’t find an abundance of optional items here, but they are particularly valuable:
| Item | Location |
|---|---|
| Battle Armour | Found on the bottom floor of the stairs or by falling from above; climb the spiked section to uncover a treasure chest. |
| Raval Ore x500 | Before reaching the fork, jump to the right using Double Jump combined with the Ventus Bracelet to reach a hidden platform with a chest. |
The Battle Armour is a standout reward here, but don’t forget to use the Raval Ore to upgrade it. Save your progress at the East Wing’s save point and then head back to Redmont to strengthen your gear before facing the boss.
Conquering Death Faleon
Death Faleon is your first boss in this dungeon, and fortunately, he isn’t too tough. However, he has a unique damage mechanic similar to the Ligaty boss encountered earlier.
Throughout the battle, Death Faleon will change colors, with each color vulnerable to specific types of damage. Green can be hurt by wind, red by fire, yellow by earth, and white by your sword. Besides that, the fight itself remains relatively straightforward, without any new tricks introduced as the fight progresses.
Once you defeat him, you will receive the Organ Pipe, another quest item that will be useful later, as well as a notification that some doors are now accessible. Head back to the circular staircase to continue your exploration.
Entering the West Wing
The opened doors are located at the far end of the right side of the circular staircase and above the entrance stairs; they connect back to each other. Since the first option is closer, head through the door near the circular staircase.
The first room will lead outside to a courtyard. For now, you have two areas to choose from: a central building and an open door to the left. Since there’s not much to do in the center building right now, continue left.
Move through this next linear area until you reach another circular room with stairs leading up and down. The south door leads back to the newly opened entrance, so ignore it. Both staircases offer optional items, so take the right exit.
The next area is very dark and filled with misleading platforms. To illuminate the area, equip the Nightfire Gem you obtained from Aida earlier in the game. This lighting change will reveal the fake platforms, allowing you to avoid them while navigating.
Even if you end up on a false platform, you will have a brief moment to jump off, which can turn them into legitimate platforms if you act quickly. This area is populated with enemies, so be cautious not to get knocked off the edges. Luckily, the enemies are also unaware of the false platforms, making it easy for them to tumble into the void.
After making it across, you’ll arrive at Valestein Castle’s second save point, followed by the second boss.
Optional Items in This Section
You’ll discover a more substantial amount of optional items here, primarily Raval Ore. Here are their locations:
| Item | Location |
|---|---|
| Raval Ore x320 | From the large icy area, take the east exit to a room with spikes, then climb the wall and break through using the Terra Bracelet to find a chest. |
| Raval Ore x380 | In the area with false platforms, jump to the northeast right at the start to reach a chest while avoiding the fake platforms. |
| Battle Shield | Climb the stairs in the circular area, then ascend the wall and break the cracked section using the Terra Bracelet to reveal a chest. |
| Raval Ore x250 | After crossing a platform, jump up to higher stairs and utilize the Ventus Bracelet and Double Jump to reach this chest. |
Aside from the Battle Shield, which is the second item you need for your set, the Raval Ore is invaluable for upgrades. Once you reach the West Wing save point, consider a trip to upgrade your gear again.
Defeating Zellfel Zam Schultiger
This doglike creature serves as your next boss, and the battle takes place in a side-scrolling arena. While not overly complex, the small size of this area adds a level of difficulty.
Their attacks include shooting fire in one direction—best evaded by positioning yourself behind them—and a lunge that launches them over you, so stay low to dodge this attack. There’s also a howl attack that summons smaller wolves; you can either double jump over them using the Ventus Bracelet or negate the damage with the Terra Bracelet.
The final attack has them curling into a wall and bouncing around the space. After this assault, they will pause for a few seconds, providing you with a prime opportunity to counterattack. In scenarios when you can’t approach closely, utilizing fireballs can effectively hit them even off-screen.
After besting this foe, you will earn the Holy Cross, a crucial item for advancing further into the castle.
Navigating to the Dungeon
Return to the courtyard and enter the central building, noted as a chapel. On the floor, you’ll find Elena’s Silver Pendant; pick it up for a future quest. Head to the organ and place the items you’ve collected—Ivory Key, Organ Pipe, and Holy Cross—to unveil a secret passageway leading to the dungeon.
The initial section of the dungeon is straightforward, so simply follow the stairs downwards until you arrive in the next area, which is teeming with powerful new enemies.
As you navigate through this area, stay on the path, leading you to an open space. Head right to a set of stairs, one leading up and the other leading down. Opt for the downward staircase. Rush through this room to the right exit, which will take you to the final save point in Valestein Castle. You will face two exits ahead—north and east.
The eastern exit leads to the Clock Tower, which you cannot access yet, so proceed north, where the final boss of Valestein Castle awaits.
Optional Items in the Dungeon
In the dungeons beneath Valestein Castle, you’ll discover only one optional item, the smallest section of the area:
- Battle Saber: Located in the large room, ascend the stairs and climb the wall until you loop back to the previous area at a higher level. Jump across the falling platforms to reach a chest surrounded by Torieze enemies, which contains the sword.
This is the second most powerful sword in the game, making it worth a trip back to upgrade once you find the next save point. You should be able to equip it right away.
Overcoming Zirduros
Zirduros is the last defender of Valestein Castle, and it’s quite amusing to note that they are a robot. Despite the game’s world not showcasing guns or electricity, here stands a mechanical being, equipped with everything you would expect from such a character.
Nevertheless, even with their advanced technology, they can be defeated with a good sword and some magic. Zirduros has powerful strikes, but many of their moves can be entirely avoided with the Terra Bracelet. The strategy here is to attack from behind, as they struggle to deal damage when you are positioned correctly.
The Terra Bracelet will be immensely helpful, allowing you to stick close to Zirduros without incurring too much damage. Use Double Boost as soon as it’s available to heal and inflict significant damage.
Once you’ve taken them down, you’ll receive the Clock Tower Key, enabling you to rescue Elena and even Bob, Aida’s supposedly deceased grandson. This leads to a happy conclusion for everyone, setting the stage for the penultimate dungeon in the game.