Select Language:
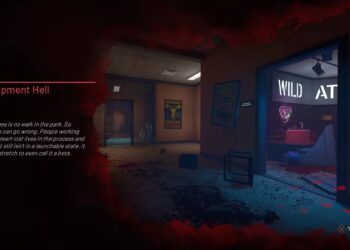
The underwater maze in Cthulhu: The Cosmic Abyss is the main puzzle in Chapter 2. You need to explore its impossible shape before the station powers up and then navigate it again once you have the right tools. Before entering, you should do some preparation — like fixing the station’s drainage system and finding hidden items scattered across the floors.
To clear the maze, you have two options, depending on how you want to handle your Corruption meter. This guide explains both so you can choose whatever fits your playstyle.
How To Reach the Maze
After restoring power to the station, wait for it to become fully operational. Use this time to search for the underwater maze that leads to the secret city you learned about from Andrew Marsh’s video.
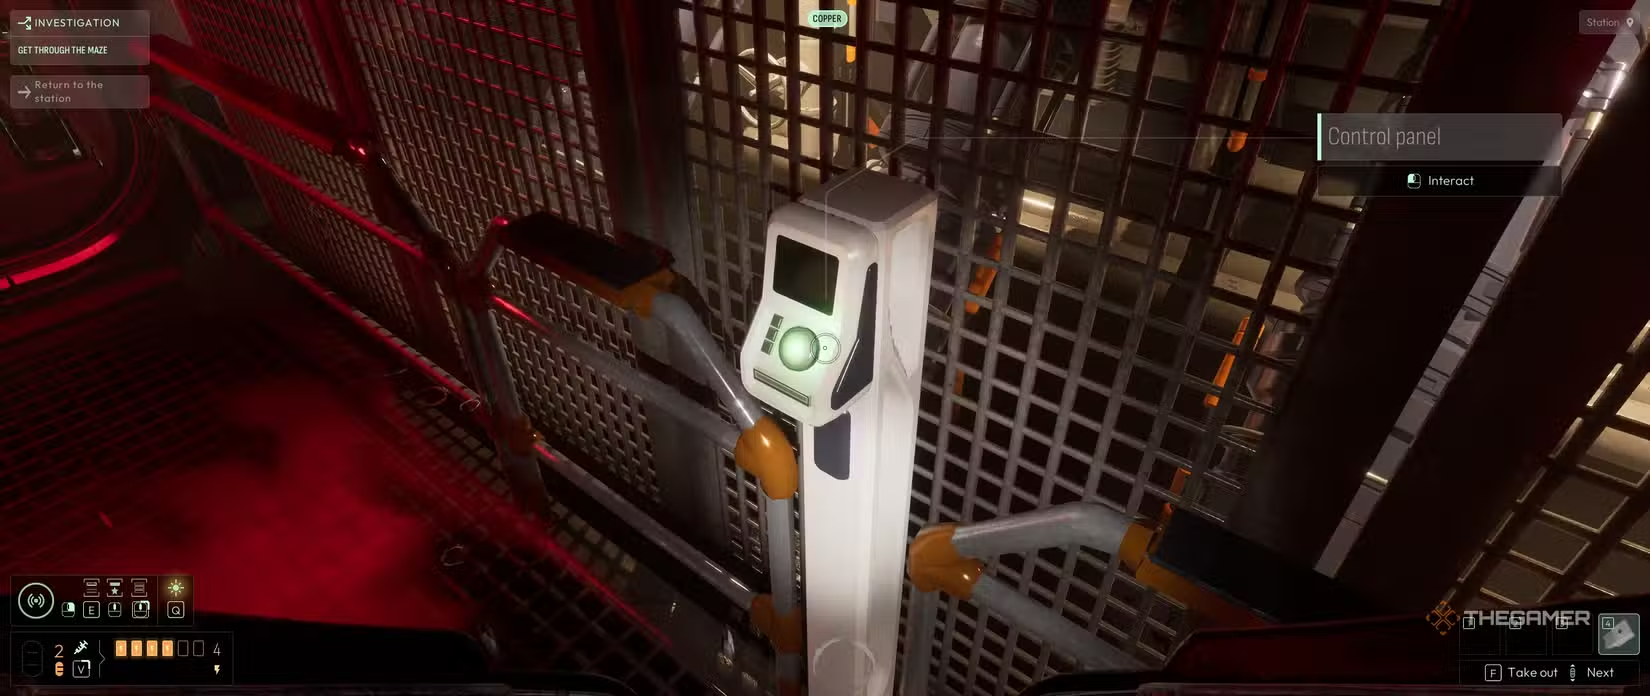
On the same floor as the Control Module, you’ll find some copper anchors. Analyze one to add the Copper Frequency to your sonar. Once this is done, head back through the hall to the open sea—press the button to flood the corridor so you can continue into the ocean. The maze entrance is close—just look down at the ground. Use your Copper Frequency sonar to spot the trail of anchors leading into the maze, where you’ll find a strange pedestal.
Once inside, explore the maze, which is filled with impossible geometry and strong currents that may block your way or lead you back. After some stages of wandering, return to the station once the boot-up sequence is complete by following the copper anchors and moving vertically whenever possible.
Before leaving, do these two things:
- Analyze the pedestal in the central area to obtain the Astral Stone Frequency.
- Continue exploring until you find a room with an Ocean-I supply box near two pillars of smoke. Beyond that, you’ll find a small room with a floating corpse. Use the Astral Stone Frequency here to locate a large stone cylinder — this is essential for the chapter’s puzzle.
Back on the station, decide which route to take: the high corruption path or the lower corruption one. The high corruption route involves reconstructing a mysterious artifact and using its powers to navigate the maze, while the low corruption route involves retracing the steps of the strange creature that attacked the crew.
High Corruption Route — Completing the Artifact
This path is suited if you don’t mind increasing your corruption or if your goal is to reach a particular ending. It involves learning about the artifact from the beginning of the maze, reconstructing it, and harnessing its effects.
The key clue about the artifact is found in the Communication Unit, where an arm is on the floor and an audio file (or transcript) discusses the artifact pieces located in the lab, also called the Science Module on Floor 02.
How to get the artifact pieces:
In the Science Module, you’ll find a locked Decontamination Chamber containing the remaining artifact pieces, blocked by a Key Card reader. Examining the nearby Key Card reveals that you need Anastasia Wolejko’s Key Card to open it.
To find her Key Card, look in the Crew Quarters, located on the same floor as the Science Module. Inside a locker at the back of the room, you’ll find the key card. Use it to open the Decontamination Chamber and retrieve the artifact fragments.
Once collected, place a piece on the ground and attach the other pieces to it by interacting with them from your inventory. Assembling the fragments will allow you to proceed into the maze and solve the puzzle.
How to Use the Artifact
From the station, examine the strange arm and messages to learn that the artifact pieces are in the lab, and that the lab’s objects are made of Titanium. Find a pipe on the ceiling in the central area of Floor 00 that’s blocked with Extra-Dimensional Sap. Use your sonar with the correct frequencies to find and replace this pipe with a clean Titanium one taken from the Storage Module.
Fixing the pipe clears the water drain, allowing you to operate the control panel and reveal the dead body of Anastasia Wolejko, who appears in the high corruption route. Examine the metal piece near the body to get the Hybrid Mucus Sonar Frequency — crucial for navigating the maze.
How To Navigate the Maze
Regardless of your method — with the artifact or not — the route through the maze is the same. You can choose from two options:
- Place the completed artifact on the pedestal at the maze’s start, unleashing sap that creates a clear pathway.
- Use the Hybrid Mucus Frequency to reveal the escape route previously used by the creature that attacked the crew.
Be aware: forming the artifact and attaching it to the pedestal will lock you into the high corruption path, which increases your corruption level even if you solve the maze with the Hybrid Mucus.
Navigate the narrow tunnel with rapid water flow — indicated by bubbles. Stick close to the wall and follow the predictable path; deviating risks being thrown out by the current. Use your sonar continuously if you’re relying on the Hybrid Mucus to keep the pathway visible. Once you reach the top of the tunnel, you’ll be expelled from the maze, ending Chapter 2.