Select Language:
The main Easter egg for Black Ops 7 Astra Malorum zombies is a long quest with many steps. It can be hard to figure out how to complete it without help, but don’t worry—I’ve put together a complete guide and walkthrough for completing the Astra Malorum Easter egg in BO7.
This map is the second zombies level in Call of Duty: Black Ops 7. Instead of the truck gimmick used previously, this interstellar map features a roaming boss. There’s a lot to do if you want to finish it, so let’s jump in.
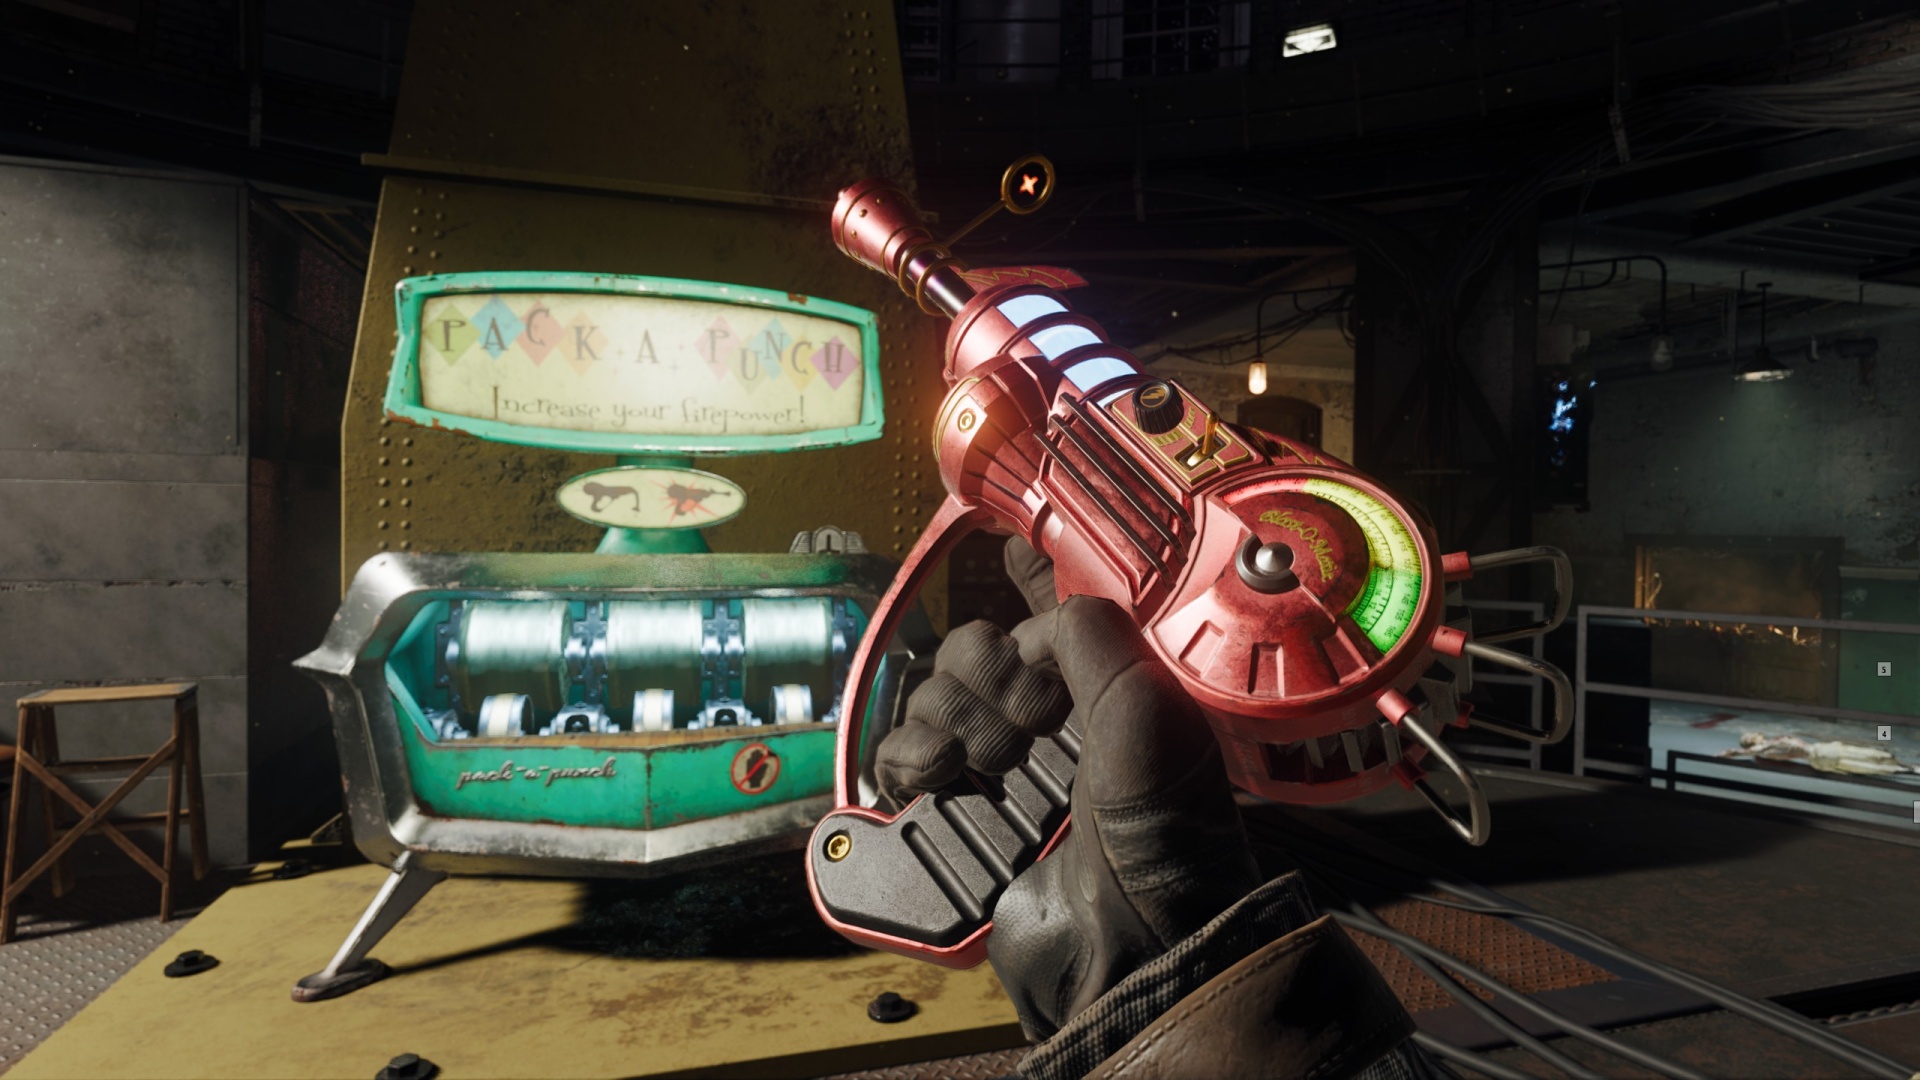
1. Turn on the power and activate the Pack-a-Punch machine
Start by repairing the Harmonic Oculus in the Observatory Dome. To do this, gather two Harmonic Components—one from the Luminarium and one from the Machina Astralis—and defend it against zombies until it’s fixed. When you finish repairing it, the Pack-a-Punch will be available, allowing you to upgrade your weapons.
2. Acquire the LGM-1 Wonder Weapon
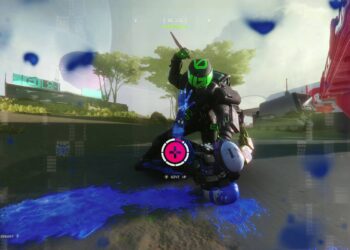
This is your new powerful Wonder Weapon needed for the Easter egg. To get it, you must defeat OSCAR, the roaming boss, three times with different contraptions around Astra Malorum. Each time you defeat OSCAR, he will respawn so you can repeat the process.
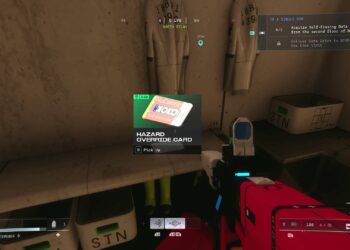
Before you activate these contraptions, make sure to collect some spare parts: the Car Battery, Aberrant Wiring, and a Damaged Drone. You get the Car Battery by shooting the hood of Ol’ Tessie with a Pack-a-Punched gun, shoot the flickering lamp post to get the Wiring, and find and eliminate one of OSCAR’s shield drones to get the Destroyed Drone.
3. Complete the Planets Puzzle
Visit the Observatory Dome again, and with the Harmonic Oculus fixed, follow OSCAR without being detected until he spawns audio logs. Pay attention to the recordings — they will mention three planets. Convert their names into numbers based on their position in the solar system (Mercury=1, Venus=2, Earth=3, etc.). Input this three-digit code into the machine near the pillars in the room to activate the portal.
4. Obtain the Perfusion Machine
Use the device next to the Harmonic Oculus to align the telescope with the sun, summoning a laser beam. Lure OSCAR into the beam to kill him. Then, head to the Luminarium to activate a trap that damages OSCAR over time. Lead OSCAR through the room while shooting his shield drones. For the final trap, use Cryo Freeze ammo to shoot purple crystals around the map, which will drop Absolute Zero Fragments.
After collecting three fragments, bring OSCAR to the Museum Infinitum and activate the rocket trap. The fragments will freeze a trail, and you can lure OSCAR into it to kill him.
5. Solve the Reading List Book Puzzle
In the Archive of Orbis, find the bookshelves and compare their titles to Dr. Thurston’s reading list displayed on the Perfusion Machine. For each matching title, rotate the nearby busts once. Once this is done, the attic opens, revealing the planet Neptune. Take it to the upper level of the Machina Astralis and place it on the empty pole to complete the solar system diorama.
6. Align the Planets
Find several scraps of paper with directions and planet names around the map—on a table near the Stamin-Up, a desk in the Machina Astralis, and a lamp in the Luminarium. Use these clues to rotate the planets into the correct order on the diorama. After aligning the planets properly, interact with the Perfusion Machine to start a two-minute lockdown, during which you must defend the teleporter from OSCAR and zombies. Destroy OSCAR’s drones quickly, as they try to disable the teleporter.
7. Survive on Mars
After defending, you will teleport to Mars. Pick up the Perfusion Machine and place it in the strange machine overlooking the courtyard. This triggers alien pylons in the distance; shoot them in a specific order to activate them, and shoot the pylons above the teleporter.
Once activated, head back to the Observatory Dome and use the Harmonic Oculus to reveal symbols—one will be blocked by static interference. Remember the symbols’ order, then interact with the pillars on Mars in that sequence.
Next, use the Harmonic Oculus again to see symbols on the circular display. Match the obscured one by examining the symbols on the pillars and their order, then input this sequence into a machine nearby.
8. Find the Ascendant Eye
After solving the symbols, a bird will appear, holding the Ascendant Eye. Interact with it, and shoot the final pylon to freeze the bird, making it easier to grab the Eye.
9. Complete the Final Puzzle and Fight Caltheris
Place the Ascendant Eye into the pyramid pedestal in the southeastern part of the area. Then, shoot and activate five pylons located on top of pillars around Mars with the LGM-1. After all are active, go back to the Observatory Dome and use the Harmonic Oculus to see five symbols. Match these with the pillars’ symbols on Mars by interacting in the correct order.
Finally, trigger a two-minute lockdown by interacting with the Harmonic Oculus again, during which you defend against OSCAR and the zombies. After surviving, teleport to Mars and perform the final steps involving the strange machine and rocket trap to weaken Caltheris.
The final boss fight begins with Caltheris as a floating skull. Charge pylons by killing zombies nearby, then interact with the Perfusion Machine to attack her. She will transform into a golem, then a more powerful version as Caltheris Ascendant, and finally into Caltheris the Needle. Keep moving to avoid her deadly attacks, use the LGM-1 to expose weak spots, and destroy her armor. When her health is down, you win the map and get to enjoy the ending cutscene.
Good luck navigating the stars—and remember to stay flexible as some steps can be done in different orders!