Select Language:
If you got a new gaming controller for Christmas, you might notice it has more buttons than you’re used to. Whether it’s for Switch 2, PS5, Xbox, or PC, the top controllers today usually have some extra buttons or paddles. These are often back buttons built into the grips, but you might also find a few small clickers next to the bumpers (R1, L1, RB, LB).
Each controller has its own way of customizing these buttons, but overall, the process is pretty similar. As someone who has tested many controllers, I always start by setting up the back buttons right when I open a new one.
Before we begin, I recommend finding the small instruction booklet that comes with your controller. It’ll give you specific steps for your model. Don’t worry if you’ve never used back buttons before; I’ll keep this simple because the process isn’t complicated. If you’re unsure what to assign these buttons to, I’ve included some of my personal tips below.
Most controllers don’t need special software or apps to set up extra buttons. A few do, but we’ll cover that later. Many brands like GameSir, PowerA, Turtle Beach, Victrix (PDP), Razer, or 8BitDo don’t require software for back button setup, but each brand might have its own steps.
Step 1: Find the function button
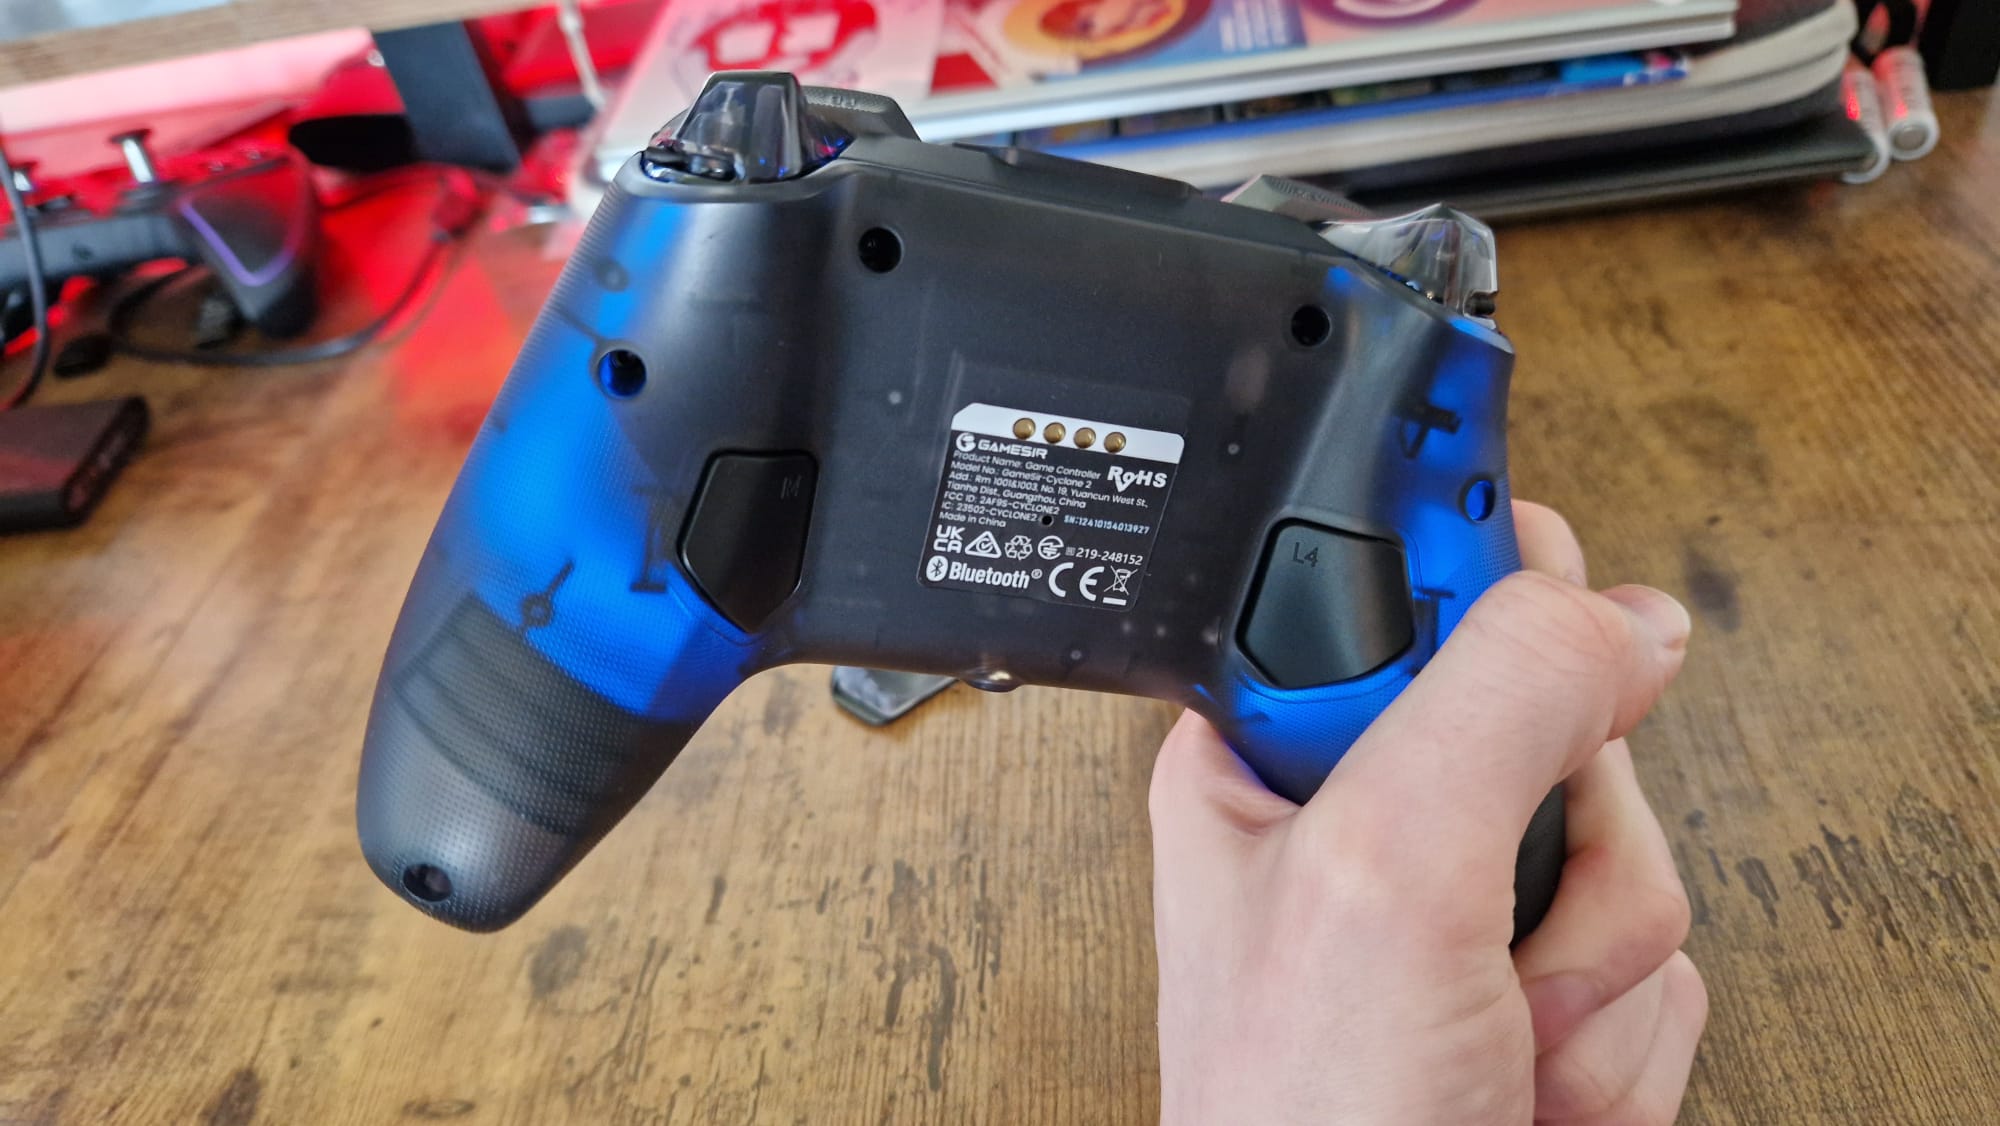
First, identify your controller’s function button. On GameSir controllers, it’s usually labeled “M.” On 8BitDo models, it’s the button with their logo. Razer controllers typically have a small circle on that button. Your instruction manual will clarify this.
Step 2: Enter mapping mode
Press this function button and wait until your controller’s light flashes, indicating it’s in mapping mode. Sometimes, you need to press the function button plus the back button you want to assign. Other times, just pressing the function button and then the button you want to map activates the mode.
Once in mapping mode, press the button you want to assign to a back paddle. For example, if you want to set “A” to a back button, you might enter mapping mode by pressing:
Function button + the back button
Then, press “A” to assign it. The flashing light will stop, showing your button is now mapped. It helps to do this while playing, so you can test instantly.
Step 3: Verify and create profiles
Finish mapping all your buttons, then test in a game. Some controllers let you save different profiles for different games—just switch profiles and remap as needed.
Using software for setup
If your controller has back buttons and software, you’ll likely need to connect it via USB to a PC to customize. Many controllers from brands like Nacon, Manba, or Victrix include software or apps for deeper customization—such as profiles, sensitivity, and deadzones.
Step 1: Find the software
Look for the official software on the manufacturer’s website or scan the QR code on the box. Make sure to download from the official source to avoid malware.
Step 2: Connect your controller
Most software requires a wired connection. Use the included USB cable, and switch the controller to wired mode if necessary.
Step 3: Access settings
Open the app, navigate to button assignment menus, and map your desired buttons following the on-screen instructions.
My recommended button setups
Wherever possible, I assign back buttons based on what’s most useful for my gameplay. For example:
- The right back button often maps to “A” or “X” for quick menu access and in-game interactions—helpful for jumping or jumping between menus.
- The left back button might be set to “X” or “Square” for reloading or quick-fire functions.
- If I have four back buttons, I’ll use two for main actions, and the top ones for more specialized tasks like melee or quick tool access. For instance, I might set R3 (clicking the right stick) or the D-pad to actions I frequently use.
The key is to keep your thumbs on the sticks, so assign important functions to back buttons that don’t require you to move your thumbs away from controls. Customize for your favorite games and play style to make your gameplay smoother.
Remember, there are no strict rules—just do what feels right for you!