Select Language:
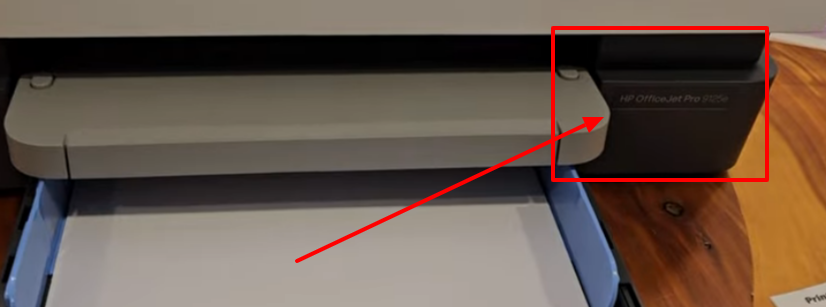
When it comes to understanding your HP printer, knowing the model is the first step. If you’re not sure what model you own, you can quickly check this by looking at the front side of the paper tray. The model name should be printed there, making it easy to identify.
HP often creates software that supports multiple printer models within a "family." For instance, if you own an Officejet 9125e, you might notice that the software looks the same as that of other models like the 9120e, 9122e, and so forth. This is normal, as HP provides a unified software experience for ease of use across different models.
Here’s a simple guide to help you navigate your HP printer software:
-
Locate Your Printer Model: Check the front of your printer, specifically near the paper tray. Look for the model name printed there.
ADVERTISEMENT -
Download the Software: Once you identify your printer model, head to the official HP website. Use the search function to find the correct software for your model. For models like the Officejet 9120e and 9125e, the software will usually be similar or identical.
-
Install the Software: Follow the download instructions and run the installer. Make sure to follow the prompts carefully, as they will vary based on your operating system.
-
Set Up Your Printer: After installation, follow the provided instructions to connect your printer to your computer or network. This may involve selecting your printer from a list or entering a password if you’re connecting to Wi-Fi.
- Test Your Printer: Once everything is set up, try printing a test page to ensure everything is functioning correctly.
If you have questions or need further assistance, don’t hesitate to reach out to community forums for support. When you find helpful answers, remember to show your appreciation by clicking "YES" or marking the solution as "Accepted Solution." It helps the community grow and assists others with similar issues.
By following these steps, you can easily manage your HP printer with confidence and ensure that the software you’re using is tailored to your model.
