Select Language:
If you’re one of the fortunate few to snag a Nintendo Switch 2, you probably can’t wait to dive into gaming on the new console. To ensure a seamless setup experience, we’ve created a guide that walks you through the process and outlines everything you’ll need. Additionally, I’ll share some tips based on challenges I’ve faced, as well as those encountered by my fellow writers.
The setup should take just a few minutes, although your internet speed might affect this. Before getting started, be sure to gather a few necessary items to avoid interrupting the process. I’ll detail everything you should have ready for a smooth installation and offer some troubleshooting advice if you run into any problems.
What You’ll Need To Set Up Your Switch 2
Additional Items You’ll Need
Apart from the items in your Switch 2 box, there are some additional essentials to have on hand. Make sure you know your Wi-Fi password or have access to it before starting. If you’re planning to use a micro SD card for additional storage, have that ready as well. A device capable of scanning QR codes—preferably one already logged into your Nintendo account—will facilitate the setup. If not, ensure you have your Nintendo login details handy.
For those migrating data from an existing Switch, keep it charged and updated, and have at least one Switch charger available—most likely the one that comes with the Switch 2. Once you have all these items ready, you’re set to begin the setup process for your Switch 2.
How To Set Up Your Switch 2
To kick things off, remove your Switch 2 from its packaging and attach the Joy-Con 2 controllers. It should have some charge, but plug it into the A/C adapter to ensure it stays powered during setup, as some steps will require it to be connected to power. After powering on, follow the on-screen prompts to select your language and connect to Wi-Fi.
How To Transfer Data From Your Switch
For data transfers, have your old Switch nearby. If you’re using one, the setup will prompt you to insert your micro SD card at this stage. Once the Switch 2 prompts you, access the settings menu on your existing Switch, selecting the System option. Scroll down to find the option to transfer data to the Switch 2. You’ll need to log into your Nintendo account, either by scanning a QR code displayed on your Switch 2 or entering your login information on your device.

Related
Best Buy Is Offering An Exclusive Nintendo Collectible For People Waiting In Line For A Switch 2
Retailer Best Buy is offering exclusive commemorative coins and character patches for customers buying the Nintendo Switch 2 at launch.
During the data transfer, keep in mind that both systems will instruct you to plug them in. If you only have one charger, no worries—you can simply switch the cable between consoles as needed. The transfer won’t halt if one console gets unplugged, so as long as both systems have some battery life, you’re good to go. Nonetheless, keep both plugged in if possible to avoid interruptions.
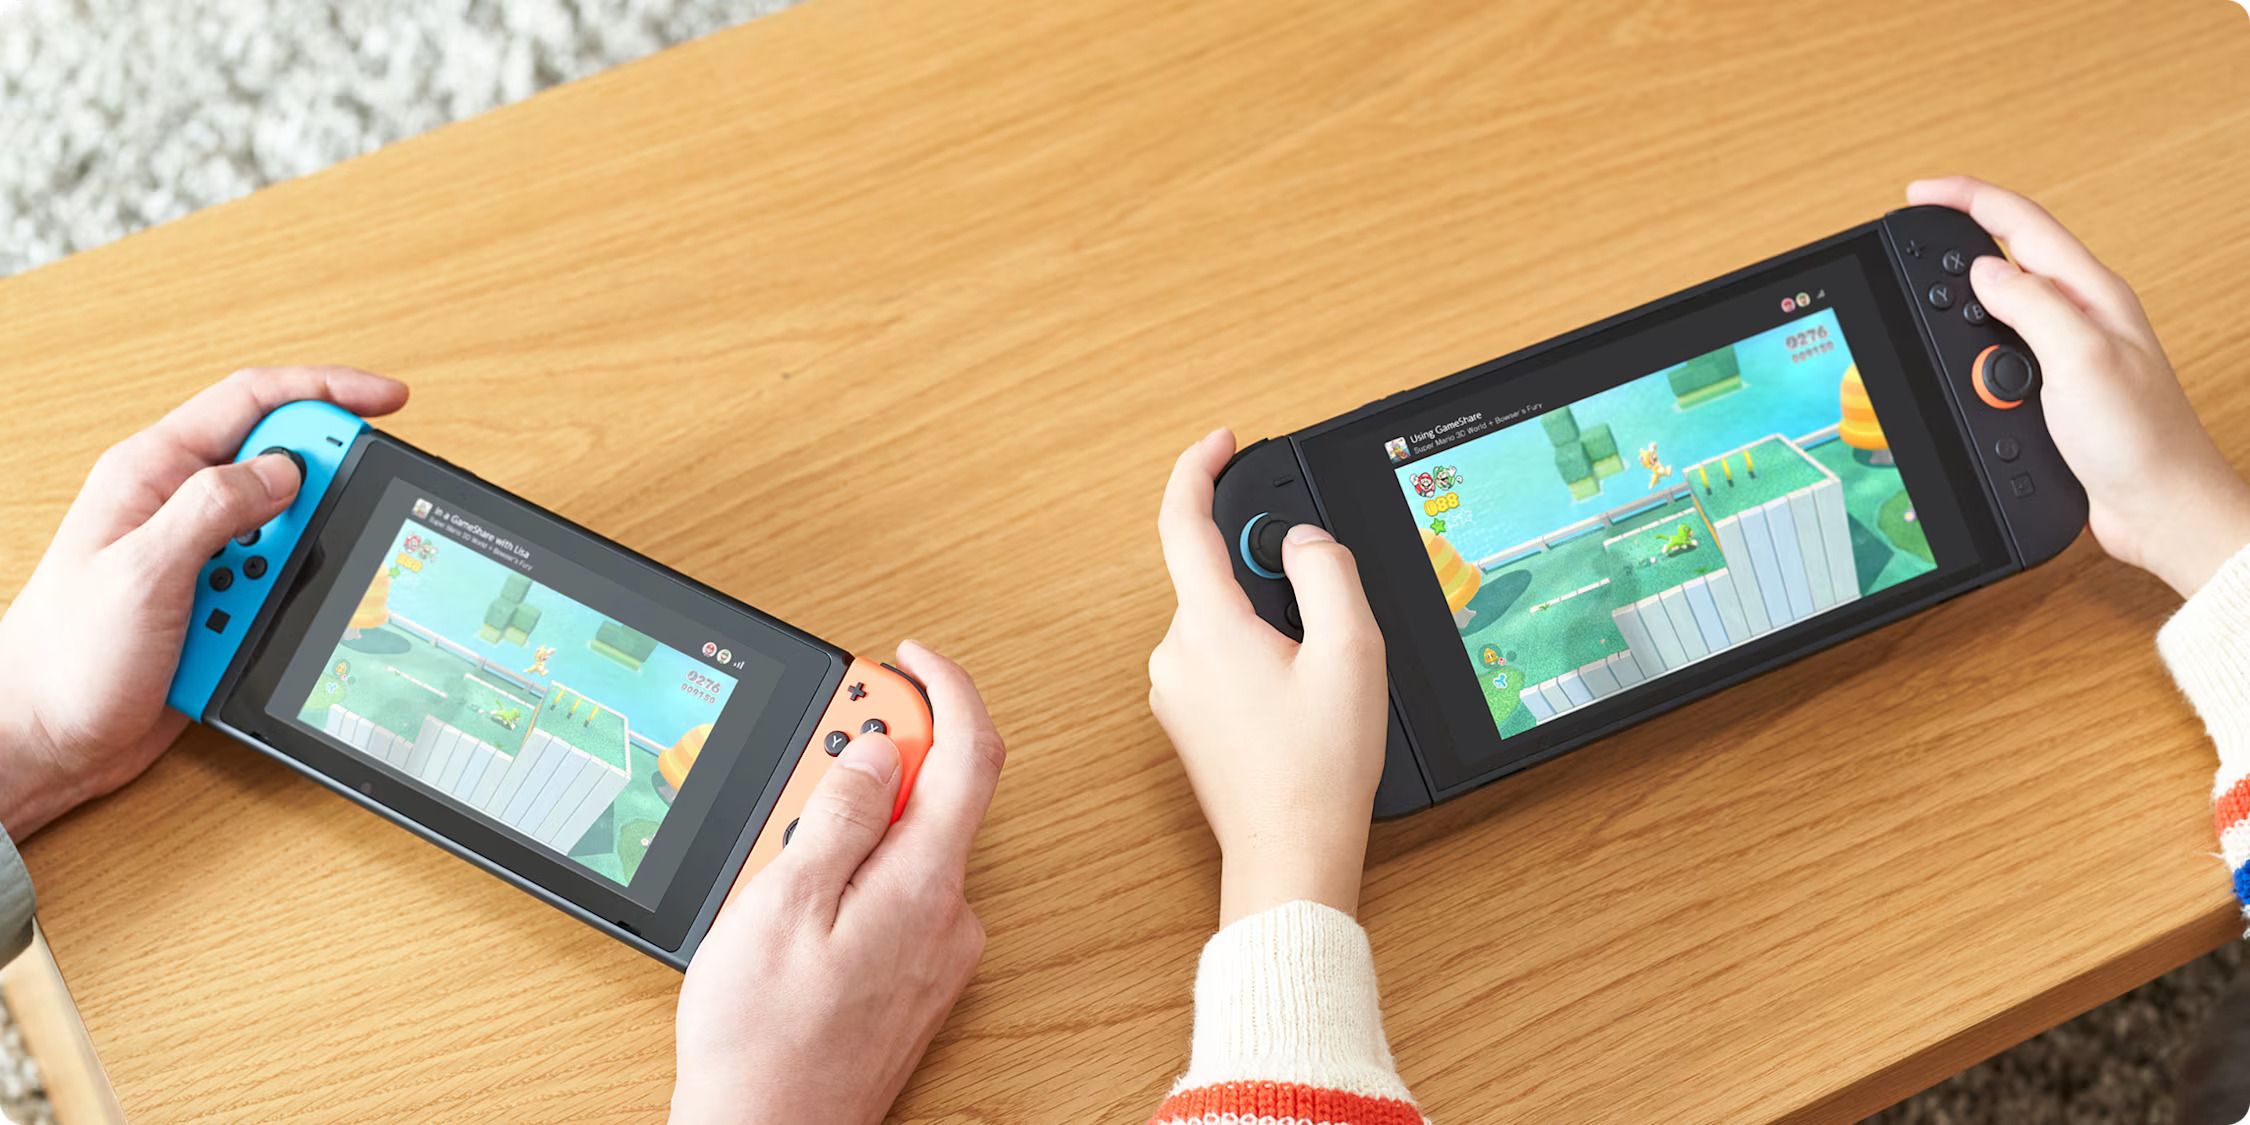
Exploring Switch 2’s Play Styles
After transferring your data, the console will prompt you to try out various play styles, such as testing the kickstand, detaching the Joy-Cons, and connecting to your TV. However, if you’re not near a TV (I set mine up on my bed right after picking it up), you can skip this step and continue with the setup. If you are setting up the dock, remove the back panel to connect your A/C adapter and HDMI cable.
Some players have expressed concerns about accessing the HDMI and A/C ports on the Switch 2 dock without damaging it. The back panel easily detaches if you pull from the groove at the top, not from the bottom near the “HDMI” label. After attaching your cables, ensure they run out through the slot at the bottom before reattaching the back panel to avoid pinching.
Initially, my Switch 2 dock didn’t function properly; it wouldn’t either charge the console or connect to my TV. Plugging it directly into the wall instead of a surge protector did the trick. Many users reported similar connection issues, so check that your dock is receiving power; a small light on the bottom left of the dock will indicate this.
Completing the Setup
After setting up the dock or opting to skip that step, you’ll complete the setup menu and be prompted to press the home button to start gaming. If you transferred data from a previous Switch, your installed games will start downloading to your Switch 2. If you’d prefer not to install all of them at once, select a game and remove it to cancel the download.

Related
I Wasn’t Sold On Pokémon Legends: Z-A, But The Latest Switch 2 Reveal Convinced Me
For Pokémon Legends Z-A, I am hopeful for a great title, and being able to own card versions on both the Switch and Switch 2 is a good start.
If you only have the basic console, you’re done with the setup. However, if you purchased the Mario Kart World bundle and want to download your game, open the Nintendo Store. Logging in again will prompt you, so keep your QR code scanning device at hand. Don’t forget to check the “Remember Me” box to save your login for future visits.
Once logged in, navigate to the “Enter Code” section and input the game code for Mario Kart World included with your console. If you’ve bought extra controllers, connect them by clicking the controller icon on the main menu. Once all steps are completed, you’re ready to start enjoying your Switch 2. Have fun!