Select Language:
The penultimate main mission in The Outer Worlds 2 revolves around the Archive, a colossal computer capable of performing an enormous number of calculations at incredible speeds. It was created by the Order of the Ascendant to help quickly solve the Universal Equation. However, multiple factions in Arcadia also want control of it.
This mission is significant because it is one of the final main stories you will face and is where many of your choices will become apparent. Your alliances with different factions will influence how the mission unfolds and determine the future of the Archive once it leaves the Protectorate’s control.
How to Start the A Complication with the Computronic Cerebrum Quest
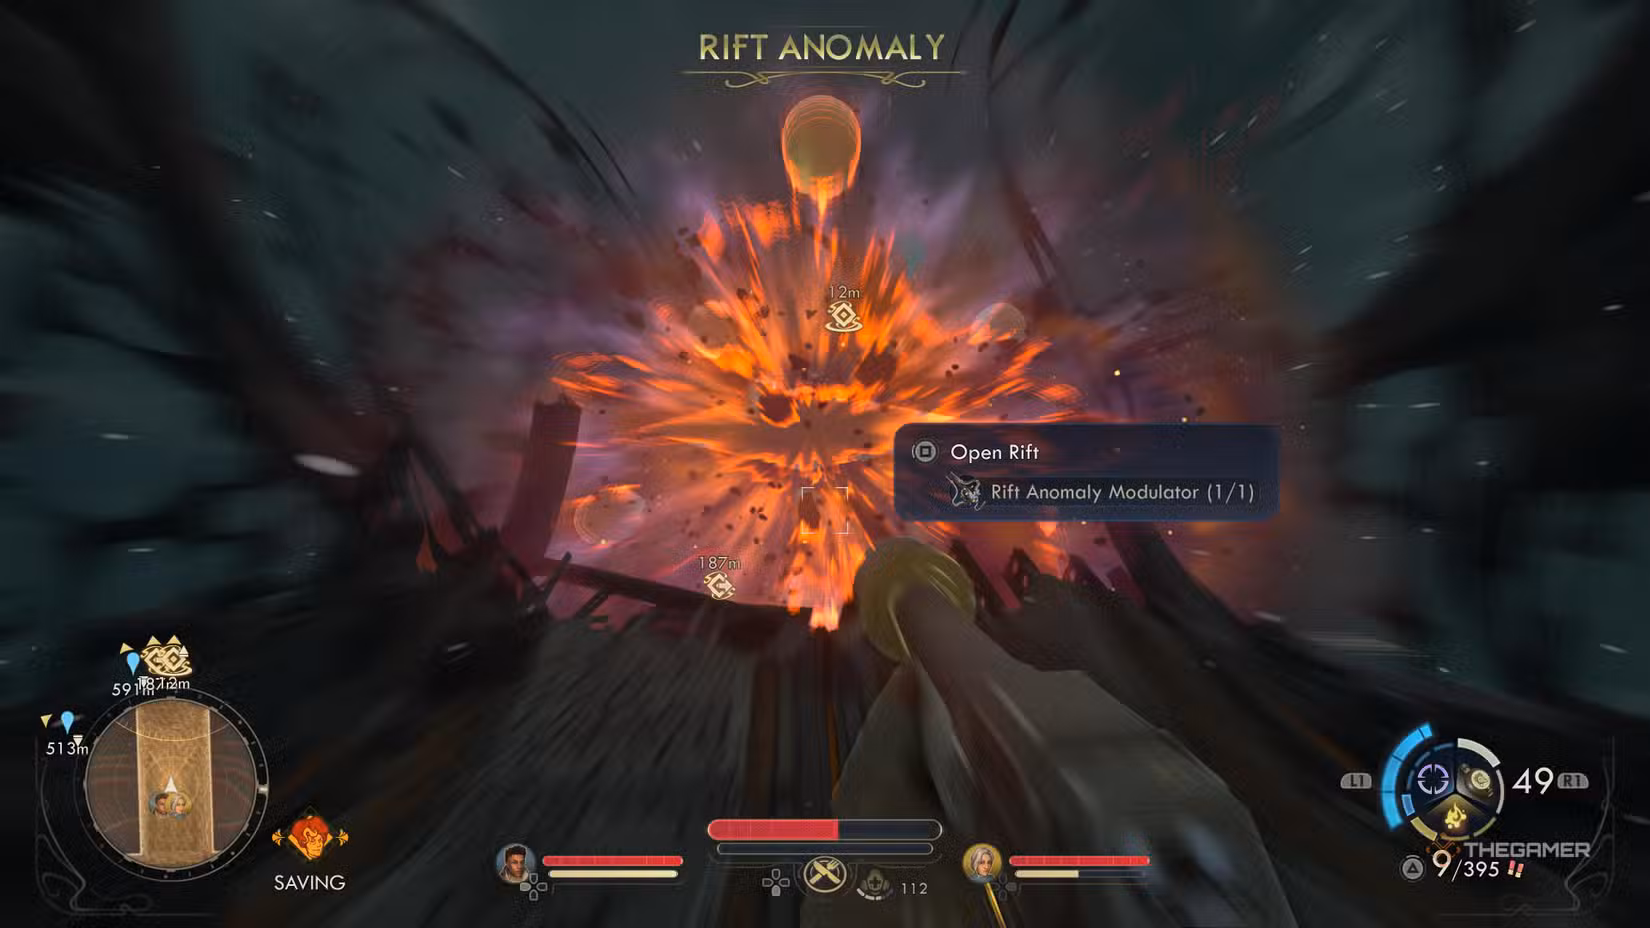
The quest is available early, right after you unlock the planet Cloister. You cannot make progress without first obtaining the Rift Modulator, as the bridge to the Archive has been destroyed by a Rift, which only the Modulator can repair. You must retrieve the Rift Modulator from Praetor before proceeding.
Once you have the Modulator, interact with the Rift to cross the broken bridge. Doing so unlocks a new fast travel point, allowing you to return here later without rebuilding the bridge. Outside the Archive, there are no enemies, but entering the building will lock the mission, so only go inside when ready.
Tips Before Starting
Since this is a major mission, it’s wise to prepare thoroughly. Your approach to capturing the Archive depends on your choices beforehand. You can go solo or forge an alliance between Auntie’s Choice and the Order of the Ascendant, but this requires some negotiation on the Archive’s fate before proceeding. Without completing the quest “An Equitable Agreement,” you cannot secure alliances, and your choice will affect who helps inside and who ultimately gains control.
Another key character is Peoria Quebecker, found in the tower opposite Winter’s Grasp. You can gain valuable intel here by talking with her, observing the crate of Crabble nearby, or pickpocketing her. The info reveals that the meat sent to the Protectorate is not Crabble meat, helping you weaken their forces once inside.
Entering The Archive
Accessing the Archive involves heading directly down the elevator. Since the entrance is destroyed, the building is unguarded, but expect to encounter various enemies including turrets and autonomous robots. Your strategy depends on your previous choices; if you’ve made allies, you should open the lifts at Spireton to let them enter from above and help push back Protectorate forces.
Regardless of alliances, your goal is to retrieve the Calcaduceus, which grants control over the Archive. Once obtained, you are ready to move forward.
Restoring the Spireton Lift Controls
To restore the lift’s power, locate its controls across the bridge. The controls are on the opposite side, accessible early on. You have options: you can trigger the lift forcibly using the Renegade approach, repair it with the Lift Control Components, or use the Calcaduceus to restore its functions.
In the room next to the controls, you can play the Mysterious Audio Cartridge to eliminate nearby Protectorate soldiers. To fix the lift, you will need to find Hoyt, hidden in the icy caves nearby, to gather the components. You can pickpocket, convince, or kill him to obtain what you need. Once you have the parts, repair the lift to allow your allies to storm the Archive, with your backup potently eliminating remaining foes.
Acquiring the Calcaduceus
The Calcaduceus is held by Assessor Torbert Ostergard. If you used the audio cartridge, he should be near the toilets, weakened and vulnerable. You can pickpocket the device, persuade him to hand it over, or confront him directly—he may even admit he must fight you if the Protectorate would kill him for losing it. Once you have the Calcaduceus, you gain full control of the Archive.
The Cloister Underlands
With the Calcaduceus, you confront U.E.N.I.C.A, the Archive’s fractured AI personality. The in-fighting has left it damaged, and you need to repair it before processing Rift Data. This involves two steps: fixing thermal transfer and retrieving the data brick from Cold Storage.
Since the thermal transfer system is at risk due to heat, it’s safer to head to the Cold Storage deep in the Underlands. You’ll face Crabbles and other hazards while repairing the transfer system. Fixing involves two main parts: the auxiliary pump and the water release valve, which can be bypassed if you have enough Engineering skill.
Once repairs are complete, you can transfer the Data Brick from Cold Storage and send it straight to the Archive, enabling processing. You might also explore optional sides in the Underlands, such as restoring power to the lifts or finding contraband to help injured troops, making it worthwhile to complete these objectives before moving on.
Final Steps to Repair the Archive
Back at U.E.N.I.C.A, there are two final tasks: enabling Punch Processing and restoring full power to the reactor. These can be completed in any order, though activating Punch Processing first is recommended because it unlocks additional nearby areas.
Reenabling Punch Processing
Go to the upper levels and find the Punch Processing system. Expect a platforming sequence involving moving punchcards, which requires timing. Use Tactical Time Dilation to slow time and plan your jumps across moving rails. Activating levers and adjusting paths will eventually lead to defeating a group of Mantisaurs and sending punchcards back into the Archive to activate the system.
Restoring the Reactor
Proceed toward the reactor, which is a challenge room requiring you to allocate fuses to various systems. You can customize their effects—like accessing security turrets, health caches, or fire suppression systems—by inserting fuses into different consoles. With sufficient skills, you can open locked caches or bypass components. Prioritize activating the fire suppression system to eliminate enemies.
Once the system is operational, fight a Bunker automech to fully power the reactor and bring the Archive online.
Choosing a Personality for U.E.N.I.C.A
The last step is choosing the AI personality for U.E.N.I.C.A. It’s split across three options, each aligned with a faction:
- Red: Protectorate
- Blue: Order
- Yellow: Auntie’s Choice
This decision impacts your faction reputation and your ending. To make your choice, enter the control room and solve the puzzle involving nine levers tied to the personalities. Turn off the levers associated with the factions you don’t want, leaving only your chosen one active. Reboot the AI by reinserting the power node, finalizing the personality selection and completing your control over the Archive.
Afterward, you may be prompted to transfer the Calcaduceus to the faction you’ve aligned with. You can decline, but it may not reflect well on your reputation or the story’s outcome.