Select Language:
Arc Raiders offers numerous quests that guide players through main story progressions during raids. Each quest directs you to specific locations on designated maps. Even after completing these quests, the developers frequently add new ones, often every month.
The “Stench of Corruption” is a notable example, added with the Cold Snap update. When you accept this quest, your first task is to visit the Staff Room located in the Departure Building at Spaceport. After completing that step, you’ll need to find a Flushing Terminal inside the tunnels.
Where to Find the Staff Room
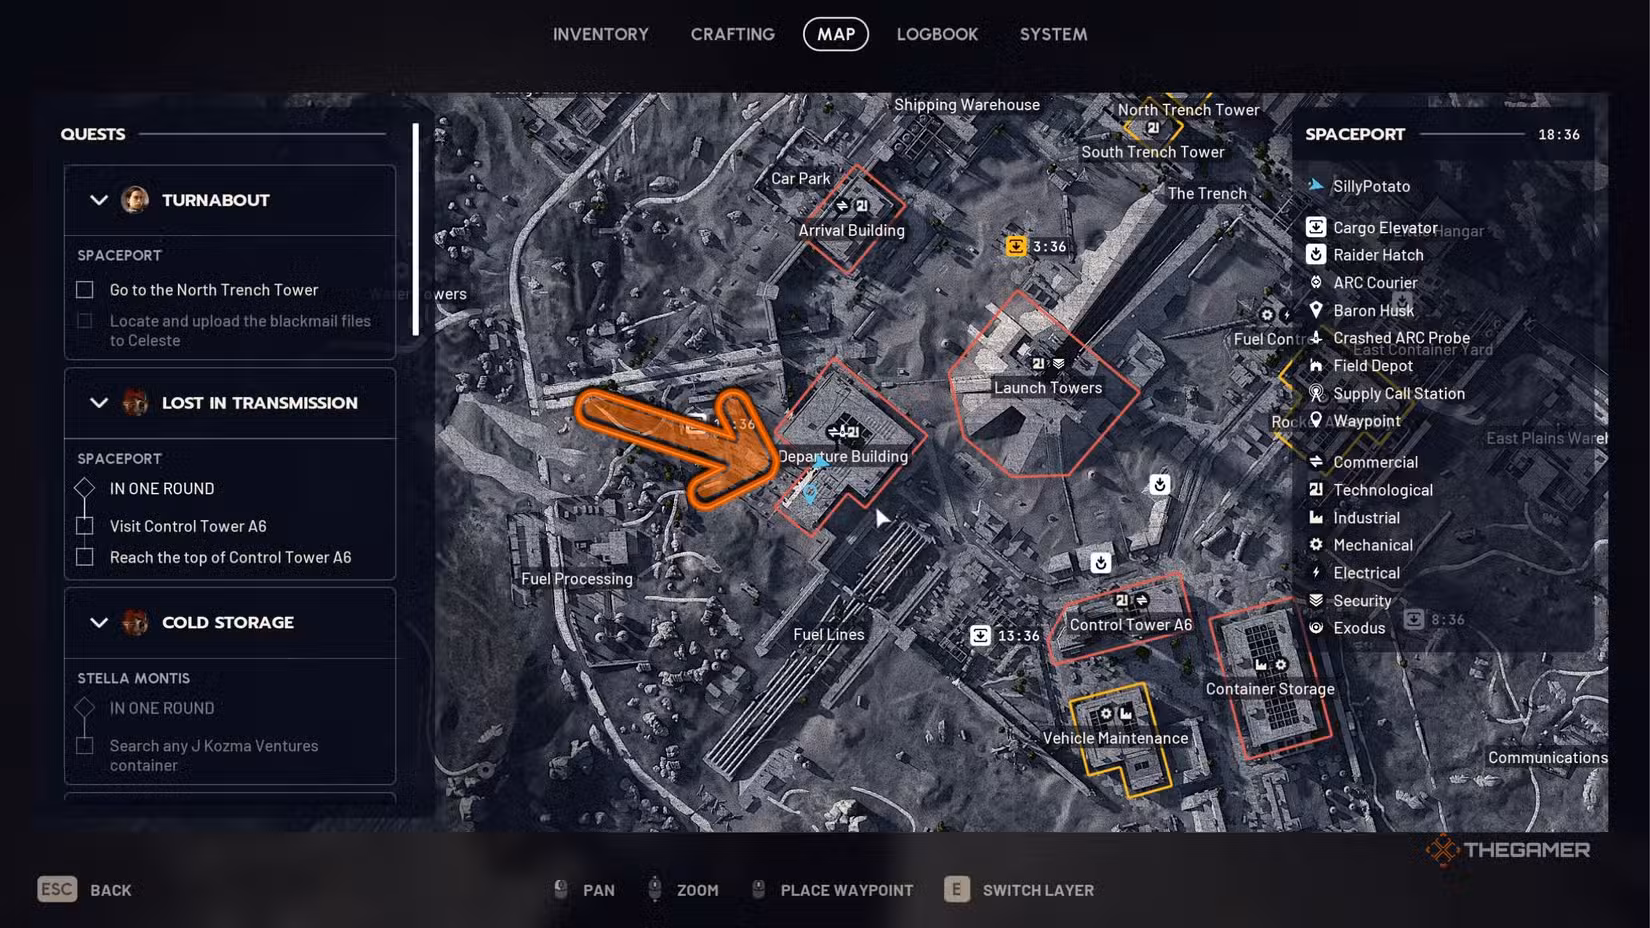
Once you accept “The Stench of Corruption,” your first objective is to reach the southwest entrance of the Departure Building at Spaceport. You can identify this building by looking for red outlines near the center of the map. Head to the smaller southwest section of the building to find the entrance.
Inside, take the hallway to your left. Soon, you’ll see a barred door on the left with a sign that says “Staff Room.” You must breach this door to enter and complete the quest objective. Sometimes, the door might already be open if someone else has looted the area before you. To make sure you’re in the right spot, look for the “Staff Room” sign on the wall.
Inside the Staff Room
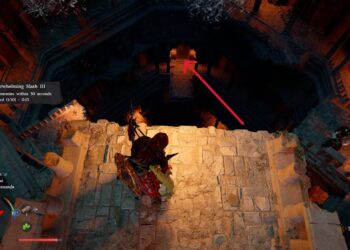
After entering, go down the stairs and move straight ahead until you reach the second clothing rack on your right. Interact with this rack to complete the first part of the quest. Be sure to pick up the key that drops from here, as you’ll need it later.
Where to Find the Flushing Terminal
The next part requires you to find a Flushing Terminal inside the Spaceport tunnels. You can see these tunnels by switching the map layer. The best entrance is just above the Departure Building, where the tunnels extend outward.
Enter the tunnels through this point. Once inside, go down the ramp. To your right, you’ll see a small room with computers. Interact with these and use the key obtained earlier from the Staff Room to complete this step. Keep in mind, these steps are meant to be done in one continuous run, so you don’t need separate loadouts; you can complete the quest with a basic setup.