Select Language:
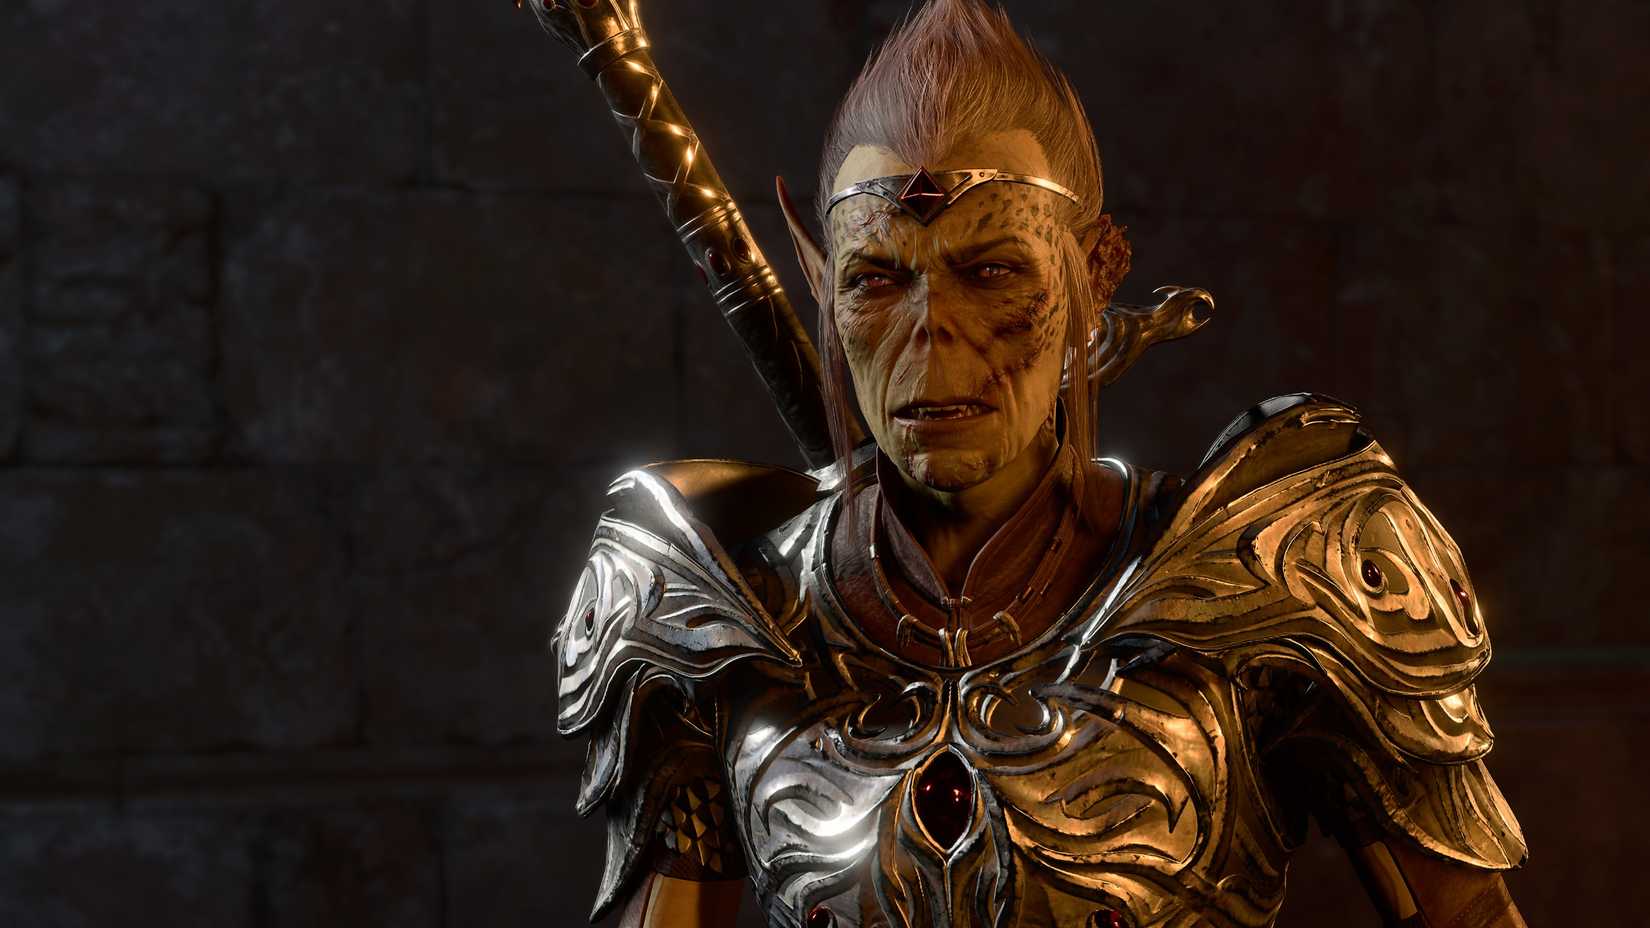
Vlaakith, the immortal Lich Queen of the Githyanki, can be a dangerous enemy in Baldur’s Gate 3, depending on whether you follow her orders. She’s one of the many powerful beings in the game, but your choices about her have bigger consequences. How you deal with Vlaakith can affect the fate of your ally Lae’Zel and shape the story’s ending.
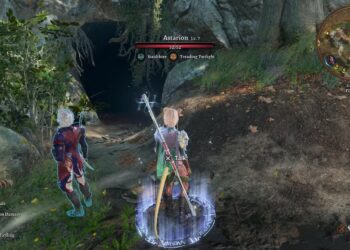
While exploring Act One, your team has a chance to visit the Githyanki Crèche Y’llek at Rosymorn Monastery. The Githyanki might have a cure for the mind-flayer parasites, and you can choose to negotiate with them to learn more. But you can also skip visiting the crèche altogether and miss the chance to meet Vlaakith.
Should You Obey Vlaakith in Act One?
You Need to Obey Vlaakith… At Least Face-to-Face
If you don’t find a cure at Y’llek, your team can look for Inquisitor Ch’r’ai W’wargaz, who is visiting the crèche. He’s searching for a mysterious artifact, the Astral Prism, which your group gained during a scene near the Goblin Camp from Shadowheart.
This artifact prevents your team from being controlled by The Absolute, but you’re free to decide what to do with it. When you meet the Inquisitor, you can try to give him the Prism or fight to keep it.
No matter your choice, Vlaakith will suddenly appear as a big projection and demand that your party enter the Prism to kill its occupant, the Dream Visitor and Guardian. You can show her respect, but that will earn Lae’Zel’s disapproval.
If you refuse or ask Vlaakith to do the task herself, she will cast the Wish spell, one of the strongest magic in D&D, which will kill your entire party instantly. So, the safest move is to obey Vlaakith and enter the Prism.
Important: During an Honor Mode run, disobeying Vlaakith at the crèche is a very bad idea. It’s guaranteed to end your game instantly.
Once you meet the Dream Visitor inside, you can choose to leave them alone or try to kill them. Kill attempts are pointless—they won’t die—and may cause you to lose trust. Afterward, Vlaakith will betray Lae’Zel and call her a traitor.
Your choices here affect Lae’Zel’s side quest, “The Githyanki Warrior,” and how her story unfolds in Acts Two and Three. If you skip the crèche, she stays loyal to Vlaakith and won’t appear again until later in Act 3.
Deciding how to handle Vlaakith influences your relationship with her and can lead to different endings. Follow her commands or rebel against them, but every decision has its consequences.
Side with Kith’rak Voss Against Vlaakith?
If Vlaakith betrays Lae’Zel, Voss will visit your camp during your next long rest. He’ll try to convince Lae’Zel that Vlaakith is an usurper who stole the throne from Orpheus, a Githyanki prince. After your conversation, Voss heads to Baldur’s Gate.
You might encounter Voss again in Act Three when bargaining with Raphael at Sharess’ Caress. This chat could make Lae’Zel question her loyalty to Vlaakith.
During the talk with Voss, you can choose to align your party with him instead of Vlaakith. If you’ve already been defiant, it’ll be easier. Otherwise, let Lae’Zel decide her own path. Trusting Lae’Zel is often the best move, since she’s more likely to turn away from Vlaakith after betrayal. Giving her independence usually results in better affinity.
The Big Choice: Obey Vlaakith or Side with Voss and Orpheus?
In Act Three, Vlaakith will appear during a long rest and demand Lae’Zel kill Orpheus, promising to make her the army’s leader if she does. Your decision here is crucial: support Vlaakith or side with Orpheus.
It’s generally better not to force Lae’Zel to obey Vlaakith. She can make her own choice based on what she’s learned. If she rebels, she’ll leave for the Astral Plane and lead a rebellion at the end. If she supports Vlaakith, she’s likely to face a darker fate, as hinted by Withers.
Persuasion checks can help sway Lae’Zel to oppose Vlaakith, but her natural path tends to be siding with Orpheus and Voss.
If she joins Voss and Orpheus, she will want to enter the House of Hope to free Orpheus by fetching the Orphic Hammer. If she refuses, she’ll want the Hammer to free and kill Orpheus herself. Your final choice will determine which side you take near the end of Act 3:
-
Free Orpheus: The Emperor joins The Absolute, which forces someone to become a Mind Flayer to defeat it.
-
Side with the Emperor: He will consume Orpheus, gaining his powers to fight The Absolute.
Your decision impacts the ending of the game greatly. The key thing is that during your first meeting, you only need to obey Vlaakith enough to keep your party alive. Later decisions are up to you, but they all have lasting effects.