Select Language:
Quick Links
As you explore the world of Dragon Quest 3 Remake, you’ll come across a range of villages, towns, and cities filled with diverse characters. From the grand to the humble, there’s a wealth of options. But have you ever imagined creating a village of your own?
Now, that very possibility is within your grasp. An individual seeks assistance in establishing a town, and they need your support to make it happen. While this process requires some time and effort, especially as you approach the game’s conclusion, it’s a truly rewarding journey.
How to Start Building Your Own Town
Finding the New Town
Your first clue about this town can be found at the docks of Portoga. There, you’ll overhear two locals discussing a man determined to build his own town on the western continent. They may label it as crazy, but for you, it’s a call to action.
When they mention the western continent, they’re referring to the land that resembles North and South America, lying to the west akin to real-world Europe.
To embark on this quest, you’ll need to obtain a ship from the King of Portoga. Bring him some Black Pepper, and you will be rewarded with your own vessel to explore the western coast in search of a new settlement.
The town, which initially appears as a mere building, is located in the northern part of the western continent. It’s nestled among mountains, making it secluded from the rest of the area and reachable only by the shoreline.
Assigning a Merchant

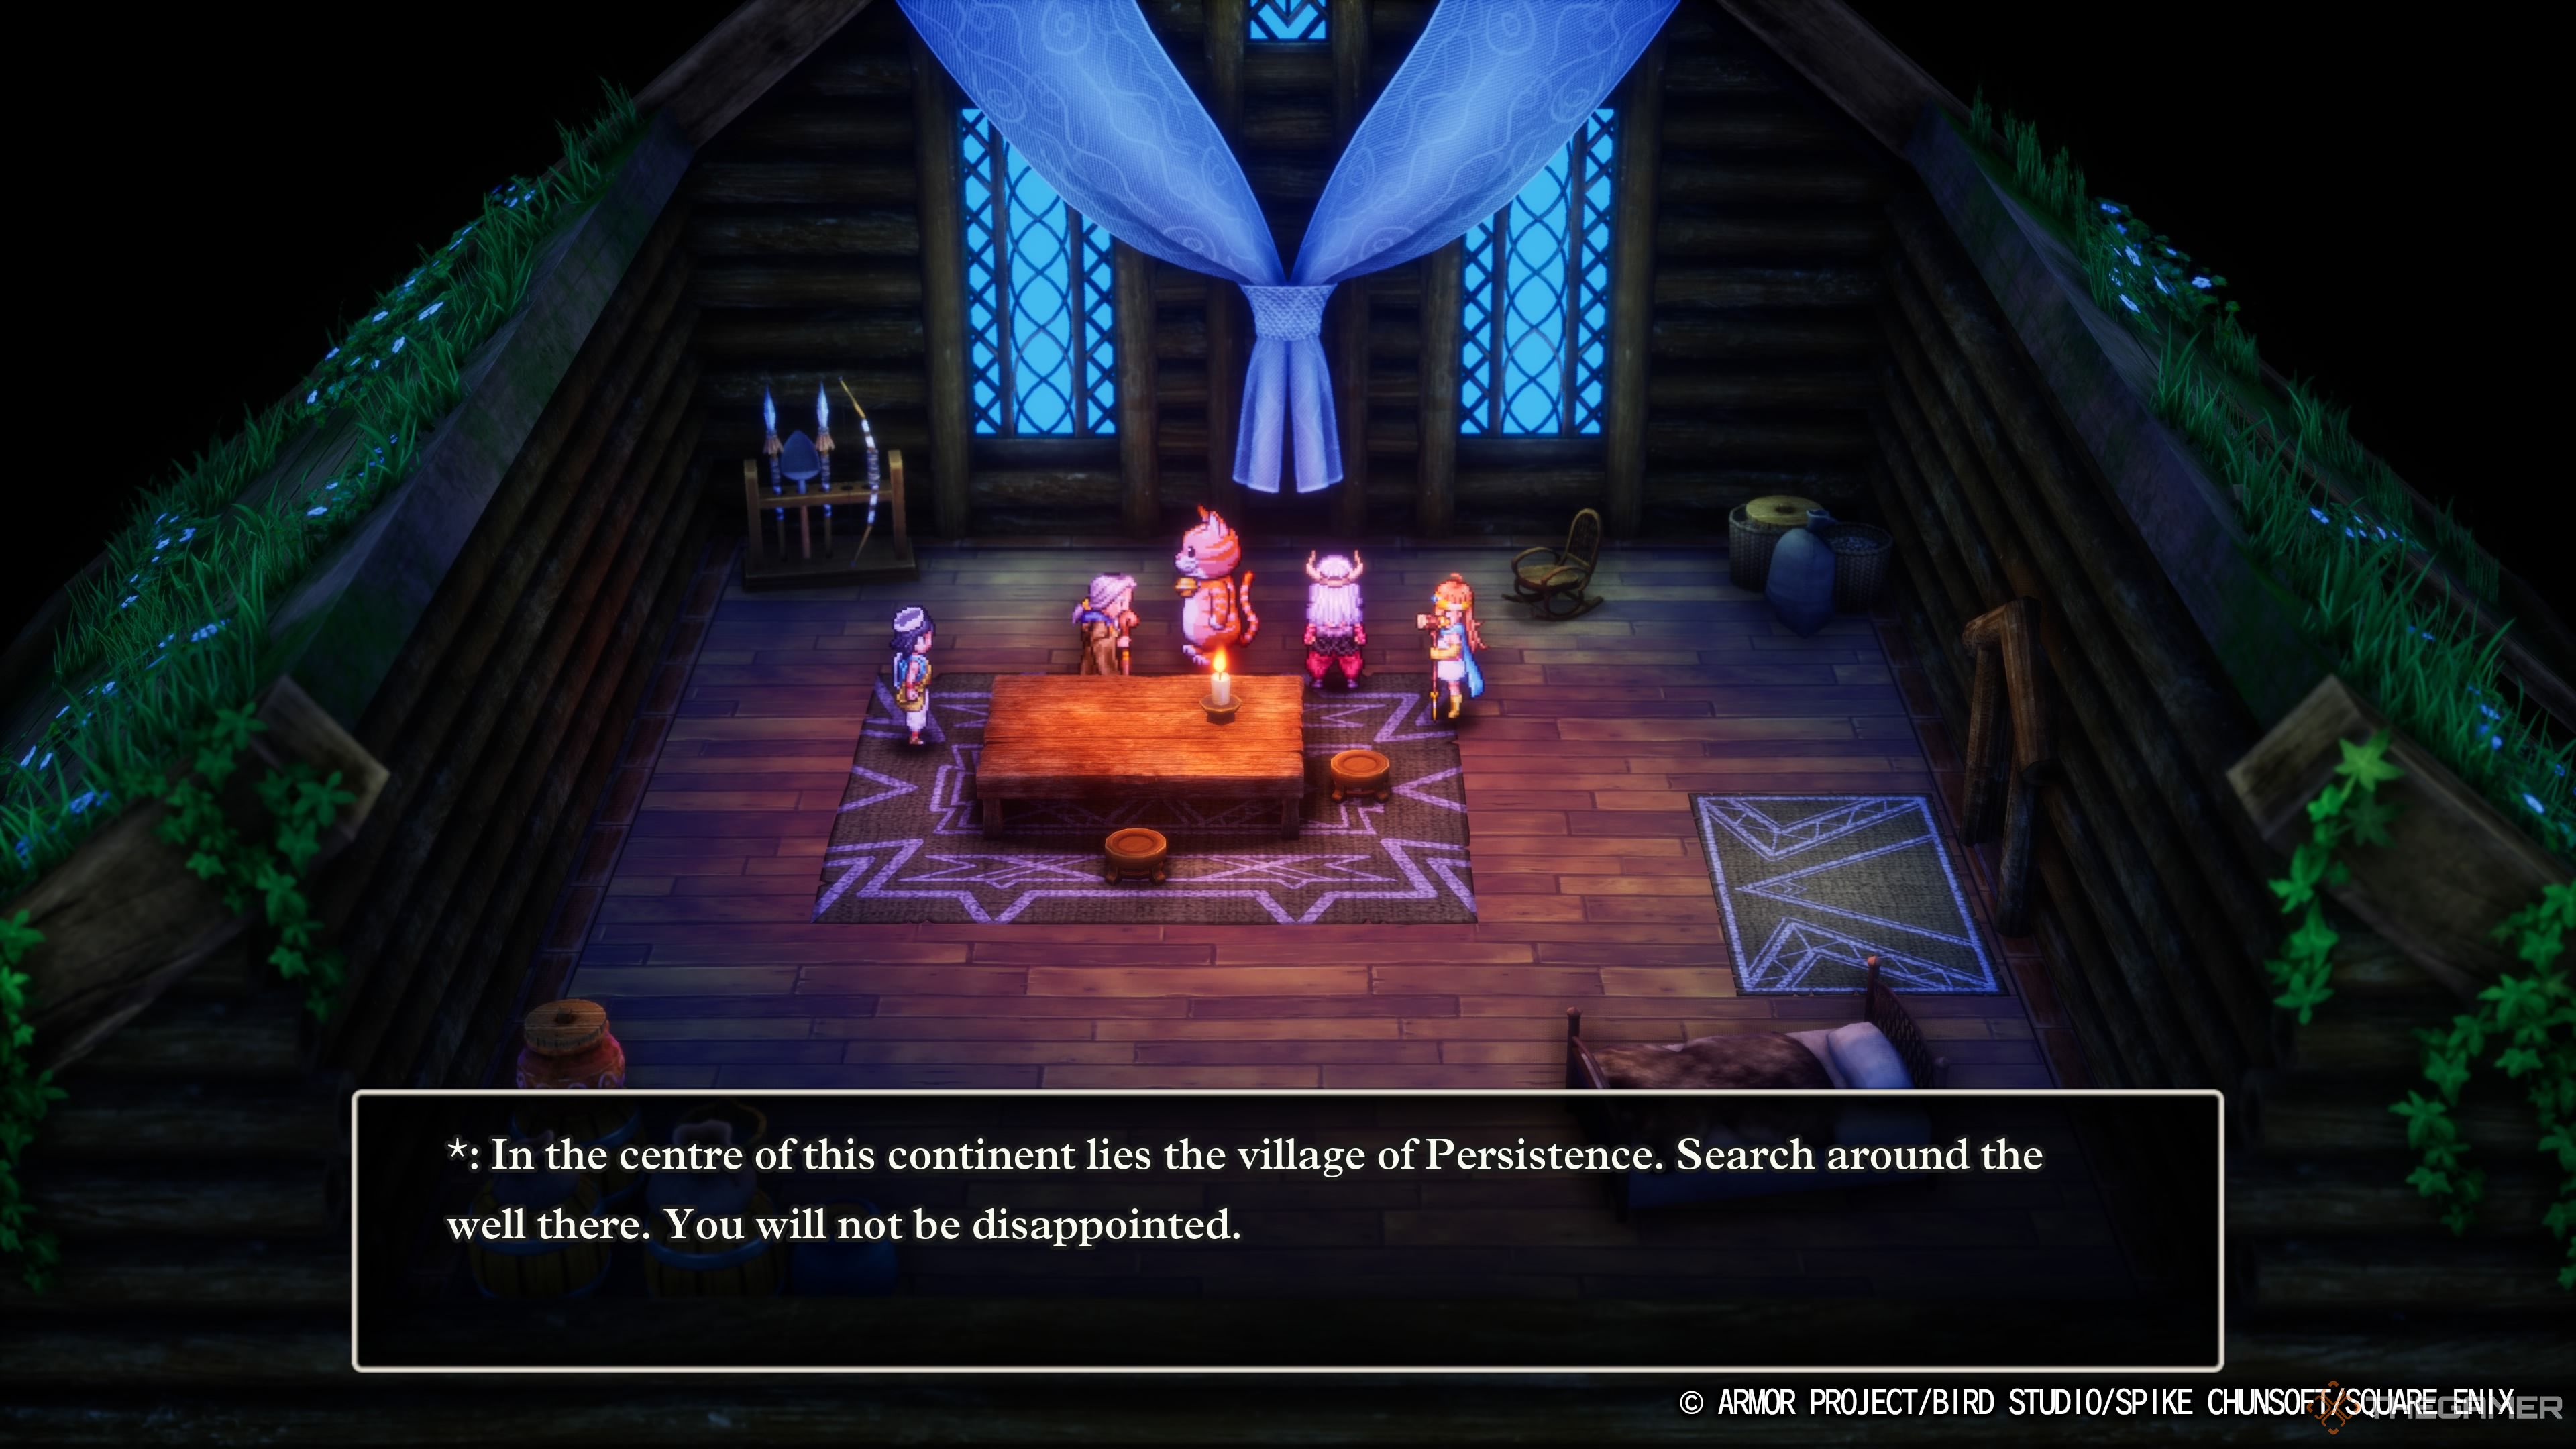
Upon entering the house, you’ll find the old man waiting for you. He shares his vision of creating a town but admits he lacks the necessary economic expertise. Therefore, he seeks your assistance.
Provide him with a Merchant to lay the groundwork for his community. Keep in mind that the Merchant you choose will be permanently removed from your party. Fortunately, there’s no level requirement for the Merchant. If you haven’t recruited one yet or don’t want to part with your current choice, simply head back to Aliahan to create a new one.
And remember, think carefully about the name you select, as it could be significant later on.
The Stages of Town Growth
First Stage
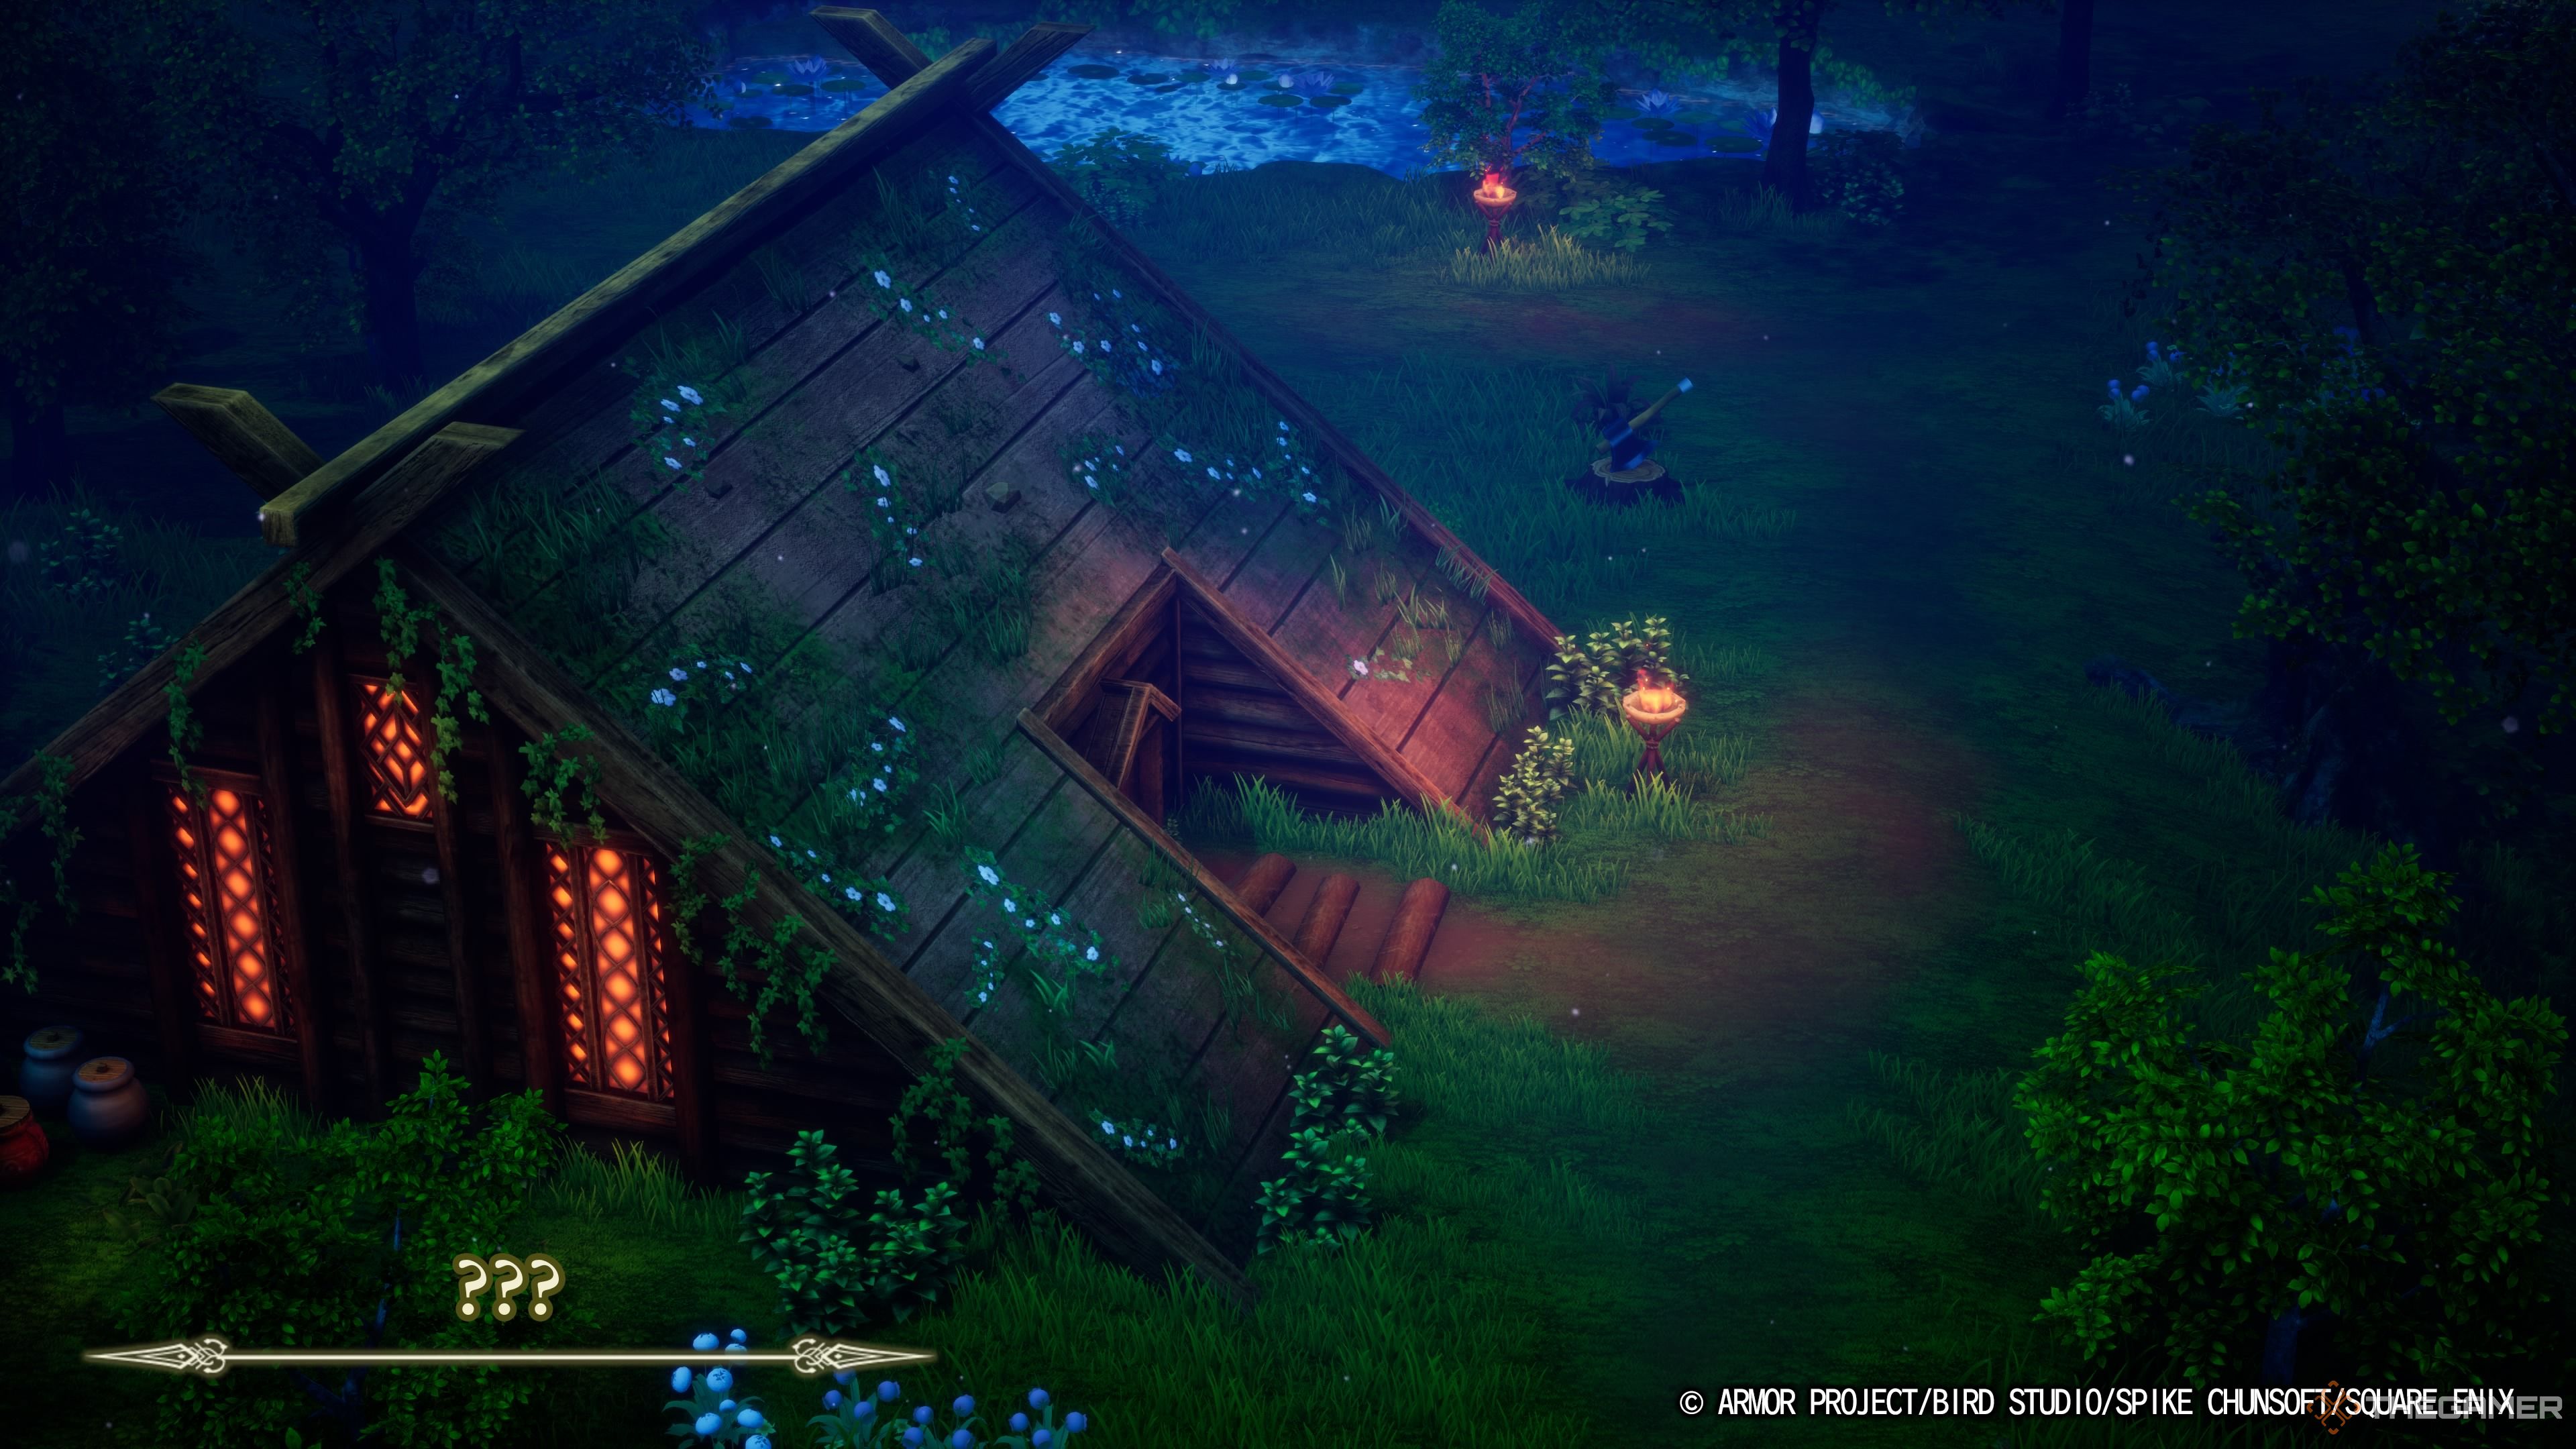
This is the initial appearance of the town when you first discover it. And it will remain this way until you provide the Merchant to help the old man turn his coastal dream into reality.
Second Stage
After leaving the nameless town for the first time, feel free to venture wherever you please. A notification will inform you when the town has progressed to the next development stage. This progression occurs through the passage of time and key story events, so take time to rest at inns and advance the storyline before returning.
Upon your first return, you’ll notice the Merchant has been quite busy, now operating a shop and having constructed a larger home for the old man. Impressive work! You may also note that the town now carries the name of your Merchant; in our case, it became Morriganburg. Choose a fitting name for your own playthrough.
The Merchant’s shop may have limited stock at this stage, but they assure you that the town will continue to grow. For now, you can continue your adventure.
Third Stage
With enough story progress, typically around the time you acquire the Ultimate Key from the Sunken Shrine, return to your Merchant’s town, which will surely be larger by now.
You’ll find that fences are up, the lake has turned into more of a pond, and a new Inn has been established. Your Merchant has stepped back from running the general store, now focused on the town’s construction. However, there’s now a wider selection available.
Your Merchant has further plans. New construction underway in the town’s center is set to become a Cabaret Club, which seems an unusual choice for such a secluded area. Yet, it must be for the best. You can now resume your travels.
Fourth and Final Stage
After obtaining the Mod Rod from Manoza, or achieving a similar part of the story, head back to your Merchant’s town once more. It’s on the brink of becoming a full-fledged city. The pond is bordered now, dirt pathways have been replaced with stone, and the Cabaret Club is completed. Your Merchant has even built a mansion for themselves—how lavish.
As a humorous twist, since the town is now so prosperous, the Inn charges you even more for a night’s stay compared to the previous stage.
Take some time to explore. The general store now offers an even wider selection, and the Cabaret Club features well-known performers. Be sure to mention your Merchant’s name while leaving to waive the hefty 50,000 Gold fee; prices here are rather steep.
Before you leave, stop by the Merchant’s mansion. It’s a tad overdone, to be honest. They’ll be thrilled to see you and thank you for your role in their town’s success, assuring you they’re not done yet. Loot the two chests in this mansion to find a Primm’s Primer book and a Hen’s Tooth; your Merchant won’t mind.
Getting the Yellow Orb
The town has reached its pinnacle of development, but the story is far from over. If you visited the shrine in Lanson, you might recall overhearing two men with cryptic hints. They mention that the Yellow Orb is constantly changing hands and that your former companions may still play a role.
At first glance, these hints may seem unrelated, but they both connect to your Merchant. The Yellow Orb eventually finds its way to their town, although it can be tricky to handle. Let’s dive into that.
When you visit the town in its final stage, go to the back of the lower-left house to discover a group of townsfolk plotting against your Merchant. They’re squandering the town’s wealth for their own gain and vanity, endangering everyone else. While there’s nothing you can do at this moment, their plot is set in motion.
If you can’t find the citizens behind this building, try visiting them at night instead.
Once you’re aware of the brewing revolt, it’s time to carry on with your journey. There’s not much to be done now but wait, so Zoom around the map and rest at various inns. It may take several in-game days, but eventually, you’ll receive a prompt to return to your Merchant’s town.
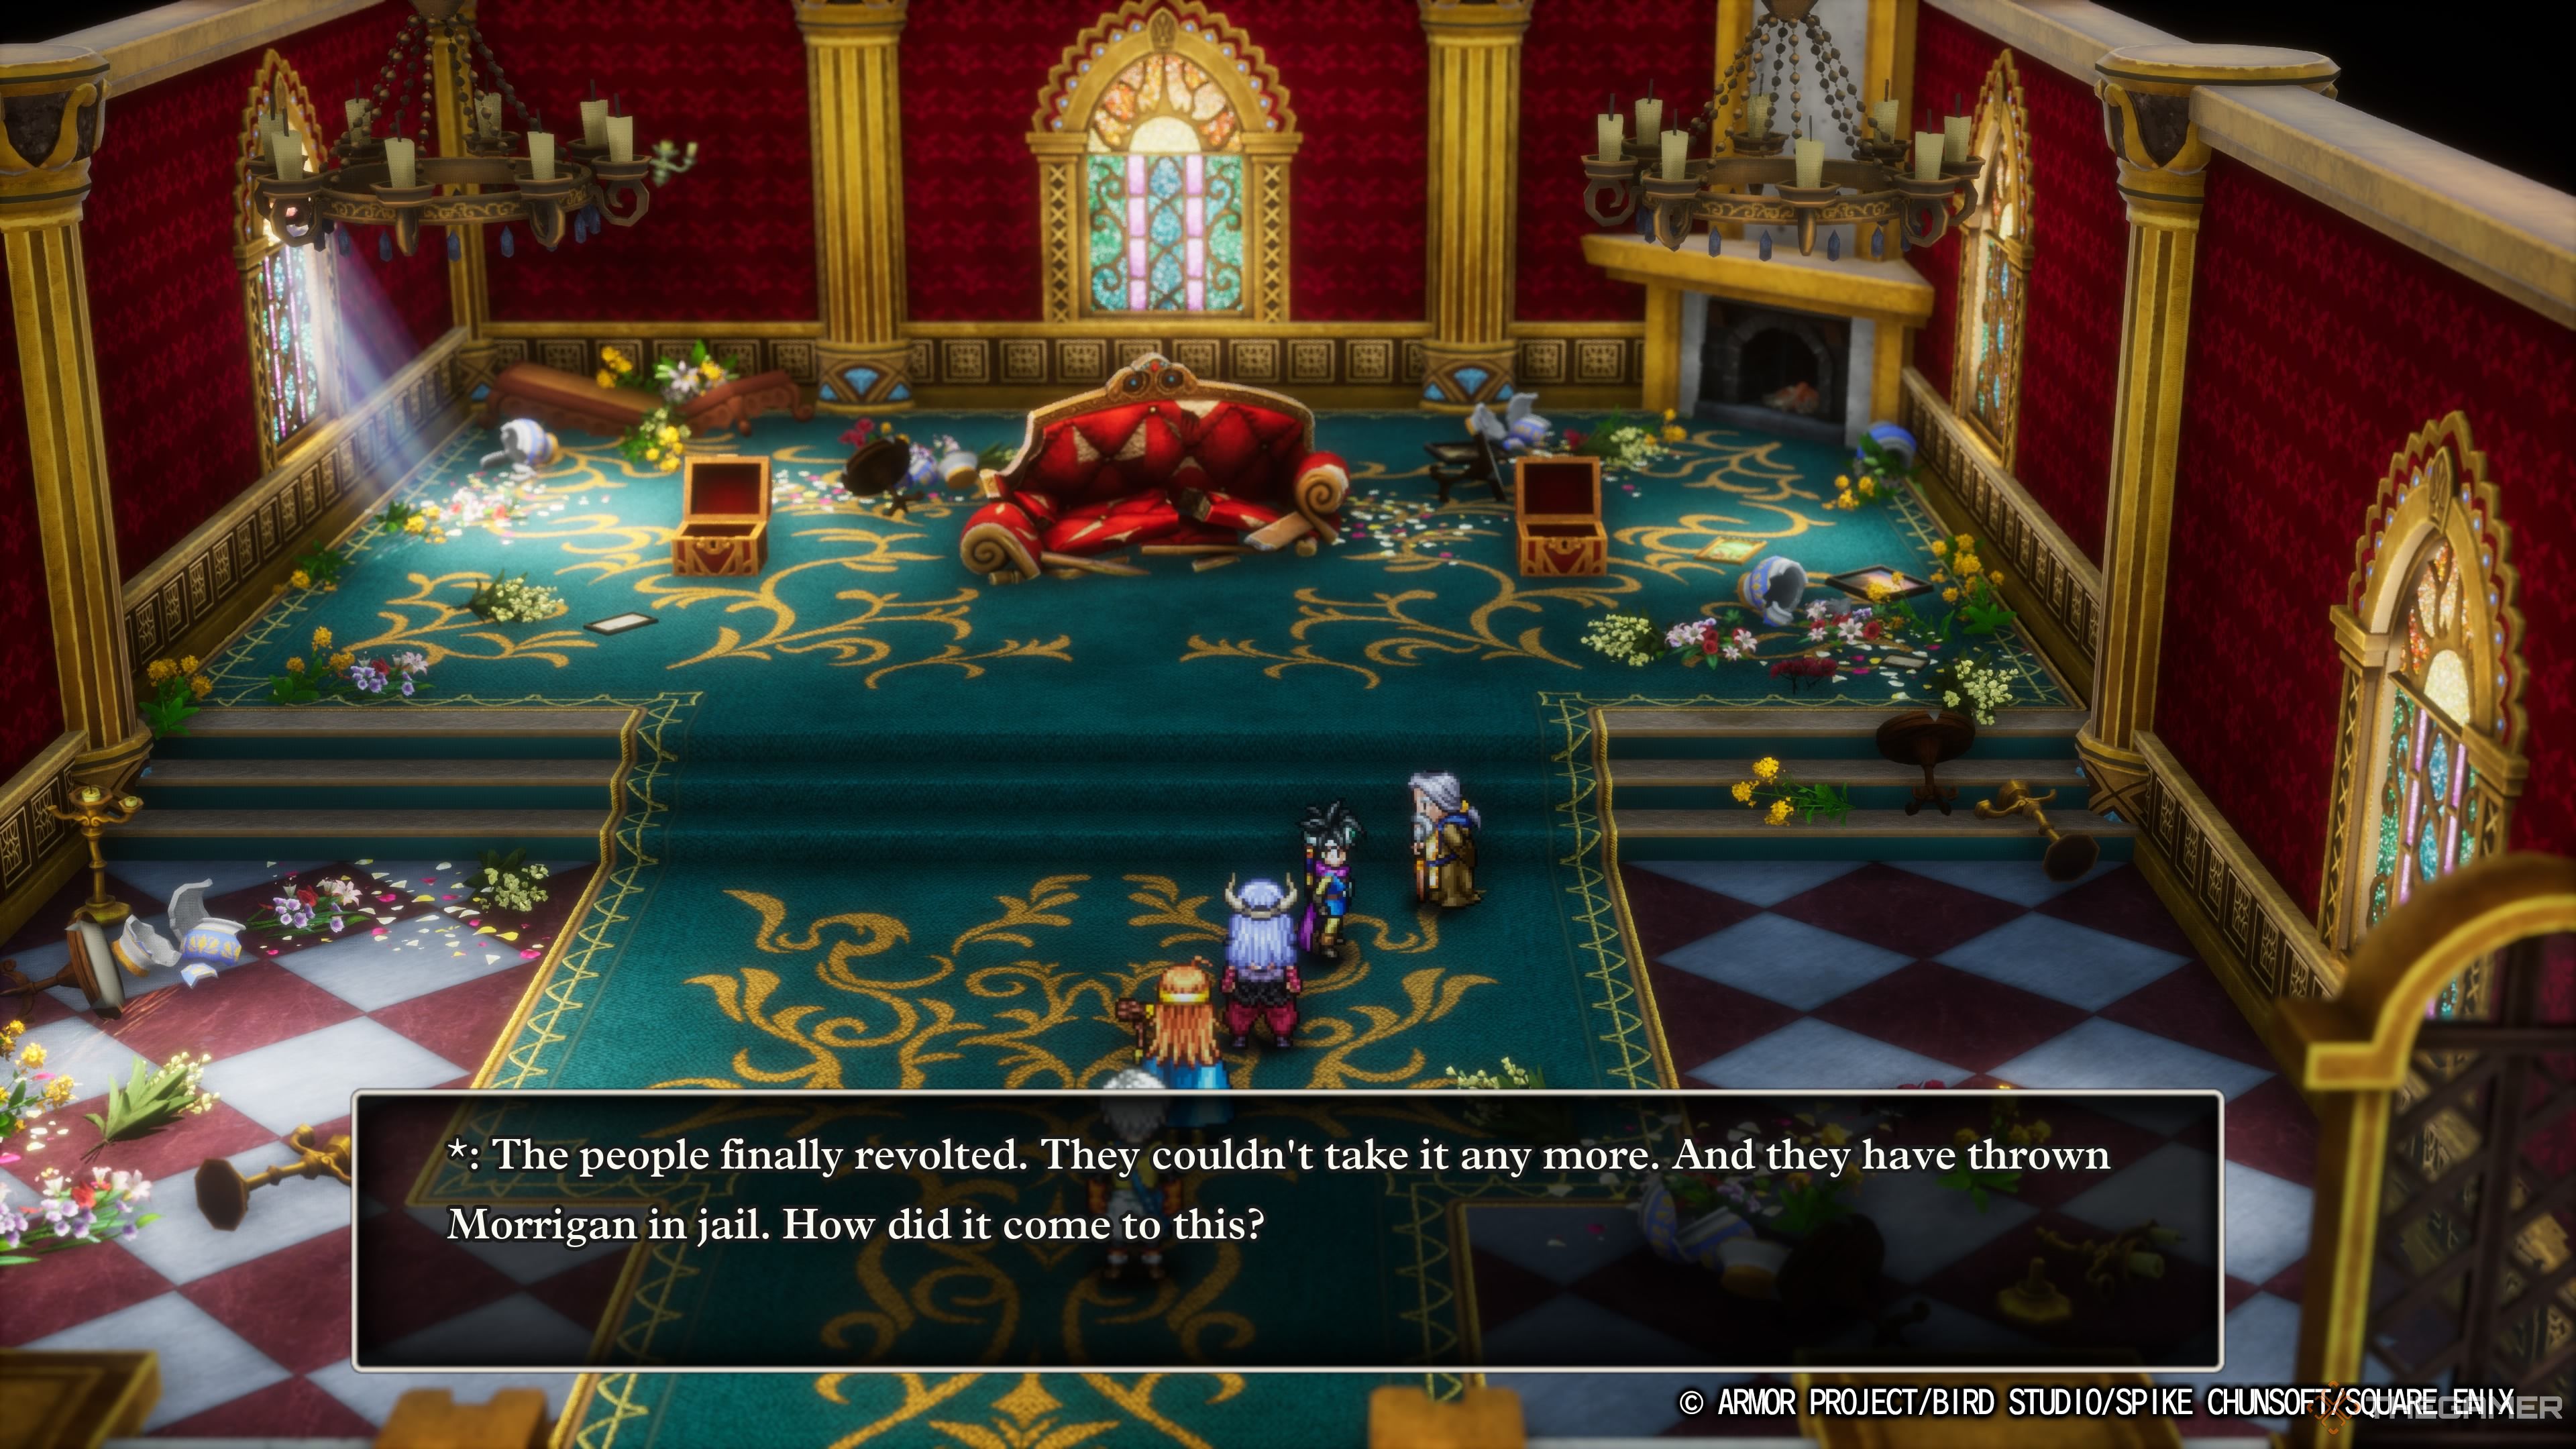
The revolt has succeeded, and your Merchant is now imprisoned. The mansion has been ransacked, and soldiers patrol the streets. There’s a palpable tension, but a sense of relief washes over the townsfolk now that the greedy ruler has been ousted.
Check in on your Merchant in the prison located just south of their mansion. They’ll update you on the situation. It turns out they spent town funds on acquiring the Yellow Orb from a traveling merchant and couldn’t resist the temptation. They ask you to take it away and promise to rebuild the town once they’re released.
You can break your Merchant out of their cell if you choose, but they will refuse to leave, believing it to be pointless.
Head back to the mansion and search behind the destroyed throne to find the Yellow Orb shimmering in all its glory. At last, this long narrative has reached its conclusion, and you’re free to continue your quest to vanquish Baramos.