Select Language:
Destiny 2 has introduced a new and intriguingly bizarre exotic submachine gun (SMG) called Barrow-Dyad, and acquiring it comes with quite the challenge. Players will need to uncover hidden puzzles, grasp new gameplay mechanics, delve into the Nether, and finally finish an exotic quest to obtain one of the strangest weapons in D2 in recent memory. It’s a classic adventure of searching for clues, so get ready for an exciting journey.
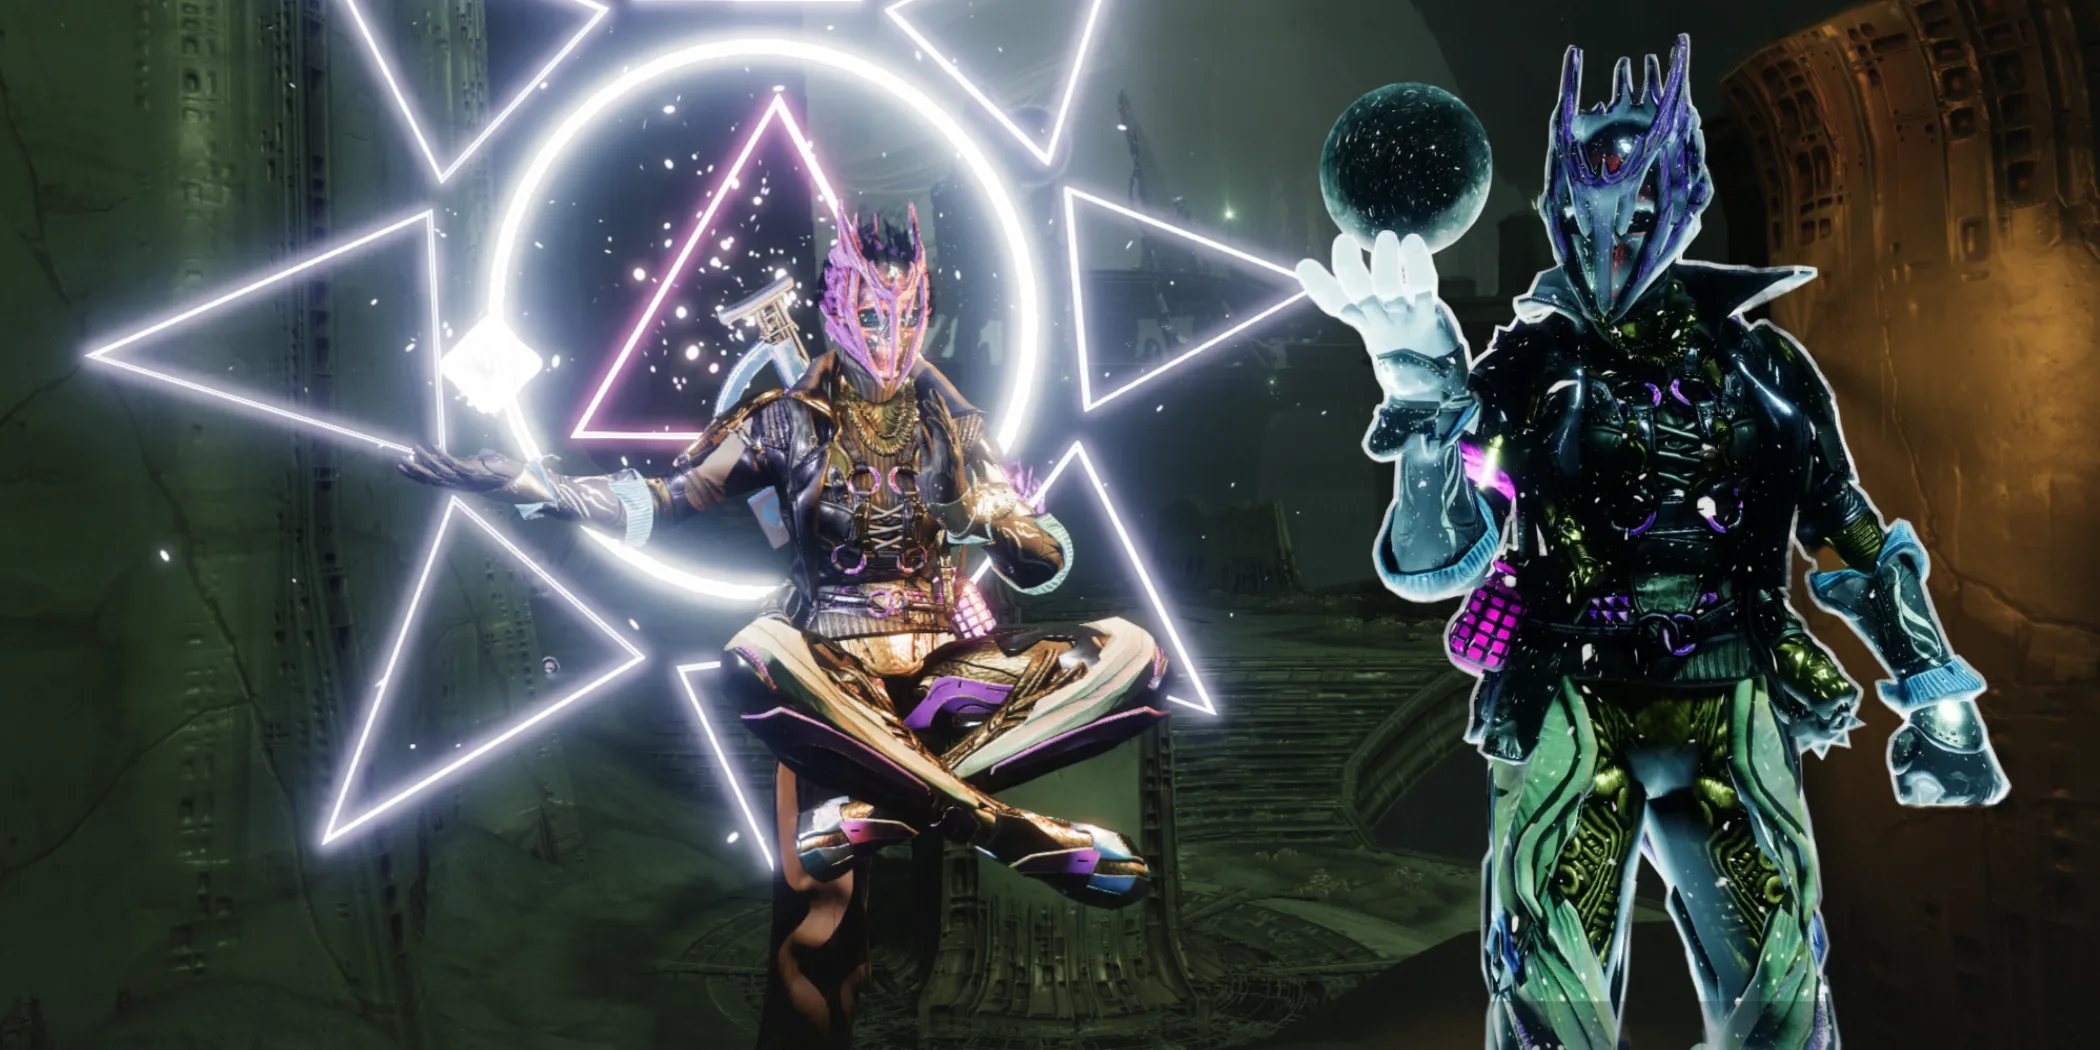
Barrow-Dyad is a disc-shaped SMG with a unique exotic perk named Panic Response. This perk allows you to charge Blight projectiles that will load into your magazine when you reload. While you won’t get to be as powerful and blighted as Sloane, you’ll still wield Taken power with this intriguing weapon.
How to Obtain the Barrow-Dyad Exotic Quest
Unlock a Hidden Quest and Complete It
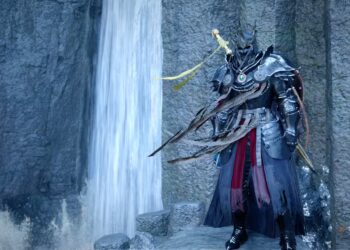
You can begin this quest at various locations, and it’s a matter of luck where you start. Once you enter the Nether, keep an eye out for a substantial Taken Blight hovering above certain arenas. I discovered mine in the Trenchway, located to the left side of the area.
When you reach the Blight, walk onto the teardrop-shaped platform ahead. You’ll notice a rune panel in front of you, and you’ll receive a message at the bottom left of your screen indicating that a whisper will guide you in a specific direction. Move in that direction off the plate, and you will be teleported across the blight. There, you can collect the Taken Osseus Fragment, initiating the “The Taken Path” quest.
The Taken Path
A Long Journey That Leads to a Unique Weapon
Once at the Slab, return to Sloane, who will extract whatever information she can from the Fragment, ultimately returning it to you. For the next step of the quest, you’ll need to unlock and insert the Scotopic Rune if you haven’t done so already. This will enable you to see Taken elements. A minimum Reputation Rank of four is required to insert the Rune.
After inserting the Rune, you’ll need to visit two Lost Sectors to gather two additional Osseus Fragments. The first can be found in the K1 Revelation Lost Sector located in Sorrow’s Harbor on the Moon. As you progress through the lost sector, you’ll encounter a small Taken Blight and a dome. Shoot the Blight to dispel the dome and reveal a puzzle akin to the one in the Nether. Step on the panel, walk off in the correct direction, and you’ll be teleported to another part of the lost sector filled with Taken Blight and adversaries. Defeat the enemies to retrieve your second Fragment.
Your final Fragment for this step can be found in the Veles Labyrinth Lost Sector in the Cosmodrome, specifically in the Forgotten Shore. This area can be tricky to navigate, so stick to the right side to find the room with the puzzle. It will glow blue, making it easier to spot.
The puzzle functions similarly to the one in the K1 Lost Sector; you’ll need to vanquish enemies until a powerful yellow-bar Ogre appears. Defeat this Ogre to clear away a Blight, granting you access back to the maze. You can collect the last Fragment found in another room of the maze, which features a Hive trap, after defeating the yellow-bar Keeper of Power. Afterwards, return to Sloane at Eris’ location.
The Taken Path Step 5: The Curses
The following step in “The Taken Path” involves three smaller quests, but they aren’t too challenging. For this part, you need to locate three different Taken curses and complete the necessary actions for each. The Quest of Endurance will lead you back to Sorrow’s Harbor, while the Curse of Urgency takes you to the Hallowed Grove Lost Sector in the EDZ. The Curse of Revenge directs you to the “Pride” Nightmare Hunt on the Moon.
Each curse has unique requirements:
- Curse of Endurance: In Sorrow’s Harbor, grab a Taken relic and kill enemies with it to charge it. Once fully charged, dunk it where you collected it.
- Curse of Urgency: Collect the Taken relic in the Hallowed Grove Lost Sector, then use it to defeat enemies. It comes with a timer, but killing enemies will add more time. Defeat the boss at the end of the sector and dunk the relic.
- Curse of Revenge: In the final boss battle of the Nightmare Hunt, grab the Taken relic and use it to defeat the boss before dunking it back where you found it.
After completing the three Taken relic tasks, you’ll need to locate three Hive statues in the Nether.
The Taken Path Step 5.1: Locate Three Hive Statues
The Hive statues will appear in random locations within the Nether once you reach this stage of the quest. Approaching them will display the interaction prompt “Call to War,” which, when activated, will summon a yellow-bar enemy. Defeating this enemy rewards you with another Osseus Fragment.
Interestingly, you can reload the instance in the Nether—meaning you can restart the activity—and utilize the same statue multiple times. If you encounter the Hall of Souls repeatedly, you can collect the Taken Osseus Fragment as many times as you need to finish this step.
The easiest statue to find is in the Hall of Souls, where it appears to the right and slightly ahead from your entry point. Another statue can be located in the Mausoleum, directly behind where you spawn in that area. Take a drop behind the spawn and look to the left near the wall to find the statue. Other locations do exist, but these two should suffice for your needs.
Complete the “Derealize” Exotic Quest
Finish the Mission to Acquire the Barrow-Dyad SMG
This quest is fairly straightforward and employs mechanics that players are already familiar with. Utilize Taken Relics, steer clear of the eyes to avoid Suffocating Terror, and take down the Dread that the mission throws at you. After navigating a rather intricate series of tasks, it’s comforting to know that the mission itself isn’t as puzzle-laden as some previous ones.
After the initial boss fight in the Derealize mission, you’ll find yourself between dimensions, faced with a sigil puzzle. In sequence from left to right, the symbols indicate movements: right, forward, backward, and left. Step on the panel and wait for the symbol on the panel to match the leftmost symbol, then move in that direction. Repeat this process four times to escape.
You’ll be teleported every eight seconds, regardless of the success of the puzzle, so there’s no need to panic. You’ll know everything is on the right track if the leftmost symbol in the sequence disappears.
You’ll encounter various traversal challenges, including dodging wall spikes and Blight concussion, but eventually, you’ll reach the final boss room. Defeat the boss while evading the eyes and their Suffocating Terror. You’ll take down one version of the boss, which then transforms, prompting you to escape and seal it inside the antechamber.
Barrow-Dyad may drop prior to the final boss battle, but it will linger for the fight to secure the quest that allows for weapon trait upgrades. The catalyst for this Blight-themed weapon is being gradually released and isn’t available at the current moment, but it promises to enhance what is already a unique gun. Whether you incorporate Barrow-Dyad into a Strand-heavy loadout or tuck it away in your vault, you’ll have another Destiny 2 exotic quest completed.